Love this? Save it for later!
Share the inspiration with your friends
I figured rolling cake pops would be a smooth, stress-free process. It took about two hours for that assumption to crumble into dry crumbs and chocolate frustration. Let’s face it, the internet makes them look like magic tricks. You spin a stick into a ball, dip it in red velvet perfection, and boom—Pinterest gold. Reality, however, has other plans. My first batch looked less like festive treats and more like rocky, lumpy hazards waiting to break a tooth. The cake was dry. The frosting was too much. The chocolate seized up and turned into a gritty mess that refused to coat anything.
Honestly, I almost threw the whole tray in the trash. I was standing over my sink, scraping chocolate off my hands, wondering if I had just lost my mind. But then, I stopped following the rigid rules and started listening to the texture. I added a bit more moisture to the cake. I chilled the balls longer. I adjusted the dipping temperature. Suddenly, the lumps smoothed out. The red velvet color popped with that classic holiday vibrancy. They weren’t just edible; they were actually beautiful.
That failure taught me more than any perfect tutorial ever could. It taught me that cake pops are about balance, not just following steps. Now, when I make these Festive Red Velvet Christmas Cake Pops, I don’t just mix ingredients. I feel the dough. I watch the chocolate melt. It’s a process that requires patience, but the reward is worth every minute. These treats sit on my holiday cookie platter alongside easy pumpkin dump cake and always get devoured first. People love the convenience, but they stay for the flavor.
The best part isn’t even the taste, though it’s incredible. It’s the nostalgia. These little red velvet bites remind me of school bake sales and winter wonderland parties. They are small enough to eat in one bite, yet substantial enough to satisfy a serious sweet tooth. Making them feels like a holiday ritual. It’s messy, it’s fun, and it brings people into the kitchen. Once you get the hang of the rolling and dipping technique, you’ll see why they are a staple in my holiday baking rotation. They are easier than you think, and they taste better than anything from a store.
Why You’ll Love This Recipe
Let’s be real for a second—baking a full layer cake for a small gathering can feel like overkill. You end up with a lot of leftovers and a lot of cleanup. Festive Red Velvet Christmas Cake Pops solve that problem completely. They are the ultimate hack for big flavors with minimal waste. I’ve tested this recipe dozens of times, tweaking the frosting ratio and the chocolate coating, to bring you a version that actually works. This isn’t just another cake pop recipe; it’s the one that finally stopped my balls from falling apart off the stick.
Here is why this recipe earns a permanent spot in your holiday baking arsenal:
- Quick & Easy Assembly: While the baking and chilling take time, the actual assembly is surprisingly fast. Once your cake is crumbled and mixed with frosting, you can roll and dip dozens of pops in under an hour. It’s perfect for busy weeknights or last-minute holiday prep.
- Simple Ingredients: You likely already have most of these items in your pantry. Boxed cake mix (yes, really, for consistency) or homemade red velvet, cream cheese, powdered sugar, and red food coloring are the stars. No fancy, hard-to-find grocery trips needed.
- Perfect for Holiday Gifting: These pops are sturdy, portable, and visually stunning. They are the ideal gift for teachers, neighbors, or coworkers. Pair them with a bag of best homemade cinnamon sugar apple fritter bread slices for a complete bakery-style gift box.
- Crowd-Pleaser: Kids love the fun shape and the stick. Adults love the rich, tangy cream cheese flavor inside. They always get rave reviews because they look impressive but taste familiar and comforting.
- Unbelievably Delicious: The texture is next-level comfort food. The cake is moist and tender, while the cream cheese frosting adds a creamy, tangy contrast that keeps it from being too sweet. The chocolate coating adds a crisp snap.
What makes this recipe different from the rest? It’s the balance. Most recipes make the cake too dry or the frosting too loose. I use a specific ratio that creates a dough-like consistency that holds its shape perfectly without being dense. Whether you use a box mix or scratch, the technique ensures a professional result every time.
This recipe isn’t just good—it is the kind that makes you close your eyes after the first bite. It’s comfort food reimagined for the holidays. You get all the joy of a fancy dessert without the stress of carving a large cake. It’s perfect for impressing guests without stress, or turning a simple Tuesday evening into something memorable. Plus, the red and white colors are just pure holiday magic.
What Ingredients You Will Need
This recipe uses simple, wholesome ingredients to deliver bold flavor and satisfying texture without the fuss. The beauty of these cake pops lies in how common pantry staples come together to create something that looks like it came from a high-end bakery. You don’t need exotic spices or expensive chocolates. You just need the right balance of moisture and fat.
Here is what you need to gather before you start baking. I’ve grouped them by function to help you prep efficiently.
For the Cake Base
- Red Velvet Cake Mix: I recommend Duncan Hines or Betty Crocker for a consistent, moist crumb. Using a box mix ensures the cake doesn’t dry out during baking, which is crucial for cake pops. You can use homemade, but you must ensure it is very moist.
- Eggs, Oil, and Water: These are the standard wet ingredients for your cake mix. Follow the box instructions exactly for the baking part.
- Red Food Coloring Gel: Liquid coloring can add too much water. Gel paste gives you that vibrant, deep red hue without altering the batter’s consistency. You want that classic Christmas red.
For the Frosting Binder
- Cream Cheese: This is non-negotiable. It provides the tangy flavor that defines red velvet. Use full-fat, block-style cream cheese, not the spreadable kind in a tub. Brands like Philadelphia work best for texture.
- Unsalted Butter: Softened to room temperature. This adds richness and helps bind the cake crumbs together.
- Powdered Sugar: Also known as confectioners’ sugar. It sweetens the frosting and helps stiffen it so the cake balls hold their shape. Sift it if it’s lumpy.
- Vanilla Extract: A teaspoon adds depth and rounds out the flavors.
For the Coating
- White Chocolate Chips: I prefer Alfonsino or Ghirardelli for their smooth melting properties. Candy melts are an option, but real white chocolate tastes superior. Just be careful with the temperature.
- Coconut Oil or Vegetable Shortening: A tablespoon of this thins the chocolate slightly, making it easier to dip and helping it set with a nice shine.
- Red and White Sprinkles: Use holiday-themed sprinkles, jimmies, or even crushed candy canes for that festive look.
Substitution Tips: If you need a gluten-free option, swap the cake mix for a gluten-free red velvet blend. For dairy-free, use plant-based cream cheese and butter, and dairy-free white chocolate chips. The texture might be slightly different, but the flavor will still be amazing.
Equipment Needed
You don’t need a professional kitchen to make these, but having the right tools makes the process much less frustrating. I’ve learned this the hard way, so here is what you actually need.
- Bundt Pan or Round Cake Pans: A Bundt pan is great because it bakes evenly and has a hole in the middle, which makes cooling easier. Two 9-inch round pans work too, but you’ll need to level them.
- Food Processor or Stand Mixer: A food processor is my secret weapon. It breaks the cake into fine, uniform crumbs in seconds. A stand mixer with a paddle attachment works well for mixing the frosting.
- Muffin Tin: This is essential for drying. You need a place to stick your cake pops so they don’t roll around and stick to the counter while the chocolate sets.
- Cake Pop Sticks: Lollipop sticks work, but cake pop sticks are shorter and thicker, which provides better support for the heavy cake ball.
- Double Boiler or Microwave-Safe Bowl: For melting the chocolate. A double boiler gives you more control, but a microwave in 30-second intervals works if you are careful.
- Parchment Paper: Line your muffin tin and any cooling racks with parchment. Nothing is worse than sticky chocolate cleanup.
Budget-Friendly Tip: If you don’t have a food processor, you can crush the cooled cake in a large zip-top bag using a rolling pin. It takes more elbow grease, but it works fine. Also, you can reuse the same muffin tin for multiple batches; just wipe it clean and line it again.
Preparation Method
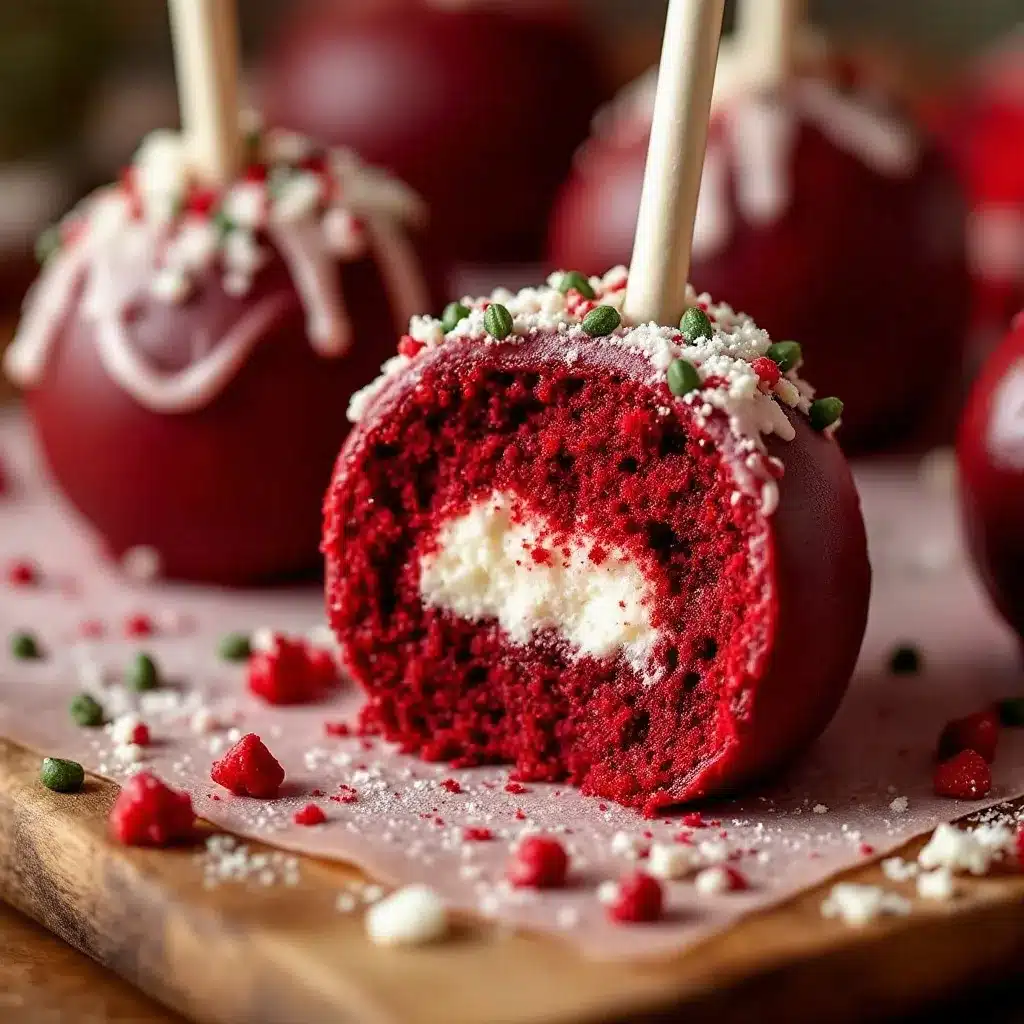
Making these Festive Red Velvet Christmas Cake Pops is a step-by-step process. Take your time, especially with the chilling steps. Rushing is the enemy of a good cake pop. Here is how to do it right.
- Bake the Cake: Preheat your oven to 350°F (175°C). Prepare your cake mix according to the package directions. If using a box mix, add the extra red food coloring gel now to get that deep red hue. Bake in a Bundt pan or round pans for the time specified on the box. Let it cool completely in the pan for 10 minutes, then remove to a wire rack. It must be 100% cool before you touch it. Warm cake will melt the frosting and make a mess. (Time: 45 minutes baking + 1 hour cooling)
- Crumble the Cake: Once the cake is cool, break it into pieces. Place the pieces in a food processor and pulse until you have fine, sand-like crumbs. If you don’t have a processor, use your hands to crumble it into a large bowl. Aim for uniform crumbs; big chunks will make the balls lumpy. (Time: 5 minutes)
- Make the Frosting: In a mixing bowl, beat the softened cream cheese and butter until smooth and creamy. Add the powdered sugar and vanilla extract. Beat on low speed until combined, then increase speed to medium-high for 2 minutes. The frosting should be fluffy and hold its shape. (Time: 10 minutes)
- Mix Cake and Frosting: Add the frosting to the cake crumbs gradually. Start with half a cup and mix. You want the mixture to resemble wet sand or playdough. It should hold together when squeezed but not be greasy or runny. If it’s too dry, add more frosting. If it’s too wet, add more cake crumbs. (Time: 5 minutes)
- Roll the Balls: Pinch off small amounts of the mixture (about 1.5 tablespoons each) and roll them between your palms to form smooth balls. Place them on a baking sheet lined with parchment paper. Do not touch them again until they are chilled. (Time: 15 minutes)
- Chill the Balls: This is the most important step. Place the baking sheet in the freezer for 30 minutes or the refrigerator for at least 2 hours. The balls must be firm. If they are soft, they will fall off the stick. (Time: 30-120 minutes)
- Melt the Chocolate: Place white chocolate chips and coconut oil in a microwave-safe bowl. Microwave in 30-second intervals, stirring well between each interval, until smooth. The chocolate should be warm to the touch, not hot. If it’s too hot, it will melt the cake ball. (Time: 5-10 minutes)
- Dip the Pops: Dip the tip of a cake pop stick into the melted chocolate, then insert it into a chilled cake ball. Rotate gently to secure. Then, dip the entire ball into the chocolate, using a spoon to cover any exposed cake. Tap the back of the spoon against the bowl edge to shake off excess chocolate. (Time: 20 minutes)
- Decorate and Set: Immediately add your sprinkles while the chocolate is still wet. Place the dipped pop upright in a muffin tin lined with parchment. Repeat until all pops are done. Let them set at room temperature for 20 minutes, or in the fridge for 10 minutes, until the chocolate is hard. (Time: 20 minutes)
Cooking Tips & Techniques
I’ve made my fair share of mistakes with cake pops, so here are some professional tips to help you avoid them. These are the things that separate the good cake pops from the great ones.
- Temperature Control is Key: The biggest mistake people make is dipping warm cake balls. The heat from the cake melts the chocolate coating, causing it to slide off. Always ensure your cake balls are cold and firm before dipping. If they feel soft, put them back in the freezer.
- Don’t Overmix the Frosting: When mixing the frosting into the cake crumbs, stop as soon as it holds together. Overmixing can make the cake balls dense and heavy. You want a light, airy texture.
- Chocolate Consistency: If your melted chocolate is too thick, it will clump on the cake pop. Add a tiny bit more coconut oil or shortening to thin it out. It should flow like honey. If it’s too thin, it won’t coat properly. Find that sweet spot.
- Seal the Stick: Dipping the tip of the stick in chocolate before inserting it into the cake ball acts as a glue. This prevents the ball from sliding off during transport or eating. It’s a small step that makes a huge difference.
- Work Quickly: Once you dip a pop, decorate it immediately. Sprinkles won’t stick if the chocolate starts to set. Have your toppings ready in small bowls before you start dipping.
- Storage Matters: Keep your finished cake pops in an airtight container at room temperature for up to 5 days. Do not refrigerate them unless your kitchen is very hot, as condensation can ruin the chocolate coating. If you must refrigerate, let them come to room temperature before serving to restore the texture.
Variations & Adaptations
While the classic red velvet is a holiday staple, these cake pops are versatile. You can adapt them to fit different tastes or dietary needs. Here are a few variations I’ve tried and loved.
- Chocolate Peppermint: Swap the red velvet cake mix for a chocolate cake mix. Use dark chocolate for the coating and add crushed peppermint candies to the topping. This is a great alternative for those who prefer dark chocolate.
- Vanilla Bean: Use a vanilla cake mix and white chocolate coating. Add vanilla bean paste to the frosting for speckled elegance. Top with gold dust or white sugar pearls for a sophisticated look.
- Gluten-Free Option: Use a gluten-free cake mix and ensure your chocolate and sprinkles are certified gluten-free. The technique remains the same, but check the texture of the crumbs as GF cake can be crumblier.
- Dairy-Free: Use dairy-free cream cheese and butter alternatives. For the chocolate, use dairy-free white chocolate chips. The flavor might be slightly less rich, but it is still delicious.
- Mini Cake Pops: Roll smaller balls for a bite-sized appetizer. These are perfect for cocktail parties or as part of a dessert buffet. They go faster, so you might need to double the batch!
I personally love adding a pinch of cinnamon to the red velvet frosting. It adds a warm, spiced note that pairs beautifully with the holiday theme. It’s a subtle change, but it makes the flavor profile more complex and interesting.
Serving & Storage Suggestions
Presentation is everything with cake pops. They are visual treats, so how you serve them matters.
- Serving Ideas: Arrange them on a tiered cake stand for a festive display. They look stunning against a white or dark background. Pair them with hot cocoa or coffee for a cozy winter afternoon snack.
- Complementary Dishes: These pops go well with cozy slow cooker spiced apple cider or a warm cup of tea. They are also great alongside savory holiday dishes like perfect honey butter skillet cornbread to balance the sweetness.
- Storage: Store in an airtight container at room temperature for up to 5 days. Keep them away from direct sunlight and heat sources to prevent the chocolate from melting or sweating.
- Freezing: You can freeze baked and cooled cake balls (before dipping) for up to 2 months. Thaw them in the refrigerator before rolling and dipping. You can also freeze finished cake pops, but let them come to room temperature before unwrapping to avoid condensation.
- Reheating: Cake pops are best served at room temperature. Avoid microwaving them, as this will melt the chocolate and make the cake dense. If you want a slightly softer texture, let them sit out for 10 minutes before eating.
The flavors actually develop and meld together over the first 24 hours. So, if you make them a day ahead, they will taste even better. This makes them an excellent make-ahead dessert for holiday parties.
Nutritional Information & Benefits
While these are definitely a treat, understanding the nutritional profile helps you plan your holiday indulgence.
- Estimated Calories: Each cake pop contains approximately 150-180 calories, depending on the size and coating thickness.
- Macronutrients: They are high in carbohydrates due to the cake and sugar, with moderate fat from the cream cheese and chocolate. Protein content is low.
- Allergens: This recipe contains gluten, dairy, and eggs. Use substitutions as noted in the variations section for allergen-friendly options.
- Health Benefits: Cream cheese provides calcium and protein. Red velvet cake often contains cocoa powder, which has antioxidants, though the amount in box mixes is minimal.
- Personal Wellness Perspective: I view these as a special occasion treat rather than an everyday snack. They are meant to be enjoyed mindfully. Pairing them with a strong coffee or tea helps balance the sweetness and makes the experience more satisfying.
Remember, moderation is key. These are dense with flavor, so one or two are usually enough to satisfy a craving.
Conclusion
Making Festive Red Velvet Christmas Cake Pops is more than just baking; it’s a holiday tradition. It’s about the mess, the laughter, and the joy of creating something beautiful with your own hands. These pops are easy to make, impressive to look at, and absolutely delicious to eat. They are the perfect addition to any holiday gathering or gift exchange.
I love this recipe because it brings people together. Whether you are making them for your family or your neighbors, the effort you put in shows. They are sturdy, portable, and taste better than anything you can buy. I encourage you to try them and customize them to your liking. Add your favorite sprinkles, try a different chocolate coating, or experiment with new flavors.
Please share your creations with me! I love seeing how you adapt the recipe. Leave a comment below with your tips and photos. Tag me on social media if you post them online. Happy baking, and enjoy these festive treats!
FAQs
Why do my cake pops fall off the stick?
This usually happens because the cake balls are too warm or the stick wasn’t sealed with chocolate. Always chill the balls thoroughly and dip the tip of the stick in melted chocolate before inserting it into the cake.
Can I use homemade red velvet cake for this recipe?
Yes, but homemade cake can be drier than box mix. To compensate, use a bit more frosting or add a bit of sour cream to the batter to ensure the cake pops remain moist and don’t crumble.
How long do cake pops last?
Stored in an airtight container at room temperature, they last for up to 5 days. If you need to store them longer, freeze the unbaked cake balls for up to 2 months.
Can I make these dairy-free?
Absolutely. Use dairy-free cream cheese, butter, and white chocolate chips. The texture might be slightly different, but the flavor will still be great.
Why did my chocolate coating crack?
Cracking often happens if the chocolate is too cold or the cake ball is too warm. Ensure the chocolate is at room temperature and the cake balls are cold. Also, avoid adding too much oil to the chocolate, as it can cause thinning and cracking.
Pin This Recipe!
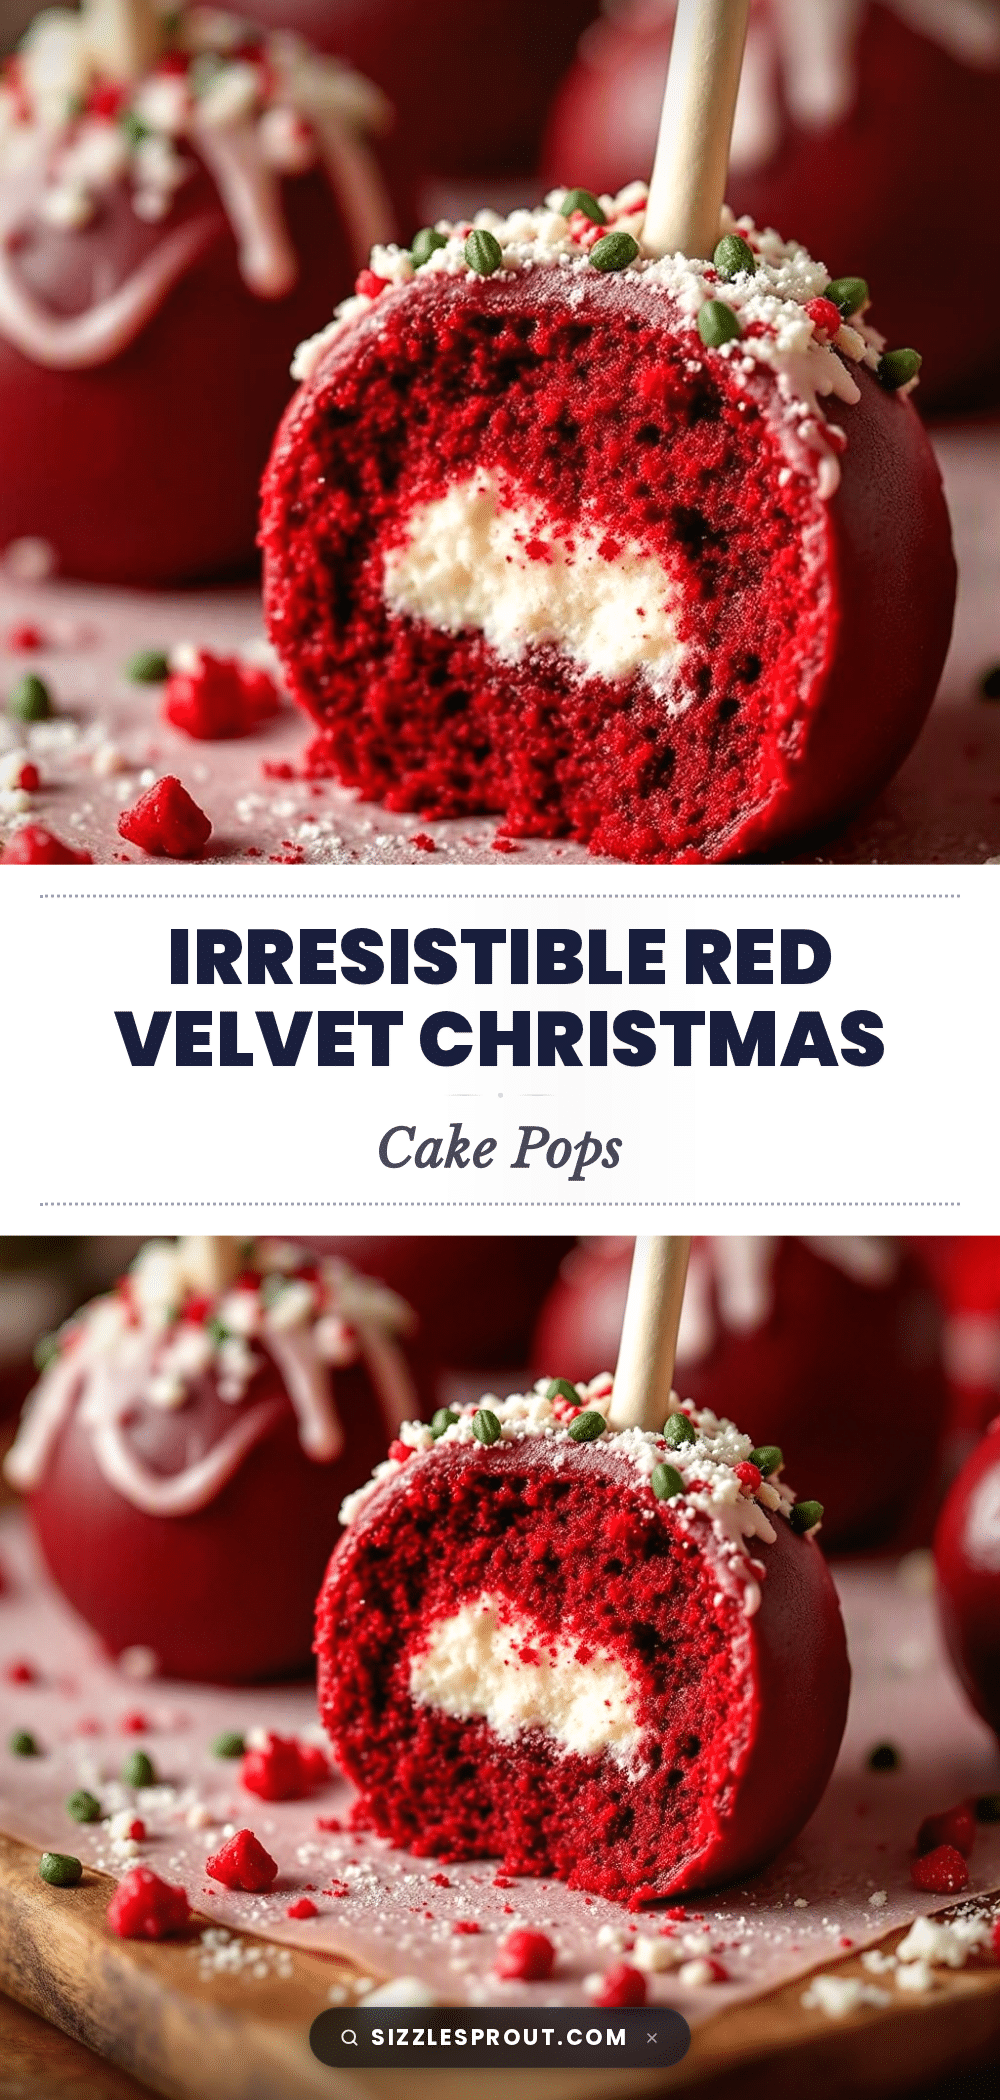
Festive Red Velvet Christmas Cake Pops
These festive red velvet cake pops are the ultimate holiday treat, combining moist red velvet cake with tangy cream cheese frosting and a crisp white chocolate coating. They are easy to make, perfect for gifting, and offer a nostalgic taste of the season.
- Prep Time: 45 minutes
- Cook Time: 45 minutes
- Total Time: 3 hours 30 minutes
- Yield: 24 servings 1x
- Category: Dessert
- Cuisine: American
Ingredients
- 1 box Red Velvet Cake Mix (e.g., Duncan Hines or Betty Crocker)
- Eggs, Oil, and Water (as specified on cake mix box)
- Red Food Coloring Gel
- 8 oz Full-fat Block Cream Cheese (e.g., Philadelphia), softened
- 1/4 cup Unsalted Butter, softened
- 1 cup Powdered Sugar (Confectioners’ Sugar)
- 1 tsp Vanilla Extract
- 12 oz White Chocolate Chips (e.g., Alfonsino or Ghirardelli)
- 1 tbsp Coconut Oil or Vegetable Shortening
- Red and White Holiday Sprinkles
Instructions
- Preheat oven to 350°F (175°C). Prepare cake mix according to package directions, adding extra red food coloring gel for vibrant color.
- Bake cake in a Bundt pan or round pans for the time specified on the box. Cool in pan for 10 minutes, then remove to a wire rack to cool completely.
- Crumble the completely cooled cake into fine crumbs using a food processor or by hand.
- In a mixing bowl, beat softened cream cheese and butter until smooth. Add powdered sugar and vanilla, beating until fluffy.
- Gradually mix the frosting into the cake crumbs until the mixture resembles wet sand or playdough and holds together when squeezed.
- Roll the mixture into 1.5 tablespoon-sized balls and place on a parchment-lined baking sheet.
- Chill the cake balls in the freezer for 30 minutes or refrigerator for 2 hours until firm.
- Melt white chocolate chips and coconut oil in a microwave-safe bowl in 30-second intervals, stirring until smooth.
- Dip the tip of a cake pop stick into melted chocolate and insert it into a chilled cake ball.
- Dip the entire ball into the melted chocolate, tapping off excess, and immediately add sprinkles.
- Place pops upright in a muffin tin lined with parchment and let set at room temperature for 20 minutes or in the fridge for 10 minutes.
Notes
Ensure cake is completely cool before crumbling to prevent melting the frosting. Chill cake balls thoroughly before dipping to prevent them from falling off the stick. Dip the tip of the stick in chocolate before inserting it into the cake ball to act as glue. Store in an airtight container at room temperature for up to 5 days.
Nutrition
- Serving Size: 1 cake pop
- Calories: 165
- Sugar: 16
- Sodium: 180
- Fat: 9
- Saturated Fat: 5
- Carbohydrates: 20
- Fiber: 1
- Protein: 2
Keywords: red velvet cake pops, holiday baking, christmas treats, easy cake pops, cream cheese frosting, white chocolate coating, holiday gifts


