Love this? Save it for later!
Share the inspiration with your friends
I didn’t plan this. Honestly, I didn’t. I just wanted one hand pie. Just one perfect, flaky, apple-filled pocket to take to work. But then I bit into it, and the crust shattered in the most satisfying way, and the filling was hot enough to burn my tongue, and I knew I had to make another one. Immediately.
By the second time I made these crispy brown sugar cinnamon apple hand pies, I had already burned the bottom of the pan on the first batch because I got distracted looking for a specific type of apple. You know how it is. You think you’re making a simple snack, and suddenly you’re three hours deep into a culinary experiment that involves way too much butter and not enough patience.
The obsession didn’t come from a desire to be perfect. It came from the fact that the first one was good, but the second one was better. I tweaked the spice blend. I chilled the dough longer. I even tried brushing the tops with an egg wash instead of just cream, and let me tell you, that extra shine makes all the difference when you’re trying to look fancy for your coworkers.
There is something almost meditative about rolling out dough and cutting circles. It’s quiet. It’s focused. And then you have to eat the result before it gets cold. That urgency keeps you coming back. I’m not saying I made these every day for a month, but I definitely made them every weekend for the last month, and my friends are starting to look at me with a mix of admiration and concern.
It’s not just about the taste, though the taste is incredible. It’s about the process. The mess. The tiny bits of dough you have to pick off the counter. The way the smell fills the whole house and makes everyone else jealous. I kept making them because I was chasing that one perfect bite. The one where the crust is shattery and golden, and the apples are tender but not mushy.
I finally found it. And now I’m sharing it with you. Not because I’m an expert, but because I’m tired of making them all by myself. If you want to understand why I can’t stop, just try one. Then you’ll understand.
Why You’ll Love This Recipe
Let’s be real for a second. Store-bought hand pies are fine. They’re convenient. But they’re also kind of sad. The crust is usually soggy, and the filling tastes like it came out of a jar that’s been sitting on a shelf since 1998. These homemade versions are different. They’re messy, they’re personal, and they’re genuinely delicious.
Here is why this recipe stands out from the rest of the pack:
- Quick & Easy: Yes, making dough from scratch sounds like a lot of work, but this recipe uses a simple pie crust that comes together in about 15 minutes. If you have store-bought dough, you can cut that time in half. Either way, you’re looking at under an hour from start to finish.
- Simple Ingredients: You don’t need fancy pantry items. Just flour, butter, apples, brown sugar, and cinnamon. If you have these, you’re good to go. No obscure spices or hard-to-find ingredients.
- Perfect for Fall: There is nothing quite like a warm, spiced apple dessert when the leaves start changing. These hand pies capture that cozy autumn vibe perfectly. They pair wonderfully with a cup of hot coffee or a slice of cozy maple pumpkin scones with easy cinnamon glaze for a full brunch spread.
- Crowd-Pleaser: Kids love the handheld format. Adults love the homemade taste. It’s a win-win. I’ve made these for potlucks, school bake sales, and random Tuesday nights, and they always disappear first.
- Unbelievably Delicious: The combination of tart Granny Smith apples with sweet brown sugar and warm cinnamon is classic for a reason. But the secret is the texture. The apples stay slightly firm, providing a nice contrast to the soft, spiced filling.
What makes this recipe different? It’s the technique. Most people overwork the dough, which leads to tough pies. I keep it simple. I also add a pinch of nutmeg and a tiny bit of lemon juice to the filling to brighten up the flavor. It’s a small detail, but it makes a huge difference.
This isn’t just a snack. It’s a moment. It’s the kind of recipe that makes you close your eyes after the first bite and forget about your emails for a while. It’s comfort food, but portable. Perfect for impressing guests without the stress of baking a whole pie, or just treating yourself to something sweet without the guilt of a massive dessert.
What Ingredients You Will Need
This recipe relies on a few key components to get that perfect balance of sweet, tart, and flaky. The quality of your ingredients matters more than you might think, especially with the apples and the butter. Here is what you need to gather:
For the Crust:
- All-purpose flour: 2 and 1/2 cups. I prefer Gold Medal for its consistency, but any standard brand works fine. Don’t substitute with whole wheat unless you want a denser texture.
- Unsalted butter: 1 cup (2 sticks), cold and cubed. This is crucial. Cold butter creates steam pockets in the oven, which leads to those flaky layers. If your butter is soft, your crust will be tough. I like using Kerrygold because it has a nice high fat content.
- Granulated sugar: 1 tablespoon. Just a little bit to help with browning.
- Salt: 1 teaspoon. To balance out the sweetness.
- Ice water: 6-8 tablespoons. Use ice water to keep the butter cold. If the water is warm, it will melt the butter before it hits the oven.
For the Filling:
- Granny Smith apples: 3 medium apples, peeled and diced. Granny Smiths hold their shape well and provide a nice tartness. You can mix in a Honeycrisp for extra sweetness, but keep the majority tart. Look for firm apples that don’t bruise easily.
- Brown sugar: 3/4 cup, packed. Dark brown sugar adds a deeper molasses flavor, which pairs beautifully with cinnamon. Light brown sugar works too, but the flavor is milder.
- Ground cinnamon: 1 and 1/2 teaspoons. Don’t skimp on this. Cinnamon is the star of the show here.
- Ground nutmeg: 1/4 teaspoon. Just a pinch. It adds warmth without overpowering the apple.
- Granulated sugar: 2 tablespoons. To balance the tartness of the apples.
- Lemon juice: 1 tablespoon. Freshly squeezed. This prevents the apples from browning and adds a bright note to the sweet filling.
- Cornstarch: 1 tablespoon. This thickens the juices so you don’t get a soggy bottom crust. If you don’t have cornstarch, tapioca starch works as a substitute.
For the Topping:
- Heavy cream: For brushing the tops. This helps them brown evenly and gives them a shiny finish.
- Sand sugar or coarse sugar: For sprinkling on top. This adds a lovely crunch and sparkle. Regular granulated sugar works, but sand sugar looks more professional.
If you’re short on time, you can use store-bought pie crusts. I don’t judge. In fact, I’ve used them when I’m feeling lazy. But homemade is just better. If you need a break from baking, you might enjoy checking out my perfect pumpkin cream cheese muffins next time, which are much easier and require no dough rolling.
Equipment Needed
You don’t need a lot of fancy gadgets to make these hand pies. Here is what I use:
- Large mixing bowl: For combining the dry ingredients and cutting in the butter.
- Fork or pastry cutter: A pastry cutter is nice, but a fork works just as well. You just need to break the butter into pea-sized pieces.
- Clean work surface: A large countertop or a wooden board. Make sure it’s lightly floured.
- Rolling pin: Any standard rolling pin will do. I like a wooden one because it doesn’t stick.
- Round cutter: A 3-4 inch round cutter is ideal. I use a biscuit cutter, but you can also use a drinking glass. Just make sure the edges are sharp.
- Baking sheets: Two standard baking sheets. I line them with parchment paper for easy cleanup.
- Paring knife: For peeling and dicing the apples.
- Small bowl: For mixing the filling ingredients.
If you don’t have a rolling pin, you can use a clean wine bottle. It’s a classic hack. And if you don’t have a round cutter, just use a knife to cut squares. They won’t look as pretty, but they’ll taste the same.
Preparation Method
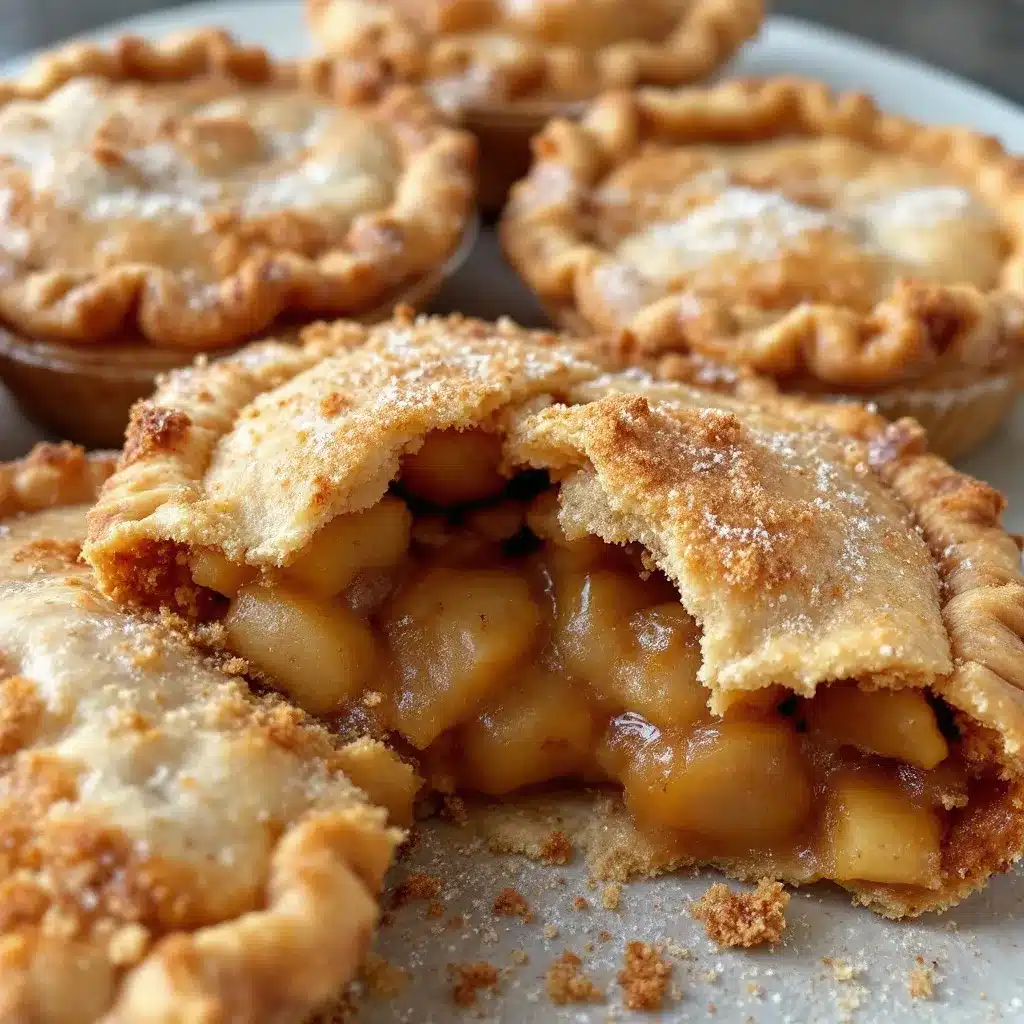
Making these hand pies is easier than it looks. Here is the step-by-step process to get it right.
- Make the dough: In a large bowl, whisk together the flour, sugar, and salt. Add the cold, cubed butter. Use a fork or pastry cutter to cut the butter into the flour until the mixture looks like coarse crumbs with some pea-sized pieces of butter remaining. Do not overmix. You want those chunks of butter for flakiness. Add ice water, one tablespoon at a time, mixing gently until the dough just comes together. It will look shaggy. That’s okay.
Time: 10 minutes - Chill the dough: Divide the dough in half. Flatten each half into a disc. Wrap them tightly in plastic wrap. Refrigerate for at least 30 minutes. This step is non-negotiable. If you skip it, the butter will melt too quickly in the oven, and you’ll lose all that flaky goodness.
Time: 30 minutes (plus active time) - Prepare the filling: While the dough chills, peel and dice the apples into small, even cubes. In a separate bowl, combine the diced apples, brown sugar, granulated sugar, cinnamon, nutmeg, lemon juice, and cornstarch. Toss until the apples are evenly coated. Let this sit for 10 minutes while you finish prepping the dough. The apples will release some juice, which is good.
Time: 10 minutes - Roll out the dough: On a lightly floured surface, roll out one disc of dough to about 1/8 inch thickness. You want it large enough to cut out circles. Use your round cutter to cut out as many circles as possible. Reroll the scraps to cut more. You should get about 12 circles.
Time: 10 minutes - Assemble the pies: Place a spoonful of the apple filling in the center of half of the dough circles. Leave about a half-inch border. Brush the edges with a little water or milk. Place another dough circle on top. Press the edges firmly with a fork to seal. Trim any excess dough if needed. Make sure there are no air pockets.
Time: 15 minutes - Bake: Preheat your oven to 375°F (190°C). Place the hand pies on the prepared baking sheets. Brush the tops with heavy cream and sprinkle with sand sugar. Cut two small slits in the top of each pie to let steam escape. Bake for 20-25 minutes, or until the crust is golden brown and the filling is bubbling.
Time: 25 minutes - Cool: Let the hand pies cool on the baking sheet for 10 minutes before eating. The filling will be extremely hot. If you eat them immediately, you will burn your mouth. Trust me.
Time: 10 minutes
Cooking Tips & Techniques
I’ve made a few mistakes along the way, so you don’t have to. Here are some tips to ensure your hand pies are perfect.
- Keep everything cold: I can’t stress this enough. If your butter gets warm, your crust will be tough. If your kitchen is hot, put your flour in the fridge for 10 minutes before starting. It sounds extreme, but it works.
- Don’t overwork the dough: When you mix the water into the flour, stop as soon as it comes together. Overmixing develops gluten, which makes the crust chewy instead of tender.
- Seal tightly: If the edges aren’t sealed well, the filling will leak out during baking. This creates a mess on your baking sheet and can cause the bottom crust to burn. Press those edges with a fork firmly.
- Watch the oven: Ovens vary. Check your pies at the 20-minute mark. If they are browning too quickly, cover them loosely with foil. If they are pale, give them a few more minutes.
- Use a thermometer: If you’re unsure if the filling is thick enough, you can cook a small spoonful of the filling in the microwave for 30 seconds. If it’s runny, add a bit more cornstarch. If it’s thick, you’re good.
One time, I forgot to chill the dough and tried to roll it out anyway. It was a sticky mess. I ended up with a patchwork quilt of hand pies that looked like they were made by a toddler. But they still tasted good. So don’t panic if you make a mistake. Just keep going.
Variations & Adaptations
These hand pies are versatile. You can change them up depending on what you have in your kitchen.
- Gluten-Free: Use a 1:1 gluten-free flour blend instead of all-purpose flour. The texture might be slightly different, but it will still be delicious.
- Dairy-Free: Use vegan butter instead of regular butter. Make sure it’s cold. For the topping, use coconut cream instead of heavy cream.
- Other Fruits: You can use pears, peaches, or even blueberries instead of apples. Just adjust the sugar slightly depending on the sweetness of the fruit. For a fall twist, try mixing in some easy air fryer pumpkin donut holes flavors by adding pumpkin pie spice to the filling.
- Spicy Kick: Add a pinch of cayenne pepper to the filling. It sounds weird, but it pairs surprisingly well with cinnamon and apple.
- Chocolate Chip: Add a few chocolate chips to the apple filling. It’s like a dessert pizza in pocket form.
I once made these with rhubarb instead of apples. It was tart and tangy, and I added extra sugar to balance it out. It was a hit. So don’t be afraid to experiment.
Serving & Storage Suggestions
Serve these hand pies warm. They are best eaten fresh out of the oven, but they are still good the next day.
- Serving: Pair with a scoop of vanilla ice cream or a dollop of whipped cream. A hot cup of coffee or tea is the perfect drink to go with them.
- Storage: Store leftovers in an airtight container at room temperature for up to 2 days. In the fridge, they will last for up to 5 days.
- Reheating: Reheat in the oven at 350°F for 5-10 minutes to crisp up the crust. You can also microwave them for 30 seconds, but the crust will get soft.
- Freezing: You can freeze the unbaked hand pies. Place them on a baking sheet and freeze until solid. Then transfer to a freezer bag. Bake from frozen, adding 5-10 minutes to the baking time.
The flavors actually get better after a day or two, as the spices have time to meld with the apples. But they rarely last that long in my house.
Nutritional Information & Benefits
These hand pies are a treat, so enjoy them in moderation. Each pie contains approximately 250-300 calories, depending on the size and amount of filling.
- Apples: Provide fiber and vitamin C. They are a good source of antioxidants.
- Cinnamon: Has anti-inflammatory properties and may help regulate blood sugar.
- Butter: Adds flavor and texture, but is high in saturated fat. Use unsalted butter to control sodium intake.
If you are watching your sugar intake, you can reduce the amount of brown sugar by half and use a sugar substitute. The flavor will be less sweet, but still tasty. For a lighter option, you can use a thinner crust or buy pre-made phyllo dough.
Conclusion
These crispy brown sugar cinnamon apple hand pies are worth the effort. They are simple, delicious, and perfect for any occasion. I hope you try this recipe and make it your own. Feel free to experiment with different fruits or spices.
I love this recipe because it brings me back to my childhood, making pies with my grandmother. It’s a memory I cherish. I hope it creates new memories for you.
Please leave a comment below and let me know how they turned out. I’d love to hear about your variations. Share your photos on social media and tag me. Happy baking!
FAQs
Can I use store-bought pie crust?
Yes, absolutely. It saves time and works just as well. Just be sure to roll it out thin enough so the crust isn’t too doughy.
Why did my hand pies leak filling?
This usually happens if the edges aren’t sealed tightly enough. Make sure to press the edges firmly with a fork and check for any cracks before baking.
Can I freeze the hand pies?
Yes, you can freeze them unbaked. Bake them straight from the freezer, adding a few extra minutes to the bake time. You can also freeze them baked, but the texture might change slightly.
What kind of apples are best?
Granny Smith apples are best because they hold their shape and provide a nice tartness. You can mix in Honeycrisp or Fuji for extra sweetness.
How do I keep the crust flaky?
Keep the butter cold. Use ice water when mixing the dough. And don’t overwork the dough. These three steps are key to a flaky crust.
Pin This Recipe!
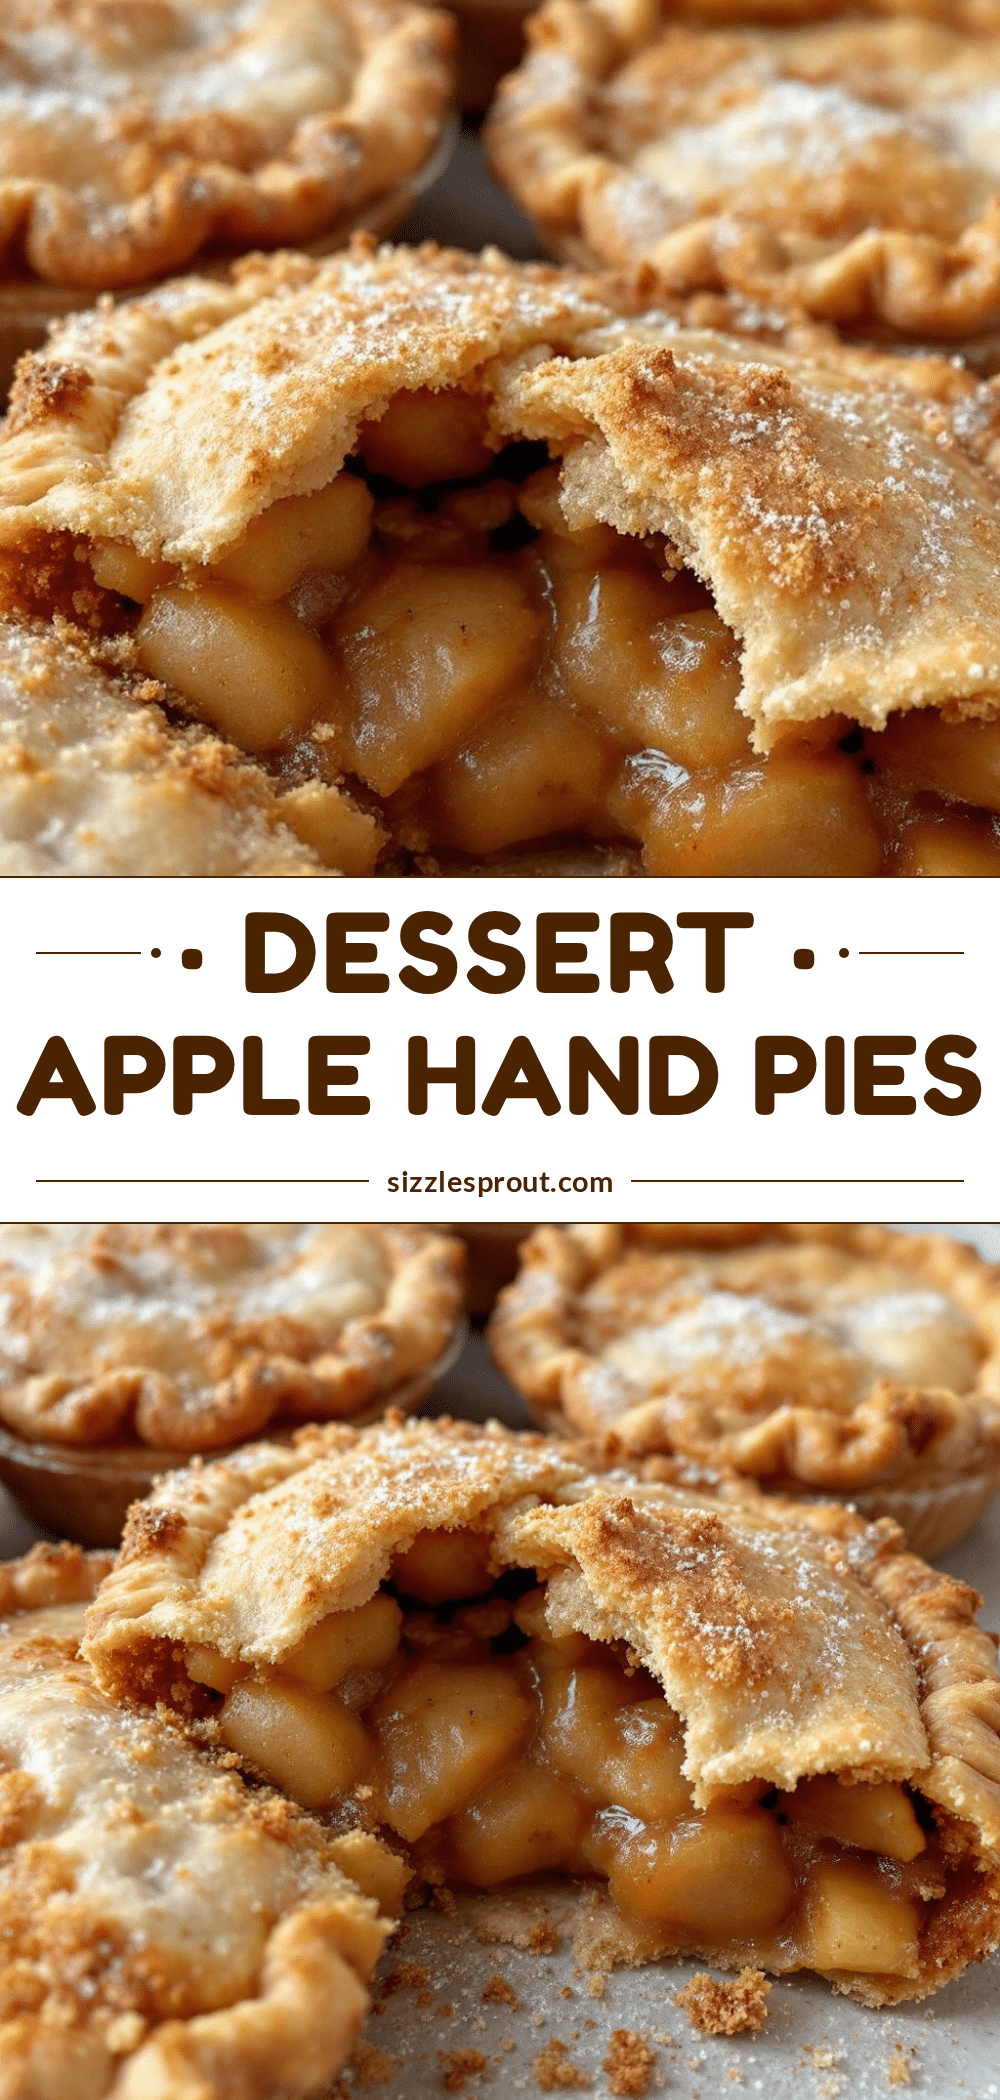
Crispy Brown Sugar Cinnamon Apple Hand Pies
Homemade apple hand pies featuring a flaky, buttery crust and a warm, spiced filling of tart Granny Smith apples, brown sugar, and cinnamon. These portable treats are perfect for fall and easy to make from scratch.
- Prep Time: 45 minutes
- Cook Time: 25 minutes
- Total Time: 1 hour 10 minutes
- Yield: 6 servings 1x
- Category: Dessert
- Cuisine: American
Ingredients
- 2 1/2 cups all-purpose flour
- 1 cup unsalted butter, cold and cubed
- 1 tablespoon granulated sugar
- 1 teaspoon salt
- 6–8 tablespoons ice water
- 3 medium Granny Smith apples, peeled and diced
- 3/4 cup packed brown sugar
- 1 1/2 teaspoons ground cinnamon
- 1/4 teaspoon ground nutmeg
- 2 tablespoons granulated sugar
- 1 tablespoon lemon juice
- 1 tablespoon cornstarch
- Heavy cream, for brushing tops
- Sand sugar or coarse sugar, for sprinkling
Instructions
- In a large bowl, whisk together flour, 1 tablespoon sugar, and salt. Add cold cubed butter and cut in with a fork or pastry cutter until the mixture resembles coarse crumbs with pea-sized butter pieces.
- Add ice water one tablespoon at a time, mixing gently until the dough just comes together. Do not overmix.
- Divide dough in half, flatten into discs, wrap in plastic, and refrigerate for at least 30 minutes.
- While dough chills, combine diced apples, brown sugar, 2 tablespoons granulated sugar, cinnamon, nutmeg, lemon juice, and cornstarch in a bowl. Toss to coat and let sit for 10 minutes.
- Preheat oven to 375°F (190°C). Line baking sheets with parchment paper.
- On a floured surface, roll out one dough disc to 1/8 inch thickness. Cut out 12 circles using a 3-4 inch round cutter.
- Place a spoonful of apple filling in the center of half the circles, leaving a half-inch border. Brush edges with water or milk.
- Top with remaining dough circles, press edges firmly with a fork to seal, and trim excess dough.
- Place pies on baking sheets, brush tops with heavy cream, and sprinkle with sand sugar.
- Cut two small slits in the top of each pie to vent steam.
- Bake for 20-25 minutes until crust is golden brown and filling is bubbling.
- Cool on baking sheets for 10 minutes before serving.
Notes
Keep all ingredients, especially butter, very cold to ensure a flaky crust. Do not overwork the dough. If using store-bought pie crust, reduce prep time significantly. For gluten-free, use a 1:1 gluten-free flour blend. For dairy-free, use vegan butter and coconut cream.
Nutrition
- Serving Size: 1 hand pie
- Calories: 275
- Sugar: 24
- Sodium: 180
- Fat: 14
- Saturated Fat: 8
- Carbohydrates: 38
- Fiber: 3
- Protein: 3
Keywords: apple hand pies, cinnamon apple pie, homemade pastries, fall dessert, easy baking, flaky crust, apple dessert, portable snacks


