Love this? Save it for later!
Share the inspiration with your friends
It was 11:45 PM on a Tuesday, and the only thing I wanted was chocolate birthday cake with salted caramel. The house was finally quiet. My kids were asleep, the dishwasher was humming its low, rhythmic song, and the kitchen lights were dimmed to that soft, amber glow that makes everything feel slightly magical. I wasn’t hungry in the way you’re hungry for dinner. I was hungry for comfort. You know that feeling? Where your brain just stops working and your mouth demands something sweet, rich, and complicated.
I stood there in my pajamas, staring into the open refrigerator. The light hit the leftover takeout containers and the half-empty jar of pickles. It felt lonely, honestly. So I did what I always do when the world gets too loud or too quiet. I put on the kettle. But instead of tea, I decided to make a cake. Not a complicated three-tier wedding cake. Just a simple, moist chocolate layer cake with a caramel swirl that tastes like childhood weekends.
This specific recipe has been in my notebook for years. It’s stained with flour smudges and coffee rings. It’s not fancy. It doesn’t have fondant or edible gold leaf. It’s just butter, sugar, eggs, and good chocolate. The salted caramel is the secret weapon. It cuts through the sweetness of the cake in a way that makes you close your eyes. It’s the kind of dessert that doesn’t need a birthday to happen. It just needs a Tuesday night and a spoon.
I remember making this for my nephew’s fifth birthday. He didn’t care about the decorations or the party favors. He cared about that first bite of cake where the caramel oozed out. He looked at me with chocolate smeared on his nose and said, “This is better than presents.” I think he was right. Sometimes the best moments aren’t the big celebrations. They’re the quiet ones where you feed yourself something good.
If you’re reading this at 2 AM like I was, or if you’re planning a big party next weekend, this is the cake for you. It’s forgiving. It’s delicious. And it smells like happiness. Let’s make it.
Why You’ll Love This Recipe
Let’s be honest for a second. Baking a cake from scratch can feel intimidating. You worry about the batter splitting, the cake sinking in the middle, or the caramel being too runny. But this chocolate birthday cake with salted caramel is different. It’s designed for real life. It’s the kind of recipe that works even if you’ve had a long day at work.
Here is why this recipe stands out from all the other chocolate cakes out there:
- Quick & Easy: You can have this cake ready to serve in under two hours. The cake layers bake quickly, and the caramel comes together in ten minutes. It’s perfect for busy weeknights or last-minute cravings when you need a win.
- Simple Ingredients: No fancy grocery trips needed. You likely already have everything in your kitchen. Flour, sugar, cocoa powder, butter, eggs, buttermilk, and heavy cream. If you have these, you can make this.
- Perfect for Celebrations: Whether it’s a birthday, an anniversary, or just because it’s Wednesday, this cake fits any occasion. It looks impressive but is surprisingly easy to assemble.
- Crowd-Pleaser: I’ve served this to picky eaters and food critics alike. Kids love the sweetness, and adults love the balance of the salt. It always gets rave reviews.
- Unbelievably Delicious: The texture is next-level. The cake is moist and tender, not dry or crumbly. The caramel adds a chewy, salty contrast that elevates every bite.
What makes this recipe different from the rest is the technique. We use buttermilk in the batter. You know, that acidic ingredient that tenderizes the gluten? It keeps the cake soft for days. And the caramel isn’t just a drizzle on top. We fold a little bit into the batter and swirl the rest through the layers. It creates pockets of flavor that surprise you with every spoonful.
I tested this recipe about twenty times. I tried using oil instead of butter (too greasy). I tried making the caramel with brown sugar only (not salty enough). I even tried skipping the salt (huge mistake). This final version is the result of trial and error. It’s my best version.
This recipe isn’t just good—it’s the kind that makes you close your eyes after the first bite. It’s comfort food reimagined. It’s faster than ordering delivery, but with the same soul-soothing satisfaction. Perfect for impressing guests without stress, or turning a simple meal into something memorable.
What Ingredients You Will Need
This recipe uses simple, wholesome ingredients to deliver bold flavor and satisfying texture without the fuss. The beauty of a chocolate cake with salted caramel is that it relies on the quality of a few key items. You don’t need exotic spices or rare flours. You just need good basics.
Here is what you’ll need to gather. I’ve grouped them by function so you can prep efficiently.
For the Chocolate Cake Layers
- All-purpose flour: 2 cups (250g). This is your structure. Don’t substitute with cake flour unless you adjust the starch, but all-purpose gives the best crumb for this type of cake.
- Granulated sugar: 1 ½ cups (300g). Sugar isn’t just for sweetness; it keeps the cake moist. Use standard white sugar.
- Dutch-process cocoa powder: ¾ cup (75g). This is crucial. Regular cocoa powder is alkalized differently. Dutch-process is darker and richer. I recommend Hershey’s Special Dark or Rodelle for best texture and deep chocolate flavor.
- Baking powder: 1 ½ teaspoons. Helps the cake rise.
- Baking soda: 1 ½ teaspoons. Reacts with the buttermilk to create lift.
- Salt: 1 teaspoon. Enhances the chocolate flavor. Don’t skip this.
- Unsalted butter: ½ cup (115g), softened. Room temperature butter creams better with sugar, creating air pockets for a lighter cake.
- Large eggs: 2, room temperature. Cold eggs can cause the batter to seize up.
- Vanilla extract: 2 teaspoons. Pure vanilla, not imitation. It adds warmth.
- Buttermilk: 1 cup (240ml). This is the secret to moisture. If you don’t have buttermilk, make your own by adding 1 tablespoon of lemon juice to 1 cup of milk and letting it sit for 10 minutes.
For the Salted Caramel Sauce
- Unsalted butter: ½ cup (115g). Again, room temperature helps it melt evenly.
- Light brown sugar: 1 cup (200g). Packed. This gives the caramel its molasses notes.
- Heavy cream: ½ cup (120ml). Warm it up first to prevent the butter from seizing when you add it.
- Salt: 1 to 1 ½ teaspoons. Use flaky sea salt if you want that crunchy texture on top, or fine sea salt for mixing in.
For the Chocolate Frosting
- Heavy cream: 1 cup (240ml), cold.
- Dark chocolate chips: 8 ounces (225g). Use high-quality chips for a smoother melt.
- Butter: 2 tablespoons, softened.
Pro tip: If you are making this for a gluten-free guest, you can swap the all-purpose flour for a 1:1 gluten-free baking blend. It works surprisingly well here. For a dairy-free version, use plant-based butter and oat milk for the buttermilk substitute.
Equipment Needed
You don’t need a fancy kitchen to make this cake, but having the right tools makes the process much smoother. Here is what you’ll need.
- Two 8-inch or 9-inch round cake pans: Grease them well with butter and line the bottoms with parchment paper. This is non-negotiable if you want the cake to release cleanly.
- Mixing bowls: You’ll need a large bowl for the dry ingredients and a medium bowl for the wet. A stand mixer or hand mixer is helpful for creaming the butter and sugar, but you can do it by hand if you have strong arms.
- Saucepan: A small, heavy-bottomed saucepan is best for the caramel. It distributes heat evenly and prevents burning. A thin pan might scorch the sugar.
- Whisk and spatula: A silicone spatula is essential for scraping the bowl. You don’t want to waste any batter.
- Cooling rack: Let the cakes cool completely before frosting. Putting frosting on a warm cake is a rookie mistake that leads to a melted mess.
If you don’t have round pans, you can use a 9×13 inch rectangular pan. The baking time will be slightly shorter, so check it 5-10 minutes early. I also recommend investing in a kitchen scale for the dry ingredients. Volume measurements can vary, but weight is always accurate. It’s a small investment that pays off in consistency.
Preparation Method
Making this cake is easier than it looks. Follow these steps carefully, and you’ll have a beautiful dessert in no time.
Step 1: Prep the Pans and Oven
Preheat your oven to 350°F (175°C). This is a standard temperature that bakes the cake evenly without drying it out. Grease your two 8-inch or 9-inch round cake pans with butter. Dust them with a little flour, tapping out the excess. Or, for extra security, line the bottoms with parchment circles. This ensures the cake doesn’t stick.
Step 2: Mix the Dry Ingredients
In a large bowl, whisk together the flour, sugar, cocoa powder, baking powder, baking soda, and salt. Whisking helps distribute the leavening agents evenly. If you skip this, you might get pockets of baking soda that taste bitter. Make sure there are no lumps of cocoa powder. It should look like a uniform, dark powder.
Step 3: Cream the Butter and Sugar
In a separate large bowl, beat the softened butter and granulated sugar together. If using a mixer, beat on medium-high for about 3-4 minutes. The mixture should look pale and fluffy. This step incorporates air, which helps the cake rise. If doing it by hand, it will take about 5 minutes of vigorous stirring. Don’t rush this part.
Step 4: Add Eggs and Vanilla
Add the eggs one at a time, beating well after each addition. Add the vanilla extract. Scrape down the sides of the bowl with a spatula to ensure everything is incorporated. The mixture might look slightly curdled at first. That’s okay. It will come together once you add the liquids.
Step 5: Combine Wet and Dry Ingredients
Add half of the dry ingredient mixture to the butter mixture. Mix on low speed until just combined. Then, pour in all of the buttermilk. Mix until combined. Finally, add the remaining dry ingredients. Mix until the batter is smooth. Do not overmix at this stage. Overmixing develops gluten, which makes the cake tough. You want a tender crumb. The batter should be thick but pourable.
Step 6: Bake the Cakes
Divide the batter evenly between the two prepared pans. You can use a scale to ensure they are equal, or just eyebit it. Bake for 25-30 minutes. Test for doneness by inserting a toothpick into the center. It should come out clean or with just a few moist crumbs. Do not overbake, or the cake will be dry. Let the cakes cool in the pans for 10 minutes, then turn them out onto a cooling rack to cool completely.
Step 7: Make the Salted Caramel
While the cakes cool, make the caramel. In a small saucepan, melt the butter over medium heat. Add the brown sugar and stir constantly for 2 minutes. Add the heavy cream and salt. Bring to a gentle simmer. Cook for 3-4 minutes, stirring frequently, until the sauce thickens slightly. It will thicken more as it cools. Pour into a jar and let it cool to room temperature.
Step 8: Make the Frosting
Heat the heavy cream until it just begins to simmer. Pour it over the dark chocolate chips. Let it sit for 2 minutes, then stir until smooth. Add the butter and stir until incorporated. Let this cool until it’s thick enough to spread but still soft. This is a ganache-style frosting. It’s rich and decadent.
Step 9: Assemble the Cake
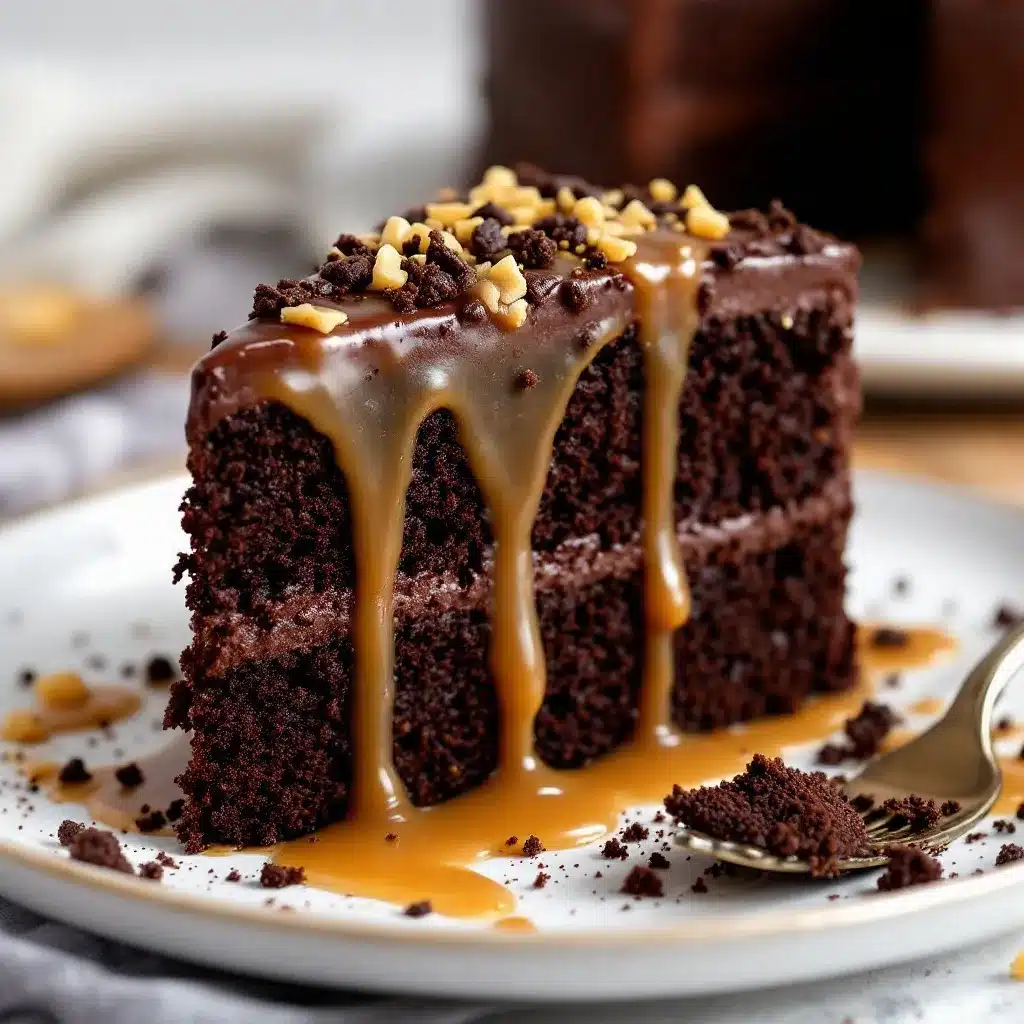
Place one cake layer on your serving plate. Spread a thin layer of caramel over the top. Add the second layer. Spread the chocolate ganache over the top and sides. Drizzle the remaining caramel over the top in a zigzag pattern. Slice and serve.
Cooking Tips & Techniques
Baking is science, but it’s also art. Here are some tips to ensure your chocolate birthday cake with salted caramel turns out perfectly.
First, room temperature ingredients are key. Cold butter doesn’t cream properly. Cold eggs can shock the batter. Take your butter and eggs out of the fridge at least an hour before you start. If you forget, you can warm the eggs in a bowl of warm water for a few minutes.
Second, don’t open the oven door while the cakes are baking. The sudden drop in temperature can cause the cakes to collapse. Trust the process. Wait until the timer goes off.
Third, when making the caramel, pay attention. Sugar burns fast. If you see the sugar darkening too quickly, take it off the heat for a second. You want a golden amber color, not black. If it burns, start over. There’s no fixing burnt caramel.
Fourth, let the cakes cool completely before frosting. If the cake is even slightly warm, the ganache will melt and slide off. I know it’s tempting to dig in early, but patience pays off.
Fifth, don’t skimp on the salt. The salt in the caramel balances the sweetness of the chocolate. It’s what makes the flavor pop. Use good quality salt. Maldon sea salt flakes are great for garnish.
I once made this cake without cooling the layers. The frosting melted into a chocolate soup. I had to scrape it all off and start over. Lesson learned. Always cool your cakes.
Another tip: If your kitchen is very hot, put the frosting in the fridge for 15 minutes before spreading. It will firm up and be easier to work with.
Variations & Adaptations
This recipe is versatile. Here are some ways to customize it.
Dietary Adjustments
For a gluten-free version, use a 1:1 gluten-free flour blend. Ensure your baking powder and cocoa powder are certified gluten-free. For a dairy-free version, use plant-based butter and oat milk or coconut milk for the buttermilk. You can also use dairy-free chocolate chips for the frosting.
Flavor Variations
Add a tablespoon of espresso powder to the dry ingredients. It intensifies the chocolate flavor without making it taste like coffee. It’s a baker’s secret. You won’t taste the coffee, but the chocolate will be richer.
You can also add chopped nuts to the caramel. Toasted pecans or walnuts add a nice crunch. Sprinkle them between the layers before adding the top cake layer.
Cooking Method Changes
If you want cupcakes, divide the batter into 24 cupcake liners. Bake for 18-20 minutes. Use mini jars for the caramel to make individual desserts. They look adorable and are perfect for parties.
Personal Twist
I sometimes add a layer of raspberry jam between the cake and the caramel. The tartness of the raspberry cuts through the richness. It’s a bit of a surprise that everyone loves. Try it if you want a fruity twist.
Serving & Storage Suggestions
This cake is best served at room temperature. Cold chocolate can taste waxy, and cold caramel can be hard. Let the cake sit out for 20 minutes before slicing.
For storage, keep the cake in an airtight container in the refrigerator for up to 5 days. The flavors actually meld together after a day, making it even better on day two. If you freeze it, wrap the layers tightly in plastic wrap and foil. They will last for up to 3 months. Thaw in the fridge overnight before assembling.
Reheating is easy. If you have leftovers, microwave a slice for 10-15 seconds. The caramel will become gooey and warm. It’s like eating it fresh out of the oven.
Pair this cake with a cup of black coffee or a glass of cold milk. The bitterness of the coffee balances the sweetness. Or serve it with a dollop of whipped cream for extra indulgence.
Nutritional Information & Benefits
This cake is a treat, so enjoy it in moderation. Each slice contains approximately 450 calories. It is high in carbohydrates and sugar, but also provides some protein and fat from the butter and eggs.
The dark chocolate in the frosting contains antioxidants, which are good for heart health. The butter provides fat-soluble vitamins. While it’s not a health food, it’s made with real ingredients, not artificial additives.
For those watching their sugar intake, you can reduce the sugar in the cake batter by ¼ cup. The cake will still be sweet enough due to the caramel and chocolate. Just be aware that less sugar can affect the texture, making it slightly denser.
This recipe is not suitable for vegans due to the eggs and dairy. However, the substitutions mentioned earlier can make it accessible for many dietary needs.
Conclusion
This chocolate birthday cake with salted caramel is more than just a dessert. It’s a moment of peace. It’s a way to slow down and enjoy the process of creating something beautiful. I hope you try this recipe and find your own quiet rituals in the kitchen.
Feel free to customize it. Add your favorite sprinkles, change the frosting, or make it gluten-free. Make it yours. I’d love to hear how it turns out. Leave a comment below and let me know if you added espresso or nuts. Share your photos on social media and tag me. I love seeing your creations.
Baking is a gift, and sharing it is even better. Thank you for letting me share this recipe with you. Happy baking!
Frequently Asked Questions
Can I make this cake a day ahead?
Yes, absolutely. In fact, it tastes better the next day. Bake the layers and make the caramel and frosting the day before. Assemble the cake the day of serving. Store it in the fridge until you’re ready to eat.
Why did my caramel seize up?
This usually happens if water gets into the sugar while it’s melting. Make sure your pan and utensils are completely dry. Also, add the cream slowly and stir constantly. If it seizes, add a little more warm cream and stir vigorously to bring it back together.
Can I use milk instead of buttermilk?
You can, but the cake won’t be as moist or tender. Buttermilk adds acidity that tenderizes the gluten. If you must use milk, add 1 tablespoon of lemon juice or vinegar to 1 cup of milk and let it curdle for 10 minutes. This creates a buttermilk substitute.
How do I store leftover caramel?
Store the caramel in an airtight jar in the refrigerator for up to 2 weeks. Reheat it in the microwave in 10-second intervals, stirring in between, until it’s pourable. It will thicken when cold, which is normal.
Can I freeze the assembled cake?
It’s best to freeze the cake layers without the frosting. Wrap them tightly in plastic wrap and foil. Freeze for up to 3 months. Thaw overnight in the fridge, then frost and serve. Freezing an assembled cake can make the texture of the frosting grainy.
Pin This Recipe!
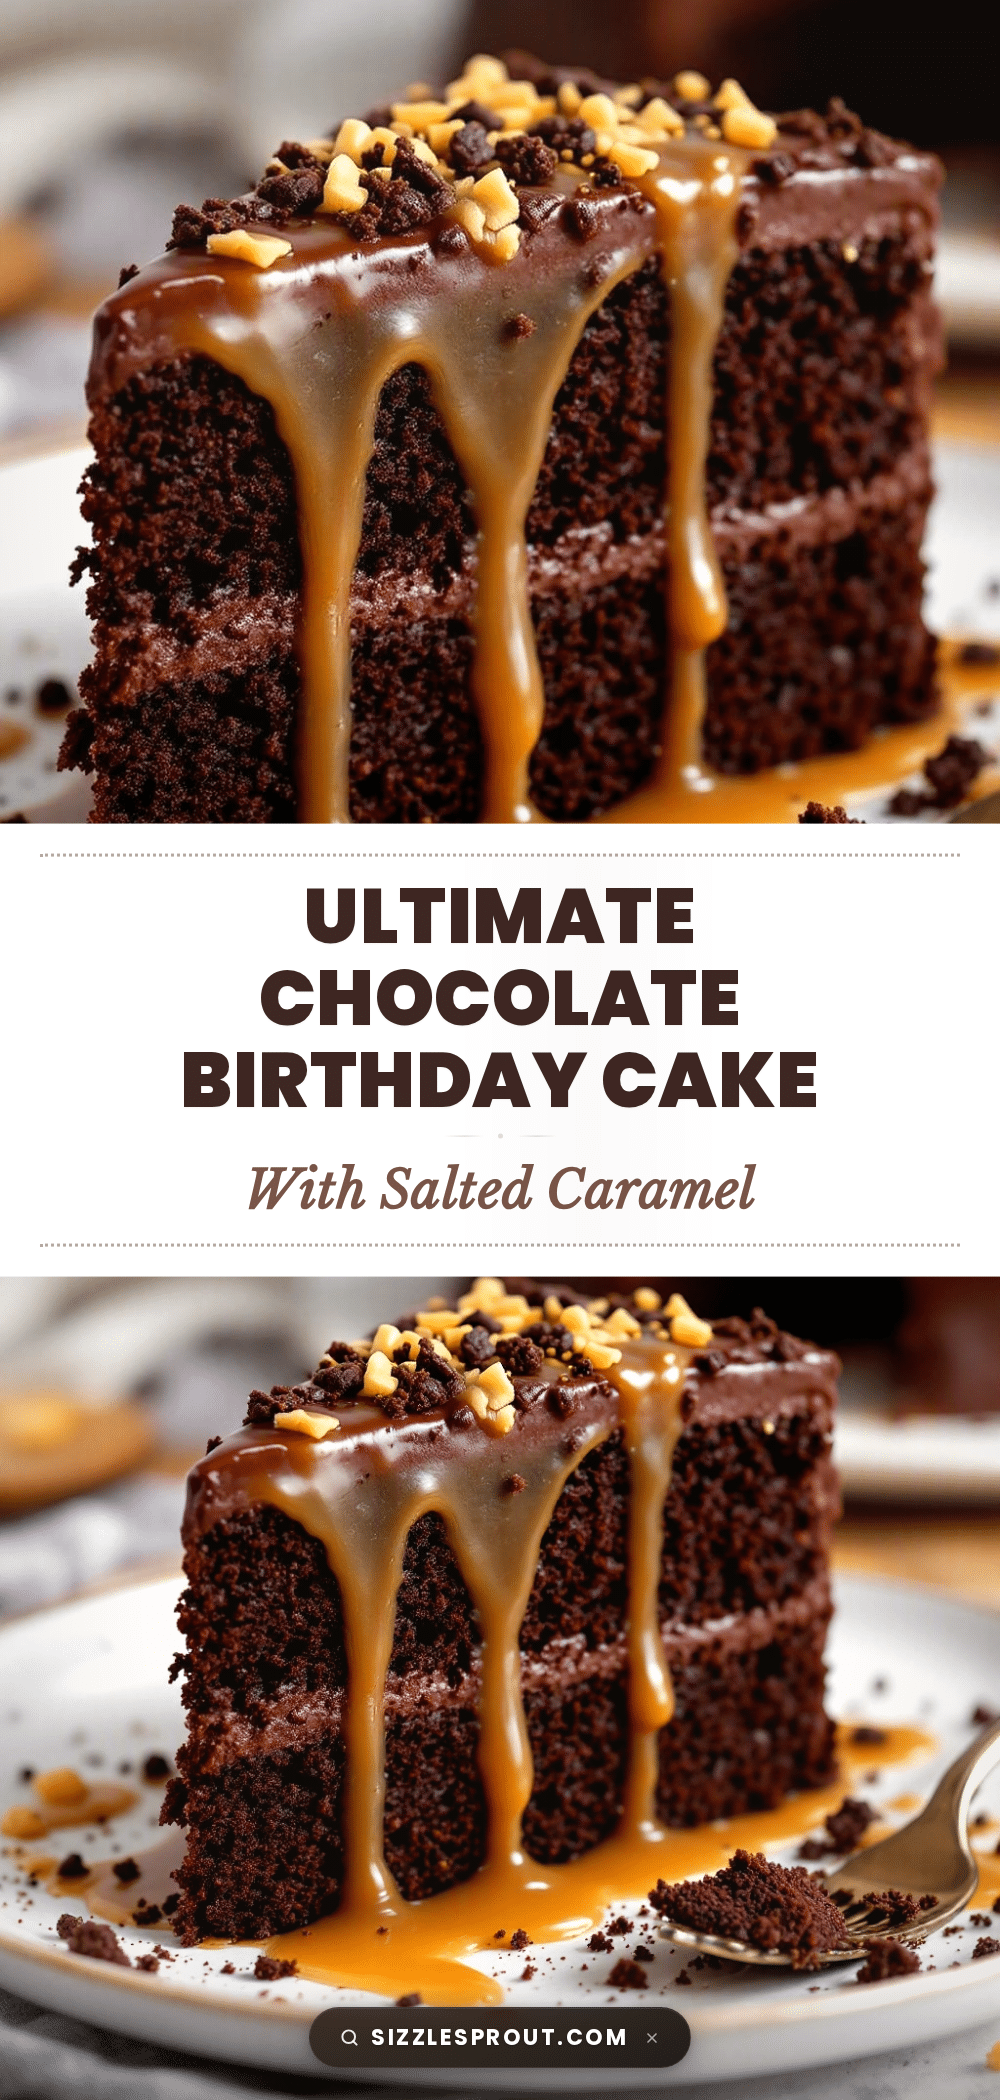
Best Chocolate Birthday Cake with Salted Caramel
A moist, rich chocolate layer cake featuring a homemade salted caramel swirl and dark chocolate ganache frosting. This forgiving recipe is perfect for celebrations or late-night comfort.
- Prep Time: 30 minutes
- Cook Time: 30 minutes
- Total Time: 2 hours
- Yield: 8 servings 1x
- Category: Dessert
- Cuisine: American
Ingredients
- 2 cups (250g) all-purpose flour
- 1 ½ cups (300g) granulated sugar
- ¾ cup (75g) Dutch-process cocoa powder
- 1 ½ teaspoons baking powder
- 1 ½ teaspoons baking soda
- 1 teaspoon salt
- ½ cup (115g) unsalted butter, softened
- 2 large eggs, room temperature
- 2 teaspoons vanilla extract
- 1 cup (240ml) buttermilk
- ½ cup (115g) unsalted butter (for caramel)
- 1 cup (200g) light brown sugar, packed (for caramel)
- ½ cup (120ml) heavy cream, warmed (for caramel)
- 1 to 1 ½ teaspoons salt (for caramel)
- 1 cup (240ml) heavy cream, cold (for frosting)
- 8 ounces (225g) dark chocolate chips (for frosting)
- 2 tablespoons butter, softened (for frosting)
Instructions
- Preheat oven to 350°F (175°C). Grease two 8-inch or 9-inch round cake pans and line bottoms with parchment paper.
- In a large bowl, whisk together flour, sugar, cocoa powder, baking powder, baking soda, and salt until uniform.
- In a separate large bowl, beat softened butter and granulated sugar on medium-high speed for 3-4 minutes until pale and fluffy.
- Add eggs one at a time, beating well after each addition, then add vanilla extract. Scrape down the bowl.
- Add half of the dry ingredients to the butter mixture and mix on low until combined. Pour in buttermilk and mix until combined. Add remaining dry ingredients and mix until smooth. Do not overmix.
- Divide batter evenly between prepared pans. Bake for 25-30 minutes or until a toothpick inserted in the center comes out clean.
- Let cakes cool in pans for 10 minutes, then turn out onto a cooling rack to cool completely.
- While cakes cool, make the caramel: Melt ½ cup butter in a saucepan over medium heat. Add brown sugar and stir for 2 minutes. Add heavy cream and salt, bring to a gentle simmer, and cook for 3-4 minutes until thickened. Cool to room temperature.
- Make the frosting: Heat 1 cup heavy cream until simmering. Pour over dark chocolate chips, let sit for 2 minutes, then stir until smooth. Add 2 tablespoons butter and stir until incorporated. Cool until spreadable.
- Assemble: Place one cake layer on a plate, spread a thin layer of caramel, add second layer. Cover top and sides with chocolate ganache. Drizzle remaining caramel over the top.
Notes
Ensure all ingredients are at room temperature for best results. Do not open the oven door while baking. Let cakes cool completely before frosting to prevent melting. For gluten-free, use a 1:1 gluten-free flour blend. For dairy-free, use plant-based butter and oat milk.
Nutrition
- Serving Size: 1 slice
- Calories: 450
- Sugar: 40
- Sodium: 350
- Fat: 25
- Saturated Fat: 15
- Carbohydrates: 55
- Fiber: 3
- Protein: 5
Keywords: chocolate cake, salted caramel, birthday cake, homemade caramel, chocolate ganache, moist chocolate cake, dessert recipe


