Love this? Save it for later!
Share the inspiration with your friends
The last spoonful scraped against the dish with that hollow ceramic sound. My husband looked up, fork still hovering, and said, “Wait, that’s it?”
I’d made a double batch. We’d polished off the entire thing in one sitting. That was the moment I knew this apple crisp recipe wasn’t just good—it was dangerous.
Honestly, I wasn’t trying to create anything special that afternoon. I had a bag of apples sitting on the counter that were starting to look a little sad. You know the ones—they’ve been sitting there for a week, and you’re wondering what to do with them before they end up in the compost. I’d planned on making a simple crumble, something quick to use them up. But then I started tinkering. A little more butter here, some brown sugar there, a pinch of cinnamon that turned into a heavier hand.
The buttery oat crumble topping is what really happened by accident. I wanted it crunchier, more substantial, less like a dusting and more like a blanket. So I kept adding oats and cold butter until it looked right. And let me tell you—it was right.
This classic apple crisp has become my go-to for everything. Fall gatherings, last-minute dinner invites, Tuesday nights when I need something warm and familiar. It’s the kind of dessert that doesn’t try to be fancy, but somehow ends up being exactly what everyone wants. The apples get soft and jammy underneath, while that oat topping turns golden and shatteringly crisp. It’s simple, honest, and completely unforgettable.
I’ve made it so many times now that I don’t even measure anymore. But for you, I measured everything out again. Twice. Because this is one of those recipes you’ll want to get right the first time.
Why You’ll Love This Recipe
This isn’t just another apple crisp recipe floating around the internet. I’ve tested this one more times than I care to admit, tweaking ratios and baking times until it was absolutely perfect. Here’s why I think you’ll fall for it too:
- Quick & Easy : From start to oven in about 15 minutes. No complicated techniques, no stand mixer required, no fussing with pastry dough that might not cooperate.
- Simple Ingredients : Apples, oats, butter, sugar, flour, cinnamon. That’s basically it. You probably have everything in your kitchen right now except maybe the apples.
- Perfect for Any Occasion : Holiday dinners, Sunday afternoon baking, potlucks, or just because it’s Tuesday and you need something warm. It works everywhere.
- Crowd-Pleaser : I’ve served this to kids who claimed they didn’t like cooked fruit and adults who asked for seconds. It’s universally loved.
- Unbelievably Delicious : That buttery oat topping gets golden and crunchy while the apples turn tender and almost caramelized. The texture contrast is everything.
What makes this version different from all the others? It’s the ratio. Most recipes skimp on the topping or make it too thin. I went heavy on the crumble because honestly, that’s the best part. The topping is thick, buttery, and stays crunchy even the next day. Plus, I use a mix of apple varieties for deeper flavor—sweet and tart together create something truly special.
This is the kind of dessert that makes you close your eyes after the first bite. It’s comfort food at its finest—simple, warm, and completely satisfying. And if you’re looking for another cozy dessert that delivers big on flavor, my brown sugar bourbon peach crisp is equally irresistible when stone fruits are in season.
What Ingredients You Will Need
This recipe uses simple, wholesome ingredients to deliver bold flavor and satisfying texture without any fuss. Most of these are pantry staples you probably already have on hand.
For the Apple Filling
- Apples – 6 medium apples (about 2 ½ pounds), peeled, cored, and sliced into ¼-inch thick pieces. I recommend a mix of Granny Smith (for tartness) and Honeycrisp or Fuji (for sweetness).
- Granulated sugar – ¼ cup (50g). Just enough to sweeten without making it cloying.
- Light brown sugar – 2 tablespoons (25g), packed. Adds a subtle molasses depth that pairs beautifully with the apples.
- All-purpose flour – 2 tablespoons (16g). Helps thicken the juices so the filling isn’t watery.
- Ground cinnamon – 1 ½ teaspoons. The backbone of any good apple dessert.
- Lemon juice – 1 tablespoon (15ml). Fresh squeezed is best—it brightens the flavor and keeps the apples from browning.
- Vanilla extract – 1 teaspoon. Pure vanilla, not imitation. Trust me on this one.
For the Buttery Oat Crumble Topping
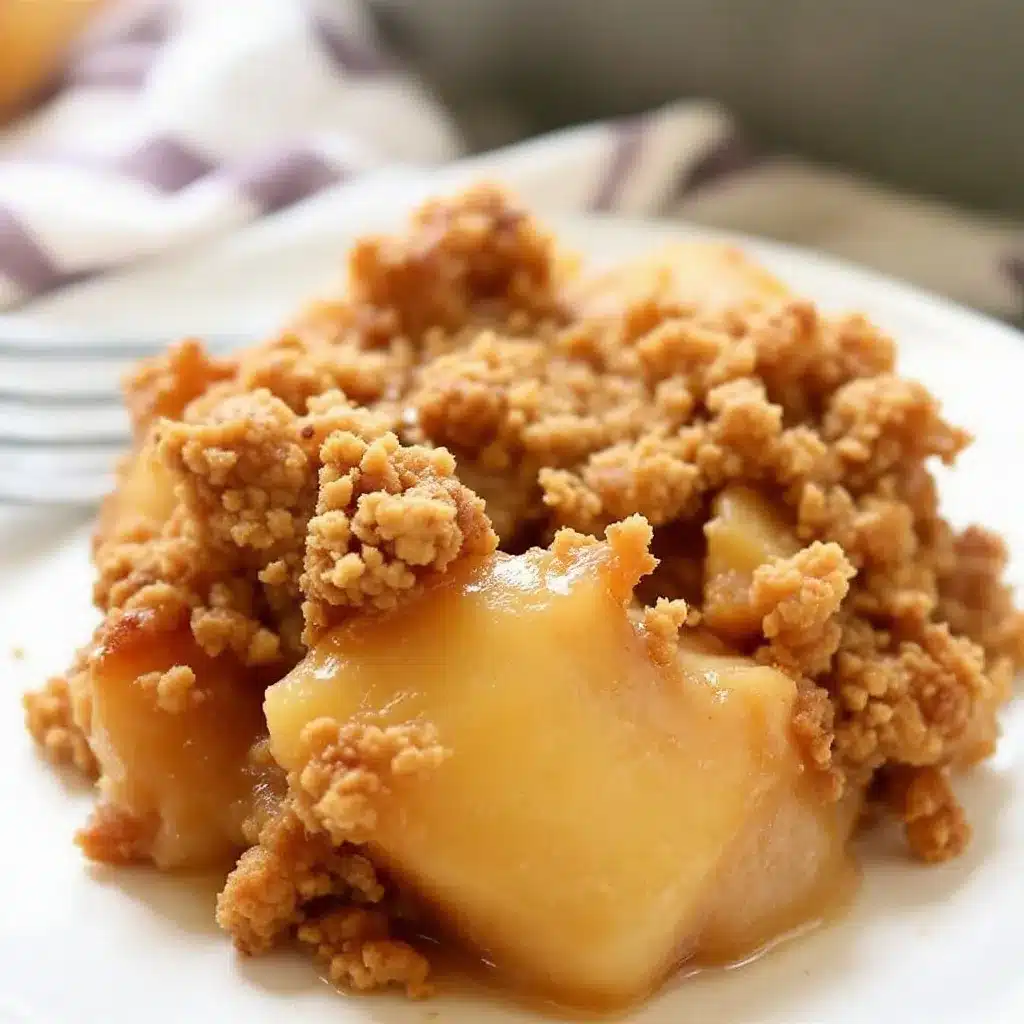
- Old-fashioned rolled oats – 1 cup (90g). Not quick oats—they get mushy. The rolled oats give you that perfect chewy-crunchy texture.
- All-purpose flour – ¾ cup (95g).
- Light brown sugar – ½ cup (100g), packed.
- Granulated sugar – ¼ cup (50g).
- Ground cinnamon – 1 teaspoon.
- Salt – ¼ teaspoon. Don’t skip it—salt balances the sweetness and makes everything taste more like itself.
- Unsalted butter – ½ cup (113g), cold and cut into small cubes. Cold butter is non-negotiable here; it creates those craggy, buttery clumps that make the best topping.
Ingredient Notes: I prefer using Land O’Lakes unsalted butter for baking because the fat content is consistent. For the oats, Bob’s Red Mill old-fashioned oats are my go-to—they hold their shape beautifully. If you’re in a pinch, you can use all Granny Smith apples, but the flavor won’t be as complex.
Substitution Guidance: For a gluten-free version, swap the all-purpose flour with a 1:1 gluten-free baking flour blend. Use certified gluten-free oats as well. The texture will be slightly different but still delicious. You can also reduce the sugar by a quarter cup if you prefer a less sweet dessert—the apples provide plenty of natural sweetness.
Equipment Needed
You don’t need a fancy kitchen to make this recipe. Here’s what you’ll need:
- 9×13-inch baking dish – Glass or ceramic works best. Metal can work too, but glass gives you a better sense of how the bottom is browning.
- Large mixing bowl – For the apple filling.
- Medium mixing bowl – For the crumble topping.
- Chef’s knife and cutting board – For peeling and slicing apples.
- Vegetable peeler – A Y-peeler is my favorite—it’s faster and more comfortable.
- Measuring cups and spoons – Dry and liquid measures.
- Pastry cutter or two forks – For cutting butter into the flour mixture. You can also use your fingers if you work quickly.
- Rubber spatula – For mixing the filling.
If you don’t have a pastry cutter, don’t worry. I actually prefer using my hands—the warmth of your fingers helps incorporate the butter in a way that a tool just can’t replicate. Just work fast so the butter doesn’t get too soft. And if you’re looking for a budget-friendly option, a simple fork works perfectly fine.
For the baking dish, a 9×13-inch is ideal because it gives you plenty of surface area for that crispy topping. A smaller dish will make the filling deeper and the topping thicker, so adjust your baking time accordingly if you go that route.
Preparation Method
Let’s get to the good part. Follow these steps carefully, and you’ll have a perfect apple crisp every single time.
- Preheat your oven to 350°F (175°C). Position the rack in the center of the oven. While it’s heating up, you can prep everything else.
- Prepare the apples. Peel, core, and slice your apples into ¼-inch thick pieces. I like to cut them in half, then into quarters, then slice each quarter into 3-4 pieces. Try to keep them uniform so they cook evenly. This takes about 10 minutes with practice. (Pro tip: if you’re slow at peeling, soak the peeled apples in a bowl of water with a squeeze of lemon juice to prevent browning.)
- Make the filling. In a large mixing bowl, combine the sliced apples, granulated sugar, brown sugar, flour, cinnamon, lemon juice, and vanilla extract. Toss everything together with a rubber spatula or your hands until the apples are evenly coated. The flour will look a little dusty at first—that’s fine. It’ll dissolve as the apples release their juices during baking.
- Transfer the filling to the baking dish. Spread the apples in an even layer. Don’t pack them down too much—you want some air gaps so the heat can circulate. Set the dish aside while you make the topping.
- Make the buttery oat crumble. In a medium bowl, whisk together the oats, flour, brown sugar, granulated sugar, cinnamon, and salt. Make sure there are no lumps of brown sugar. Add the cold butter cubes. Using a pastry cutter, two forks, or your fingertips, cut the butter into the dry mixture until it resembles coarse meal with some pea-sized butter chunks remaining. You want those chunks—they melt into crispy, buttery pockets in the oven.
- Assemble the crisp. Sprinkle the crumble topping evenly over the apples. Don’t press it down—just let it fall naturally. Some apples might peek through, and that’s totally fine. The topping should look craggy and uneven.
- Bake. Place the dish on a baking sheet (to catch any bubbling juices) and bake for 45-50 minutes, or until the topping is golden brown and the filling is bubbling around the edges. If the topping is browning too quickly around the 30-minute mark, tent loosely with foil. The apples should be tender when pierced with a fork.
- Cool before serving. Let the crisp rest on a wire rack for at least 15-20 minutes. This allows the filling to set up a bit. If you serve it piping hot, it’ll be runny. Warm is perfect.
Sensory cues to watch for: At the 20-minute mark, your kitchen should smell like cinnamon and baked apples. By 35 minutes, the topping will start turning golden. At 45 minutes, you’ll hear the filling bubbling—that soft, happy sound of fruit juices thickening. The perfect crisp has a deep amber topping that’s firm to the touch and a filling that’s visibly bubbling along the edges.
If you love fruit-based desserts that come together quickly, you might also enjoy my air fryer cinnamon apple chips for a lighter, crunchy alternative when you’re craving apple flavor.
Cooking Tips & Techniques
After making this recipe more times than I can count, I’ve learned a few things the hard way. Here are my best tips:
Don’t skip the lemon juice. I once thought I could omit it because I was out of lemons. The crisp was flat and one-note. That little bit of acid brightens everything and keeps the apples from turning brown while they bake.
Cold butter is crucial. If your butter is too soft, the topping will turn into a paste instead of forming those beautiful craggy clumps. Cut the butter into cubes and pop them in the freezer for 5 minutes before starting the topping. This makes a noticeable difference in texture.
Underbaking is a common mistake. I’ve pulled crisps out of the oven too early because the topping looked done, only to find the apples were still firm. The filling should be visibly bubbling—not just simmering, but actively bubbling—before you take it out. That bubbling means the juices have thickened properly.
Let it rest. I know it’s tempting to dig in right away, but patience pays off. The crisp needs time to set so the juices thicken into that perfect syrupy consistency. If you serve it too soon, it’ll be soupy and the topping might slide off.
Use a mix of apple varieties. Granny Smith alone can be too tart; Honeycrisp alone can be too sweet. A 50/50 blend gives you the best of both worlds—tartness that cuts through the sweetness and natural sweetness that deepens as it bakes.
Bake on a sheet pan. This is non-negotiable. The filling bubbles up and can overflow, and cleaning burnt sugar off your oven floor is no fun. A rimmed baking sheet catches everything.
Variations & Adaptations
One of the best things about this recipe is how adaptable it is. Here are some variations I’ve tried and loved:
Gluten-Free Version: Substitute the all-purpose flour with a 1:1 gluten-free baking blend. Use certified gluten-free oats. I’ve tested this with Bob’s Red Mill 1:1 Baking Flour, and honestly, you can’t tell the difference. The topping is slightly more crumbly but just as delicious.
Vegan Adaptation: Use cold coconut oil or vegan butter in place of the dairy butter. I like Miyoko’s European-style cultured vegan butter—it behaves almost exactly like the real thing. The topping won’t be quite as crispy, but it’s still wonderful.
Seasonal Twists: In the fall, add ½ teaspoon of nutmeg and ¼ teaspoon of ground ginger to the filling for a warmer spice profile. In the summer, swap half the apples for ripe pears or peaches. I once made a version with fresh cranberries mixed in during November, and it was spectacular—tart and sweet at the same time.
Nutty Crumble: Add ½ cup of chopped pecans or walnuts to the topping. Toast them lightly first for extra flavor. The crunch is incredible.
Caramel Drizzle: After baking, drizzle warm salted caramel sauce over the top. It takes this from simple to showstopper in about 30 seconds. I’ve done this for dinner parties and people lose their minds.
Individual Servings: Divide the filling and topping among 6-8 ramekins and bake for 25-30 minutes. Perfect for portion control or when you want to make it feel special.
If you’re in the mood for another fruit-forward dessert that’s equally easy, my apple cider donut bundt cake captures all the cozy fall flavors in cake form.
Serving & Storage Suggestions
Serving: This apple crisp is best served warm, not hot. Let it rest for 15-20 minutes after baking, then scoop into bowls. The classic pairing is vanilla ice cream—the cold creaminess against the warm, buttery topping is pure magic. But I’ve also served it with:
- Whipped cream (lightly sweetened)
- A drizzle of heavy cream
- Greek yogurt (for breakfast—don’t judge me)
- Crème fraîche (if you’re feeling fancy)
Storage: Cover the dish tightly with foil or plastic wrap and store in the refrigerator for up to 5 days. The topping will lose some of its crunch over time, but the flavor actually deepens. I sometimes think day-two apple crisp is even better because the spices have had time to meld.
Reheating: The best way to reheat is in a 350°F oven for 10-15 minutes. This helps crisp up the topping again. The microwave works in a pinch, but the topping will be soft. If you’re reheating individual portions, the air fryer at 325°F for 5 minutes is actually my secret weapon—it brings back the crunch beautifully.
Freezing: You can freeze the unbaked crisp for up to 3 months. Assemble it in a freezer-safe dish, wrap tightly with foil and plastic wrap, and freeze. Bake directly from frozen, adding 15-20 minutes to the baking time. Baked crisp also freezes well—just thaw overnight in the refrigerator and reheat in the oven.
Flavor development: Like most fruit desserts, this crisp tastes even better the next day. The juices thicken, the spices settle, and everything becomes more cohesive. If you can resist eating it all the first night, you’re in for a treat.
Nutritional Information & Benefits
Here’s the estimated nutritional breakdown per serving (based on 8 servings):
- Calories: 385
- Total Fat: 14g
- Saturated Fat: 8g
- Cholesterol: 35mg
- Sodium: 95mg
- Total Carbohydrates: 64g
- Dietary Fiber: 5g
- Sugars: 42g
- Protein: 4g
Health Benefits: Apples are packed with fiber and antioxidants, particularly quercetin, which supports heart health. Oats are rich in beta-glucan, a type of soluble fiber that helps lower cholesterol. Cinnamon has anti-inflammatory properties and can help regulate blood sugar. So while this is definitely a dessert, it’s not entirely devoid of nutritional merit.
Dietary Considerations: This recipe is vegetarian and can be made vegan and gluten-free with the substitutions mentioned above. It contains dairy (butter) and gluten (flour and oats). If you have celiac disease, be sure to use certified gluten-free oats, as regular oats are often cross-contaminated.
Portion Control: A serving is about ¾ cup. It’s easy to go overboard because it’s so delicious, but a little goes a long way. I find that serving it in a bowl rather than a plate helps with portion awareness.
Conclusion
This classic apple crisp with buttery oat crumble topping is one of those recipes that feels like a hug in a bowl. It’s simple enough for a weeknight, special enough for company, and forgiving enough for beginner bakers. The apples turn tender and jammy, the topping gets golden and crunchy, and the whole thing comes together with ingredients you probably already have in your pantry.
What I love most about this recipe is how it brings people together. I’ve made it for holidays, potlucks, and quiet nights at home, and every single time, it disappears. There’s something about the combination of warm fruit, buttery oats, and cold ice cream that just makes people happy.
I encourage you to make this your own. Use your favorite apples, add a pinch of nutmeg, throw in some pecans—make it yours. And when you do, I’d love to hear about it. Leave a comment below and tell me how it turned out, what variations you tried, or just share your favorite memory of eating apple crisp. Don’t forget to tag me in your photos if you share them on social media!
Go ahead, preheat that oven. You’re about to make something really special.
Frequently Asked Questions
Can I use quick oats instead of old-fashioned oats?
You can, but I don’t recommend it. Quick oats are more finely processed and will absorb moisture differently, resulting in a softer, less textured topping. Old-fashioned rolled oats give you that signature chewy-crunchy texture that makes apple crisp so satisfying. If quick oats are all you have, reduce the amount to ¾ cup and expect a denser topping.
Do I need to peel the apples?
Yes, for this recipe. The peels become tough and chewy during baking, which isn’t pleasant in a soft, tender filling. If you’re making a rustic galette or a chunky applesauce, leaving the peels on is fine. But for apple crisp, peeling is worth the extra few minutes. The texture is much better.
Can I make this ahead of time?
Absolutely. You can assemble the entire crisp (without baking) up to 24 hours in advance. Cover it tightly and refrigerate. When you’re ready to bake, add about 10 minutes to the baking time since you’re starting from cold. You can also bake it fully, let it cool, and reheat it the next day. The flavor actually improves overnight.
Why is my apple crisp watery?
This usually happens for one of three reasons: you didn’t use enough flour to thicken the juices, you cut the apples too thick, or you didn’t bake it long enough. The filling needs to bubble actively for several minutes to activate the flour’s thickening power. Make sure your apples are sliced about ¼-inch thick and that you’re using the full 2 tablespoons of flour in the filling.
What are the best apples for apple crisp?
A mix of tart and sweet apples gives you the best flavor. I recommend a 50/50 blend of Granny Smith (tart, holds shape well) and Honeycrisp (sweet, juicy). Fuji, Braeburn, and Pink Lady are also excellent choices. Avoid Red Delicious—they turn into mush and don’t have enough flavor. Stay away from very soft varieties like McIntosh unless you want applesauce.
Pin This Recipe!
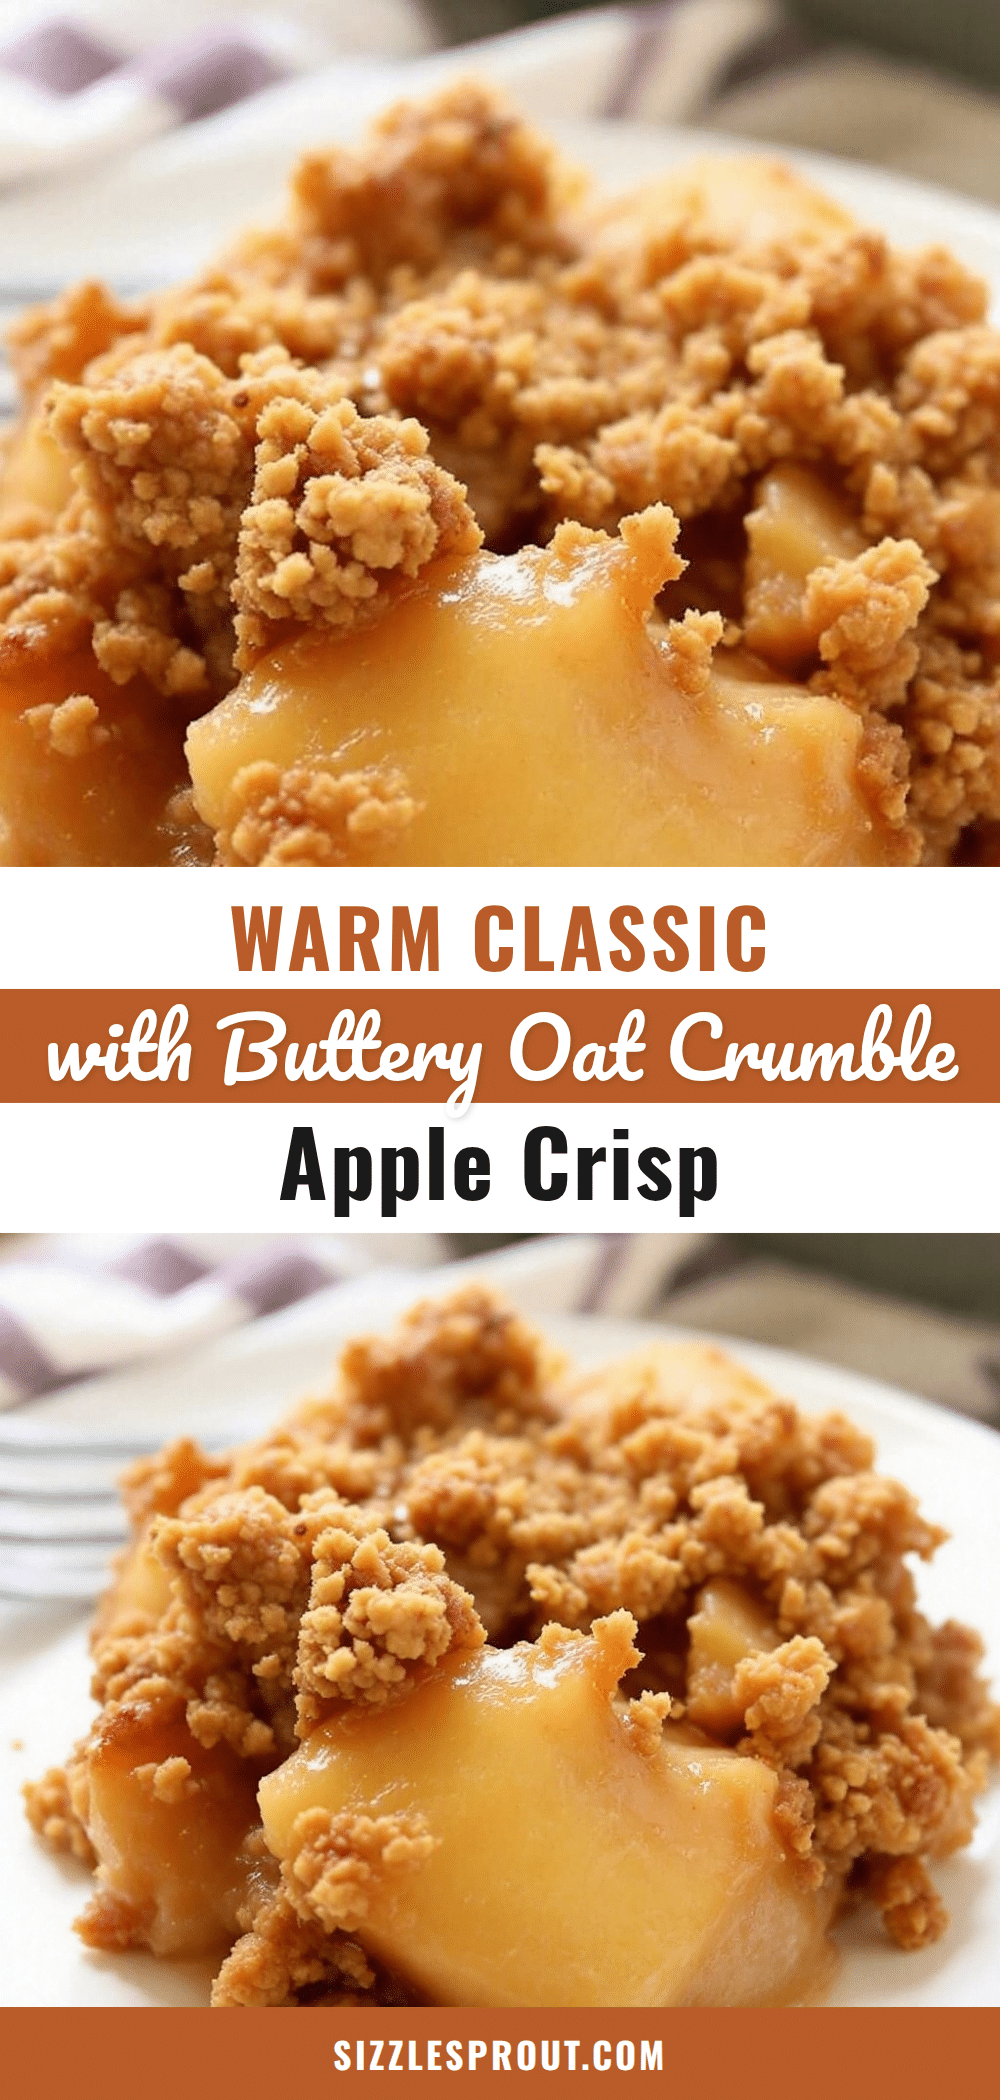
Best Easy Classic Apple Crisp with Buttery Oat Topping
This classic apple crisp features tender, jammy apples under a thick, buttery oat crumble topping. It’s quick, easy, and made with simple ingredients—perfect for any occasion.
- Prep Time: 15 minutes
- Cook Time: 45 minutes
- Total Time: 1 hour
- Yield: 8 servings 1x
- Category: Dessert
- Cuisine: American
Ingredients
- 6 medium apples (about 2 ½ pounds), peeled, cored, and sliced into ¼-inch thick pieces (mix of Granny Smith and Honeycrisp or Fuji)
- ¼ cup (50g) granulated sugar
- 2 tablespoons (25g) light brown sugar, packed
- 2 tablespoons (16g) all-purpose flour
- 1 ½ teaspoons ground cinnamon
- 1 tablespoon (15ml) lemon juice
- 1 teaspoon vanilla extract
- 1 cup (90g) old-fashioned rolled oats
- ¾ cup (95g) all-purpose flour
- ½ cup (100g) light brown sugar, packed
- ¼ cup (50g) granulated sugar
- 1 teaspoon ground cinnamon
- ¼ teaspoon salt
- ½ cup (113g) unsalted butter, cold and cut into small cubes
Instructions
- Preheat your oven to 350°F (175°C). Position the rack in the center of the oven.
- Prepare the apples: Peel, core, and slice apples into ¼-inch thick pieces. Try to keep them uniform so they cook evenly.
- Make the filling: In a large mixing bowl, combine sliced apples, granulated sugar, brown sugar, flour, cinnamon, lemon juice, and vanilla extract. Toss until apples are evenly coated.
- Transfer the filling to a 9×13-inch baking dish and spread in an even layer. Do not pack down.
- Make the buttery oat crumble: In a medium bowl, whisk together oats, flour, brown sugar, granulated sugar, cinnamon, and salt. Add cold butter cubes. Using a pastry cutter, two forks, or your fingertips, cut the butter into the dry mixture until it resembles coarse meal with some pea-sized butter chunks remaining.
- Assemble the crisp: Sprinkle the crumble topping evenly over the apples. Do not press down.
- Place the dish on a baking sheet and bake for 45-50 minutes, or until the topping is golden brown and the filling is bubbling around the edges. If the topping browns too quickly, tent loosely with foil.
- Cool on a wire rack for at least 15-20 minutes before serving. Serve warm.
Notes
For best results, use a mix of apple varieties (Granny Smith and Honeycrisp). Cold butter is crucial for a crispy topping. Let the crisp rest before serving to allow the filling to set. Bake on a sheet pan to catch any bubbling juices. For a gluten-free version, use a 1:1 gluten-free flour blend and certified gluten-free oats. For a vegan version, use cold coconut oil or vegan butter.
Nutrition
- Serving Size: ¾ cup
- Calories: 385
- Sugar: 42
- Sodium: 95
- Fat: 14
- Saturated Fat: 8
- Carbohydrates: 64
- Fiber: 5
- Protein: 4
Keywords: apple crisp, classic apple crisp, easy apple crisp, buttery oat topping, apple dessert, fall dessert, comfort food


