Love this? Save it for later!
Share the inspiration with your friends
My seven-year-old stared at the black slate board, wrinkled her nose, and declared it looked like a crime scene before I even finished slicing the cheese. She was right, of course. The red pepper jelly looked too much like spilled blood, and the pretzel sticks sticking out of the cream cheese mounds were definitely not the “dirt” she expected. I had spent twenty minutes arranging the charcuterie graveyard board, trying to make it look spooky but edible, and her immediate reaction was pure, unfiltered horror.
Honestly, I almost scraped it all into the trash. I thought I had overdone the theatrics. But then she picked up a pretzel stick, dipped it into the “grave” (which was just herbed goat cheese), and took a bite. Her eyes went wide. She didn’t care about the dirt anymore. She just wanted more.
That moment changed everything. It turned out that kids, much like adults, are surprisingly willing to overlook a little macabre staging if the food is good. We spent the next hour building the tombstones with crackers and eating the “eyeballs” (mozzarella balls with olive pupils) right off the board. It wasn’t about perfection; it was about the fun of making something that looked a little bit scary but tasted completely comforting.
Now, every time Halloween approaches, this becomes the centerpiece of our gathering. It’s not just a snack; it’s an activity. The best part is that you don’t need to be a professional chef to pull it off. You just need some cheese, some crackers, and a willingness to embrace the weird. Let’s face it, Halloween is the one day of the year where putting a skull on your dinner plate is not only acceptable but encouraged.
This recipe stuck with me because it solved a huge problem: how to feed a crowd without spending hours in the kitchen. It’s visual, it’s interactive, and it gets people talking. Plus, it pairs perfectly with those spooky witch finger cookies we make later for dessert. It’s the kind of recipe that takes the stress out of party planning and puts the fun back in.
Why You’ll Love This Halloween Charcuterie Graveyard Board
There is a specific kind of magic that happens when you combine savory snacks with spooky aesthetics. I’ve tested dozens of party platters over the years, from elaborate fruit carvings to simple cheese wheels, but this graveyard theme hits different. It’s not just about looking good for Instagram; it’s about creating an experience that guests actually remember. Here is why this setup works so well for your next gathering.
- Quick & Easy Assembly: You know how some recipes promise to be “easy” but require three hours of chopping? This one is different. You can throw this entire graveyard board together in under twenty minutes. It is perfect for those busy weeknights or last-minute Halloween parties where you realized you forgot to buy a centerpiece.
- Simple Ingredients: No fancy grocery trips needed. You likely already have most of these items in your kitchen. We are talking about basic crackers, cheese, meats, and a few fun additions like pretzels and olives. It’s pantry-friendly and budget-conscious, which is a huge win for holiday entertaining.
- Perfect for Halloween Parties: Whether you are hosting a trick-or-treat drop-off station or a full-blown costume party, this board fits the theme perfectly. It adds that seasonal flair without being overly childish. It appeals to both kids who want “monster food” and adults who appreciate a good charcuterie spread.
- Crowd-Pleaser: I have served this at office parties, school events, and family dinners, and it always gets rave reviews. The mix of salty, creamy, and crunchy textures keeps people coming back for more. Plus, the interactive nature of “digging” for snacks breaks the ice.
- Unbelievably Delicious: The texture and flavor combo is next-level comfort food. The sharp cheddar against the creamy goat cheese, topped with the crunch of a pretzel stick, is just satisfying. It’s comfort food reimagined for the season—spooky, fun, but with the same soul-soothing satisfaction you expect from a good cheese board.
What makes this recipe different from the rest is the simplicity of the construction. You aren’t cooking anything. You aren’t baking. You are just arranging. This means you can focus on your guests instead of being stuck in the kitchen. It’s the kind of recipe that lets you close your eyes after the first bite and just enjoy the moment. It’s perfect for impressing guests without stress, or turning a simple meal into something memorable.
What Ingredients You Will Need
This recipe uses simple, wholesome ingredients to deliver bold flavor and satisfying texture without the fuss. The beauty of a charcuterie board is that you can customize it based on what you like, but for a true graveyard vibe, certain elements are essential. We want a mix of colors (black, white, red) and textures (crunchy, soft, chewy) to create that eerie yet appetizing look.
Here is what you will need to build your spooky masterpiece:
- Black Slate or Dark Wood Board: This is your canvas. A dark surface makes the white cheese and red accents pop. If you don’t have one, a dark baking sheet or even a piece of black cardboard covered in foil works in a pinch.
- Hard Cheese (Cheddar or Gouda): Look for sharp cheddar or smoked gouda. Cut these into cubes or thin slices. The sharp flavor stands up well to the salty meats. (I recommend Cabot for best texture and sharpness).
- Soft Cheese (Goat Cheese or Cream Cheese): This is crucial for the “dirt” effect. Goat cheese holds its shape better when you stick pretzels into it. (Use small-curd goat cheese for best structure).
- Cured Meats (Salami or Prosciutto): Roll these up into little rosettes or folds. They add a salty, savory element that balances the cheese. (Spicy salami adds a nice kick).
- Pretzel Sticks: These are your tombstones. They provide the necessary crunch and structural support for the cheese mounds. (Thick pretzel rods work best for stability).
- Crackers: You need a sturdy base. Black olive crackers, rye crackers, or even dark chocolate wafers work well. (Black sesame crackers look very spooky).
- Red Pepper Jelly or Jam: This is your “blood.” It adds a sweet and tangy contrast. (Use a high-quality jelly for better clarity and color).
- Black Olives: Slice these to make “eyeballs” or use whole kalamata olives for a darker look. (Kalamata olives have a richer flavor).
- Mozzarella Balls (Bocconcini): These are the perfect size for eyeballs when topped with an olive slice. (Look for fresh mozzarella in water, not oil).
- Mini Pretzels or Crackers for Tombstones: Use these to create the actual headstone shapes. (Rectangular crackers work best for tombstone shapes).
- Optional Add-ins: Grapes (for “brains”), dried apricots (for “bat wings”), or chocolate-covered pretzels. (Seasonal items like candied pecans can add a festive touch).
You can substitute ingredients based on dietary needs. For a gluten-free option, use rice crackers or corn chips. If you prefer a vegetarian board, skip the meats and add more roasted nuts or marinated artichoke hearts. The key is to keep the color palette dark and dramatic.
Equipment Needed
You don’t need much to pull this off, which is half the appeal. Here is what you’ll need to get started:
- Serving Board: A large slate, wood, or dark ceramic board. (A large slate tile from a hardware store is a cheap, reusable option).
- Cheese Knife: A standard knife works, but a cheese knife with a hole in the blade helps prevent sticking. (A simple paring knife is fine if you don’t have fancy tools).
- Small Bowls: For holding the pepper jelly or dips. (Ramekins or even shot glasses work well for small portions).
- Paper Towels: For wiping your hands and cleaning up any spills. (Keep a stack nearby for quick access).
- Plastic Wrap: To keep cheese fresh if you are prepping early. (Use immediately after unwrapping for best flavor).
If you don’t have a dedicated cheese board, a large platter works. Just make sure it’s dark enough to contrast with the white cheese. The equipment list is minimal because this recipe is about assembly, not cooking.
Preparation Method
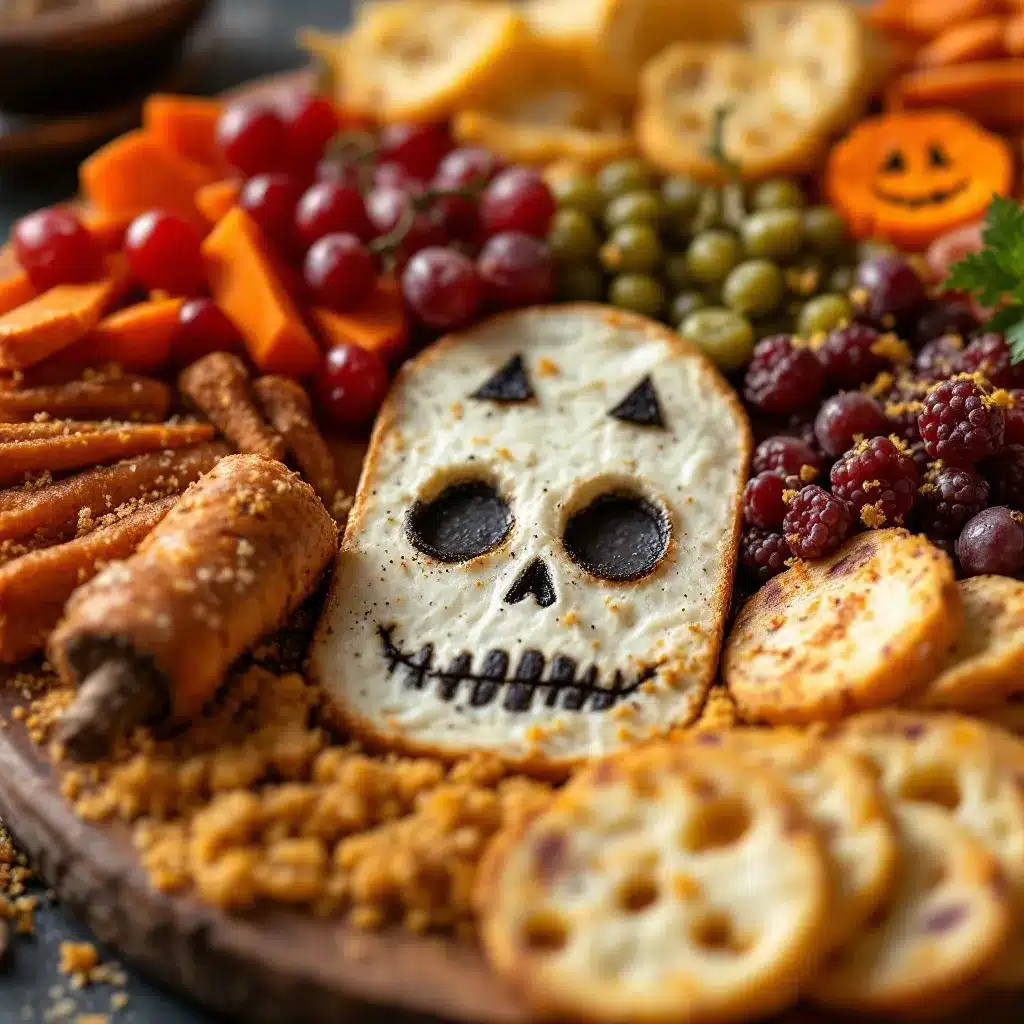
Getting this board together is straightforward, but there is a right way and a wrong way to do it. Follow these steps to create a graveyard that looks professional but is easy to eat from.
- Prepare the Cheese: Take your hard cheese (cheddar or gouda) and cut it into cubes or thin slices. (Cut about 10-15 minutes ahead to let the cheese breathe). Place these around the edges of your board. Leave plenty of space in the center for the “graves.”
- Create the “Graves”: Take your goat cheese or cream cheese and scoop it onto the board. Use your hands or a spoon to shape it into small mounds. (Aim for about 6-8 mounds, depending on board size). These will be your dirt piles.
- Add the Tombstones: Stick pretzel sticks vertically into the cheese mounds. (Push them in about halfway so they stand up straight). Arrange them at different angles to look like a real, slightly messy graveyard. This step usually takes the longest, so take your time.
- Make the Eyeballs: Take your mozzarella balls and place a thin slice of black olive on top of each one. (Use a toothpick to secure the olive if needed, but it usually sticks on its own). Scatter these around the board like they are peeking out of the dirt.
- Arrange the Meats: Roll up your salami or prosciutto into loose roses or folds. (Don’t pack them too tightly; you want them to look organic). Place these near the graves or along the edges.
- Fill in the Gaps: Use your crackers, pretzels, and optional add-ins (like grapes or nuts) to fill in any empty spaces. (This prevents the board from looking sparse). Add the red pepper jelly in small bowls or dollops near the graves for that “blood” effect.
- Final Touches: Step back and look at the board. (Adjust any tombstones that are leaning too far). Add a few extra olives or crackers where needed. You want it to look chaotic but intentional.
The whole process should take about 15-20 minutes. The key is to not overthink it. A little messiness adds to the spooky vibe.
Cooking Tips & Techniques
I learned the hard way that temperature matters. Cold cheese is harder to work with. Let your cheeses sit out for about 30 minutes before assembling. (This makes the goat cheese softer and easier to shape).
Another tip: use a piping bag for the pepper jelly if you want it to look like it’s oozing out of the graves. (It’s not necessary, but it adds a nice touch). If you are making this ahead of time, keep the board covered in the fridge. (Remove the cover 30 minutes before serving to let the cheese soften).
Don’t skip the pretzel sticks. They are the structural integrity of this board. (Without them, the graves just look like cheese mounds). Also, vary the heights of the tombstones. (Uniformity is boring; asymmetry is spooky).
Variations & Adaptations
This board is highly customizable. Here are a few ways to adapt it:
- Vegetarian Option: Skip the meats and add roasted chickpeas, marinated artichoke hearts, or stuffed dates. (Dates stuffed with goat cheese and a walnut look like little monsters).
- Gluten-Free Option: Use gluten-free crackers, pretzels, and ensure your cheese is certified gluten-free. (Most hard cheeses are naturally GF).
- Dairy-Free Option: Use dairy-free cheese alternatives and skip the mozzarella eyeballs. (Use cucumber slices with olive eyes instead).
- Kids’ Version: Use more colorful candies and fewer olives. (Kids often find olives too bitter).
I once made a version with white cheddar and added gummy worms for extra creepiness. (It was a hit with the younger crowd).
Serving & Storage Suggestions
Serve this board at room temperature. (Cold cheese loses its flavor). Pair it with a crisp white wine or a dark beer. (A stout beer complements the dark theme well).
Store leftovers in an airtight container in the fridge for up to 3 days. (The meats and cheeses keep well, but the pretzels may get soggy). Reassemble the board if possible, or just serve the components separately. (It still tastes great even if it’s not pretty).
Nutritional Information & Benefits
This board is high in protein and healthy fats. (Cheese and nuts are great sources of both). It is low in carbohydrates if you skip the crackers. (Focus on the meats and cheeses for a keto-friendly option). Be mindful of sodium levels in cured meats. (Moderation is key).
Conclusion
This spooky Halloween charcuterie graveyard board is a fun, easy, and delicious way to entertain. (It’s a crowd-pleaser that requires minimal effort). Customize it to fit your tastes and dietary needs. (Don’t be afraid to experiment). I love this recipe because it brings people together and makes Halloween special. (It’s more than just food; it’s a memory). Try it out and let me know how it turns out! (Share your photos online).
FAQs
Can I make this board ahead of time?
Yes, you can assemble it up to 4 hours ahead. Keep it covered in the fridge until serving time.
What cheese is best for the tombstones?
Goat cheese or cream cheese works best because it holds its shape well when pretzels are inserted.
Can I use different meats?
Absolutely. Prosciutto, pepperoni, or even turkey slices work well. Just roll them up for a nice presentation.
Is this board gluten-free?
It can be. Use gluten-free crackers and pretzels, and ensure your cheese and meats are certified gluten-free.
How many people does this serve?
This board serves about 8-10 people as an appetizer. Adjust the quantities based on your guest list.
Pin This Recipe!
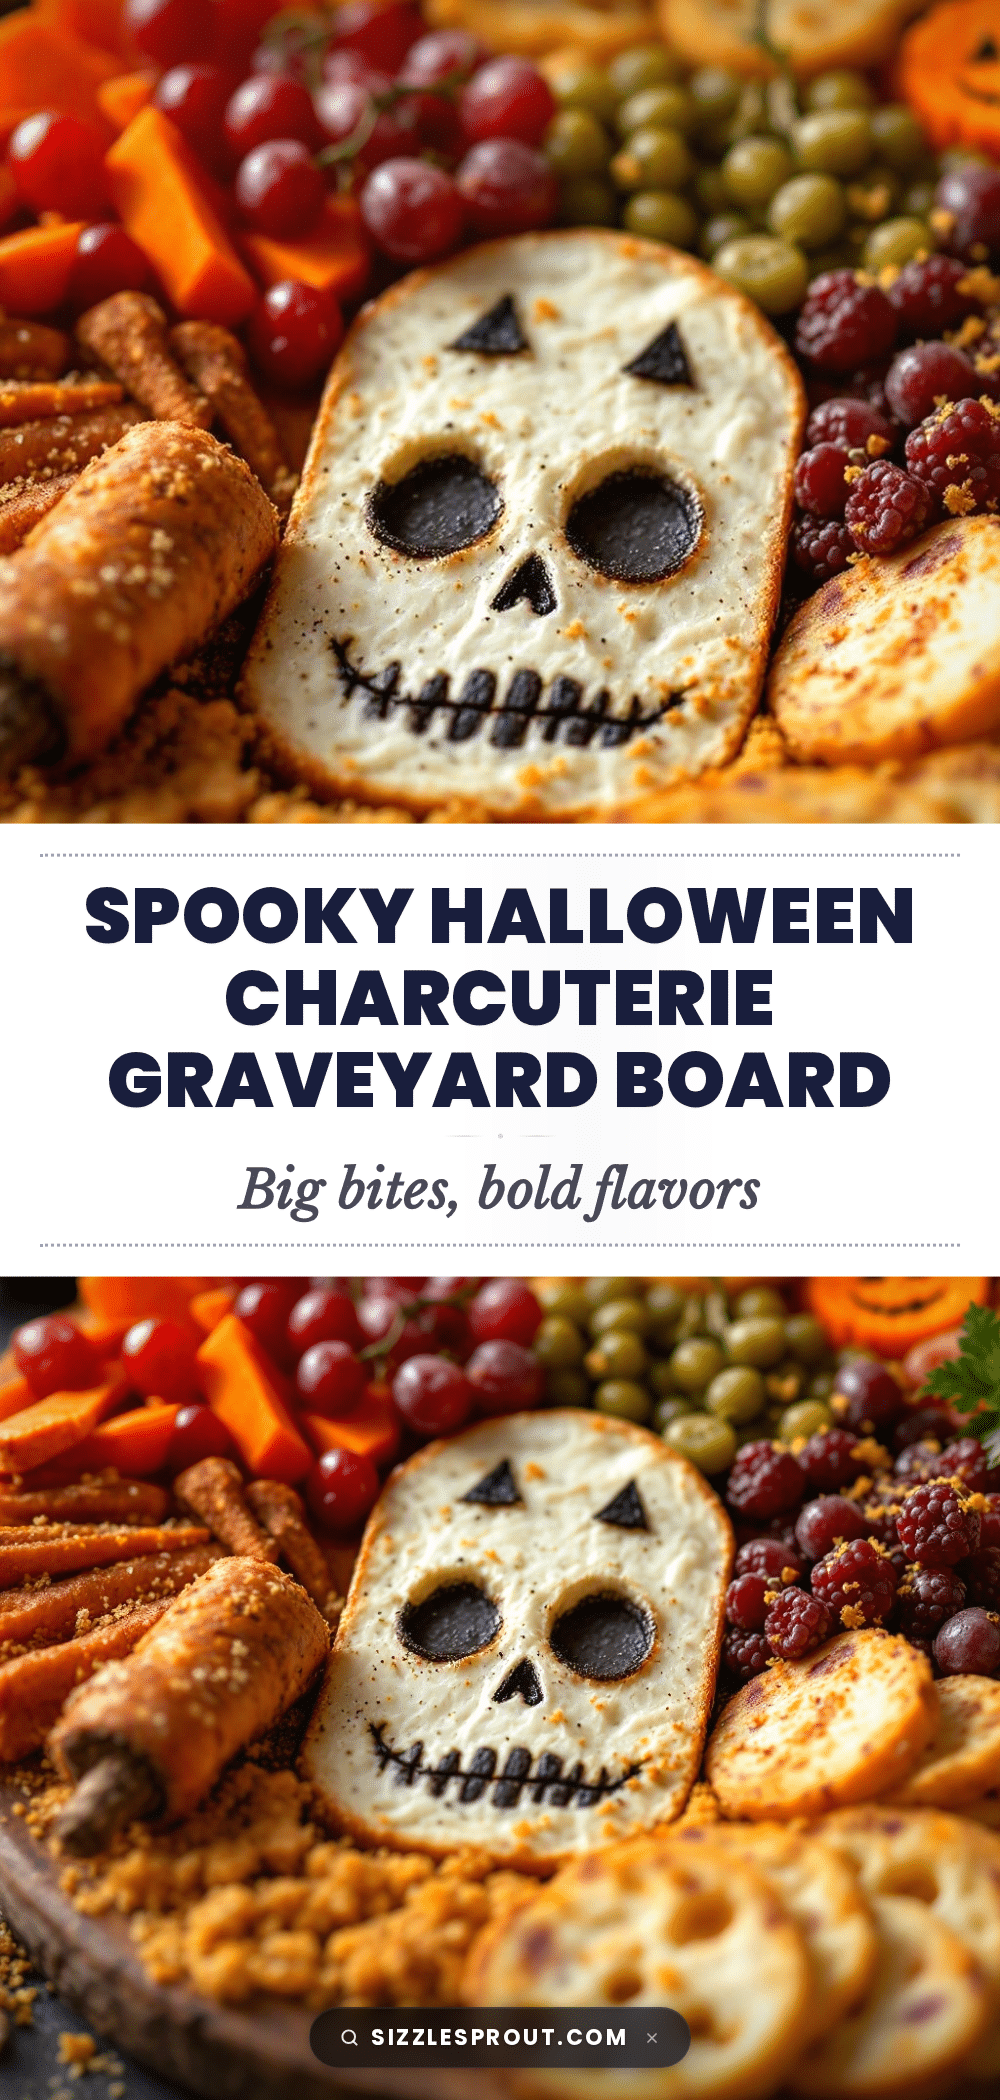
Spooky Halloween Charcuterie Graveyard Board
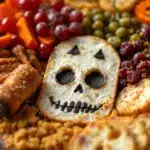
A fun, interactive, and spooky charcuterie board designed for Halloween parties. Featuring cheese ‘graves’ with pretzel tombstones, mozzarella ‘eyeballs’, and red pepper jelly ‘blood’, this easy-to-assemble appetizer is perfect for feeding a crowd without cooking.
- Prep Time: 20 minutes
- Cook Time: 0 minutes
- Total Time: 20 minutes
- Yield: 8-10 servings
- Category: Appetizer
- Cuisine: American
Ingredients
- Black Slate or Dark Wood Board
- Hard Cheese (Sharp Cheddar or Smoked Gouda), cut into cubes or slices
- Soft Cheese (Herbed Goat Cheese or Cream Cheese), for ‘dirt’ mounds
- Cured Meats (Salami or Prosciutto), rolled into rosettes
- Pretzel Sticks, for tombstones
- Crackers (Black olive, rye, or dark chocolate wafers)
- Red Pepper Jelly or Jam, for ‘blood’
- Black Olives, sliced for ‘eyeballs’
- Mozzarella Balls (Bocconcini), for ‘eyeballs’
- Mini Pretzels or Rectangular Crackers, for tombstone shapes
- Optional: Grapes, dried apricots, chocolate-covered pretzels, or nuts
Instructions
- Prepare the hard cheese by cutting it into cubes or thin slices. Place these around the edges of the board, leaving space in the center.
- Scoop the goat cheese or cream cheese onto the board and shape it into 6-8 small mounds to serve as ‘dirt’ piles.
- Stick pretzel sticks vertically into the cheese mounds, pushing them in about halfway so they stand up straight at varying angles.
- Place a thin slice of black olive on top of each mozzarella ball to create ‘eyeballs’. Scatter these around the board.
- Roll up the cured meats into loose roses or folds and place them near the graves or along the edges.
- Fill in gaps with crackers, pretzels, and optional add-ins. Add red pepper jelly in small bowls or dollops near the graves.
- Step back and adjust any leaning tombstones to ensure the board looks chaotic but intentional.
Notes
Let cheeses sit out for 30 minutes before assembling to soften, making goat cheese easier to shape. For a ‘oozing blood’ effect, use a piping bag for the pepper jelly. Keep the board covered in the fridge if prepping ahead, removing the cover 30 minutes before serving. Cold cheese loses flavor, so serve at room temperature.
Nutrition
- Serving Size: Assorted bites from
- Calories: 350
- Sugar: 4
- Sodium: 650
- Fat: 24
- Saturated Fat: 10
- Carbohydrates: 15
- Fiber: 1
- Protein: 18
Keywords: Halloween, charcuterie board, graveyard, party food, easy appetizer, spooky snacks, cheese board, Halloween party ideas