Love this? Save it for later!
Share the inspiration with your friends
That first crack of a cheese knife through a wedge of aged gouda — the way it splits cleanly, releasing that nutty, almost caramel scent — still takes me straight to our tiny apartment kitchen on a Tuesday night that felt like a Friday. We were both exhausted, the kind of tired that makes ordering takeout feel like a chore in itself. But I had this half-wheel of brie from the weekend farmer’s market, a sad-looking apple, and a bag of crackers that were definitely past their prime. I remember just staring at them, thinking, “This is pathetic.” Then I started pulling things out of the fridge. A stray slice of prosciutto. Some cornichons from a jar. A handful of almonds I was saving for oatmeal.
I didn’t arrange it. I just put it all on one cutting board and set it between us on the couch. We didn’t talk much. We just ate, and picked, and dipped, and for twenty minutes, the world outside that apartment just… stopped. It wasn’t fancy. It wasn’t planned. But it was ours. And honestly, that’s when I realized a perfect charcuterie board for two isn’t about the expensive ingredients — it’s about the moment you create around them.
That night taught me something: a board for two is different. It’s not a party platter scaled down. It’s intimate. It’s intentional. It’s the kind of meal that lets you sit close, share bites, and actually talk (or not talk) without the pressure of a full dinner. This perfect charcuterie board for two is the one I’ve built from that memory — a little bit of planning, a whole lot of heart, and zero stress.
Why You’ll Love This Recipe
This isn’t just another grazing board. After years of testing (and eating) my way through countless combinations, I’ve landed on a formula that works every single time. Here’s why this one is different.
- Designed for Two, Not a Crowd: No more waste. Every ingredient is portioned perfectly for a date night or a cozy evening in. You won’t be eating leftover salami for a week.
- Minimal Prep, Maximum Impact: You don’t need to cook anything. Seriously. This board comes together in about 15 minutes of assembly. It’s the ultimate “I put effort into this” meal that required almost no effort.
- Simple, Flexible Ingredients: I’ve used everything from fancy artisanal cheeses to basic grocery store cheddar. The key is balance, not budget. You can swap nearly anything based on what you have.
- Perfect for Any Occasion: Date night, anniversary, Valentine’s Day, or just a Tuesday that needs a little upgrade. It’s the kind of meal that feels special without being fussy.
- Naturally Crowd-Pleasing: Even picky eaters love a good board. The variety means everyone finds something they love — and sharing is half the fun.
What makes this board truly special is the balance. It’s not just a pile of meat and cheese. It’s a carefully curated experience: creamy against crunchy, salty against sweet, rich against fresh. I’ve learned that the best boards have a little bit of everything, and this one delivers that in spades. It’s comfort food, reimagined as a shared moment.
What Ingredients You Will Need
This recipe uses simple, high-quality ingredients to create a board that feels luxurious without the fuss. The magic is in the variety and the pairing. Here’s what you’ll need to build your perfect board.
For the Cheese (The Star of the Show):
- 4 oz Soft Cheese (e.g., Brie or Camembert): This is your creamy, decadent element. Look for a wheel that gives slightly when pressed. I love a double-cream brie for its buttery texture. (Pro tip: let it sit at room temperature for 20 minutes before serving for peak spreadability.)
- 4 oz Firm Cheese (e.g., Aged Gouda or Manchego): This adds a nutty, salty crunch. Aged gouda has those little crunchy crystals that are pure magic. Manchego is a fantastic alternative with a slightly sharper bite.
- 4 oz Blue Cheese (e.g., Gorgonzola or a mild Roquefort): This is your bold, tangy element. A little goes a long way. If you’re new to blue cheese, a creamy gorgonzola is a great starting point.
For the Meats (The Savory Backbone):
- 4 oz Prosciutto: Thinly sliced, salty, and melt-in-your-mouth. Look for slices that are a deep pink with fine white marbling.
- 4 oz Salami (e.g., Genoa or Soppressata): Adds a chewy, garlicky punch. Genoa salami is classic, but soppressata has a lovely peppery kick. I often use a mix of both.
For the Accompaniments (The Bridges & Fillers):
- 1/2 cup Crackers or Crostini: The vehicle for all that goodness. I like a mix of plain water crackers and something with more texture, like rosemary sea salt crackers.
- 1/4 cup Nuts (e.g., Marcona Almonds or Candied Pecans): Adds crunch and a touch of sweetness. Marcona almonds are a splurge, but regular roasted almonds work perfectly.
- 1/4 cup Dried Fruit (e.g., Dried Apricots or Figs): The sweet, chewy counterpoint to the salty meats and cheese. Dried mission figs are my absolute favorite.
- 1/4 cup Fresh Fruit (e.g., Grapes or Sliced Apple): A pop of freshness and acidity. Red grapes are classic, but a crisp green apple slice is a game-changer with cheddar.
- 2 tablespoons Cornichons or Pickled Onions: The bright, acidic bite that cuts through the richness. Cornichons are tiny, tangy French pickles that are perfect for popping in your mouth.
- 2 tablespoons Honey or Fig Jam: A drizzle of sweetness to tie everything together. A good quality honey or a fig jam (like the kind you might find in a homemade chai latte spread) is perfect.
Optional Additions:
- Olives (castelvetrano are my go-to)
- Dark chocolate (a square or two for a sweet finish)
- Fresh herbs (rosemary or thyme for garnish)
Equipment Needed
You don’t need a lot of fancy gear, but the right tools make assembly a breeze.
- Large Cutting Board or Wooden Board: The star of the show. A 12×16-inch board is perfect for two. A simple wooden board or a slate board works beautifully. If you don’t have one, a large baking sheet lined with parchment paper is a great stand-in.
- Two Small Bowls or Ramekins: For the honey/jam and the olives or pickles. I love using mismatched ramekins for a rustic look.
- Small Cheese Knives: At least one for the soft cheese and one for the hard cheese. A little spreader for the brie is ideal.
- Cheese Plane or Sharp Knife: For slicing the firm cheese into thin, even pieces. I’ve used a vegetable peeler in a pinch for hard cheeses!
- Small Tongs or Cocktail Forks: For the olives and pickles. Keeps things tidy.
- Parchment Paper (Optional): For lining the board for easy cleanup. It also adds a nice, rustic touch.
I’ve built boards on everything from a marble pastry slab to a simple ceramic platter. The board doesn’t have to be expensive — it just needs to be big enough to give everything a little breathing room. My favorite board was a thrift store find for three dollars. It’s all about the arrangement, not the price tag.
Preparation Method
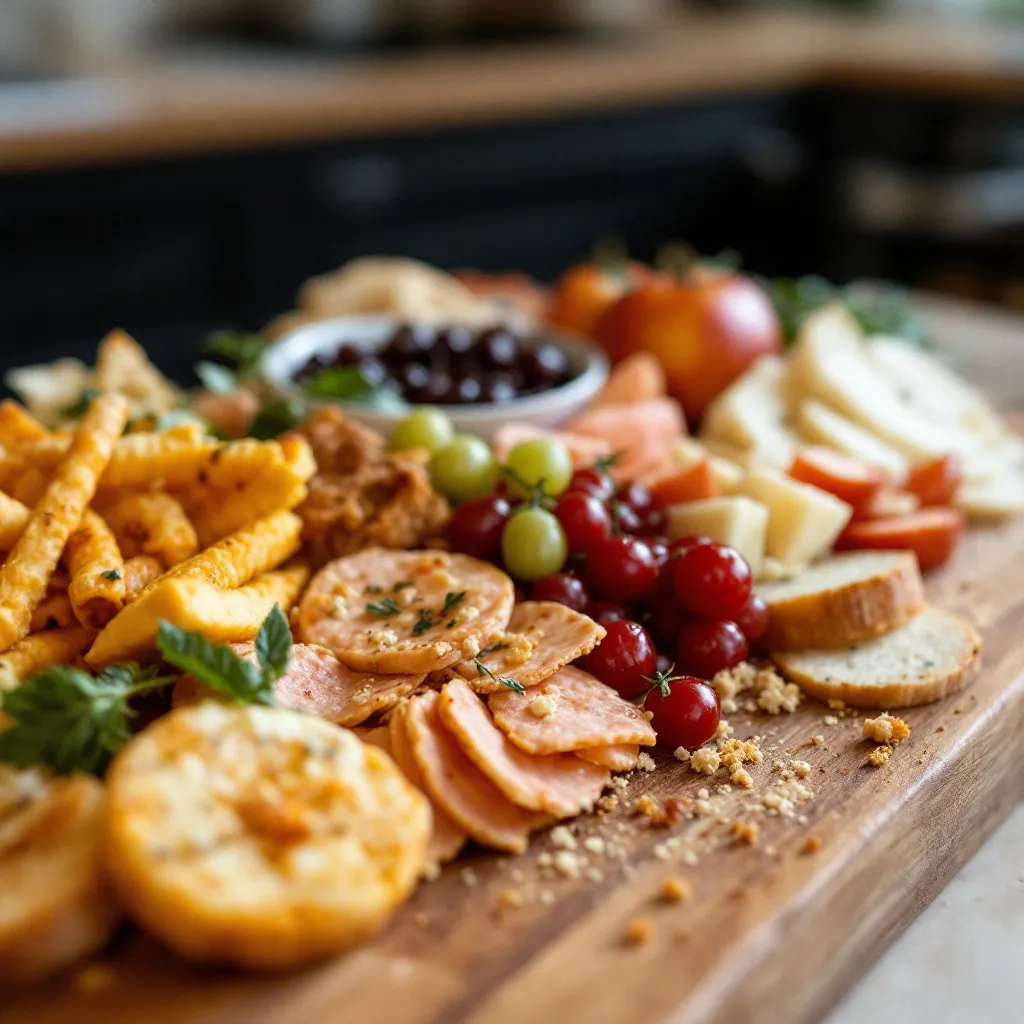
Assembling a charcuterie board is an art, not a science. But following a loose order helps everything look intentional and beautiful. Here’s how I do it.
- Set the Stage (5 minutes): Place your board on a clean, flat surface. If using parchment paper, tear a piece slightly larger than the board and lay it down. Place your two small bowls or ramekins on the board. I like to put them off-center, maybe one in the top left and one in the bottom right. This creates visual flow.
- Place the Cheeses (3 minutes): The cheese is the anchor. Place your three cheeses in different spots on the board, spaced apart. Don’t put them all in the middle. Let the brie sit whole or cut a small wedge out of it to show the creamy inside. Slice the firm cheese (gouda or manchego) into thin triangles or small cubes and fan them out near the wedge. Crumble the blue cheese into a small pile. This creates three distinct zones.
- Add the Meats (2 minutes): Now, fill in the spaces around the cheese with the meats. For the prosciutto, gently fold each slice into a loose ribbon or a small rose. For the salami, fold slices in half, then in half again, and stand them up in a little cluster. Place the meats near their complementary cheeses. Prosciutto loves brie. Salami loves gouda.
- Fill in the Gaps with Accompaniments (4 minutes): This is where the board comes to life. Spoon the honey or jam into one of the small bowls. Put the cornichons or pickled onions into the other bowl. Now, start filling the empty spaces. Scatter the nuts in small piles. Add the dried fruit next to the blue cheese (a classic pairing). Place the fresh fruit in small clusters. Tuck the crackers and crostini into any remaining gaps, creating little pathways for the eye to follow. Don’t overcrowd — you want a little bit of board showing between each element.
- Garnish and Serve (1 minute): Take a step back and look at your board. Are there any big empty spots? Fill them with a few extra crackers or a small handful of nuts. Add a sprig of fresh rosemary or a few thyme leaves for a pop of green. Drizzle a tiny bit of honey over the brie or the blue cheese. Serve immediately, or let it sit at room temperature for up to 30 minutes to let the cheeses soften. Total time: about 15 minutes of pure, satisfying assembly.
One thing I learned the hard way: don’t put the crackers directly next to the jam. They’ll get soggy. Keep a little buffer zone of nuts or fruit between wet and dry ingredients. It’s a small detail that makes a big difference in texture.
Cooking Tips & Techniques
Over the years, I’ve made every mistake in the book. I’ve served rock-hard cheese straight from the fridge. I’ve overloaded a board until it looked like a meaty avalanche. Here are the lessons I’ve learned so you don’t have to.
- The Room Temperature Rule: This is non-negotiable. Cheese straight from the fridge is flavorless and rubbery. Take your cheeses out of the fridge at least 30 minutes before serving. An hour is even better. Let them breathe. The difference in flavor and texture is night and day.
- Texture is Everything: A great board has a mix of textures. Creamy (brie), crunchy (nuts & crackers), chewy (dried fruit & salami), and fresh (grapes & apple). If you have two of the same texture next to each other, move one. Variety keeps the palate engaged.
- The Three-Bite Rule: When arranging, think about how someone will eat this. They’ll take a bite of cheese, then a bite of cracker, then a bite of fruit. Arrange things so that a person can easily reach a cheese, a meat, and an accompaniment without reaching across the entire board. Create little “stations.”
- Don’t Be Afraid of the Knife: Pre-slice your hard cheeses. No one wants to struggle with a wedge of manchego while balancing a glass of wine. A little bit of pre-work makes the whole experience more relaxing.
- Use the “Filling” Technique: If you have a big gap, don’t just throw in more crackers. Use a small, colorful element like a pile of bright red grapes or a cluster of dark purple figs. It fills the space and adds visual pop.
I once made a board for a friend’s birthday and completely forgot the honey. It was still good, but it was missing that “wow” factor. That little drizzle of sweetness is like the final note in a song — it brings everything together. Don’t skip it.
Variations & Adaptations
The beauty of a charcuterie board is its flexibility. Here are a few ways to make it your own.
- Vegetarian Board: Skip the meat and double up on the cheese. Add roasted vegetables (like bell peppers or artichoke hearts), marinated mushrooms, and a variety of nuts. A good quality hummus or baba ganoush makes a fantastic addition.
- Sweet & Savory Board: Add a few squares of dark chocolate (70% cocoa or higher), some fresh berries, and a dollop of mascarpone cheese. A drizzle of balsamic glaze over the strawberries is a game-changer.
- Seasonal Board: In the fall, swap grapes for sliced pears and add a sprinkle of cinnamon. In the summer, use fresh peaches and basil leaves. In the winter, try dried cranberries and a spiced nut mix. This board is endlessly adaptable to what’s fresh.
- Dietary Adaptations: For a gluten-free board, use gluten-free crackers or sliced cucumber rounds as vehicles. For a dairy-free board, use aged cheeses (which are naturally low in lactose) or nut-based cheeses. Most cured meats are naturally gluten-free and low-carb.
- Spicy Board: Add a dollop of hot honey, some spicy salami (like ‘nduja), and a few pickled jalapeños. It’s a fun twist that adds a kick.
My personal favorite variation is a “breakfast board” — swap the salami for bacon, add some fresh fruit, a little bowl of yogurt, and a few slices of banana bread for a sweet, unexpected touch. It’s perfect for a lazy Sunday morning.
Serving & Storage Suggestions
This board is best enjoyed immediately, but a little planning goes a long way.
- Serving Temperature: Serve the board at room temperature. The cheese will be soft and flavorful, the meats will be at their peak, and the fruit will taste bright and fresh. If you’re serving it outdoors on a warm day, keep it in the shade.
- What to Serve With It: A crisp white wine (like Sauvignon Blanc or a dry Riesling) or a light red (like Pinot Noir) is a classic pairing. For a non-alcoholic option, a sparkling water with a slice of lemon or a warm chai latte is a cozy alternative. A simple green salad on the side makes it a full meal.
- Storage: This board is not meant to last. It’s best eaten within 2 hours of assembly. If you have leftovers, separate the components. Wrap the cheeses individually in wax paper (not plastic wrap — it makes them sweat) and store them in the fridge. Store the meats in an airtight container. The crackers and nuts can be returned to their original packaging. The fresh fruit should be eaten within a day.
- Reheating: You don’t reheat a charcuterie board. If you want to serve a warm element, you can briefly warm the brie in the oven (300°F for 5-7 minutes) just before serving. But honestly, room temperature is perfect.
- Flavor Development: The flavors on a charcuterie board don’t really “develop” over time like a stew. The magic is in the first bite. That’s why it’s best to assemble it just before serving. However, if you’re prepping ahead, you can slice the cheeses and portion the nuts and fruit a day in advance. Just keep everything covered in the fridge and assemble right before your guests arrive.
Nutritional Information & Benefits
A charcuterie board is a treat, but it can also be a balanced meal. Here’s a rough estimate for one serving (half the board).
- Calories: Approximately 550-650
- Protein: 25-30g
- Fat: 40-50g (mostly healthy fats from cheese, nuts, and olive oil in the meats)
- Carbohydrates: 20-30g (from fruit, crackers, and honey)
- Fiber: 3-5g
Health Benefits:
- Cheese: A good source of calcium and protein. Fermented cheeses like aged gouda also contain probiotics that are good for gut health.
- Nuts: Packed with healthy fats, vitamin E, and magnesium. They’re great for heart health and satiety.
- Fruit: Grapes and apples provide antioxidants and fiber. Dried fruit is a concentrated source of energy and nutrients.
- Meats: High-quality cured meats are a good source of protein and B vitamins. Just watch the sodium content.
Dietary Considerations:
- Gluten-Free: Easily made gluten-free by using gluten-free crackers or vegetable slices.
- Low-Carb/Keto: Skip the crackers and dried fruit, and double up on the cheese, nuts, and meats.
- Potential Allergens: This recipe contains dairy (cheese), nuts, and gluten (crackers). Always check labels.
I love that a charcuterie board lets you eat mindfully. You’re not rushing through a plate of pasta. You’re taking small bites, savoring each flavor, and actually enjoying the company. That, to me, is the healthiest part of the meal.
Conclusion
This perfect charcuterie board for two is more than just a recipe — it’s an invitation. An invitation to slow down, to share, to be present with someone you care about. It’s the meal that says, “I wanted to make something special for us,” without spending hours in the kitchen. It’s proof that the best things in life are often the simplest.
I love this board because it’s forgiving. If you forget the honey, it’s still delicious. If you swap the gouda for cheddar, it still works. The magic isn’t in the exact ingredients — it’s in the act of creating something beautiful and sharing it. So go ahead, make it your own. Add your favorite cheese. Use that jar of fig jam you’ve been saving. Pour a glass of wine, put on some music, and sit down together.
I’d love to hear how your board turns out. What cheese did you choose? What was your favorite bite? Drop a comment below and share your creation. And if you loved this idea, don’t forget to pin it for your next date night! Here’s to good food and even better company.
Frequently Asked Questions
Can I make this charcuterie board ahead of time?
You can prep the components a day ahead. Slice the hard cheeses, portion the nuts and dried fruit, and wash the fresh fruit. Store everything separately in the fridge. Assemble the board no more than 30-60 minutes before serving to keep everything fresh.
What if I don’t have a wooden board?
No problem at all. A large ceramic platter, a marble slab, a baking sheet, or even a clean cutting board will work perfectly. You can even use a large piece of parchment paper laid flat on the table for a rustic, casual feel.
How do I keep the crackers from getting soggy?
Keep a little space between the crackers and any wet ingredients like jam, honey, or pickles. A small pile of nuts or a cluster of grapes between them acts as a natural barrier. Also, add the crackers just before serving.
Can I use only one type of cheese?
Absolutely. If you want to keep it simple, one really good cheese is better than three mediocre ones. A wheel of brie or a wedge of aged gouda can be the star. Just make sure to pair it with a variety of accompaniments for balance.
What’s the best way to arrange the board for two people?
Think of the board as two halves. Place the cheeses and meats in the center, and then mirror the accompaniments on each side. This way, both people have easy access to everything without having to reach. It feels more intimate and personal.
Pin This Recipe!
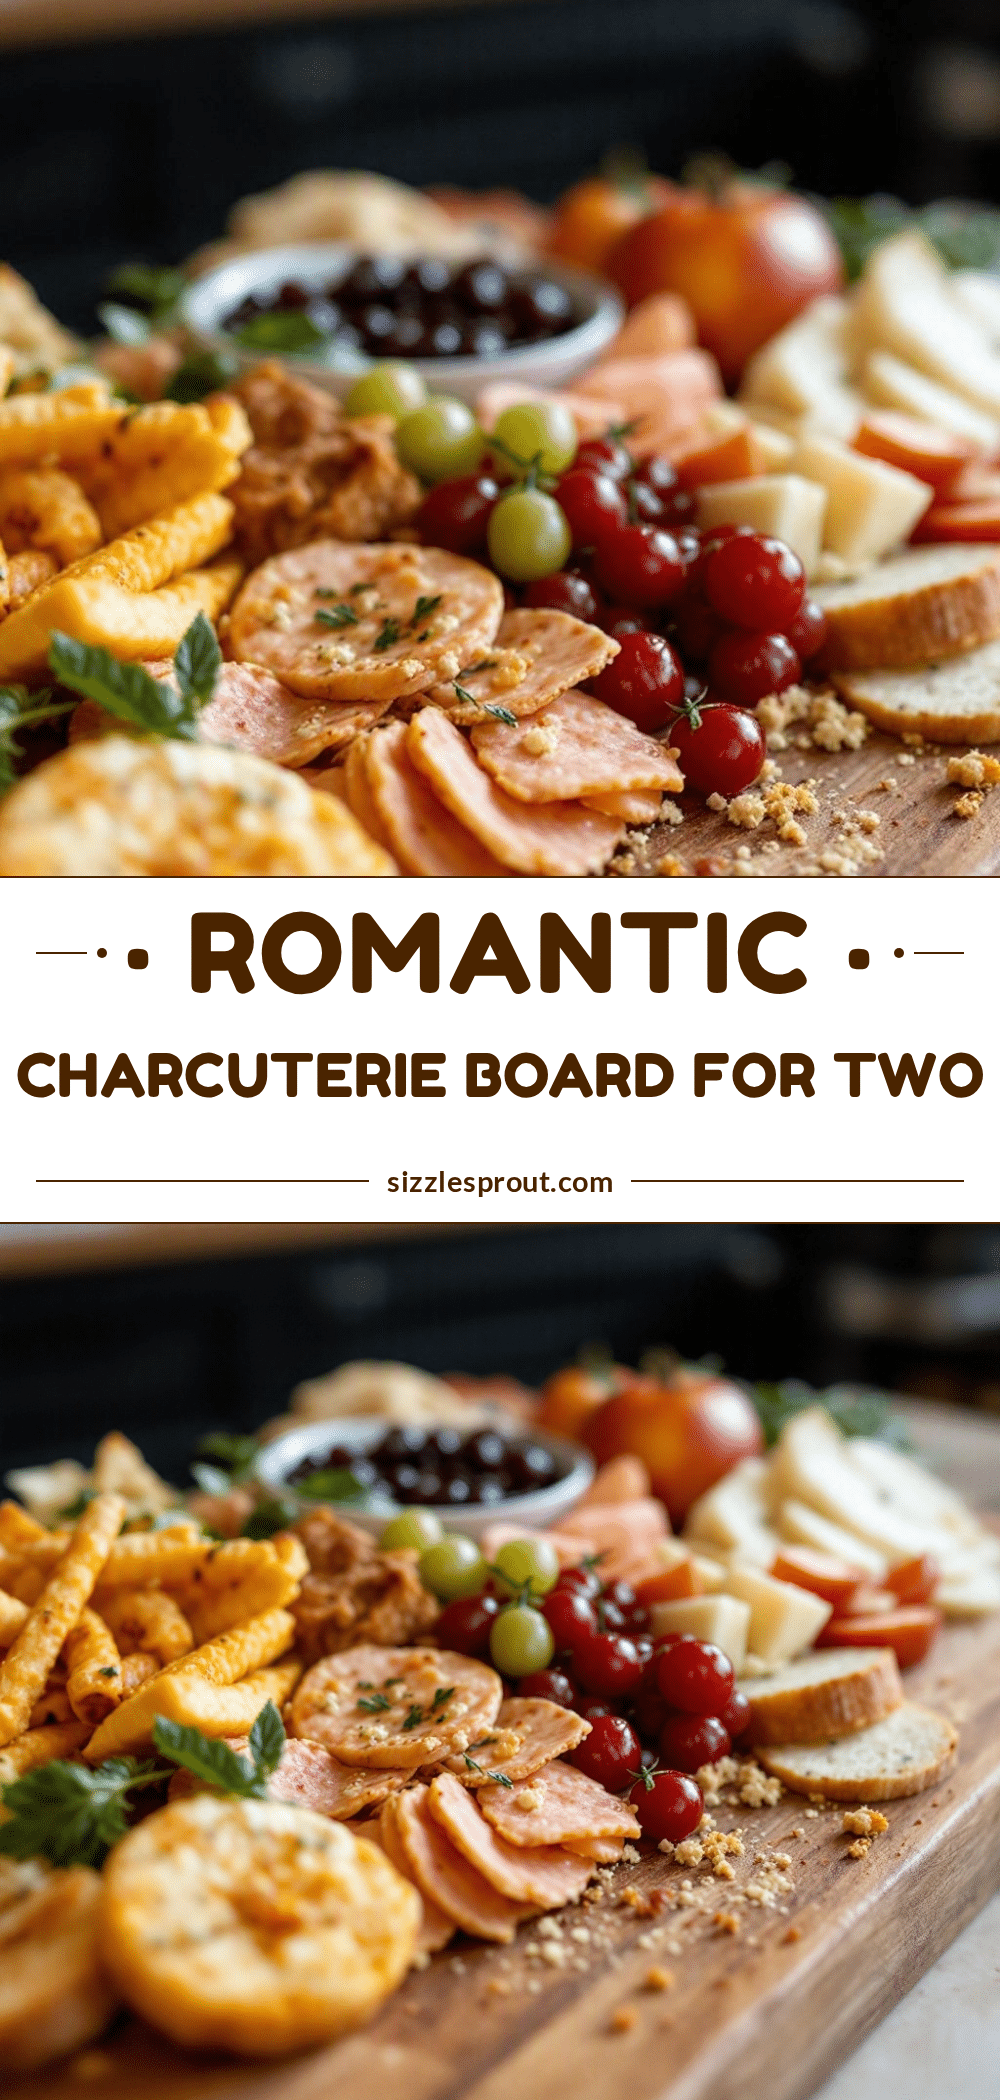
Perfect Charcuterie Board for Two: Easy Romantic Date Night Idea

A perfectly portioned charcuterie board for two, featuring a balanced selection of cheeses, meats, and accompaniments. This easy, no-cook recipe is designed for intimate date nights and cozy evenings in, with minimal prep and maximum impact.
- Prep Time: 15 minutes
- Cook Time: 0 minutes
- Total Time: 15 minutes
- Yield: 2 servings 1x
- Category: Appetizer
- Cuisine: French-inspired
Ingredients
- 4 oz soft cheese (e.g., Brie or Camembert)
- 4 oz firm cheese (e.g., Aged Gouda or Manchego)
- 4 oz blue cheese (e.g., Gorgonzola or mild Roquefort)
- 4 oz prosciutto, thinly sliced
- 4 oz salami (e.g., Genoa or Soppressata)
- 1/2 cup crackers or crostini
- 1/4 cup nuts (e.g., Marcona almonds or candied pecans)
- 1/4 cup dried fruit (e.g., dried apricots or figs)
- 1/4 cup fresh fruit (e.g., grapes or sliced apple)
- 2 tablespoons cornichons or pickled onions
- 2 tablespoons honey or fig jam
- Optional: olives (castelvetrano), dark chocolate, fresh herbs (rosemary or thyme)
Instructions
- Set the Stage (5 minutes): Place your board on a clean, flat surface. If using parchment paper, tear a piece slightly larger than the board and lay it down. Place two small bowls or ramekins off-center on the board to create visual flow.
- Place the Cheeses (3 minutes): Space the three cheeses apart on the board. Leave the brie whole or cut a small wedge to show the inside. Slice the firm cheese into thin triangles or small cubes and fan them out. Crumble the blue cheese into a small pile.
- Add the Meats (2 minutes): Fill spaces around the cheese with meats. Fold prosciutto slices into loose ribbons or roses. Fold salami slices in half twice and stand them in clusters near complementary cheeses.
- Fill in the Gaps with Accompaniments (4 minutes): Spoon honey or jam into one bowl and cornichons or pickled onions into the other. Scatter nuts in small piles, add dried fruit near blue cheese, place fresh fruit in clusters, and tuck crackers into remaining gaps, leaving some board visible between elements.
- Garnish and Serve (1 minute): Check for empty spots and fill with extra crackers or nuts. Add fresh herbs for color. Drizzle a little honey over brie or blue cheese. Serve immediately or let sit at room temperature for up to 30 minutes.
Notes
Let cheeses sit at room temperature for at least 30 minutes before serving for best flavor and texture. Keep crackers away from wet ingredients like jam to prevent sogginess. Pre-slice hard cheeses for easy eating. The board is best assembled just before serving and eaten within 2 hours.
Nutrition
- Serving Size: Half the board
- Calories: 550650
- Sugar: 1015
- Sodium: 8001000
- Fat: 4050
- Saturated Fat: 1520
- Carbohydrates: 2030
- Fiber: 35
- Protein: 2530
Keywords: charcuterie board, date night, romantic dinner, cheese board, easy appetizer, no-cook meal, grazing board, for two


