Love this? Save it for later!
Share the inspiration with your friends
I figured a no-bake pumpkin pie would be a compromise—something you make when you want the flavor of fall but can’t be bothered with the whole pastry routine. It took about one bite of this one for that assumption to fall apart completely.
The thing about traditional pumpkin pie is that it’s almost a science project—blind baking, custard setting, that terrifying moment when you pull it from the oven and it’s still jiggling in the center. I’ve had my share of cracked tops and soggy bottoms (honestly, who hasn’t?). So when I started playing around with a no-bake version, I wasn’t expecting much. I figured it would be a mousse situation at best—good, sure, but not real pumpkin pie.
But here’s the thing I learned the hard way: the filling needs structure. Not from eggs or gelatin (though that works), but from cream cheese and a little trick with cold butter in the crust. The first time I made it, I used too much pumpkin puree and ended up with something that tasted great but looked like a sad, lumpy pudding. My husband ate two slices anyway—bless him—but I knew I could do better.
The secret, weirdly enough, came from my experience making super moist banana bread. That recipe taught me that sometimes the simplest ingredients—when handled with a little care—can produce something genuinely impressive. I applied the same logic here. The filling is rich, creamy, and set just firm enough to slice cleanly. The crust stays crisp and buttery, even after a day in the fridge. And the whole thing comes together without turning on the oven.
This easy no-bake pumpkin pie with graham cracker crust has become my go-to for fall gatherings, Thanksgiving table contributions, and those random Tuesday nights when you just need a slice of something cozy. It’s the kind of recipe that makes people say, “Wait, this didn’t come from a bakery?”
And honestly? That never gets old.
Why You’ll Love This Recipe
Let me tell you why this easy no-bake pumpkin pie has earned a permanent spot in my fall rotation. It’s not just about skipping the oven (though that’s a huge win).
- No Oven Required: This is a game-changer for warm days, crowded holiday kitchens, or when your oven is already full of other dishes. The filling sets in the fridge, not the heat.
- Simple Ingredients: You probably have most of these in your kitchen right now. No fancy extracts, no hard-to-find spices. Just honest, real ingredients that work together beautifully.
- Perfect for Make-Ahead: This pie actually gets better after a few hours in the fridge. You can make it the day before and just pull it out when you’re ready to serve. Stress-free entertaining at its finest.
- Crowd-Pleaser: I’ve served this at three different gatherings this fall, and every single person asked for the recipe. Even the pumpkin pie purists (you know the ones) were impressed.
- Sliceable, Not Soupy: The filling sets up firm enough to cut clean slices, but stays creamy and luxurious on the tongue. No jiggly mess here.
What makes this different from other no-bake pumpkin pies I’ve tried? Two things. First, the cream cheese base adds structure and tang, balancing the sweetness of the pumpkin and sugar. Second, I use a slightly higher ratio of butter in the graham cracker crust—enough to keep it crisp, not soggy, even after the filling sits on it overnight. It’s a small tweak, but it makes all the difference between a crust that crumbles and one that holds together.
This isn’t just another no-bake pie. It’s the one that tastes like you spent hours in the kitchen, when really, you just stirred things together and let the fridge do the work.
What Ingredients You Will Need
This recipe relies on simple, pantry-friendly ingredients that come together to create something genuinely special. Here’s what you’ll need and why each one matters.
For the Graham Cracker Crust
- 2 cups graham cracker crumbs (about 14-16 full sheets, crushed finely) — I prefer the classic honey-flavored graham crackers for their subtle sweetness. You can buy pre-crushed crumbs, but grinding your own gives a better texture. Pulse them in a food processor or seal them in a bag and go to town with a rolling pin—both work.
- ½ cup unsalted butter, melted — This is where the magic happens. The butter binds the crumbs and creates that crisp, sturdy base. I use unsalted so I can control the salt level. If you only have salted butter, just skip the pinch of salt below.
- ¼ cup granulated sugar — Adds a touch of sweetness and helps the crust hold together. You can substitute brown sugar for a deeper, molasses-like flavor.
- ¼ teaspoon salt — Balances the sweetness and enhances the buttery flavor. Don’t skip it—it makes a difference.
For the Pumpkin Filling
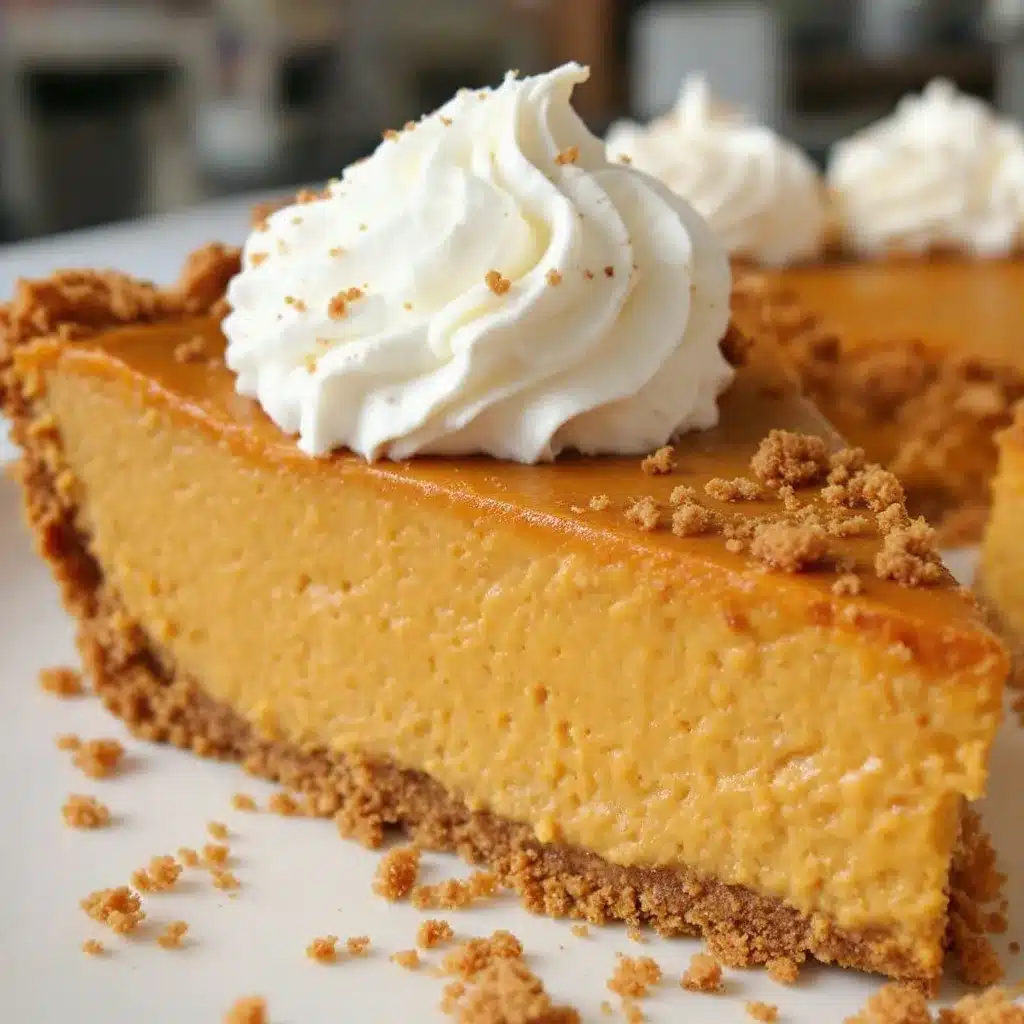
- 8 ounces cream cheese, softened to room temperature — This is the backbone of the filling. It provides structure, creaminess, and a slight tang that cuts through the sweetness. Make sure it’s truly softened—cold cream cheese will leave you with lumps. Leave it on the counter for at least 30 minutes before starting.
- 1 cup pumpkin puree (not pumpkin pie filling) — Use pure pumpkin puree for the best texture and flavor. I prefer Libby’s brand, but any 100% pure pumpkin works. If you’re feeling ambitious, you can roast and puree your own sugar pumpkins—just make sure to drain any excess liquid.
- ½ cup packed light brown sugar — Adds moisture and a warm, caramel-like sweetness that pairs beautifully with pumpkin. Dark brown sugar works too, for an even richer flavor.
- ¼ cup granulated sugar — Balances the molasses notes of the brown sugar and helps the filling set properly.
- 1 teaspoon vanilla extract — Pure vanilla extract adds depth and rounds out the spices. Imitation vanilla works in a pinch, but pure is worth the splurge here.
- 1½ teaspoons pumpkin pie spice — If you don’t have a pre-mixed blend, make your own: ½ teaspoon cinnamon, ¼ teaspoon ginger, ¼ teaspoon nutmeg, ¼ teaspoon allspice, and a pinch of cloves. Adjust to your taste—I sometimes add an extra pinch of cinnamon because I’m obsessed.
- ½ teaspoon ground cinnamon — Because you can never have too much cinnamon in a pumpkin pie. Trust me on this.
- 1 cup heavy cream, cold — This gets whipped into stiff peaks and folded into the cream cheese mixture. It adds lightness and volume, creating that dreamy, mousse-like texture. Coconut cream works for a dairy-free version, but the texture will be slightly different.
For the Topping (Optional but Recommended)
- 1 cup heavy cream — For homemade whipped cream. Store-bought works too, but homemade is worth the two minutes of effort.
- 2 tablespoons powdered sugar — Sweetens the whipped cream without making it grainy.
- ½ teaspoon vanilla extract — Because everything is better with vanilla.
- Ground cinnamon or nutmeg for dusting — A light sprinkle on top makes it look bakery-finished.
Equipment Needed
You don’t need a fancy kitchen to make this easy no-bake pumpkin pie. Here’s what you’ll actually use:
- 9-inch pie dish — A standard glass or ceramic pie dish works perfectly. Metal pans conduct heat faster (not an issue here since we’re not baking), but they can leave a metallic taste if you’re storing the pie for more than a day.
- Food processor or rolling pin — For crushing graham crackers. A food processor gives the most consistent texture, but a sealed zip-top bag and a rolling pin work just as well. I’ve done both—the bag method is oddly satisfying.
- Electric hand mixer or stand mixer — Essential for whipping the cream and beating the cream cheese until smooth. A whisk and some elbow grease will work, but your arm will thank you for using a mixer.
- Large mixing bowls — You’ll need one for the crust mixture, one for the cream cheese base, and one for the whipped cream. I use glass or stainless steel—they’re easier to chill if needed.
- Spatula — For folding the whipped cream into the filling. A rubber spatula is best for gentle folding without deflating all that air you just whipped in.
- Measuring cups and spoons — Accuracy matters, especially with the cream cheese and spices. I use dry measuring cups for the crumbs and sugar, and a liquid measuring cup for the cream.
Preparation Method
Step 1: Make the Graham Cracker Crust
Start by crushing your graham crackers into fine crumbs. If you’re using a food processor, pulse until you have a uniform, sandy texture—about 15-20 seconds. If you’re using the bag method, seal the crackers in a zip-top bag, remove as much air as possible, and crush them with a rolling pin. Aim for fine crumbs with no large pieces. You want about 2 cups of crumbs total.
In a medium bowl, combine the graham cracker crumbs, ¼ cup granulated sugar, and ¼ teaspoon salt. Stir until evenly mixed. Pour the ½ cup melted butter over the mixture and stir with a fork until all the crumbs are evenly moistened. The mixture should look like wet sand and hold together when you press it in your fist.
Transfer the mixture to your 9-inch pie dish. Press it firmly and evenly into the bottom and up the sides. Use the bottom of a measuring cup or a flat-bottomed glass to really pack it down—this is crucial for a crust that doesn’t crumble when you slice the pie. Pay extra attention to the edges and the corner where the bottom meets the sides. Place the crust in the refrigerator to chill while you make the filling. At least 30 minutes is ideal, but 15 minutes works in a pinch.
Step 2: Prepare the Cream Cheese Base
In a large mixing bowl, beat the softened cream cheese with an electric mixer on medium speed until smooth and creamy—about 2 minutes. Scrape down the sides and bottom of the bowl with a spatula. Add the brown sugar and granulated sugar, and beat for another 2 minutes until the mixture is light and fluffy. The sugar should be fully incorporated with no graininess left.
Add the pumpkin puree, vanilla extract, pumpkin pie spice, and ground cinnamon. Beat on medium-low speed until everything is well combined and smooth. Scrape the bowl again to make sure there are no streaks of cream cheese hiding at the bottom. The mixture should be a uniform, rich orange color and smell like fall in a bowl.
Step 3: Whip the Cream
In a separate clean, cold bowl, pour the cold heavy cream. Using clean beaters, whip the cream on medium-high speed until soft peaks form—about 2-3 minutes. You’ll know it’s ready when the cream holds its shape when you lift the beaters, but the peaks droop slightly. Be careful not to over-whip; if you go too far, you’ll end up with butter. I’ve done that before—it’s not the end of the world, but it’s not what we want here.
Step 4: Fold It All Together
Take about a third of the whipped cream and stir it into the pumpkin mixture. This lightens the base and makes it easier to fold in the rest without deflating everything. Then, add the remaining whipped cream and gently fold it in using a spatula. Use a cutting motion through the center, then scrape around the edge and fold over. Repeat until no white streaks remain. The filling should be light, airy, and uniform in color.
Step 5: Assemble and Chill
Remove the chilled crust from the refrigerator. Spoon the filling into the crust and spread it evenly with a spatula. Give the pie dish a few gentle taps on the counter to release any air bubbles. Smooth the top—it doesn’t have to be perfect since you’ll likely add whipped cream later.
Cover the pie loosely with plastic wrap or aluminum foil and refrigerate for at least 6 hours, but overnight is better. The filling needs time to set properly. I know it’s tempting to dig in early—I’ve been there—but a fully set pie slices much cleaner and has a better texture.
Step 6: Serve and Enjoy
When you’re ready to serve, make the whipped cream topping. In a cold bowl, whip 1 cup heavy cream with 2 tablespoons powdered sugar and ½ teaspoon vanilla extract until stiff peaks form. Spread or pipe the whipped cream over the chilled pie. Dust with a light sprinkle of cinnamon or nutmeg.
Slice with a sharp knife, wiping the blade clean between cuts for the neatest slices. Serve cold and watch it disappear.
Cooking Tips & Techniques
After making this easy no-bake pumpkin pie more times than I can count, I’ve picked up a few tricks that make the process smoother and the results more consistent.
Room temperature cream cheese is non-negotiable. I learned this the hard way when I tried to rush things with cold cream cheese and ended up with lumpy filling. Let it sit on the counter for at least 30 minutes before you start. If you’re in a hurry, cut it into small cubes and microwave on low power for 10-second intervals until softened—but watch it carefully.
Don’t skip the crust chilling step. A warm crust will absorb moisture from the filling and turn soggy. Chilling it for at least 30 minutes firms up the butter and creates a barrier that keeps the crust crisp. I’ve tested this side by side, and the difference is noticeable.
Whip the cream to soft peaks, not stiff. Soft peaks are easier to fold into the filling without deflating. If you over-whip the cream, it becomes grainy and harder to incorporate. Stop when the cream holds its shape but still looks silky and smooth.
Fold, don’t stir. When combining the whipped cream with the pumpkin mixture, use a gentle folding motion. Stirring aggressively will deflate all the air you just whipped in, resulting in a dense, heavy pie. Be patient—it takes about 2-3 minutes of gentle folding to get it right.
Let it set overnight for best results. Six hours is the minimum, but overnight chilling gives the filling time to fully firm up and allows the flavors to meld together. The spices become more pronounced, and the texture becomes perfectly sliceable. I’ve made this pie at 8 PM for a noon lunch the next day, and it was perfect.
Variations & Adaptations
One of the best things about this easy no-bake pumpkin pie is how adaptable it is. Here are some variations I’ve tried and loved:
Dairy-Free Version: Use dairy-free cream cheese (I like Kite Hill or Violife) and coconut cream instead of heavy cream. Chill the can of coconut cream overnight, then scoop out the solid part and whip it just like regular cream. The texture will be slightly different—a bit lighter—but the flavor is still fantastic.
Gluten-Free Crust: Simply use gluten-free graham crackers or digestive biscuits. Most brands work well, though some are slightly sweeter than traditional graham crackers. You can also use crushed gluten-free gingersnaps for a spicier crust that pairs beautifully with the pumpkin filling.
Chocolate-Pumpkin Swirl: Melt ¼ cup of semi-sweet chocolate chips and let them cool slightly. After spreading the filling in the crust, drop spoonfuls of melted chocolate on top and swirl with a knife. The combination of chocolate and pumpkin is surprisingly good—I tried this on a whim and it’s become a favorite.
Maple Pecan Topping: Skip the whipped cream and top the pie with a layer of candied pecans and a drizzle of pure maple syrup. Toast 1 cup of pecan halves in a dry skillet until fragrant, then toss with 2 tablespoons of maple syrup and a pinch of salt. Let them cool, then sprinkle over the set pie.
Individual Mini Pies: Use a muffin tin lined with paper liners and press the crust mixture into each cup. Fill with the pumpkin mixture and chill as directed. These are perfect for parties or portion control. You’ll get about 12 mini pies from this recipe.
Serving & Storage Suggestions
This easy no-bake pumpkin pie is best served cold, straight from the refrigerator. The filling should be firm but creamy, and the crust should hold together when you slice it. Here’s how to serve and store it for the best results:
Serving Temperature: Remove the pie from the fridge about 10 minutes before serving. This takes the chill off just enough to let the flavors come through without compromising the structure. If it’s too cold, the filling can taste a bit muted.
Presentation: Top with a generous layer of homemade whipped cream just before serving. You can pipe it in decorative swirls or spread it evenly across the surface. A light dusting of cinnamon or nutmeg adds a professional touch. For extra flair, add a few candied pecans or a drizzle of caramel sauce.
Pairings: This pie pairs beautifully with a cup of hot coffee, spiced chai, or a glass of cold milk. For a dessert spread, serve it alongside chocolate chip pumpkin sourdough bread or pumpkin cream cheese swirl muffins for the ultimate fall dessert table.
Storage: Cover the pie tightly with plastic wrap or aluminum foil and store in the refrigerator for up to 4 days. The crust will stay crisp for the first 2 days, then gradually soften. If you’re making it ahead for a gathering, I recommend making it no more than 2 days in advance for the best texture.
Freezing: This pie freezes surprisingly well. Freeze the whole pie (without the whipped cream topping) for up to 2 months. Wrap it tightly in plastic wrap, then a layer of aluminum foil. Thaw overnight in the refrigerator before serving. Add fresh whipped cream after thawing.
Leftovers: If you have leftover filling (unlikely, but possible), it keeps well in an airtight container in the fridge for up to 3 days. It’s delicious eaten with a spoon as a pumpkin mousse—no judgment here.
Nutritional Information & Benefits
While this easy no-bake pumpkin pie is definitely a treat, it does have some redeeming qualities. Here’s a rough breakdown per slice (assuming 8 slices):
- Calories: Approximately 380-420 per slice
- Fat: 28g (mostly from cream cheese and heavy cream)
- Carbohydrates: 32g
- Protein: 5g
- Fiber: 2g
- Sugar: 22g
Pumpkin is packed with vitamin A (over 200% of your daily needs per cup), fiber, and antioxidants. It’s also low in calories and naturally sweet, which means we can use less sugar than some other dessert recipes. The cream cheese adds calcium and protein, while the graham cracker crust provides a bit of whole grain goodness if you use whole wheat graham crackers.
For a lighter version, you can use reduced-fat cream cheese and a sugar substitute like monk fruit or stevia in the filling. The texture will be slightly different, but it still works. I’ve tried it with Greek yogurt in place of half the cream cheese, and while the filling was a bit tangier, it was still delicious.
As always, this pie contains dairy and gluten. For allergen-friendly options, check the variations section above.
Conclusion
This easy no-bake pumpkin pie with graham cracker crust has become my fall secret weapon. It’s the dessert I bring to Thanksgiving when I want to contribute something impressive without stressing about oven space. It’s the treat I make on a rainy Sunday afternoon when I’m craving something cozy but don’t want to spend hours in the kitchen.
What I love most about this recipe is how forgiving it is. The filling is forgiving—you can adjust the spices to your taste. The crust is forgiving—you don’t have to worry about overworking the dough or getting the perfect crimp. And the whole thing comes together in about 20 minutes of active time, with the fridge doing the rest of the work.
I’d love to hear how this pie turns out for you. Did you add your own twist? Did you serve it at a gathering and watch it disappear? Drop a comment below and let me know. And if you’re looking for more easy, no-bake dessert ideas, check out our brown sugar bourbon peach crisp or freezer-friendly pumpkin chocolate chip muffins for more fall baking inspiration.
Happy fall, friends. Go make some pie.
Frequently Asked Questions
Can I use pumpkin pie filling instead of pumpkin puree?
I wouldn’t recommend it. Pumpkin pie filling is already sweetened and spiced, so using it would throw off the balance of this recipe. Stick with 100% pure pumpkin puree for the best results. If you accidentally buy the wrong one, you can still use it—just reduce the sugar and spices by half and taste as you go.
How long does this pie need to set in the fridge?
At least 6 hours, but overnight is ideal. The filling needs time to firm up and develop its flavor. If you’re short on time, you can chill it for 4 hours, but the slices won’t be as clean. I usually make this pie the night before I plan to serve it, and it’s always perfect.
Can I make this pie in a different size pan?
Absolutely. This recipe is designed for a standard 9-inch pie dish, but you can use an 8-inch dish for a thicker pie (just increase the chilling time) or a 10-inch dish for a thinner one. Mini pie dishes or a muffin tin work great for individual servings—just adjust the crust and filling amounts proportionally.
Why did my crust turn out soggy?
This usually happens if the crust wasn’t chilled long enough before adding the filling, or if the butter wasn’t fully incorporated. Make sure to chill the crust for at least 30 minutes, and press the crumbs firmly into the dish. If you’re in a humid environment, you can also bake the crust at 350°F for 8-10 minutes to help it set—but that defeats the no-bake aspect a bit.
Can I add alcohol to this pie?
You can! A tablespoon of bourbon, dark rum, or amaretto added to the filling adds a lovely depth of flavor. Just keep in mind that alcohol can affect how the filling sets, so don’t add more than 2 tablespoons total. I’ve tried it with bourbon, and it pairs beautifully with the pumpkin and spices.
Pin This Recipe!
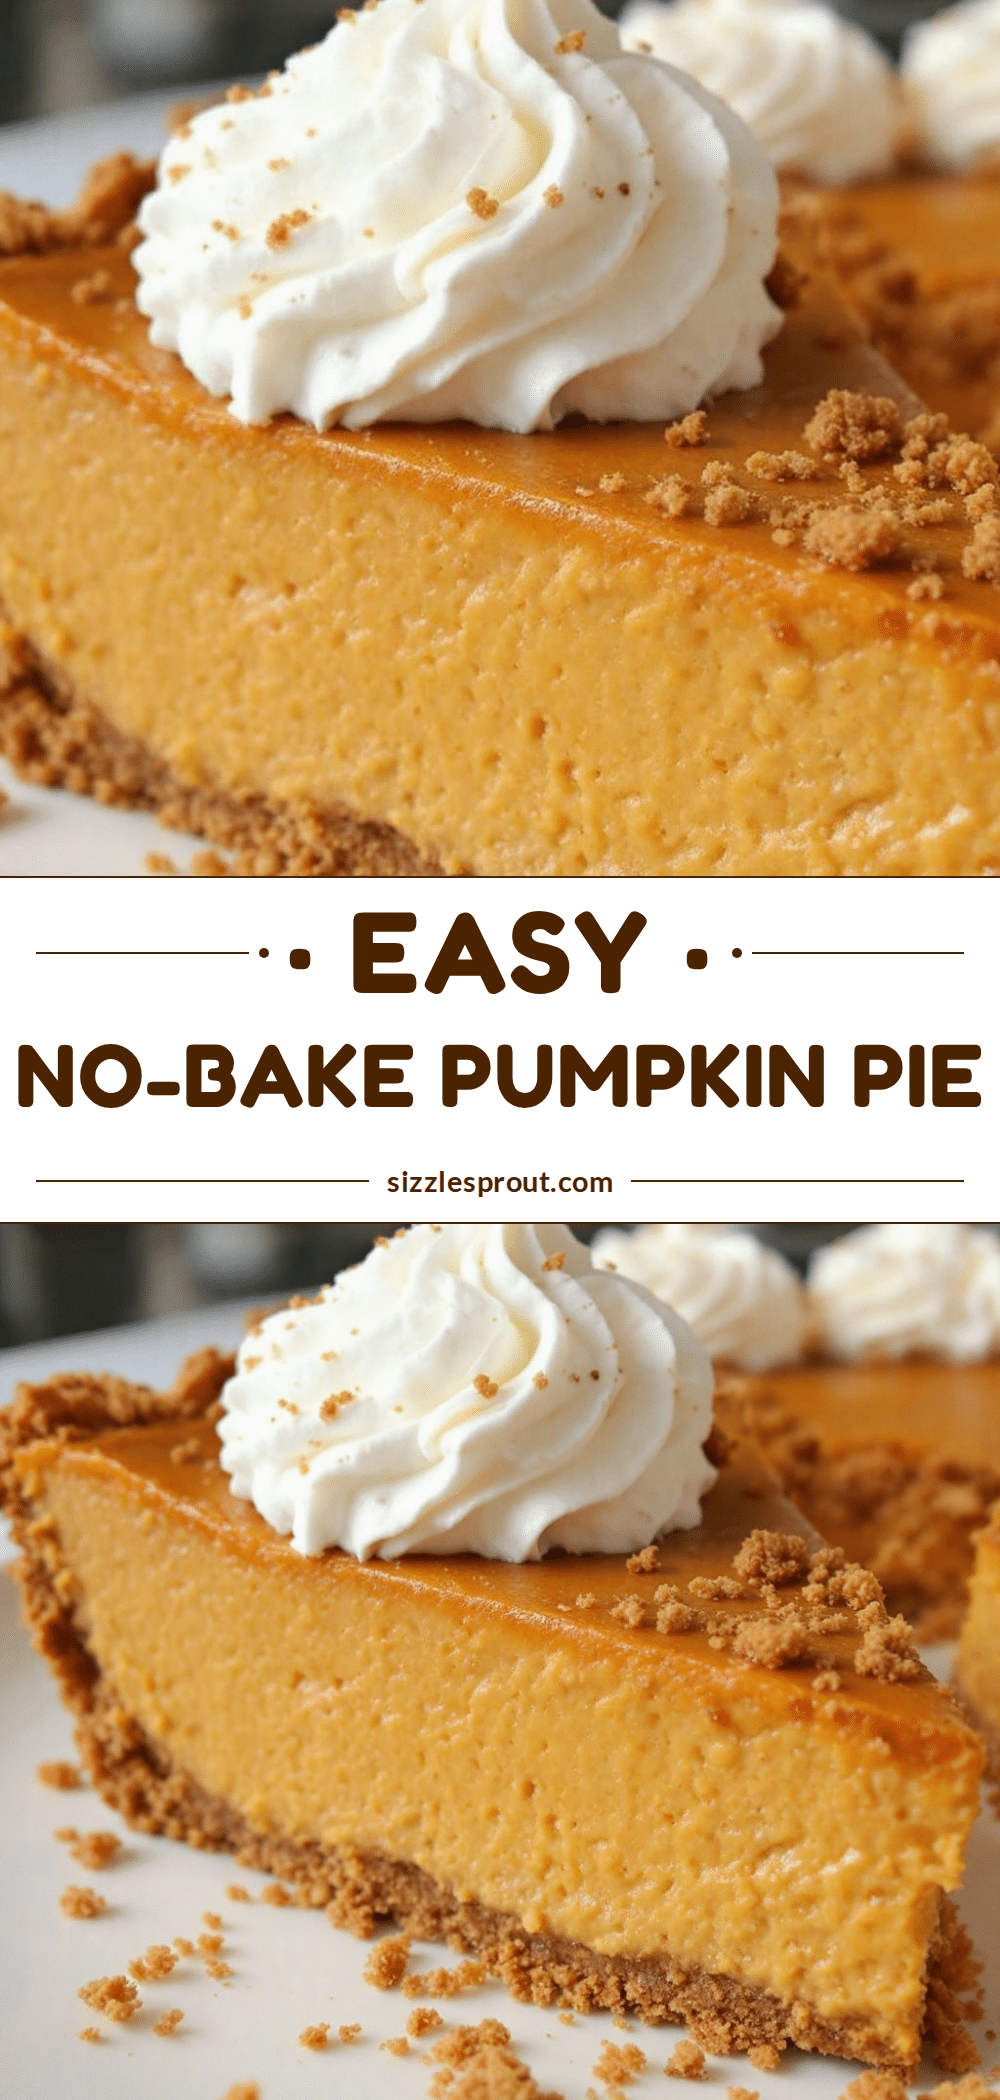
Easy No-Bake Pumpkin Pie with Perfect Graham Cracker Crust
A creamy, sliceable no-bake pumpkin pie with a crisp graham cracker crust. Perfect for fall gatherings and Thanksgiving without turning on the oven.
- Prep Time: 20 minutes
- Cook Time: 0 minutes
- Total Time: 6 hours 20 minutes (includes chilling)
- Yield: 8 servings 1x
- Category: Dessert
- Cuisine: American
Ingredients
- 2 cups graham cracker crumbs (about 14–16 full sheets)
- ½ cup unsalted butter, melted
- ¼ cup granulated sugar
- ¼ teaspoon salt
- 8 ounces cream cheese, softened to room temperature
- 1 cup pumpkin puree (not pumpkin pie filling)
- ½ cup packed light brown sugar
- ¼ cup granulated sugar
- 1 teaspoon vanilla extract
- 1½ teaspoons pumpkin pie spice
- ½ teaspoon ground cinnamon
- 1 cup heavy cream, cold
- 1 cup heavy cream (for topping)
- 2 tablespoons powdered sugar (for topping)
- ½ teaspoon vanilla extract (for topping)
- Ground cinnamon or nutmeg for dusting
Instructions
- Make the crust: Crush graham crackers into fine crumbs. In a medium bowl, combine crumbs, ¼ cup granulated sugar, and ¼ teaspoon salt. Pour in melted butter and stir until evenly moistened. Press firmly into a 9-inch pie dish. Chill for at least 30 minutes.
- Prepare the cream cheese base: In a large bowl, beat softened cream cheese until smooth. Add brown sugar and ¼ cup granulated sugar; beat until light and fluffy. Mix in pumpkin puree, vanilla, pumpkin pie spice, and cinnamon until well combined.
- Whip the cream: In a separate cold bowl, whip 1 cup cold heavy cream until soft peaks form (about 2-3 minutes).
- Fold together: Stir one-third of the whipped cream into the pumpkin mixture to lighten it. Gently fold in the remaining whipped cream until no white streaks remain.
- Assemble and chill: Spoon filling into chilled crust and spread evenly. Cover and refrigerate for at least 6 hours, preferably overnight.
- Serve: Before serving, whip 1 cup heavy cream with powdered sugar and vanilla until stiff peaks form. Spread or pipe over pie. Dust with cinnamon or nutmeg. Slice and serve cold.
Notes
Cream cheese must be at room temperature to avoid lumps. Chill crust for at least 30 minutes to prevent sogginess. Whip cream to soft peaks only. For best results, let pie set overnight. Can be frozen (without topping) for up to 2 months.
Nutrition
- Serving Size: 1 slice
- Calories: 400
- Sugar: 22
- Sodium: 280
- Fat: 28
- Saturated Fat: 16
- Carbohydrates: 32
- Fiber: 2
- Protein: 5
Keywords: no-bake pumpkin pie, easy pumpkin pie, graham cracker crust, fall dessert, Thanksgiving pie, no-bake dessert


