Love this? Save it for later!
Share the inspiration with your friends
I was standing in a kitchen that felt too big and too quiet, trying to figure out how to make a simple side dish feel special without spending hours over a hot stove. It was just me, a bag of groceries from the farmer’s market, and a whole lot of indecision. I remember staring at these two acorn squashes sitting on the counter, looking like little green ribcages. They were tough, weirdly shaped, and honestly? A little intimidating. I had no idea what to do with them other than roast them and hope for the best.
I ended up tossing them in some brown sugar, a little butter, and whatever spices were left in the jar from the previous holiday season. It wasn’t fancy. It wasn’t even particularly precise. But when that sugar melted and bubbled, creating this deep, molasses-heavy aroma, the whole house changed. It smelled like comfort. It smelled like I had my life together, even though I definitely didn’t. That single dish of Easy Brown Sugar Roasted Acorn Squash Halves became my go-to when I needed a win in the kitchen. It’s simple, forgiving, and somehow makes a humble vegetable feel like a luxury.
I’ve made this recipe hundreds of times since then, through different apartments, different kitchens, and different stages of my life. The technique hasn’t changed much, but my confidence has. What started as a panic-meal has become a ritual. There’s something grounding about the ritual of cutting through that hard shell, scraping out the seeds, and watching the sugar turn into a glossy glaze. It’s not just about the taste, though that sweet-savory balance is pretty hard to beat. It’s about that quiet moment of satisfaction when you take the first bite and realize you’ve created something beautiful out of very little effort.
I still make these when the weather turns crisp and I need a reminder that simple things can be wonderful. You don’t need a culinary degree to pull this off. You just need a sharp knife, some patience, and a willingness to let the oven do the heavy lifting. For me, these halves are more than just a side dish. They are a little slice of nostalgia, a reminder that sometimes the best meals are the ones you don’t overthink. And honestly? They taste even better the next day, heated up as a late-night snack while you finish a book. It’s a small joy, but it’s a reliable one.
Why You’ll Love This Recipe
Let’s be honest for a second: roasted squash can sometimes turn out dry, stringy, or just… meh. I’ve been there. I’ve had my fair share of under-seasoned, mushy vegetable disasters. But this version? It’s different. It’s the kind of recipe that feels like a secret weapon in your culinary arsenal. I developed this specific method after testing dozens of variations, trying everything from maple syrup to honey, and settling on brown sugar for that deep, molasses-rich depth that just sticks to your ribs. It’s not just sweet; it’s complex.
Here is why this recipe has earned a permanent spot on my weekly menu:
- Quick & Easy: You’re looking at about 15 minutes of active prep time. That’s it. After that, the oven does all the work. It’s perfect for those busy weeknights when you want to eat well but don’t have the energy to chop a dozen different vegetables.
- Simple Ingredients: You don’t need to run to a specialty store. Everything you need is likely already in your pantry or fridge. Brown sugar, butter, salt, pepper, and maybe a pinch of cinnamon if you’re feeling festive. No fancy grocery trips needed.
- Perfect for Fall Dinners: Whether you are hosting a Thanksgiving dinner or just having a cozy Tuesday night with a glass of wine, these halves fit right in. They pair beautifully with roasted meats or even standalone as a light vegetarian meal.
- Crowd-Pleaser: I’ve served these to picky eaters and gourmet critics alike, and the reaction is usually the same. Eyes light up. Forks start moving. Kids love the caramelized edges, and adults appreciate the subtle savory notes from the salt and pepper.
- Unbelievably Delicious: The texture is creamy and tender, almost like a custard, contrasting with the crisp, sugary edges. It’s next-level comfort food that doesn’t feel heavy or guilty.
What makes this recipe stand out from the rest of the roasted squash recipes out there is the balance. Too much sugar can make it cloying, but the brown sugar here caramelizes just enough to create a crust that shatters slightly when you cut into it. The butter adds richness, while the salt cuts through the sweetness. It’s a perfectly balanced flavor profile that feels intentional, even though it’s incredibly simple. It’s not just another vegetable side; it’s the kind of dish that makes you close your eyes after the first bite and smile. It’s comfort food reimagined—healthy, fast, but with the same soul-soothing satisfaction as a heavy meal. Perfect for impressing guests without stress, or turning a simple meal into something memorable.
What Ingredients You Will Need
This recipe relies on the natural sweetness and sturdy texture of acorn squash, which holds up beautifully to high heat. The ingredients are minimal by design, allowing the natural flavor of the vegetable to shine through while the simple glaze adds that necessary pop of flavor. You can find these items at any standard grocery store, and they are very affordable, especially in the fall. I like to keep it simple, but I do have a few preferences for brands that make a noticeable difference in the final texture.
- Acorn Squash (2 medium): Look for squash that feels heavy for its size with a hard, unblemished shell. The darker the green, the sweeter it tends to be. I personally prefer Butterball squash because the flesh is consistently tender and less stringy than older varieties.
- Unsalted Butter (4 tablespoons): I use butter because it adds a creamy mouthfeel that oil can’t quite replicate. Salted butter works too, but you’ll need to reduce the added salt. I recommend Kerrygold or any high-quality European-style butter for a richer flavor.
- Brown Sugar (1/3 cup): This is the star of the show. Dark brown sugar has more molasses and will give you a deeper, more robust caramel flavor. Light brown sugar works fine, but you might miss out on that toasty depth. Make sure it’s not clumpy; break it up before measuring.
- Extra Virgin Olive Oil (1 tablespoon): A little oil helps conduct the heat and prevents the butter from burning at high temperatures. It also adds a subtle fruity note that balances the sweetness.
- Salt (1/2 teaspoon): Kosher salt is best here because it dissolves evenly and doesn’t taste metallic. Diamond Crystal is my go-to, but Morton’s works too. Just be careful not to over-salt.
- Black Pepper (1/4 teaspoon): Freshly cracked pepper adds a nice heat that cuts through the sugar. Pre-ground pepper just doesn’t have the same punch.
- Cinnamon (1/2 teaspoon, optional): If you want a more dessert-like profile, add this. For a savory side, skip it. I usually skip it for dinner but add it when I’m having these for breakfast.
- Pumpkin Pie Spice (1/2 teaspoon, optional): A great alternative if you want a warm, spiced flavor without just adding cinnamon. It adds complexity with nutmeg and ginger notes.
If you can’t find acorn squash, butternut squash is a decent substitute, though it has a different shape and texture. You’ll need to peel and cube it instead of roasting it in halves. For a dairy-free option, swap the butter for coconut oil or a high-quality olive oil. The flavor will be slightly different, but still delicious. In summer, you could even try this method with zucchini, though the cooking time will be much shorter.
What Equipment Do I Need?
You don’t need anything fancy to pull this off. A few basic tools are all you really need. First, you’ll need a large, sharp chef’s knife. This is non-negotiable. Acorn squash is tough, and a dull knife is dangerous. I learned this the hard way when I nicked my thumb on a softer variety. Take your time. A sturdy cutting board is also essential; something heavy enough that it doesn’t slide around while you’re working.
For baking, a standard rimmed baking sheet is perfect. I prefer a dark metal sheet because it conducts heat better and helps the sugar caramelize faster. If you only have a light-colored or glass sheet, you might need to increase the roasting time by 5-10 minutes. A silicone baking mat is nice for easy cleanup, but parchment paper works just as well. You’ll also need a sturdy spoon or ice cream scoop to scrape out the seeds and stringy bits. It’s a satisfying part of the process, honestly. Just make sure your bowl is large enough to hold the seeds, which can be messy.
If you’re feeling fancy, a pastry brush helps spread the butter and sugar mixture evenly, but a spoon works fine too. No need to invest in specialized gadgets. Keep your tools clean and sharp, and you’ll be roasting squash in no time. Budget-friendly? Just stick to what you have. You probably already own everything listed here.
Preparation Method
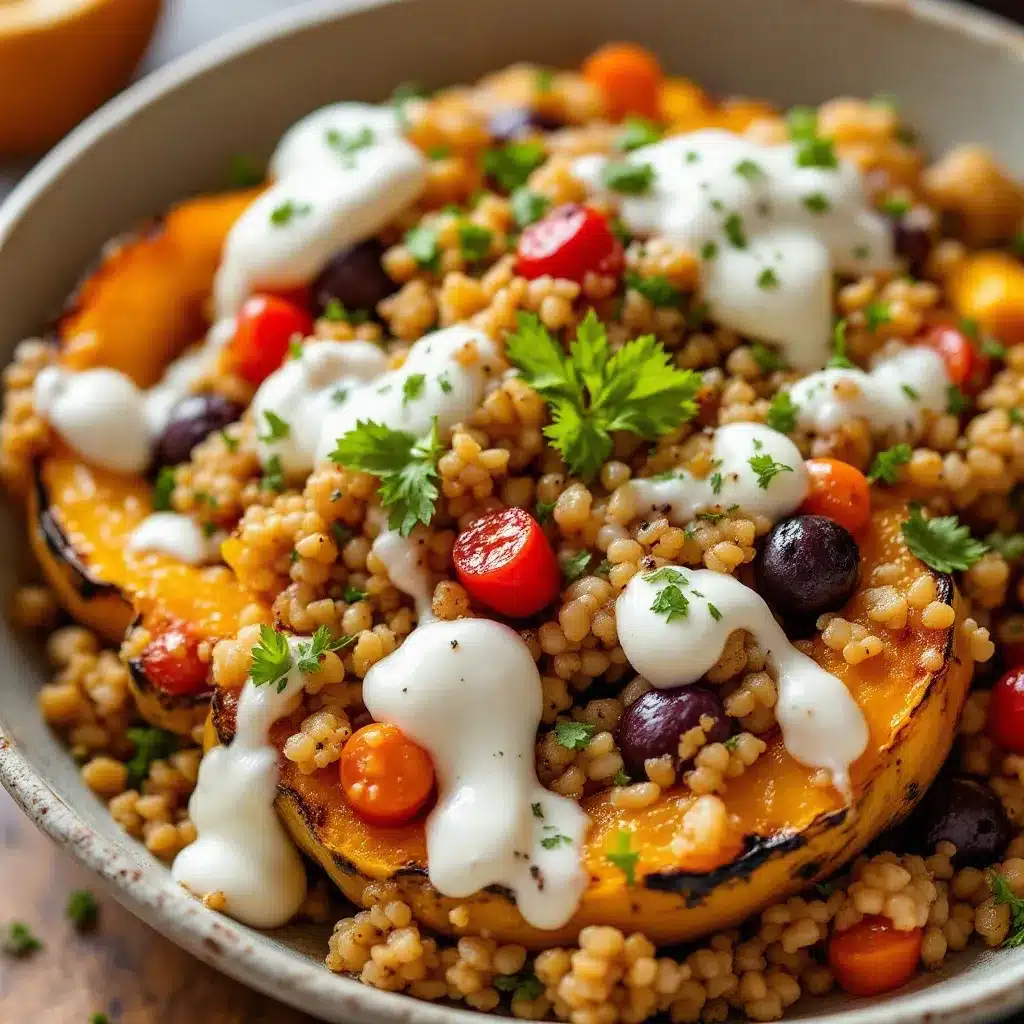
Getting started with roasted acorn squash is easier than you think, but there are a few key steps to ensure success. First, preheat your oven to 400°F (200°C). This high heat is crucial for caramelizing the sugar and tenderizing the flesh quickly. While the oven heats up, get your baking sheet ready. Line it with parchment paper or a silicone mat to prevent sticking. This will save you so much scrubbing later.
- Prep the Squash (10 minutes): Wash the squash thoroughly under cold water. This removes any dirt or residue from the farm. Place it on your cutting board. Using your sharp chef’s knife, carefully cut the squash in half from stem to bottom. Be careful here—these shells are hard. If it’s too tough to cut, microwave it for 2 minutes first to soften the skin slightly. Once halved, use a sturdy spoon or an ice cream scoop to scrape out the seeds and stringy pulp. Save the seeds if you want to roast them later as a snack, but discard them for now. You should have two clean, hollow halves.
- Season the Flesh (2 minutes): Drizzle the olive oil over the cut sides of the squash. Sprinkle the salt and black pepper evenly over the flesh. Use your fingers or a brush to rub the oil and seasoning into the squash. This ensures every bite is flavorful. If you’re using cinnamon or pumpkin pie spice, add it now. Make sure to get into all the nooks and crannies.
- Add the Brown Sugar Glaze (3 minutes): This is the fun part. Sprinkle the brown sugar generously over the oiled flesh. Don’t be shy with it; you want a good layer. If you’re using butter, cut it into small cubes and place them on top of the sugar. The butter will melt and mix with the sugar to create a glossy, bubbling sauce. If you’re not using butter, you can brush a little more olive oil over the sugar to help it melt.
- Arrange for Roasting (1 minute): Place the squash halves on the baking sheet, cut-side up. Make sure they are not touching each other. This allows hot air to circulate, ensuring even cooking. If your squash is very large, you might need two sheets, so rotate them halfway through cooking.
- Roast (40-50 minutes): Place the sheet in the center of the oven. Roast for 40 to 50 minutes. The exact time depends on the size of your squash. You’ll know they are done when the flesh is tender all the way to the skin. You can test this by inserting a fork into the thickest part of the flesh; it should slide in easily with no resistance. The sugar should be bubbly and caramelized, with some edges slightly charred for that nice bitter-sweet contrast.
- Rest and Serve (5 minutes): Remove the sheet from the oven. Let the squash rest for 5 minutes. This allows the juices to redistribute and the caramel to set slightly, making it easier to handle. Serve warm, directly from the skin if you like, or scoop the flesh out onto a plate.
Common mistake alert: If the sugar starts burning before the squash is tender, cover the pan loosely with foil for the last 10 minutes. This prevents the sugar from turning black while giving the flesh more time to cook. Also, don’t skip the resting step; it makes a difference in texture.
Cooking Tips & Techniques
Roasting squash seems straightforward, but there are a few pro tips that can save you from a rocky start. First, knife safety is paramount. Acorn squash is notoriously difficult to cut. If you’re struggling, don’t force it. Use the microwave trick I mentioned earlier, or try tapping the knife blade with the heel of your hand to help it penetrate the skin. Always cut away from your body. I’ve seen too many kitchen accidents from rushing this step.
Another key technique is ensuring even heat distribution. If your squash halves are different sizes, place the larger ones on the top rack and the smaller ones on the bottom rack, or rotate the pan halfway through. This ensures they all finish at the same time. Also, don’t overcrowd the pan. If the squash pieces are touching, they will steam instead of roast. Steaming leads to soggy, mushy squash rather than tender, caramelized edges. Give them some breathing room.
I once tried to roast these at 350°F because I was multitasking and forgot to adjust the timer. The result was undercooked, tough squash with a runny sugar glaze. Lesson learned: high heat is your friend here. It creates that desirable Maillard reaction, browning the sugars and creating complex flavors. If you don’t have a thermometer, trust your fork. If it doesn’t go in easily, it needs more time. Don’t cut into it to check; that lets the heat escape. Just give it a few more minutes.
Multitasking is easy with this recipe. While the squash roasts, you can prepare your main course or set the table. It’s a low-maintenance dish. However, keep an eye on it during the last 10 minutes. Sugar burns quickly. If you see dark spots, pull it out. You can always roast it longer, but you can’t un-burn sugar. A little char is good; a lot is bitter.
For consistency, try to buy squash of similar size. If you’re shopping for a party, pick out five or six that look roughly the same. This way, you won’t have to worry about some finishing before others. It’s a small detail that makes a big difference in presentation and timing.
Variations & Adaptations
One of the best things about this recipe is how adaptable it is. Once you master the basic method, you can tweak it to suit your taste or dietary needs. Here are a few variations I’ve tried and loved.
Savory Herb Twist: Skip the cinnamon and pumpkin pie spice. Instead, add 1 teaspoon of dried thyme and 1 teaspoon of dried rosemary. This turns the dish into a more savory side, perfect for pairing with roast chicken or pork. The herbs complement the earthy flavor of the squash beautifully.
Spicy Kick: Add a pinch of cayenne pepper or red pepper flakes to the brown sugar mixture. The heat cuts through the sweetness and adds a nice complexity. I love this version when I’m serving it with heavy, rich meats like braised short ribs.
Vegan Option: Swap the butter for coconut oil or a plant-based butter alternative. The result is nearly identical, with a slight coconut note if you use coconut oil. You can also use maple syrup instead of brown sugar for a different sweetener profile, though it won’t caramelize quite the same way.
Gluten-Free: This recipe is naturally gluten-free, so no changes needed. Just ensure your spices and brown sugar are certified gluten-free if you have celiac disease, as cross-contamination can happen in processing facilities.
Seasonal Fruit Addition: For a more dessert-like side, add a few slices of apple or pear on top of the squash before roasting. The fruit will soften and blend with the brown sugar, creating a fruity compote. This is especially nice in early fall when apples are abundant.
I’ve also tried adding a dash of balsamic vinegar after roasting. The acidity brightens up the dish and balances the heaviness of the sugar. It’s a game-changer if you find the sweetness too much. Try it once and see if you like it.
Serving & Storage Suggestions
These roasted squash halves are best served immediately while they are hot and the sugar is still gooey. I like to serve them directly in the skin, as it looks rustic and beautiful. Garnish with fresh parsley or chives for a pop of color. A sprinkle of sea salt flakes right before serving adds a nice crunch and enhances the flavor.
For beverages, these pair wonderfully with a crisp white wine like Sauvignon Blanc or a light red like Pinot Noir. If you prefer non-alcoholic options, a spiced apple cider or a hot tea with lemon works great. The warmth of the spices in the cider mirrors the flavors in the squash.
Leftovers? Yes, please. Store them in an airtight container in the refrigerator for up to 4 days. The flavors actually develop more over time, becoming deeper and more complex. To reheat, place them in a 350°F oven for 10-15 minutes until warmed through. Avoid the microwave, as it can make the flesh mushy and the sugar soggy. If you must use the microwave, do it in short bursts and let it rest.
Can you freeze them? Yes, but the texture may change slightly. The squash will become softer upon thawing. It’s best for soups or smoothies if you freeze them. For roasting, fresh is always best. I usually only have leftovers when I’m meal prepping, and even then, they taste great cold or reheated.
Nutritional Information & Benefits
Acorn squash is a nutritional powerhouse. It’s low in calories but high in fiber, which helps with digestion and keeps you feeling full. It’s also rich in vitamins A and C, which support immune health and skin vitality. The brown sugar adds some calories, but the portion size is controlled, so it’s not a guilt-inducing dish. It’s a balanced treat.
For those watching their sugar intake, you can reduce the brown sugar to 2 tablespoons. The natural sweetness of the squash will still shine through. It’s also a great source of potassium, which helps regulate blood pressure. I love that I can serve a side dish that is both delicious and good for you. It’s a win-win.
Allergens: This recipe is naturally free of nuts, dairy (if you use oil), and gluten. Just double-check your spice blends for hidden allergens. For a low-carb option, skip the sugar and use a sugar substitute like erythritol, though it won’t caramelize the same way. Overall, it’s a healthy, wholesome addition to any meal.
Conclusion
There’s something truly special about Easy Brown Sugar Roasted Acorn Squash Halves. It’s a recipe that reminds us to slow down and appreciate the simple, seasonal ingredients around us. It’s not complicated, but it is deeply satisfying. I hope you give it a try and make it your own. Feel free to experiment with spices, fruits, or herbs. The kitchen is your playground.
If you make this recipe, I’d love to hear how it turned out. Leave a comment below with your thoughts or share a photo. Tag me on social media if you do—I love seeing your creations. And if you have questions, don’t hesitate to ask. I’m here to help. Thank you for spending time in my kitchen. Until next time, keep cooking with love.
Frequently Asked Questions
How do I know when the acorn squash is fully cooked?
The easiest way is to insert a fork into the thickest part of the flesh. If it slides in easily with no resistance, it’s done. The flesh should also feel soft when you press it gently with your fingers.
Can I use frozen acorn squash?
It’s best to use fresh squash for this recipe. Frozen squash can become watery and mushy when roasted. If you must use frozen, thaw it completely and pat it dry before adding the sugar and butter.
What is the best way to cut an acorn squash?
Wash the squash and microwave it for 2-3 minutes to soften the skin. Then, use a sharp chef’s knife to cut it in half. Always cut on a stable surface and away from your body.
Can I make this recipe ahead of time?
You can prep the squash by cutting and seasoning it up to 24 hours in advance. Store it in the fridge in an airtight container. When ready to cook, just add it to the oven. Note that the sugar might draw out some moisture, so you may need to add a splash of water or oil before roasting.
Why is my sugar burning?
Ovens vary in temperature, and sugar burns quickly. If you see dark spots, cover the pan with foil. Also, ensure you are using the correct rack position. The top rack can cause faster browning, so try the middle rack if you’re having trouble.
Pin This Recipe!
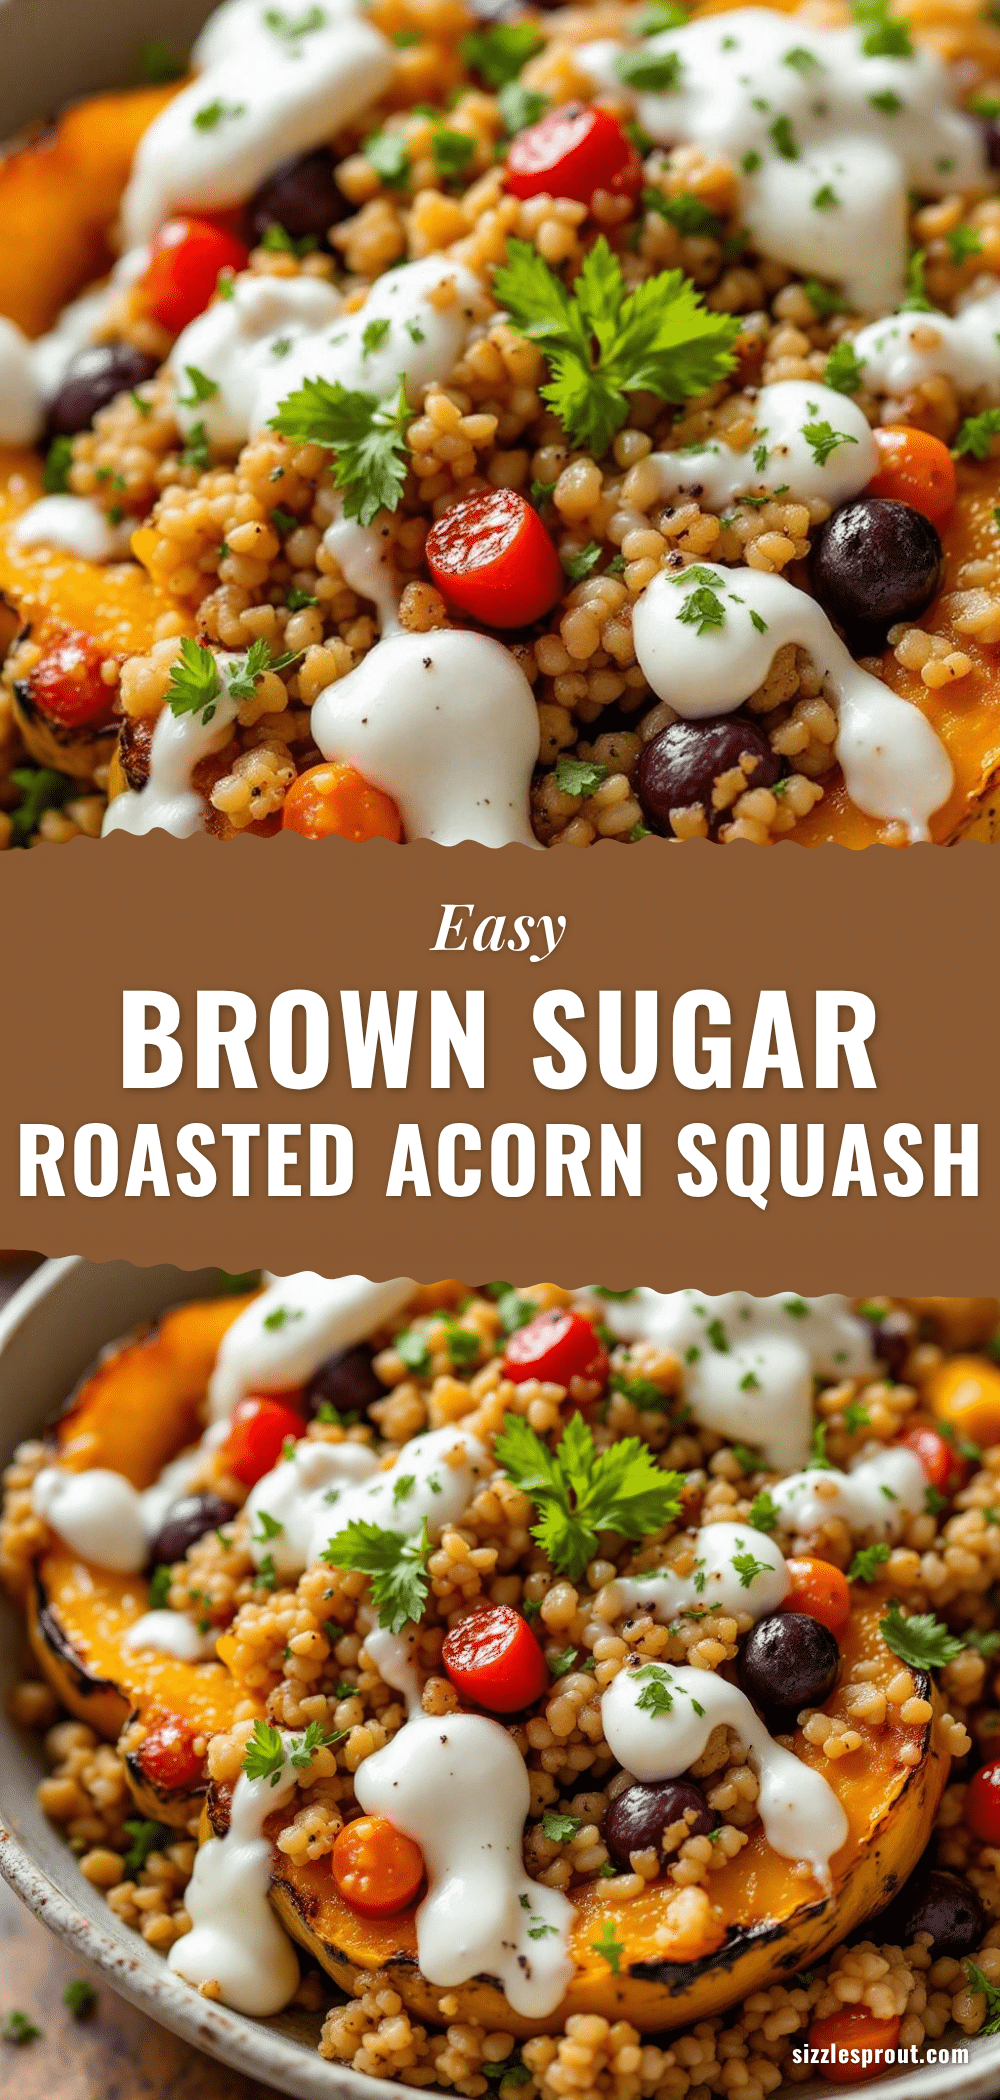
Easy Brown Sugar Roasted Acorn Squash Halves

A simple, forgiving side dish featuring acorn squash roasted with brown sugar, butter, and spices until tender and caramelized. This recipe transforms a humble vegetable into a luxurious, sweet-savory comfort food.
- Prep Time: 15 minutes
- Cook Time: 40-50 minutes
- Total Time: 55-65 minutes
- Yield: 4 servings 1x
- Category: Side Dish
- Cuisine: American
Ingredients
- 2 medium acorn squash
- 4 tablespoons unsalted butter
- 1/3 cup brown sugar
- 1 tablespoon extra virgin olive oil
- 1/2 teaspoon salt
- 1/4 teaspoon black pepper
- 1/2 teaspoon cinnamon (optional)
- 1/2 teaspoon pumpkin pie spice (optional)
Instructions
- Preheat oven to 400°F (200°C). Line a rimmed baking sheet with parchment paper or a silicone mat.
- Wash the squash thoroughly. Carefully cut each squash in half from stem to bottom. If the shell is too hard, microwave for 2 minutes to soften slightly.
- Use a sturdy spoon or ice cream scoop to scrape out the seeds and stringy pulp from the center of each half.
- Drizzle olive oil over the cut sides of the squash. Sprinkle with salt and black pepper, rubbing it into the flesh.
- Sprinkle brown sugar generously over the oiled flesh. Place small cubes of butter on top of the sugar.
- Arrange squash halves cut-side up on the baking sheet, ensuring they are not touching.
- Roast for 40-50 minutes, or until the flesh is tender when pierced with a fork and the sugar is bubbly and caramelized.
- Remove from oven and let rest for 5 minutes before serving.
Notes
If the sugar starts burning before the squash is tender, cover the pan loosely with foil for the last 10 minutes. For a dairy-free option, swap butter for coconut oil. For a vegan option, use plant-based butter or coconut oil. Leftovers can be stored in the refrigerator for up to 4 days and reheated in the oven.
Nutrition
- Serving Size: 1 squash half
- Calories: 280
- Sugar: 28
- Sodium: 350
- Fat: 12
- Saturated Fat: 7
- Carbohydrates: 42
- Fiber: 6
- Protein: 3
Keywords: acorn squash, roasted squash, brown sugar, fall recipes, vegetarian side dish, healthy sides, easy dinner, seasonal cooking


