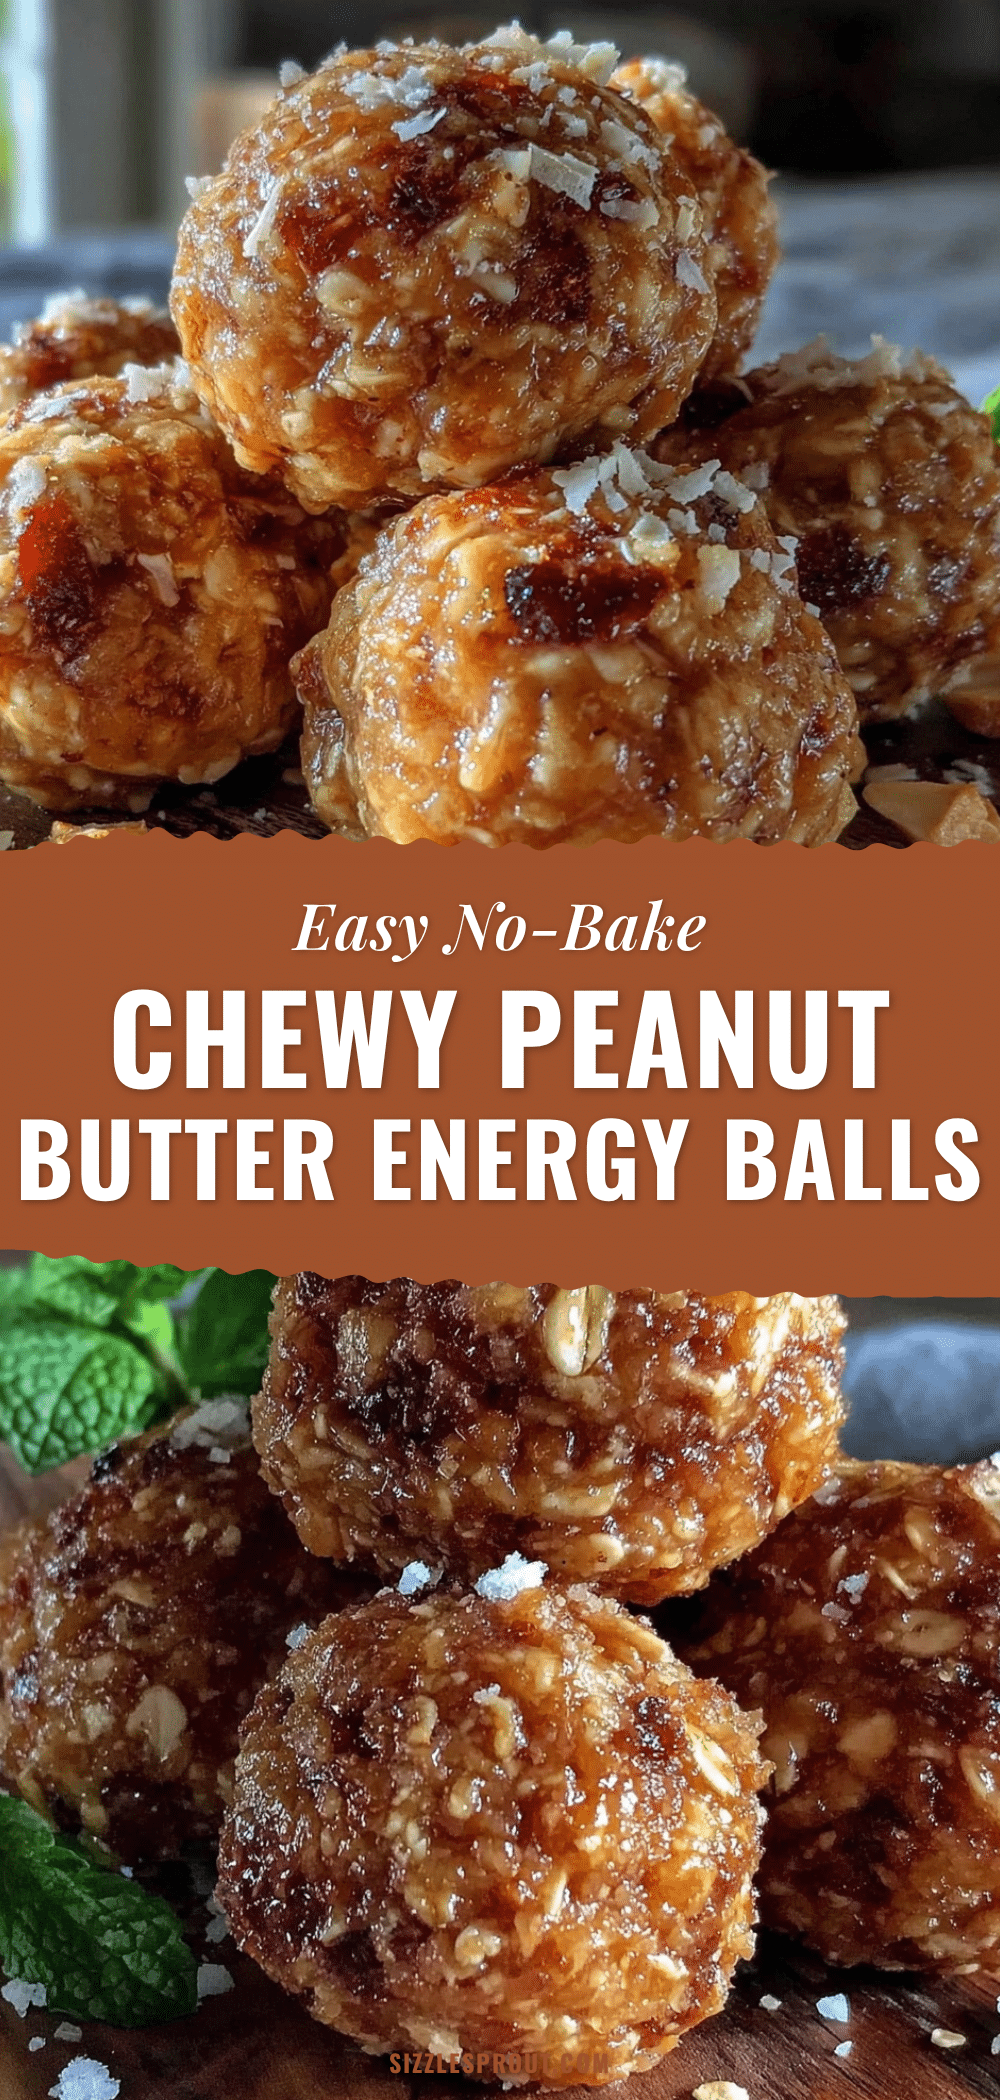
Love this? Save it for later!
Share the inspiration with your friends
Introduction
Last Thursday afternoon, my colleague caught me rummaging through the office kitchen, hunting for something quick to snack on before the endless meetings kicked in. She didn’t say a word at first but slid a small, unassuming container across the table. “Try these,” she said, like it was no big deal. Those Easy 5-Ingredient No-Bake Peanut Butter Energy Balls quickly became my go-to pick-me-up. Honestly, I wasn’t expecting much, but that first bite—oh, it was like a little burst of peanut buttery goodness that settled right in, no mess, no fuss.
Now, I’m not one to hoard recipes, but this one stuck with me—probably because it showed up not with a grand cooking lesson, but as a casual gift from someone who just “happened” to make too many. You know that feeling when something simple just nails the snack game? These energy balls are exactly that. Plus, the fact that they don’t require baking means you can whip them up even if you forgot to plan ahead (which happens to me way more than I care to admit).
Maybe you’ve been there too—needing a quick, wholesome snack without turning your kitchen into a disaster zone. That’s exactly why I keep coming back to this recipe. It’s straightforward, satisfying, and honestly, a little comforting in its predictability. Let me tell you, once you make these, you’ll find yourself passing the recipe along just like my colleague did, no fanfare, just sharing good food in the moment.
Why You’ll Love This Recipe
Let me tell you, these Easy 5-Ingredient No-Bake Peanut Butter Energy Balls are more than just a quick fix—they’re a small victory in the busy rhythm of daily life. After testing countless snack options, this recipe stood out because it’s just so darn reliable and tasty. Here’s why you’ll appreciate it as much as I do:
- Quick & Easy: Ready in under 15 minutes, these energy balls fit perfectly into hectic mornings or afternoon slumps.
- Simple Ingredients: No hunting for obscure items—just pantry staples you probably already have, like peanut butter and oats.
- Perfect for On-the-Go: Great for tossing in your bag for work, hikes, or even last-minute guests.
- Crowd-Pleaser: Kids, adults, picky eaters—you name it, these balls get thumbs up all around.
- Unbelievably Delicious: The chewy texture combined with a touch of sweetness and saltiness is pure comfort food without the guilt.
What sets this recipe apart? It’s the balance—the peanut butter isn’t overpowering, and the natural sweetness from honey ties it all together without making it sticky or cloying. Plus, no baking means you keep all the nutrients intact, and the process is super forgiving. Honestly, I sometimes swap regular oats for gluten-free ones and it still works like a charm. This recipe isn’t just a snack; it’s a little ritual of ease and nourishment that I love sharing.
What Ingredients You Will Need
This recipe uses simple, wholesome ingredients to deliver bold flavor and satisfying texture without the fuss. You can find most of these in your pantry or local grocery store, and they’re easy to swap if needed.
- Peanut Butter (creamy or chunky, about 1 cup / 240 ml) – I recommend using natural peanut butter with no added sugar for the best flavor.
- Rolled Oats (1 cup / 90 grams) – Use old-fashioned oats for a nice chewy texture. Gluten-free oats work well too.
- Honey (¼ cup / 85 grams) – Acts as a natural sweetener and binder. Maple syrup is a good vegan alternative.
- Chia Seeds (2 tablespoons / 20 grams) – Adds a subtle crunch and a boost of fiber and omega-3s.
- Mini Chocolate Chips (¼ cup / 45 grams) – Optional but highly recommended for a little indulgence; use dairy-free chips if preferred.
For substitutions, if you’re allergic to peanuts, almond or sunflower seed butter can be swapped in easily. If you want to boost protein, adding a scoop of your favorite protein powder blends right in. Just remember, the magic here is simplicity, so don’t overload the ingredient list unless you really want to experiment.
Equipment Needed
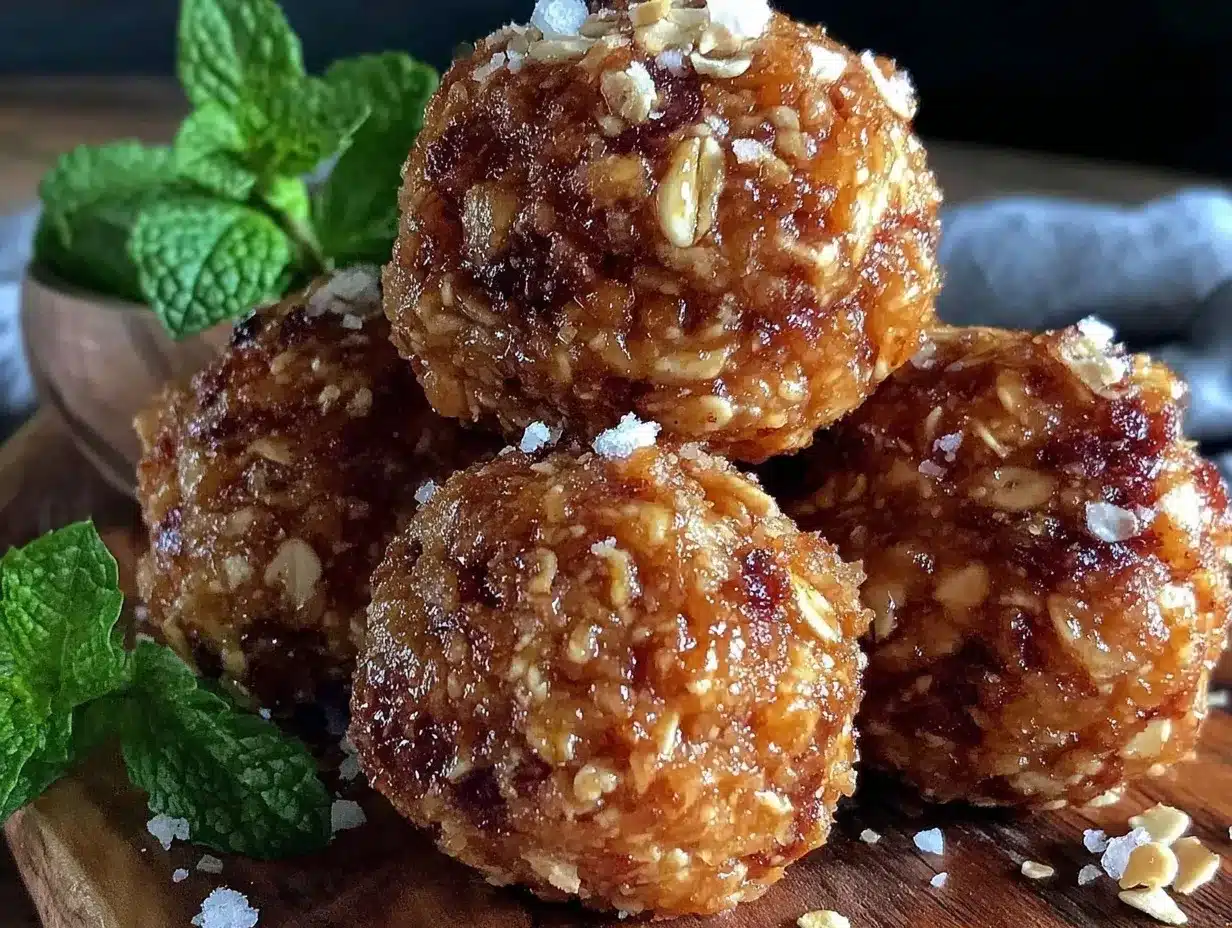
One of the best things about this recipe is that it requires minimal equipment. Honestly, you’ll find everything you need right in your standard kitchen setup.
- Mixing Bowl: A medium to large bowl to combine your ingredients.
- Spoon or Spatula: For mixing—silicone spatulas work great for scraping the sides.
- Measuring Cups and Spoons: For accuracy, though eyeballing works if you’re confident.
- Baking Sheet or Plate: To place the formed balls for chilling.
- Refrigerator: To chill the energy balls and help them set properly.
If you have a food processor, you can pulse the oats a bit for a finer texture, but it’s not necessary. I usually just mix by hand and get perfectly chewy bites. Also, no need for expensive gadgets here, so it’s great whether you’re cooking in a cozy apartment kitchen or a more equipped home space.
Preparation Method
- Gather your ingredients. Measure out 1 cup (240 ml) of peanut butter, 1 cup (90 g) rolled oats, ¼ cup (85 g) honey, 2 tablespoons (20 g) chia seeds, and ¼ cup (45 g) mini chocolate chips. Having everything ready makes the process smoother.
- Combine the peanut butter and honey. In your mixing bowl, stir together the peanut butter and honey until smooth and well blended. This might take about 2–3 minutes. If your peanut butter is stiff, warming it slightly in the microwave for 15 seconds can help.
- Add the oats and chia seeds. Mix in the rolled oats and chia seeds thoroughly. The mixture should start to thicken and hold together. Expect a slightly sticky but manageable texture.
- Fold in the mini chocolate chips. Gently stir them through the mixture to distribute evenly without melting them. This step takes about 30 seconds.
- Form the energy balls. Using your hands, roll the mixture into roughly 1-inch (2.5 cm) balls. You should get about 12–15 balls depending on size. If the mixture feels too sticky, wet your hands with a bit of water to make rolling easier.
- Chill the balls. Place them on a baking sheet or plate lined with parchment paper and refrigerate for at least 30 minutes to firm up.
- Store and enjoy. Once set, transfer the balls to an airtight container. They’re ready to snack on immediately but taste even better after a few hours when the flavors meld.
Pro tip: If the mixture feels dry or crumbly, add a teaspoon of water or extra honey to help bind. Also, don’t skip chilling—it really helps the texture and keeps them from falling apart. I learned that the hard way after a rushed snack attempt ended with a peanut butter crumble on my shirt!
Cooking Tips & Techniques
Making these peanut butter energy balls is straightforward, but a few tips can make your experience even smoother. First, always use fresh ingredients. Stale oats or old peanut butter can dull the flavor.
When mixing, make sure your peanut butter is soft enough to blend easily. Cold or hardened peanut butter makes creating a smooth batter trickier. I sometimes microwave the peanut butter in a small bowl for 10–15 seconds to loosen it up, but be careful not to overheat.
Another common mistake is rolling the balls too tightly or too loosely. I like to keep my hands moist to prevent sticking but avoid compressing the mixture too much, so the texture stays pleasantly chewy.
Timing matters too. If you’re multitasking, mix the ingredients in the morning and let them chill in the fridge while you go about your day. By afternoon, they’ll be perfectly set and ready.
Lastly, if you want to switch up the texture, lightly pulsing the oats in a food processor before mixing can give a more uniform bite. But honestly, the rustic, whole oats texture is part of the charm for me.
Variations & Adaptations
These peanut butter energy balls are a blank canvas for your cravings and dietary needs. Here are a few ways I like to switch things up:
- Nut-Free Version: Replace peanut butter with sunflower seed butter or soy nut butter to keep it allergy-friendly.
- Added Protein: Stir in a scoop of your favorite protein powder (vanilla or chocolate) to make these even more filling.
- Seasonal Twist: Swap mini chocolate chips for dried cranberries or chopped dates during fall and winter for a fruity flavor.
- Spiced Up: Add a pinch of cinnamon or a dash of cayenne pepper for a bit of warmth or heat.
- Coated Balls: Roll finished balls in shredded coconut or crushed nuts for extra texture and presentation flair.
I once tried a batch with cocoa powder and a touch of espresso powder for a mocha vibe—surprisingly addictive! Feel free to experiment; the recipe’s simplicity means you can tweak without worry.
Serving & Storage Suggestions
These energy balls are best served chilled or at room temperature. They make a perfect grab-and-go snack for busy mornings or an afternoon energy boost. I like to plate them alongside fresh fruit or a small glass of almond milk for a balanced mini-meal.
Store leftover balls in an airtight container in the refrigerator. They keep well for up to two weeks, though they rarely last that long in my house! For longer storage, freeze them in a single layer on a baking sheet, then transfer to a freezer bag. Thaw in the fridge overnight before eating.
Reheating isn’t necessary, but if you prefer a softer texture, letting them sit at room temperature for 10 minutes does the trick. Over time, the flavors meld and the sweetness mellows, making them even more enjoyable after a day or two.
Nutritional Information & Benefits
Each peanut butter energy ball packs a nutritious punch with roughly:
| Calories | 120–130 kcal |
|---|---|
| Protein | 4–5 grams |
| Fiber | 3 grams |
| Fat | 7–8 grams (mostly healthy fats) |
The combination of peanut butter and chia seeds provides heart-healthy fats and a good dose of protein, while oats contribute fiber for sustained energy. The natural honey offers just enough sweetness without refined sugar overload. This recipe is gluten-free if you use certified gluten-free oats, and can be tailored to vegan diets by swapping honey for maple syrup.
From my wellness perspective, these energy balls are a smart snack choice—fueling your day with natural ingredients that keep you satisfied without the sugar crash.
Conclusion
So, why should you give these Easy 5-Ingredient No-Bake Peanut Butter Energy Balls a try? Because they’re simple, tasty, and exactly the kind of snack you want when life gets hectic. You can tweak the ingredients to suit your tastes or dietary needs, making them truly your own.
I love this recipe because it reminds me of that unexpected kindness from a colleague and how sharing food can brighten a day. Now, I get to pass that feeling along to you. If you try making these, I’d really love to hear how you customized them or any fun twists you added—drop a comment or share your story!
Remember, good food doesn’t have to be complicated. Sometimes, a few humble ingredients and a little time in the fridge are all it takes to make snack magic.
FAQs
Can I use crunchy peanut butter instead of creamy?
Yes! Crunchy peanut butter adds a nice texture to the energy balls, but creamy works best if you prefer a smoother bite.
How long do these energy balls last in the fridge?
Stored in an airtight container, they stay fresh for about two weeks—if you don’t eat them all sooner!
Can I make these energy balls without honey?
Absolutely. Maple syrup or agave nectar are great vegan alternatives that work just as well.
Is it okay to freeze the energy balls?
Yes, freezing is a great option! Freeze them on a tray first, then transfer to a bag. Thaw in the fridge before eating.
Can I add protein powder to this recipe?
Definitely. Adding a scoop of your favorite protein powder can increase the protein content and make the snack more filling.
Pin This Recipe!
Easy 5-Ingredient No-Bake Peanut Butter Energy Balls
Quick and simple no-bake peanut butter energy balls made with just five ingredients, perfect for a healthy snack on the go.
- Prep Time: 10 minutes
- Cook Time: 0 minutes
- Total Time: 40 minutes
- Yield: 12-15 energy balls 1x
- Category: Snack
- Cuisine: American
Ingredients
- 1 cup (240 ml) natural peanut butter (creamy or chunky)
- 1 cup (90 grams) rolled oats (old-fashioned or gluten-free)
- 1/4 cup (85 grams) honey (or maple syrup for vegan alternative)
- 2 tablespoons (20 grams) chia seeds
- 1/4 cup (45 grams) mini chocolate chips (optional, use dairy-free if preferred)
Instructions
- Gather your ingredients: peanut butter, rolled oats, honey, chia seeds, and mini chocolate chips.
- In a mixing bowl, stir together the peanut butter and honey until smooth and well blended (2–3 minutes). Warm peanut butter slightly if stiff.
- Mix in the rolled oats and chia seeds thoroughly until the mixture thickens and holds together.
- Gently fold in the mini chocolate chips to distribute evenly without melting.
- Roll the mixture into roughly 1-inch (2.5 cm) balls using your hands, about 12–15 balls. Wet hands with water if mixture is too sticky.
- Place the balls on a baking sheet or plate lined with parchment paper and refrigerate for at least 30 minutes to firm up.
- Transfer the chilled balls to an airtight container. Enjoy immediately or after flavors meld for a few hours.
Notes
If the mixture feels dry or crumbly, add a teaspoon of water or extra honey to help bind. Chilling is essential to firm up the balls and improve texture. Warming peanut butter slightly helps if it is stiff. Rolling with moist hands prevents sticking. Optional to pulse oats in a food processor for finer texture.
Nutrition
- Serving Size: 1 energy ball
- Calories: 125
- Sugar: 6
- Sodium: 50
- Fat: 7.5
- Saturated Fat: 1
- Carbohydrates: 12
- Fiber: 3
- Protein: 4.5
Keywords: peanut butter energy balls, no-bake snacks, healthy snacks, quick energy balls, 5-ingredient snacks, gluten-free snacks, vegan snacks


