Love this? Save it for later!
Share the inspiration with your friends
My husband took a bite of these fries, paused, and said, “Wait, these are squash?” with the kind of disbelief you usually reserve for someone telling you the sky is actually green. He’d just demolished half a baking sheet before I even sat down with my own plate. That was the moment I knew this recipe was going to be a regular thing around here, not just a “let’s try to be healthy” experiment that fizzles out after one attempt.
I’ve made a lot of roasted vegetables in my time. Some were good, some were sad, soggy attempts that I tried to hide under a blanket of ketchup. But these crispy parmesan butternut squash fries? They’re different. The edges get all brown and crunchy, the inside stays tender and sweet, and the parmesan melts into this salty, nutty crust that makes you forget you’re eating a vegetable. Honestly, I’ve served them alongside burgers, piled them next to a smoked paprika grilled corn elote salad for a full veggie-forward dinner, and even just eaten a whole batch standing at the counter for lunch.
The trick is getting that coating right. Too much oil and they’re greasy. Not enough parmesan and they’re just bland squash sticks. But when you hit that sweet spot—and I promise you will with this method—you get fries that are genuinely crave-worthy. They have that same satisfying crunch and salty hit as regular fries, but with a subtle sweetness that makes them feel a little special. This is the kind of recipe that makes you feel like you’re getting away with something. And you kind of are.
Why You’ll Love This Recipe
Let me tell you why these fries have earned a permanent spot in my weekly rotation. I’ve tested this recipe more times than I care to admit, tweaking the temperature, the coating ratio, and the cut of the squash until everything clicked.
- Seriously Crispy Without Deep Frying : The combination of high heat, a light coating of cornstarch, and finely grated parmesan creates a crust that shatters when you bite into it. No soggy fries here, I promise.
- Simple, Real Ingredients : You only need a handful of things—butternut squash, parmesan, a few pantry spices, and olive oil. No weird processed coatings or hard-to-find items.
- Perfect for Fall and Beyond : Sure, these are amazing with a cozy fall dinner, but I make them year-round. They’re great for game days, holiday sides, or just a snack that feels indulgent without the guilt.
- A Total Crowd-Pleaser : I’ve watched kids who swear they hate vegetables reach for seconds. The parmesan and salt do a lot of heavy lifting here, and the natural sweetness of the squash wins everyone over.
- Baked, Not Fried : You get all the satisfaction of crispy fries without the mess or oil of deep frying. Your kitchen stays clean, and your arteries will thank you.
What really sets this recipe apart is the technique. Instead of just tossing the squash in oil and hoping for the best, we’re using a smart two-step coating method. A light dusting of cornstarch helps draw out surface moisture and gives the parmesan something to really stick to. It’s a small extra step that makes a huge difference. This isn’t just another roasted squash recipe—it’s the one that actually delivers on the promise of crispy fries.
What Ingredients You Will Need
This recipe relies on simple, wholesome ingredients that come together to create something genuinely special. Each component plays a specific role in building that perfect crispy texture and big, savory flavor.
- Butternut Squash (1 medium, about 2 pounds): Look for one that feels heavy for its size with firm, unblemished skin. A long, straight neck is ideal because it gives you even, fry-shaped pieces with fewer seeds to deal with. (If you’re short on time, pre-cut squash from the store works in a pinch, just make sure the pieces are large enough to cut into fry shapes.)
- Finely Grated Parmesan Cheese (1/2 cup): This is not the time for the green can. Buy a block of good-quality parmesan and grate it yourself on the small holes of a box grater. The pre-shredded stuff has anti-caking agents that prevent it from melting and crisping up properly. I like using a good aged Parmigiano-Reggiano for the best flavor.
- Cornstarch (2 tablespoons): This is the secret weapon for maximum crunch. It helps absorb excess moisture from the surface of the squash and creates a thin, crispy coating that the parmesan and oil cling to.
- Olive Oil (2 tablespoons): Use a good quality extra virgin olive oil for flavor, or a lighter olive oil if you prefer a more neutral taste. You just need enough to lightly coat the squash sticks.
- Garlic Powder (1 teaspoon): Adds a savory depth that complements the parmesan beautifully. Don’t skip it—it makes a difference.
- Onion Powder (1/2 teaspoon): Rounds out the savory flavor profile without being overpowering.
- Paprika (1/2 teaspoon): I use sweet paprika for a mild, earthy sweetness, but smoked paprika would add a lovely smoky note if you want to change things up.
- Salt (1/2 teaspoon, plus more for finishing): I use fine sea salt. You’ll need some in the coating mixture and a little sprinkle right when they come out of the oven.
- Black Pepper (1/4 teaspoon, freshly ground): Adds a tiny bit of warmth and bite.
- Fresh Parsley (for garnish, optional): A sprinkle of chopped fresh parsley right before serving adds a pop of color and freshness. Totally optional but pretty.
Ingredient Tip: When you’re grating the parmesan, make sure it’s very fine—almost powdery. Larger shreds won’t adhere as well and can burn before the squash is cooked through. I’ve made that mistake, and it’s not pretty.
Equipment Needed
You don’t need any fancy gadgets for this recipe, which is part of why I love it so much. Here’s what you’ll need:
- Baking Sheet : A large, rimmed baking sheet is essential. I recommend a heavy-duty one (half-sheet pan size) because it distributes heat evenly and won’t warp in the hot oven. If you have a dark, non-stick baking sheet, just keep an eye on the fries as they may brown faster.
- Parchment Paper : Lining your baking sheet is crucial. It prevents the cheese from sticking and makes cleanup an absolute breeze. Silicone baking mats work too, but I find parchment gives a slightly crisper bottom.
- Sharp Chef’s Knife : Butternut squash is dense and tough to cut. A sharp, sturdy knife makes the job safe and easy. A dull knife is a recipe for a trip to the ER.
- Vegetable Peeler : For removing the tough outer skin. A standard Y-peeler works great.
- Large Mixing Bowl : For tossing the squash sticks with the coating ingredients.
- Box Grater or Microplane : For finely grating your block of parmesan cheese.
- Measuring Spoons : For accurate measuring of the spices and cornstarch.
Budget-Friendly Tip: Don’t have a Microplane? A standard box grater works perfectly. Just use the side with the smallest holes. And if you don’t have a rimmed baking sheet, any large, oven-safe pan with a lip will do—just make sure the fries have enough space to spread out in a single layer.
Preparation Method
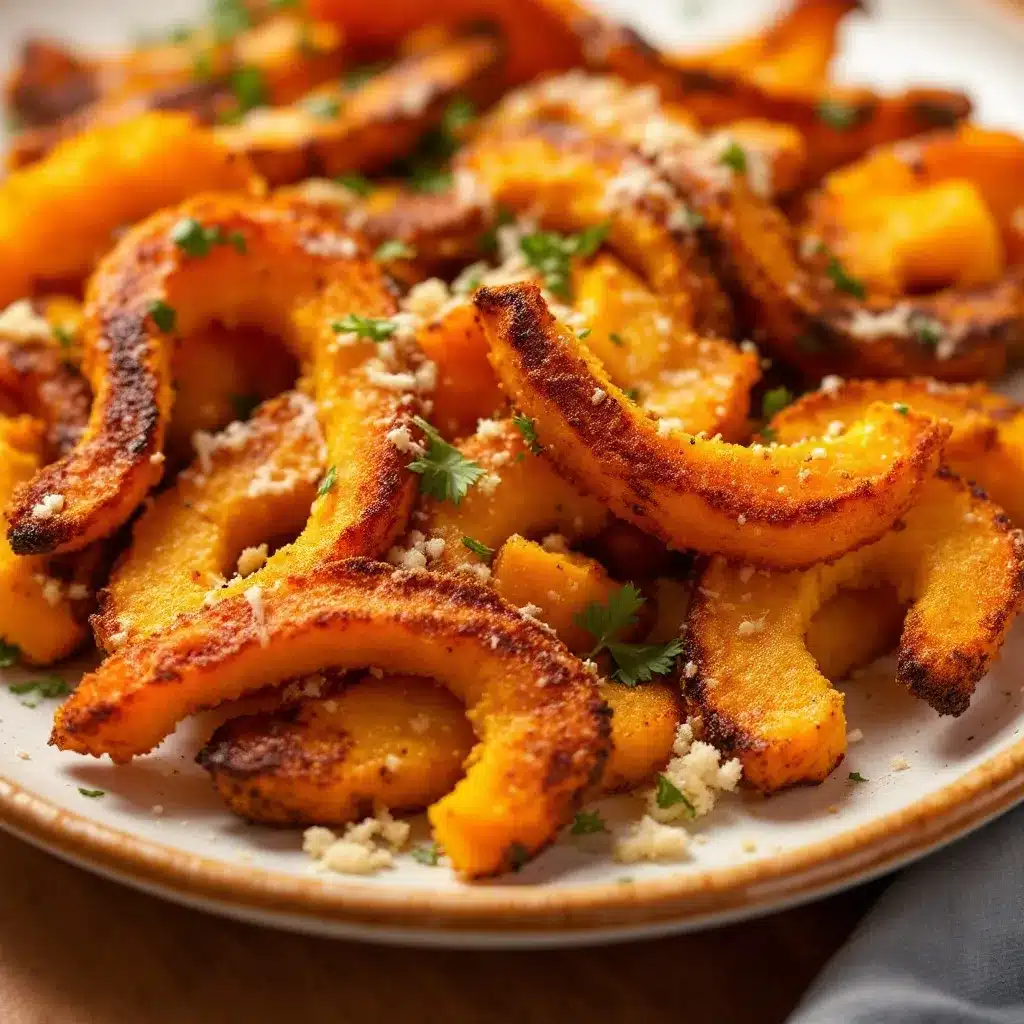
Alright, let’s get to the good part. Follow these steps carefully, and you’ll have the crispiest, most delicious butternut squash fries of your life.
- Preheat Your Oven : Set your oven to 425°F (220°C). A hot oven is non-negotiable for getting that crispy exterior. While it’s heating, line a large baking sheet with parchment paper.
- Prep the Squash : Carefully cut off both ends of the butternut squash with your sharp chef’s knife. Stand the squash upright on one of the flat ends and slice down to remove the peel, following the curve of the squash with your knife. A vegetable peeler also works well here. Once peeled, cut the squash in half where the narrow neck meets the round bulb. Scoop out the seeds and stringy bits from the bulb portion with a spoon. (You can save the seeds to roast later if you like!)
- Cut the Fries : Slice the neck portion into planks about 1/2-inch thick. Then cut those planks into sticks that are about 1/2-inch wide and 3-4 inches long. Repeat with the bulb portion, cutting it into similarly sized pieces. Try to keep them as uniform as possible so they cook evenly. I know it’s tempting to make them thicker, but trust me, 1/2-inch is the sweet spot for getting crispy edges and a tender center.
- Prepare the Coating : In a large mixing bowl, whisk together the finely grated parmesan cheese, cornstarch, garlic powder, onion powder, paprika, salt, and black pepper. Make sure everything is evenly distributed.
- Oil the Squash : Drizzle the olive oil over the cut squash sticks in the bowl. Use your hands to gently toss and coat every piece evenly with the oil. This step is important—the oil helps the dry coating stick.
- Coat the Fries : Add the parmesan-cornstarch mixture to the bowl with the oiled squash. Toss everything together gently but thoroughly with your hands until each fry is evenly coated. You want to see a nice, even layer of the mixture clinging to every piece. Don’t be shy—get in there with your hands.
- Arrange on Baking Sheet : Spread the coated squash fries in a single layer on your prepared baking sheet. This is critical. If they’re crowded or overlapping, they’ll steam instead of crisp. If you have a lot, use two baking sheets or bake in batches. Leave a little space between each fry.
- Bake : Place the baking sheet in the preheated oven and bake for 15 minutes. After 15 minutes, remove the sheet from the oven and use a spatula to carefully flip each fry over. Return the sheet to the oven and bake for another 10-15 minutes, or until the fries are golden brown, crispy on the outside, and tender when pierced with a fork. The exact time will depend on the thickness of your fries and your oven.
- Cool Slightly and Serve : Remove the baking sheet from the oven and let the fries cool on the pan for 2-3 minutes. This allows them to firm up a bit more. Sprinkle with a little extra salt and some chopped fresh parsley if you’re using it. Serve immediately while they’re hot and crispy.
My Personal Tip: I know it’s a pain to flip each fry, but it makes a huge difference in how evenly they crisp up. Put on a podcast or some music and just get it done. Your reward will be perfectly browned fries on all sides.
Cooking Tips & Techniques
Over the course of testing this recipe, I learned a few things the hard way so you don’t have to. Here are my best tips for perfect fries every single time.
Don’t Skip the Cornstarch. I know it seems like an extra step, but it’s the single most important factor in getting that really crispy exterior. The cornstarch absorbs surface moisture from the squash and creates a thin, starchy layer that fries up beautifully in the oven. Without it, the parmesan can get soggy and the fries will be soft.
Cut Evenly or Pay the Price. I learned this lesson after a batch of fries where some were burnt and others were still raw in the middle. Take the extra minute to make sure your sticks are all roughly the same size. Aim for that 1/2-inch thickness. Thicker fries need more time and might not get as crispy. Thinner ones can burn before the inside is cooked.
Space is Your Friend. This cannot be overstated. If you pile the fries on top of each other, they will steam. Steamed squash is sad, limp squash. Give them room to breathe. If your baking sheet is too small, use two. Or bake in batches. Your patience will be rewarded with perfectly crispy edges.
Flip Halfway Through. I know it’s tedious, but it’s worth it. Flipping ensures both sides of the fries get direct contact with the hot baking sheet, which is what creates that beautiful golden-brown crust. Forgetting to flip results in one crispy side and one soft side.
Let Them Rest on the Pan. Those 2-3 minutes of cooling time on the hot baking sheet are crucial. The fries continue to crisp up as they cool slightly. If you try to move them immediately, they might be a little fragile and break apart. Give them a minute to set.
Watch Your Oven. All ovens run a little differently. Start checking your fries at the 22-minute mark, especially if your oven runs hot. You’re looking for deep golden brown edges and a tender interior when pierced with a fork. If they’re browning too quickly, you can lower the temperature to 400°F (200°C) for the last few minutes.
Variations & Adaptations
One of the best things about this recipe is how easy it is to customize. Here are some of my favorite ways to change it up.
- Spicy Chipotle Version : Add 1/2 teaspoon of chipotle powder or smoked paprika to the coating mixture. The smoky heat pairs beautifully with the sweet squash and salty parmesan. I make these when I want a little kick with my burger.
- Herb & Garlic Fries : Add 1 teaspoon of dried rosemary or thyme to the coating mixture. You can also toss the hot fries with a tablespoon of finely chopped fresh rosemary or sage right after they come out of the oven. The herbal flavor is so good with the nutty parmesan.
- Air Fryer Method : If you have an air fryer, this recipe works beautifully. Preheat your air fryer to 400°F (200°C). Arrange the coated fries in a single layer in the basket (you may need to work in batches). Cook for 8-10 minutes, shaking the basket halfway through, until golden and crispy. The air fryer gives an even crispier result in less time.
- Vegan Adaptation : Swap the parmesan for a high-quality vegan parmesan alternative or use nutritional yeast. Nutritional yeast has a cheesy, savory flavor that works surprisingly well here. You might need to add a little extra salt to compensate.
- Gluten-Free Option : This recipe is naturally gluten-free as written! Just make sure your cornstarch is certified gluten-free if that’s a concern for you. The parmesan and spices are all naturally gluten-free.
I once made a batch with a sprinkle of za’atar spice blend mixed into the coating, and it was absolutely incredible. The tangy sumac and sesame seeds added a whole new dimension. Don’t be afraid to experiment with your favorite spice blends!
Serving & Storage Suggestions
These fries are best enjoyed fresh and hot from the oven, but here’s how to make the most of them.
Serving Suggestions: Serve these fries immediately while they’re at their crispiest. They’re fantastic on their own as a snack, but they really shine as a side dish. Pair them with a juicy burger, a cozy crockpot creamy ranch pork chops dinner, or alongside a simple grilled chicken or fish. For a fun appetizer, serve them with a dipping sauce like garlic aioli, chipotle mayo, or a simple ranch dressing. A squeeze of fresh lemon juice over the top right before serving adds a bright, acidic note that cuts through the richness.
Storage: If you have leftovers (which is rare in my house!), let the fries cool completely to room temperature. Store them in an airtight container in the refrigerator for up to 3 days. They will lose their crispiness in the fridge, but don’t worry—we can fix that.
Reheating: The key to reviving leftover fries is to re-crisp them in the oven or air fryer. Do not use the microwave—it will turn them into sad, soggy mush. To reheat, spread the fries on a baking sheet and pop them into a 400°F (200°C) oven for 5-8 minutes, or until heated through and crispy again. In an air fryer, reheat at 375°F (190°C) for 3-4 minutes. They won’t be quite as perfect as the first time, but they’ll still be delicious.
Freezing: I don’t recommend freezing these fries after they’re baked. The texture suffers too much. However, you can freeze the uncooked, coated fries on a baking sheet until solid, then transfer them to a freezer bag. Bake them directly from frozen, adding about 5-8 minutes to the cooking time.
Nutritional Information & Benefits
These crispy parmesan butternut squash fries are a fantastic way to enjoy a healthier version of a classic comfort food. Here’s a quick look at what you’re getting.
Estimated Nutritional Information (per serving, about 1/4 of the recipe):
- Calories: 180-220
- Fat: 10g
- Carbohydrates: 22g
- Fiber: 4g
- Protein: 7g
- Sodium: 350mg
Health Benefits: Butternut squash is a nutritional powerhouse. It’s packed with vitamin A (from beta-carotene), which is fantastic for eye health and immune function. It’s also a great source of vitamin C, potassium, and fiber. The fiber helps keep you feeling full and satisfied. The parmesan adds a good amount of calcium and protein. Compared to traditional french fries, these are lower in unhealthy fats and calories, and they offer a much higher nutritional value. This recipe is naturally gluten-free and can easily be made vegetarian or vegan.
Dietary Considerations: This recipe is naturally gluten-free. For a vegan option, use nutritional yeast or a vegan parmesan alternative. It’s also suitable for a low-carb diet in moderation, as butternut squash is lower in carbs than potatoes. As always, check your specific dietary needs and consult with a healthcare professional for personalized advice.
Conclusion
These crispy parmesan butternut squash fries have genuinely become a staple in my kitchen. They’re proof that eating your vegetables doesn’t have to be a chore—it can be something you actually look forward to. The combination of sweet, tender squash with that salty, nutty, crispy parmesan crust is just unbeatable. They’re easy enough for a weeknight side dish but special enough to serve at a holiday dinner or game day party.
I really hope you give this recipe a try. Don’t be afraid to make it your own—play with the spices, try different dipping sauces, or double the batch because they disappear fast. And please, come back and let me know how they turned out for you! Did you try a variation? Did your kids love them? Did you find a new favorite dipping sauce? Drop a comment below or tag me in your photos. I love seeing your creations and hearing your stories. Happy cooking, friend!
Frequently Asked Questions
Can I use pre-cut butternut squash from the store?
Yes, you can! It will save you a lot of prep time. Just make sure the pieces are large enough to cut into fry shapes (about 1/2-inch thick). Pre-cut squash can sometimes be a bit drier, so you might need to add an extra teaspoon of oil to help the coating stick.
Why aren’t my fries crispy?
There are a few common culprits. The most likely reason is that the fries were too crowded on the baking sheet, causing them to steam instead of roast. Make sure they’re in a single layer with space between each piece. Another reason could be that the squash wasn’t dried properly before coating, or you didn’t use enough cornstarch. Also, make sure your oven is fully preheated to 425°F (220°C).
Can I make these ahead of time for a party?
These fries are best served fresh and hot from the oven. However, you can prep the squash up to a day in advance. Cut the squash into sticks and store them in an airtight container in the refrigerator. Toss them with the oil and coating just before baking. You can also bake them fully, let them cool, and then re-crisp them in a hot oven right before serving.
What can I use instead of parmesan cheese?
If you need a dairy-free option, nutritional yeast is your best bet. It has a cheesy, savory flavor that works beautifully. You can also try using a vegan parmesan-style shred or a finely grated hard cheese like pecorino romano (which is sheep’s milk and may be easier to digest for some).
Can I use a different type of squash?
Absolutely! This method works well with other firm, dense squash varieties. Try it with peeled and seeded acorn squash, delicata squash (the skin is edible, so you can leave it on), or even sweet potatoes. Just keep in mind that cooking times may vary slightly depending on the water content and density of the squash you choose.
Pin This Recipe!
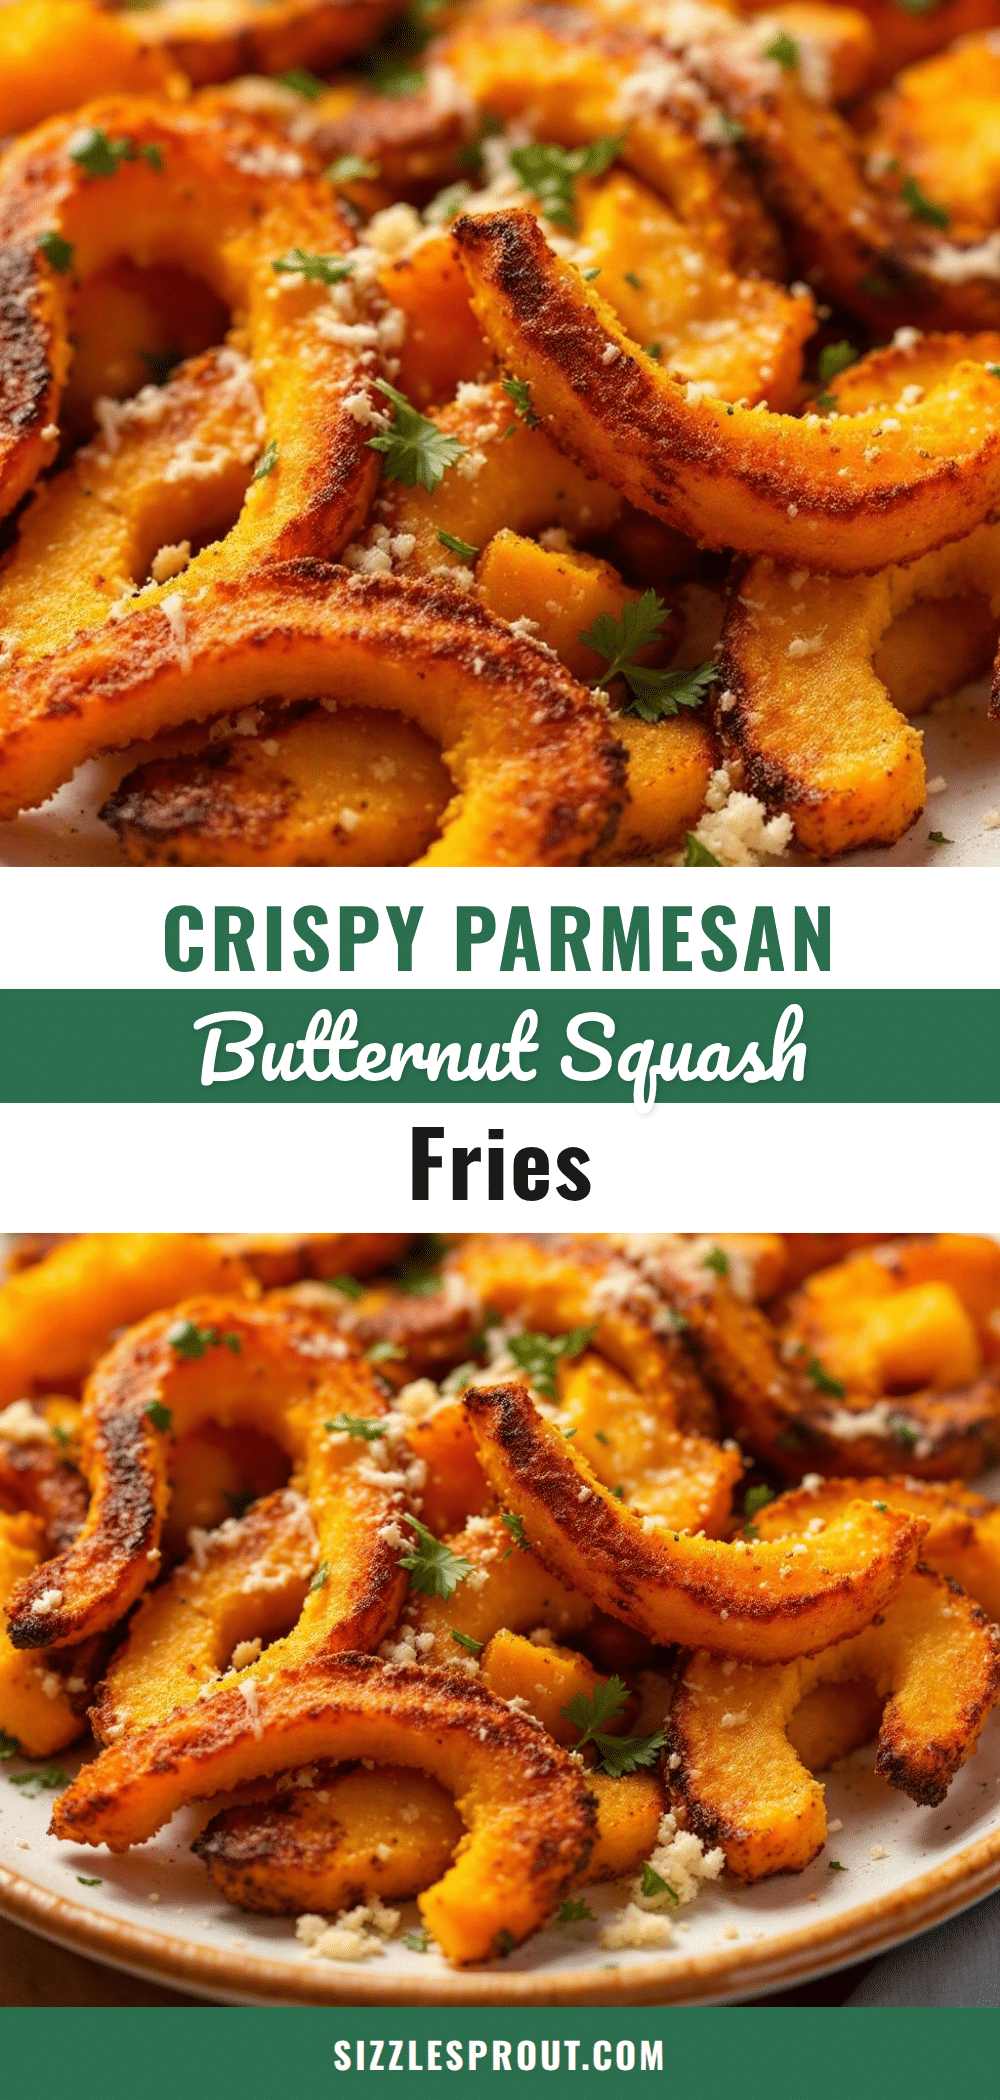
Crispy Parmesan Butternut Squash Fries: Easy Baked Recipe

These crispy parmesan butternut squash fries are baked to perfection with a salty, nutty crust and tender center. A healthy, crave-worthy side dish that even vegetable skeptics will love.
- Prep Time: 20 minutes
- Cook Time: 25 minutes
- Total Time: 45 minutes
- Yield: 4 servings 1x
- Category: Side Dish
- Cuisine: American
Ingredients
- 1 medium butternut squash (about 2 pounds)
- 1/2 cup finely grated Parmesan cheese
- 2 tablespoons cornstarch
- 2 tablespoons olive oil
- 1 teaspoon garlic powder
- 1/2 teaspoon onion powder
- 1/2 teaspoon paprika
- 1/2 teaspoon salt (plus more for finishing)
- 1/4 teaspoon freshly ground black pepper
- Fresh parsley for garnish (optional)
Instructions
- Preheat your oven to 425°F (220°C). Line a large baking sheet with parchment paper.
- Cut off both ends of the butternut squash. Stand it upright and slice off the peel. Cut the squash in half where the narrow neck meets the round bulb. Scoop out seeds and stringy bits from the bulb.
- Slice the neck into 1/2-inch thick planks, then cut into sticks about 1/2-inch wide and 3-4 inches long. Repeat with the bulb portion.
- In a large mixing bowl, whisk together the finely grated Parmesan cheese, cornstarch, garlic powder, onion powder, paprika, salt, and black pepper.
- Drizzle the olive oil over the cut squash sticks in the bowl. Use your hands to toss and coat every piece evenly.
- Add the Parmesan-cornstarch mixture to the bowl and toss gently but thoroughly with your hands until each fry is evenly coated.
- Spread the coated squash fries in a single layer on the prepared baking sheet, leaving space between each fry.
- Bake for 15 minutes. Remove from the oven and carefully flip each fry. Return to the oven and bake for another 10-15 minutes, until golden brown and crispy on the outside and tender inside.
- Let the fries cool on the pan for 2-3 minutes. Sprinkle with extra salt and chopped fresh parsley if desired. Serve immediately.
Notes
Don’t skip the cornstarch—it’s key for crispiness. Cut fries evenly (1/2-inch thick) for uniform cooking. Space them out on the baking sheet to avoid steaming. Flip halfway through for even browning. Let them rest on the pan for 2-3 minutes after baking to firm up. For an air fryer version, cook at 400°F (200°C) for 8-10 minutes, shaking halfway.
Nutrition
- Serving Size: 1/4 of recipe
- Calories: 200
- Sugar: 4
- Sodium: 350
- Fat: 10
- Saturated Fat: 3
- Carbohydrates: 22
- Fiber: 4
- Protein: 7
Keywords: butternut squash fries, crispy parmesan fries, baked squash fries, healthy fries, gluten-free fries, vegetarian side dish


