Love this? Save it for later!
Share the inspiration with your friends
It was 5:45 PM on a Tuesday, and my kitchen looked like a flour bomb had gone off inside a spice rack. I had promised the kids pumpkin bars because the school bake sale was tomorrow, and “just cake” wasn’t going to cut it. You know how it goes—suddenly, every ingredient you need is either at the bottom of the pantry or in the freezer as a frozen brick.
I stared at that caramel. It was perfect, really. Salty, buttery, and thick enough to hold its shape. But it was also lonely. It needed a partner. It needed something soft, spiced, and warm to balance out that intense sweetness. That’s when I grabbed the can of pumpkin puree and the block of cream cheese, feeling like I was improvising a rescue mission for dessert.
The batter came together in a frenzy. I whipped the cream cheese until it was smooth, folded in the pumpkin, the spices, and half the caramel. The smell hit me instantly—cinnamon, nutmeg, and that deep, earthy pumpkin scent that screams “fall” even if the leaves outside are still green. I poured it into the pan, drizzled the rest of the caramel on top, and threw it in the oven.
When I pulled it out, the edges were bubbling, and the center had that perfect jiggly wobble. I let it cool, drizzled a little extra caramel over the top because, let’s face it, you can never have too much, and cut a slice. The first bite was creamy, tangy, sweet, and salty all at once. It was messy. It was indulgent. It was exactly what I needed after a long day. I didn’t plan this recipe; it just saved the afternoon.
Why You’ll Love This Recipe
Let’s be honest, most pumpkin bars are just pumpkin cupcakes that gave up on their dreams. They’re dry, they’re dense, or they’re covered in so much frosting you can’t taste the pumpkin at all. This creamy salted caramel pumpkin bar recipe is different. It’s not just another fall dessert; it’s the kind of bar that makes you close your eyes after the first bite and forget about the laundry pile in the other room.
- Quick & Easy: Unlike a full pumpkin pie which takes forever to bake and cool, these bars come together in under 30 minutes of prep time. Perfect for busy weeknights or when you need a dessert for a potluck tomorrow morning.
- Simple Ingredients: No fancy grocery trips needed. You likely already have pumpkin puree, cream cheese, butter, and spices in your kitchen. If you don’t have homemade caramel, store-bought works fine too, though I admit I’m a little snobby about that.
- Perfect for Fall Gatherings: Whether it’s a cozy dinner party, a Thanksgiving side dessert, or just a Tuesday treat, these bars fit right in. They look sophisticated on a platter but are humble enough to be made in a messy kitchen.
- Crowd-Pleaser: Always gets rave reviews from kids and adults alike. The cream cheese layer adds a tang that balances the sweet caramel, keeping it from being cloying. Even the pickiest eaters usually ask for seconds.
- Unbelievably Delicious: The texture is the star here. You get the soft, cake-like pumpkin base, the rich, dense cream cheese swirl, and the gooey, salty caramel ribbons. It’s next-level comfort food that feels like a hug in dessert form.
What makes this recipe stand out is the balance. A lot of pumpkin desserts lean too heavy on the sugar. Here, the salt in the caramel cuts through the richness of the cream cheese and the earthiness of the pumpkin. It’s a flavor profile that’s been tested and tweaked until it’s just right. This isn’t just another version; it’s my best version. It’s the one I make when I want to impress guests without spending hours in the kitchen.
It’s also incredibly forgiving. If your caramel hardens a bit, just warm it up. If your pumpkin puree is a little watery, just drain it. The recipe adapts to your reality, not the other way around. That’s why it stuck with me. It’s reliable, delicious, and makes your whole house smell like autumn.
What Ingredients You Will Need
This recipe uses simple, wholesome ingredients to deliver bold flavor and satisfying texture without the fuss. The beauty of pumpkin bars lies in the quality of the few key components. You don’t need exotic spices or hard-to-find items. Just good, fresh basics that work together to create something greater than the sum of its parts.
For the Pumpkin Base
- Pumpkin Puree: 1 cup (240g). Use canned 100% pure pumpkin, not pie filling. I prefer Libby’s because it’s consistent and thick. If using fresh roasted pumpkin, make sure to drain it well to avoid a soggy bar.
- Unsalted Butter: 1/2 cup (113g), melted. Melted butter gives the base a tender, cake-like crumb. Salted butter works, but reduce the added salt in the recipe.
- Granulated Sugar: 1 cup (200g). This provides structure and sweetness. Brown sugar can be used for a deeper molasses flavor, but white sugar keeps the color bright.
- Large Eggs: 2 large eggs, room temperature. Room temp eggs emulsify better into the batter, creating a smoother texture.
- All-Purpose Flour: 1 1/2 cups (190g). Standard flour is perfect here. No need for pastry flour.
- Baking Powder: 1 teaspoon. For lift.
- Baking Soda: 1/2 teaspoon. Helps the bars brown and rise.
- Pumpkin Pie Spice: 1 1/2 teaspoons. This blend usually contains cinnamon, ginger, nutmeg, and cloves. If you don’t have it, use 1 tsp cinnamon, 1/4 tsp ginger, 1/4 tsp nutmeg, and a pinch of cloves.
- Salt: 1/2 teaspoon. To balance the sweetness.
For the Cream Cheese Swirl
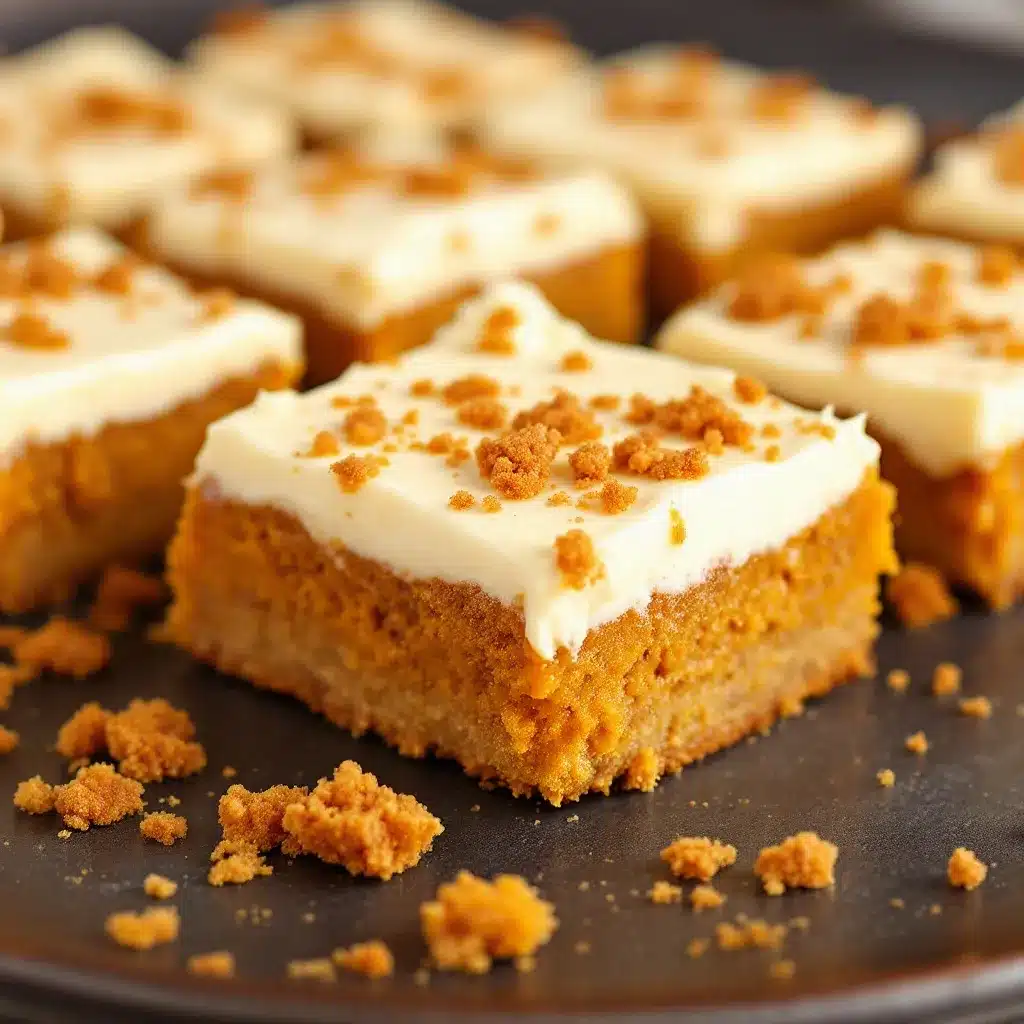
- Full-Fat Cream Cheese: 8 oz (225g), softened. Do not use low-fat. It won’t set properly. I recommend Philadelphia brand for its reliable texture.
- Powdered Sugar: 1/2 cup (60g). Adds sweetness and helps dissolve into the cream cheese.
- Vanilla Extract: 1 teaspoon. Pure vanilla is best for flavor.
For the Salted Caramel Drizzle
- Store-Bought Caramel Sauce: 1 cup (240ml). Brands like Smucker’s or Ghirardelli work well. For a deeper flavor, try making your own with brown sugar and butter.
- Flaky Sea Salt: For sprinkling on top. Maldon is my go-to because the flakes dissolve nicely but add a nice crunch.
Note: If you are dairy-free, you can swap the butter for coconut oil and the cream cheese for a vegan alternative, though the texture will be slightly different.
Equipment Needed
You don’t need a lot of fancy gear for this, but having the right tools makes the process smoother. The most important item is a 9×13 inch baking dish. Glass dishes like Pyrex are great because they bake evenly and you can see the bottom browning. Metal pans work too, but they might bake faster, so keep an eye on them.
A hand mixer or stand mixer is essential for the cream cheese layer. You need to beat it until it’s completely smooth and free of lumps. If you try to do this by hand, you’ll end up with a lumpy dessert, and nobody wants that. A spatula is also key for folding the pumpkin batter and swirling the cream cheese. Silicone spatulas are best because they scrape the bowl clean.
A small saucepan is useful if you decide to make your own caramel. If using store-bought, a microwave-safe bowl works fine for warming it up so it’s drizzle-able. Finally, a wire cooling rack is necessary. Letting the bars cool completely in the pan is crucial for clean cuts. If you cut them warm, they’ll fall apart.
Budget Tip: If you don’t have a stand mixer, a sturdy whisk and some elbow grease will work for the cream cheese, but it takes longer. A cheap glass baking dish lasts forever and is easier to clean than metal.
Preparation Method
Getting these bars right is about timing and temperature. Here is how you make them without stress.
- Prep the Pan and Oven (5 mins): Preheat your oven to 350°F (175°C). Grease your 9×13 inch baking dish with butter or cooking spray. Lining it with parchment paper with an overhang on the sides is a game-changer for easy removal later. Trust me on this.
- Make the Pumpkin Base (10 mins): In a medium bowl, whisk together the melted butter, sugar, eggs, and vanilla until smooth. In a separate bowl, whisk the flour, baking powder, baking soda, pumpkin spice, and salt. Gradually add the dry ingredients to the wet ingredients, mixing just until combined. Do not overmix, or the bars will be tough. Fold in the pumpkin puree. Pour the batter into the prepared pan and spread it evenly.
- Make the Cream Cheese Layer (5 mins): In a medium bowl, beat the softened cream cheese, powdered sugar, and vanilla until smooth and creamy. This should take about 2-3 minutes with a mixer. If there are lumps, your bars will have lumps.
- Assemble (5 mins): Drop spoonfuls of the cream cheese mixture over the pumpkin batter. Use a knife or skewer to gently swirl the cream cheese into the pumpkin batter. Don’t over-swirl; you want visible ribbons, not a uniform beige color. Drizzle half of the caramel sauce over the top.
- Bake (35-40 mins): Place the pan in the oven. Bake for 35-40 minutes. The edges should be golden, and the center should be set but still have a slight jiggle. It will firm up as it cools. If the top browns too quickly, cover it loosely with foil.
- Cool Completely (2 hours): This is the hardest part. Let the bars cool in the pan on a wire rack. They need to cool completely to set. If you cut them warm, they will be a mushy mess. Patience pays off.
- Final Touches (5 mins): Once cool, drizzle the remaining caramel sauce over the top. Sprinkle with flaky sea salt. Cut into squares and serve.
Troubleshooting: If the caramel is too thick to drizzle, microwave it in 10-second bursts until it’s runny. If the cream cheese layer sinks, it might be because the batter was too hot when you added it. Let the batter cool for 10 minutes before adding the cream cheese.
Cooking Tips & Techniques
I’ve made a few mistakes with pumpkin bars over the years, so you don’t have to. The biggest mistake people make is overbaking. Pumpkin desserts continue to cook in the pan after they come out of the oven. If you wait until the center is completely firm, you’ll end up with dry, crumbly bars. Aim for a slight jiggle in the center when you pull them out.
Another tip is about the cream cheese. Make sure it’s truly softened. If you microwave it to speed things up, you risk melting it, which changes the texture. Let it sit on the counter for 30 minutes. Also, don’t skip the swirl. It adds visual appeal and flavor bursts, but more importantly, it adds moisture. A flat cream cheese layer can sometimes taste dry.
When it comes to the caramel, warm it up before drizzling. Cold caramel from the jar is thick and gloopy. Warm it slightly so it flows smoothly over the bars. This ensures an even coating and a better aesthetic for those Instagram photos you’re definitely going to take.
Multitasking is your friend here. While the bars are cooling, you can clean up your mixing bowls. It’s easier to clean them while they’re still wet with batter. Also, if you’re making these for a party, you can bake them a day ahead. They actually taste better the next day as the flavors meld together. Just store them properly.
Use a sharp knife for cutting. A dull knife will squish the bars and make the caramel smear. Wipe the knife clean between cuts for neat squares. And don’t be afraid to use a little extra sea salt. The contrast between the sweet caramel and the salty flakes is what makes these bars addictive.
Variations & Adaptations
While the classic version is my favorite, there are plenty of ways to tweak this recipe to suit your taste or dietary needs.
Gluten-Free Option: You can swap the all-purpose flour for a 1:1 gluten-free flour blend. Look for one that contains xanthan gum, or add 1/2 teaspoon if your blend doesn’t have it. The texture might be slightly denser, but it will still be delicious.
Spice It Up: If you like a kick, add a pinch of cayenne pepper to the pumpkin batter. It adds a subtle warmth that pairs beautifully with the cinnamon and caramel. Or, stir in 1/2 cup of chopped pecans or walnuts for added crunch.
Chocolate Twist: Swirl in some chocolate chips or a layer of Nutella under the cream cheese layer for a decadent treat. This pairs well with the salted caramel, creating a salted caramel chocolate bar vibe.
Dairy-Free: Use coconut oil instead of butter and a vegan cream cheese alternative. You’ll also need dairy-free caramel sauce. The texture will be slightly different, but the flavor will still be great. I’ve tried this with several brands, and Kite Hill works well for the cream cheese.
Mini Bars: You can bake these in a muffin tin for individual portions. Reduce the baking time to 18-20 minutes. These are perfect for lunchboxes or portion control.
I once tried adding orange zest to the batter, and it was a hit. The citrus brightens up the heavy spices. It’s a nice variation for spring or early fall when you want something lighter. Experiment and find your favorite combo.
Serving & Storage Suggestions
These bars are best served at room temperature. Cold bars make the caramel hard and the cream cheese dense. Let them sit out for 15 minutes before eating for the best texture. They pair wonderfully with a cup of hot coffee or a glass of cold milk. If you want to lean into the fall theme, serve them with a side of cozy slow cooker spiced apple cider for a complete autumn experience.
Storage: Store leftover bars in an airtight container at room temperature for up to 3 days. If your kitchen is very hot, keep them in the fridge. They will last up to 5 days refrigerated. Just bring them to room temperature before serving for the best flavor.
Freezing: You can freeze these bars for up to 3 months. Wrap individual squares in plastic wrap and then place them in a freezer-safe bag. Thaw them in the refrigerator overnight or at room temperature for an hour. They freeze surprisingly well, though the caramel might soften slightly.
Reheating: If you prefer warm bars, microwave a square for 10-15 seconds. This melts the caramel and softens the cream cheese layer. Be careful not to overheat, or the caramel will run everywhere.
The flavors develop over time. I’ve noticed that the day after baking, the caramel has soaked slightly into the edges, creating a deliciously soft border. It’s my favorite part. Don’t skip the leftovers; they’re often better than the fresh batch.
Nutritional Information & Benefits
While these bars are definitely a treat, they do have some nutritional benefits. Pumpkin is rich in vitamin A, potassium, and fiber. It’s a great source of antioxidants and adds moisture without adding fat. The cream cheese provides calcium and protein, which helps balance the sugar in the caramel.
Each bar contains approximately 350 calories, with 15g of fat, 50g of carbohydrates, and 5g of protein. The exact values depend on the size of the cut and the specific brands of ingredients used. If you are watching your sugar intake, you can reduce the sugar in the pumpkin base by 1/4 cup, though it may affect the texture slightly.
For those with dietary restrictions, the gluten-free and dairy-free adaptations make this recipe accessible to more people. However, it does contain eggs and dairy in the standard version. Always check your ingredient labels for allergens.
From a wellness perspective, I see this as a balanced indulgence. It’s sweet, but the pumpkin and spices add nutritional value. It’s a way to enjoy seasonal flavors without completely abandoning healthy eating. Moderation is key, but these bars are worth the occasional splurge.
Conclusion
These creamy salted caramel pumpkin bars are more than just a dessert; they’re a celebration of fall flavors. The combination of spiced pumpkin, tangy cream cheese, and salty caramel is simply unbeatable. It’s a recipe that’s easy to make, hard to resist, and perfect for sharing.
I encourage you to try this recipe and make it your own. Add nuts, swap spices, or try the dairy-free version. The base is flexible, so don’t be afraid to experiment. I love this recipe because it brings me back to that chaotic Tuesday evening, but with a much happier ending. It’s comfort food at its finest.
Please give this recipe a try and let me know how it turns out. Leave a comment below with your thoughts or tag me on social media if you post a photo. I love seeing your creations! And if you need more fall inspiration, check out my perfect pumpkin roll with cream cheese filling for another festive treat.
Happy baking, and enjoy every sticky, sweet bite!
FAQs
Can I use fresh pumpkin instead of canned?
Yes, you can. Roast a sugar pumpkin, scoop out the flesh, and puree it. Make sure to drain the puree well to remove excess moisture, otherwise, the bars might be too wet. You’ll need about 1 cup of puree.
Why did my cream cheese layer sink?
This usually happens if the pumpkin batter was too hot when you added the cream cheese, or if the cream cheese wasn’t beaten smooth enough. Let the batter cool for 10 minutes before adding the cream cheese, and beat the cream cheese until it’s completely creamy.
Can I make these ahead of time?
Absolutely. They taste even better the next day. You can bake them up to 2 days in advance and store them in an airtight container at room temperature.
How do I store leftover bars?
Store them in an airtight container at room temperature for up to 3 days. If your kitchen is warm, refrigerate them. They will keep for up to 5 days in the fridge.
Can I freeze these bars?
Yes, freeze them for up to 3 months. Wrap individual squares in plastic wrap and place them in a freezer bag. Thaw in the refrigerator overnight before serving.
Pin This Recipe!
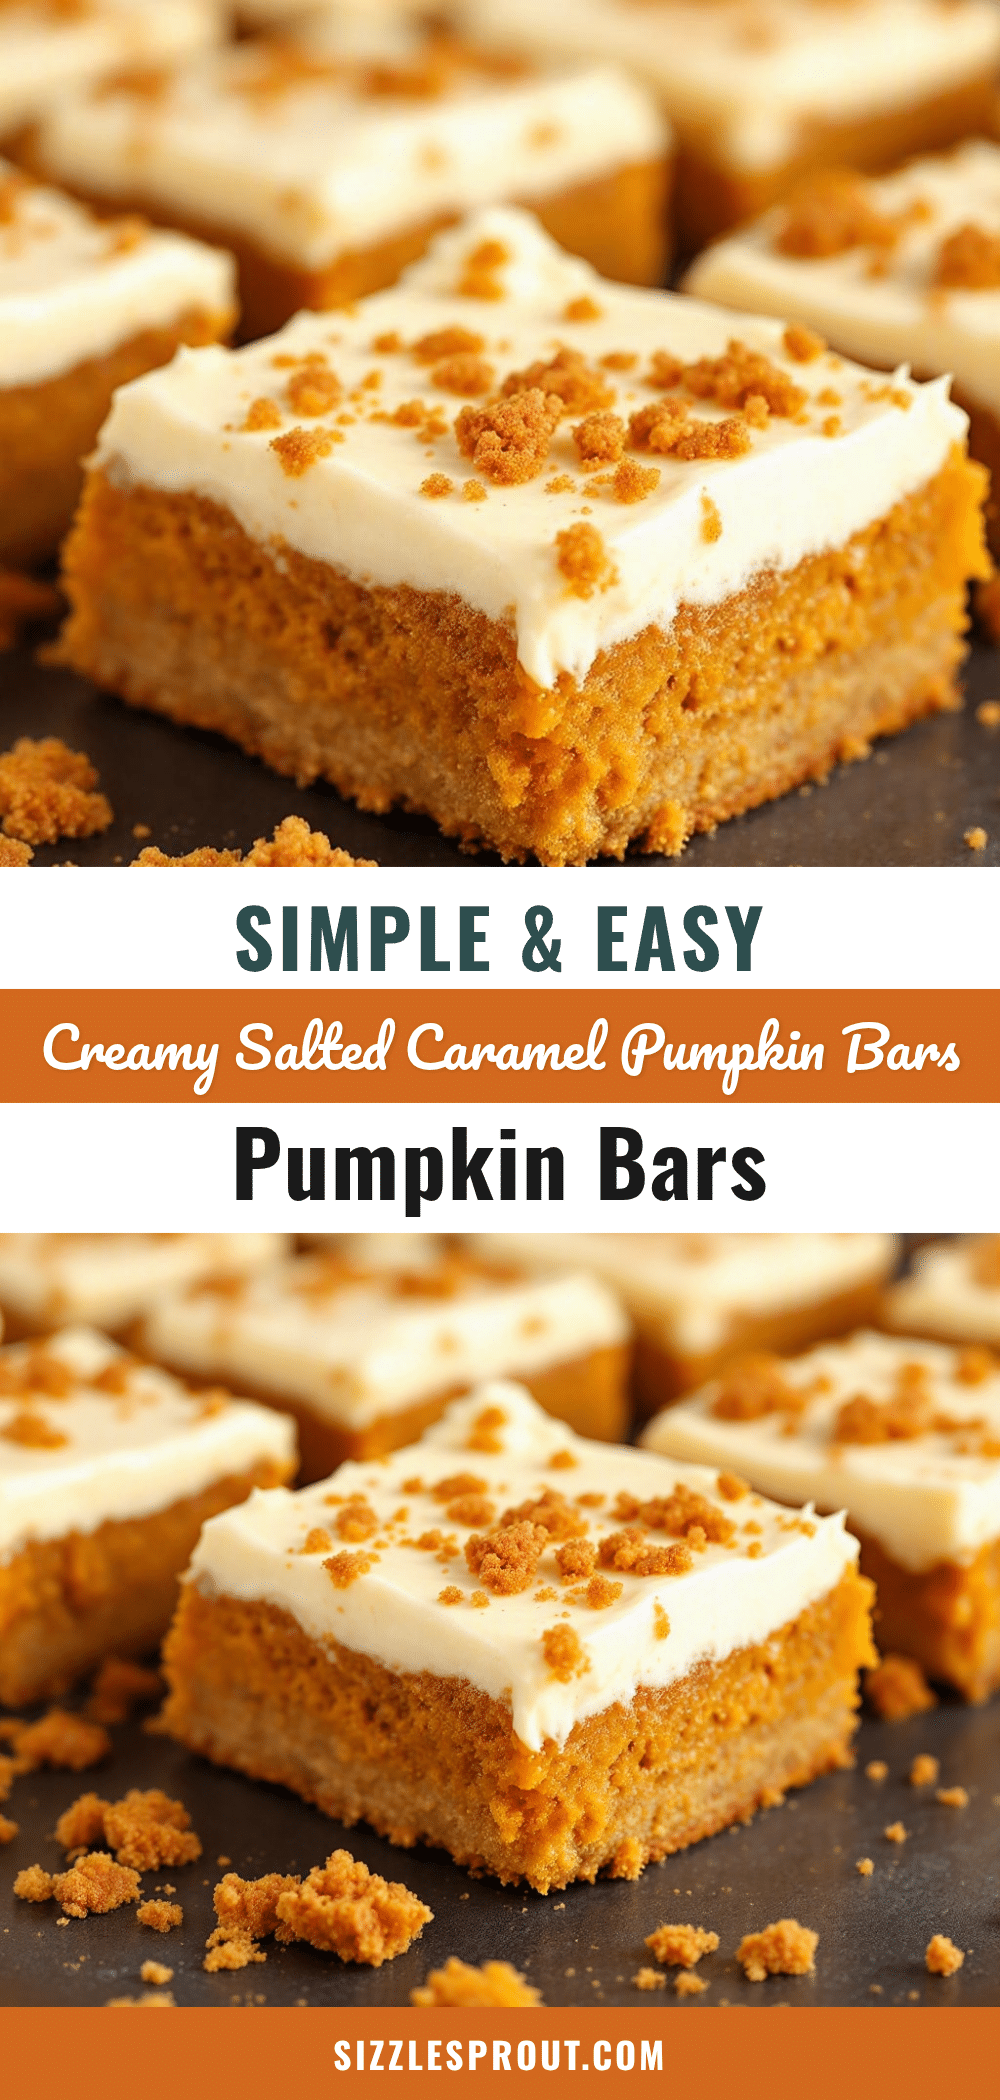
Creamy Salted Caramel Pumpkin Bars: Easy Fall Dessert
These creamy salted caramel pumpkin bars feature a spiced pumpkin base, a tangy cream cheese swirl, and a rich salted caramel drizzle. They are an easy, crowd-pleasing fall dessert that balances sweet and salty flavors.
- Prep Time: 30 minutes
- Cook Time: 40 minutes
- Total Time: 2 hours 10 minutes
- Yield: 12 servings 1x
- Category: Dessert
- Cuisine: American
Ingredients
- 1 cup (240g) pumpkin puree
- 1/2 cup (113g) unsalted butter, melted
- 1 cup (200g) granulated sugar
- 2 large eggs, room temperature
- 1 1/2 cups (190g) all-purpose flour
- 1 teaspoon baking powder
- 1/2 teaspoon baking soda
- 1 1/2 teaspoons pumpkin pie spice
- 1/2 teaspoon salt
- 8 oz (225g) full-fat cream cheese, softened
- 1/2 cup (60g) powdered sugar
- 1 teaspoon vanilla extract
- 1 cup (240ml) store-bought caramel sauce
- Flaky sea salt, for sprinkling
Instructions
- Preheat oven to 350°F (175°C). Grease a 9×13 inch baking dish and line with parchment paper for easy removal.
- In a medium bowl, whisk together melted butter, sugar, eggs, and vanilla until smooth.
- In a separate bowl, whisk flour, baking powder, baking soda, pumpkin spice, and salt.
- Gradually add dry ingredients to wet ingredients, mixing just until combined. Fold in pumpkin puree.
- Pour batter into prepared pan and spread evenly.
- In a medium bowl, beat softened cream cheese, powdered sugar, and vanilla until smooth.
- Drop spoonfuls of cream cheese mixture over the pumpkin batter. Gently swirl with a knife or skewer to create ribbons.
- Drizzle half of the caramel sauce over the top.
- Bake for 35-40 minutes until edges are golden and center has a slight jiggle.
- Cool completely in the pan on a wire rack (about 2 hours) to set.
- Drizzle remaining caramel sauce over the top and sprinkle with flaky sea salt.
- Cut into squares and serve at room temperature.
Notes
Ensure cream cheese is fully softened to avoid lumps. Do not overbake; the center should have a slight jiggle as it firms up while cooling. For best texture, serve at room temperature. Can be stored at room temperature for 3 days or refrigerated for 5 days. Can be frozen for up to 3 months.
Nutrition
- Serving Size: 1 bar
- Calories: 350
- Sugar: 35
- Sodium: 250
- Fat: 15
- Saturated Fat: 8
- Carbohydrates: 50
- Fiber: 1
- Protein: 5
Keywords: pumpkin bars, salted caramel, cream cheese, fall dessert, easy baking, pumpkin puree, holiday dessert, gluten-free option


