Love this? Save it for later!
Share the inspiration with your friends
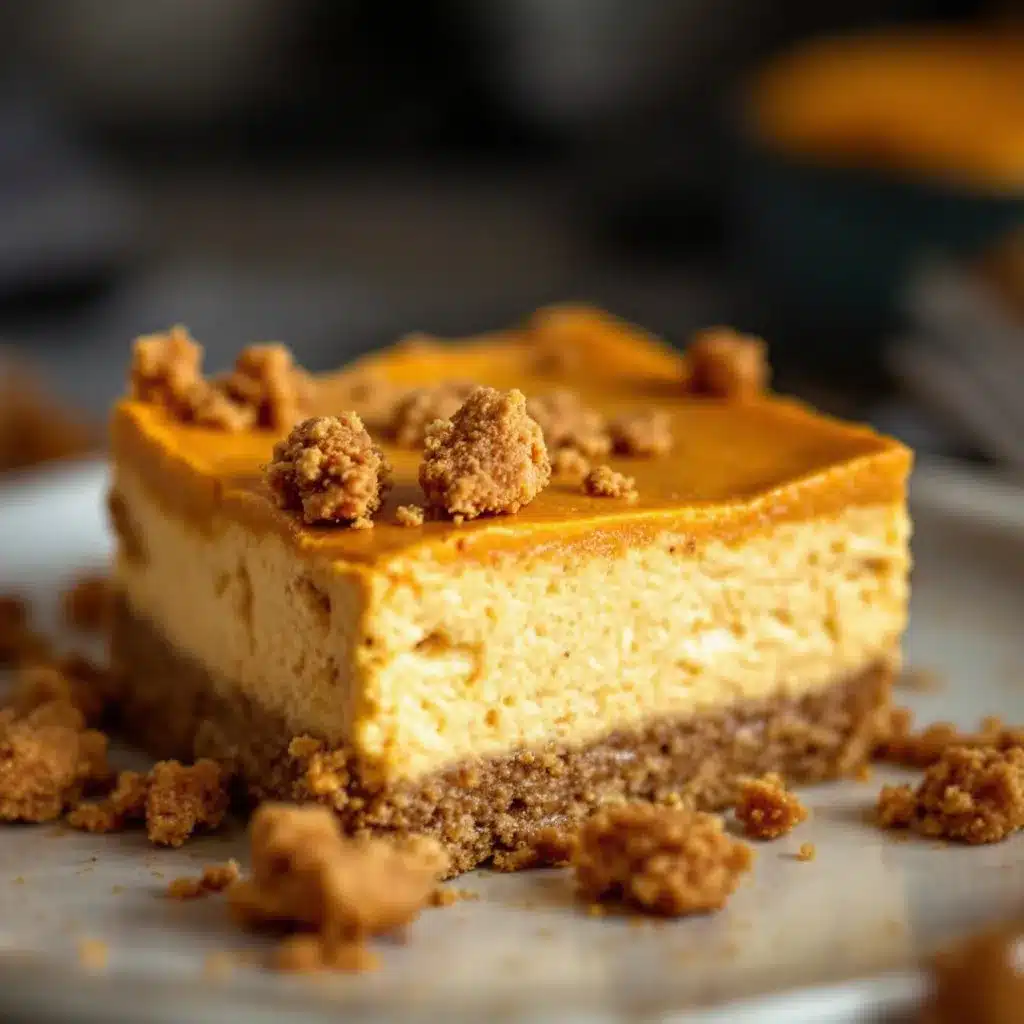
The crackle. That’s what I was after. Not the creamy swirl on top, not the ribbon of pumpkin running through the middle—the crackle of a gingersnap crust breaking under the weight of a fork. That first press, where the tines hit the surface and the whole bar gives way with that tiny, sandy shatter. Honestly, that sound is half the reason I make these.
I’d spent the better part of a Tuesday afternoon testing pumpkin cheesecake bars for what felt like the hundredth time. Some were too dense. Some had a crust that turned into cardboard after a night in the fridge. And a few—well, a few just tasted like pumpkin spice air, you know? No body, no tang, no real cheesecake soul.
Then I grabbed a box of gingersnaps on a whim. Not the fancy kind, just the ones from the grocery store that come in a sleeve. I crushed them up, tossed them with melted butter and a pinch of salt, and pressed them into the pan. The moment I pulled the baked bars from the oven and let them cool, I knew. That crackle was real. And when I finally sliced into a chilled bar the next morning, the whole thing held together like it had something to prove.
These Creamy Pumpkin Cheesecake Bars with Gingersnap Crust aren’t trying to be a showstopper. They’re just quietly, stubbornly good. The kind of bar you sneak from the fridge at 10 p.m. when nobody’s watching. And that’s exactly why they stuck.
Why You’ll Love This Recipe
Let me tell you why these bars keep showing up at my fall gatherings and holiday tables. I’ve tested this recipe more times than I care to admit, and every single batch disappears faster than I can slice it.
- Quick & Easy : No water bath, no fussy springform pan, no cracking drama. These bars come together in about 20 minutes of active prep time. The oven does the rest.
- Simple Ingredients : You probably have most of this in your kitchen right now. Cream cheese, pumpkin puree, eggs, sugar, and a box of gingersnaps. That’s it.
- Perfect for Fall Gatherings : Whether it’s Thanksgiving dessert, a Friendsgiving potluck, or just a cozy Sunday afternoon, these bars fit right in. They travel well, too—no worrying about a delicate pie crust.
- Crowd-Pleaser : I brought a batch to a neighborhood get-together last month and three people asked for the recipe before the coffee finished brewing. Kids love the sweetness; adults love the spicy kick from the crust.
- Unbelievably Delicious : The texture is what gets me every time. That crackly gingersnap base, the silky pumpkin cheesecake layer, and the subtle tang that keeps you coming back for one more bite. It’s comfort food with a little sophistication.
What makes these bars different from the dozens of other pumpkin cheesecake recipes out there? It’s the crust, hands down. Gingersnaps bring a warmth and crunch that a standard graham cracker crust just can’t match. And I’ve perfected the baking time so the center stays creamy without being undercooked. This isn’t just another version—it’s the one I actually make for my own family.
These bars are the kind of dessert that makes you close your eyes after the first bite. It’s fall on a plate, but faster and less stressful than a full cheesecake. Perfect for impressing guests without breaking a sweat.
What Ingredients You Will Need
This recipe uses simple, wholesome ingredients that come together to create something genuinely special. Most of these are pantry staples, especially if you’ve done any fall baking this season.
For the Gingersnap Crust
- 2 cups gingersnap cookie crumbs (about 8 ounces or 225 grams) – You can crush whole gingersnaps in a food processor or by hand in a sealed bag. I prefer the store-brand gingersnaps for this; they’re crunchy enough to hold up without being too sweet.
- 5 tablespoons unsalted butter, melted (70 grams) – Salted butter works in a pinch, just skip the added salt below. The butter binds the crumbs and gives that rich, toasted flavor.
- 2 tablespoons granulated sugar (25 grams) – A little extra sweetness to balance the spicy gingersnaps.
- Pinch of salt – Trust me on this. Salt makes the crust taste more like a cookie and less like cardboard.
For the Pumpkin Cheesecake Filling
- 16 ounces cream cheese, softened (two 8-ounce blocks, 450 grams) – Full-fat cream cheese is non-negotiable here. Low-fat versions make the filling too loose and the texture suffers. Let it sit at room temperature for about an hour before you start.
- 3/4 cup granulated sugar (150 grams) – Just enough to sweeten without overpowering the pumpkin.
- 1 cup pumpkin puree (245 grams) – Not pumpkin pie filling. Make sure you grab pure pumpkin puree. I like Libby’s for its consistent texture, but any brand works.
- 2 large eggs, room temperature – Cold eggs can make the filling seize up. Let them sit out with the cream cheese.
- 1 teaspoon vanilla extract – Pure vanilla adds depth. Imitation works, but the pure stuff really shines here.
- 1 teaspoon pumpkin pie spice – You can make your own with cinnamon, nutmeg, ginger, and cloves, but store-bought is perfectly fine.
- 1/2 teaspoon ground cinnamon – Extra cinnamon because, well, it’s fall.
- 1/4 teaspoon salt – Balances the sweetness and brings out the pumpkin flavor.
For the Topping (Optional but Recommended)
- 1/2 cup sour cream (120 grams) – A thin layer on top adds a lovely tangy finish. You can skip it, but it really rounds out the flavor.
- 1 tablespoon powdered sugar – Whisked into the sour cream for a barely-sweet topping.
- Caramel sauce or whipped cream – For drizzling or dolloping when you serve. Not required, but highly encouraged.
If you want to swap in a gluten-free gingersnap, go for it. The texture might be a little different, but it still works. And if you’re dairy-free, use a plant-based cream cheese and butter—just know the filling won’t be quite as firm. I’ve tested that version and it’s still delicious, just a bit softer.
Equipment Needed
You don’t need a fancy kitchen to pull these off. Here’s what I use every time.
- 9×9-inch square baking pan – An 8×8 works too, but the bars will be slightly thicker and may need an extra 5 minutes in the oven. I prefer metal pans for even baking.
- Parchment paper – Cut two strips to create a sling. This makes lifting the bars out so much easier. You’ll thank me later.
- Food processor or rolling pin – For crushing the gingersnaps. A food processor is faster, but a sealed bag and a rolling pin work just fine. I’ve done it both ways.
- Medium mixing bowl – For the crust mixture.
- Large mixing bowl – For the cheesecake filling. A hand mixer or stand mixer works best, but a strong arm and a whisk can do the job.
- Spatula – For spreading and smoothing.
- Measuring cups and spoons – Accuracy matters in baking.
- Sharp knife – For clean slices. Run it under hot water between cuts for the neatest edges.
If you don’t have a food processor, no worries. I’ve crushed gingersnaps in a ziplock bag with the bottom of a measuring cup more times than I can count. It’s a little arm workout, but it gets the job done.
Preparation Method
Alright, let’s get baking. I’ve broken this down step by step so you don’t miss a thing.
- Preheat your oven to 325°F (160°C). Line your 9×9 pan with parchment paper, leaving an overhang on two opposite sides. This creates a sling for easy removal later.
- Make the crust. In a medium bowl, combine the gingersnap crumbs, melted butter, sugar, and a pinch of salt. Stir until every crumb is coated and the mixture looks like wet sand. It should hold together when you squeeze a handful.
- Press the crust into the pan. Dump the mixture into your prepared pan and press it down firmly and evenly. Use the bottom of a measuring cup or a flat glass to really compact it. This is key—a loose crust will fall apart when you slice. Bake the crust for 10 minutes, then set it aside to cool slightly while you make the filling.
- Beat the cream cheese. In a large bowl, beat the softened cream cheese with an electric mixer on medium speed until smooth and creamy, about 2 minutes. Scrape down the sides of the bowl with a spatula. Don’t rush this step; lumps now mean lumps later.
- Add the sugar. Add the granulated sugar and beat until combined, another minute. Scrape the bowl again.
- Mix in the pumpkin and spices. Add the pumpkin puree, vanilla, pumpkin pie spice, cinnamon, and salt. Beat on low speed until everything is incorporated. The mixture will be a gorgeous deep orange.
- Add the eggs one at a time. Crack each egg into a small bowl first (no shell surprises), then add to the filling. Beat on low speed just until combined after each addition. Overmixing at this stage adds too much air, which can cause cracks during baking.
- Pour the filling over the crust. Scrape the filling into the pan and spread it evenly with a spatula. Give the pan a gentle tap on the counter to release any air bubbles.
- Bake. Place the pan in the preheated oven and bake for 35 to 40 minutes. The edges should be set and slightly puffed, but the center will still jiggle slightly when you gently shake the pan. That’s exactly what you want—it will firm up as it cools.
- Cool completely. Let the bars cool on a wire rack for about an hour at room temperature. Then transfer the pan to the refrigerator and chill for at least 4 hours, preferably overnight. This is the hardest part, I know, but it’s non-negotiable for clean slices.
- Add the topping (optional). If you’re using the sour cream topping, whisk together the sour cream and powdered sugar until smooth. Spread it over the chilled bars before slicing. Or just skip it and drizzle with caramel sauce later.
- Slice and serve. Use the parchment sling to lift the bars out of the pan. Place on a cutting board and slice into 16 squares. For the cleanest cuts, wipe your knife clean between each slice.
One thing I learned the hard way: don’t rush the chilling time. I once tried to slice these after only two hours in the fridge, and it was a mess. The bars were still too soft and the crust crumbled everywhere. Patience pays off here.
Cooking Tips & Techniques
I’ve made these bars more times than I can count, and I’ve messed up plenty along the way. Here’s what I’ve learned so you don’t have to repeat my mistakes.
Room temperature ingredients matter. Cold cream cheese creates lumps that no amount of beating can fully fix. Cold eggs can make the filling seize up. Set everything out an hour before you start. If you forget, you can soften cream cheese in the microwave in 10-second bursts, but be careful not to melt it.
Don’t overmix the filling. Once you add the eggs, mix on low speed and stop as soon as the streaks disappear. Too much air in the batter creates steam bubbles during baking, which leads to cracks on the surface. A few tiny cracks are fine, but big ones make the bars look less pretty.
The jiggle test is your friend. When you shake the pan gently at the 35-minute mark, the center should wobble like Jell-O, not slosh like soup. If it sloshes, give it 5 more minutes. If it’s completely firm, you’ve overbaked it. Pull it out when the center still has a slight jiggle.
Let the bars cool gradually. I used to move hot bars straight from the oven to the fridge, and they cracked every time. Now I let them cool on the counter for a full hour first. The gradual temperature change keeps the surface smooth.
Use a hot knife for clean slices. Run your knife under hot water, dry it off, and slice. Wipe the blade clean between each cut. This gives you those beautiful, bakery-style edges.
One of my biggest failures? I once forgot to add the sugar to the crust. The bars were still edible, but the crust tasted like spicy cardboard. Learn from me—don’t skip that tablespoon of sugar.
Variations & Adaptations
These bars are forgiving, and I’ve tried quite a few twists over the years. Here are some of my favorites.
Gluten-Free Version : Swap the regular gingersnaps for gluten-free gingersnaps. Most major brands carry them now. The texture will be slightly more crumbly, but the flavor is still spot on.
Dairy-Free Adaptation : Use dairy-free cream cheese and butter. I’ve had good luck with the brands that come in blocks, not tubs. The filling will be a bit softer, so chill it for a full 6 hours before slicing.
Pecan Praline Topping : After the bars are baked and cooled, top them with a layer of candied pecans. Just toss chopped pecans with butter, brown sugar, and a pinch of salt, then bake at 350°F for 8 minutes. Sprinkle over the bars before serving. It adds an incredible crunch.
Chocolate Swirl Variation : Melt 1/4 cup of semi-sweet chocolate chips and drizzle it into the filling before baking. Use a knife to swirl it through the pumpkin mixture. The chocolate pairs beautifully with the gingersnap crust.
Maple Bourbon Twist : Replace the vanilla extract with 1 tablespoon of bourbon and 1 tablespoon of maple syrup. The warmth of the bourbon and the sweetness of the maple add a grown-up depth that’s perfect for holiday dinners.
I once made a batch with a shortbread crust instead of gingersnaps, and honestly? It was good, but it didn’t have that same spicy kick. The gingersnaps really are the star here. If you’re feeling adventurous, you could try a pecan shortbread crust—just pulse pecans with flour and butter. That’s on my to-try list for next week.
Serving & Storage Suggestions
These bars are versatile, and I love how they adapt to different settings.
Serving Temperature : I prefer them cold, straight from the fridge. The filling firms up beautifully and the crust stays snappy. But if you like a softer texture, let them sit at room temperature for 15 minutes before serving. Both ways work.
Presentation Ideas : Dust the tops with a little cinnamon or pumpkin pie spice before serving. Add a dollop of whipped cream and a drizzle of caramel sauce for a more decadent look. For Thanksgiving, I sometimes cut them into smaller 1-inch squares and serve them on a platter with fresh cranberries and rosemary sprigs for color.
What to Serve With Them : A hot cup of coffee or spiced apple cider is perfect. If you’re building a dessert spread, these bars pair beautifully with chocolate chip pumpkin sourdough bread or a slice of apple cider donut bundt cake for a full fall dessert table.
Storage Instructions : Store the bars in an airtight container in the refrigerator for up to 5 days. Place a sheet of parchment paper between layers if you’re stacking them. The flavors actually deepen after a day or two, so they taste even better on day three.
Freezing Tips : These bars freeze beautifully. Wrap individual slices tightly in plastic wrap, then place them in a freezer-safe bag or container. They’ll keep for up to 3 months. Thaw in the refrigerator overnight before serving. I always keep a few in the freezer for unexpected guests or late-night cravings.
Reheating : I don’t recommend reheating these. They’re meant to be served cold or at room temperature. If you absolutely want a warm dessert, pop a slice in the microwave for 10 seconds, but the texture will be softer.
Nutritional Information & Benefits
Here’s a rough estimate per bar (based on 16 servings). Keep in mind these numbers can vary based on your specific ingredients.
| Nutrient | Amount Per Serving |
|---|---|
| Calories | 285 |
| Total Fat | 18g |
| Saturated Fat | 10g |
| Cholesterol | 75mg |
| Sodium | 220mg |
| Total Carbohydrates | 28g |
| Dietary Fiber | 1g |
| Sugars | 19g |
| Protein | 5g |
Pumpkin is packed with vitamin A, which supports eye health and immune function. It’s also a good source of fiber and antioxidants. The cream cheese adds calcium and protein, while the gingersnaps bring a dose of warming spices like ginger and cinnamon, which have anti-inflammatory properties.
These bars aren’t health food, but they’re a treat made with real ingredients. If you’re watching your sugar intake, you can reduce the sugar in the filling to 1/2 cup without sacrificing too much structure. And if you’re gluten-sensitive, the gluten-free swap works beautifully.
One thing I love about this recipe is that it feels indulgent without being over-the-top. It’s the kind of dessert you can enjoy without guilt, especially when you pair it with a balanced meal like fresh harvest kale salad with roasted butternut squash for a cozy fall dinner.
Conclusion
These Creamy Pumpkin Cheesecake Bars with Gingersnap Crust are the kind of recipe that becomes a tradition. They’re simple enough for a Tuesday night but special enough for Thanksgiving. That crackly crust, that silky filling, that subtle warmth from the spices—it all comes together in a way that feels both familiar and new.
I love that I can make them ahead, freeze them, and pull them out whenever I need a little fall comfort. And honestly? They’re even better the next day. The flavors meld, the texture sets, and every bite tastes like October.
I’d love to hear how yours turn out. Did you try a variation? Add a topping? Make them for a holiday dinner? Drop a comment below and let me know. And if you’re looking for more cozy fall recipes, check out our pumpkin cream cheese swirl muffins or these brown butter pumpkin snickerdoodle cookies for even more seasonal baking inspiration.
Happy baking, friends. And remember—the crackle is worth the wait.
Frequently Asked Questions
Can I use pumpkin pie filling instead of pumpkin puree?
No, I wouldn’t recommend it. Pumpkin pie filling is already sweetened and spiced, which will throw off the balance of this recipe. Stick with pure pumpkin puree for the best results.
Why did my cheesecake bars crack on top?
This usually happens from overmixing the filling or overbaking. Mix on low speed once you add the eggs, and pull the bars out of the oven when the center still jiggles slightly. Cooling them gradually also helps prevent cracks.
Can I make these bars without a food processor?
Absolutely. Place the gingersnaps in a sealed ziplock bag and crush them with a rolling pin or the bottom of a measuring cup. It takes a few extra minutes, but it works perfectly.
How far in advance can I make these bars?
You can make them up to 3 days ahead and store them in the refrigerator. They also freeze well for up to 3 months. Just thaw overnight in the fridge before serving.
Can I use a different type of cookie for the crust?
Yes, but the flavor will change. Graham crackers, shortbread, or even vanilla wafers work. Just keep in mind that the spicy kick from the gingersnaps is what makes this recipe special. If you swap, you might want to add a teaspoon of pumpkin pie spice to the crust.
Pin This Recipe!
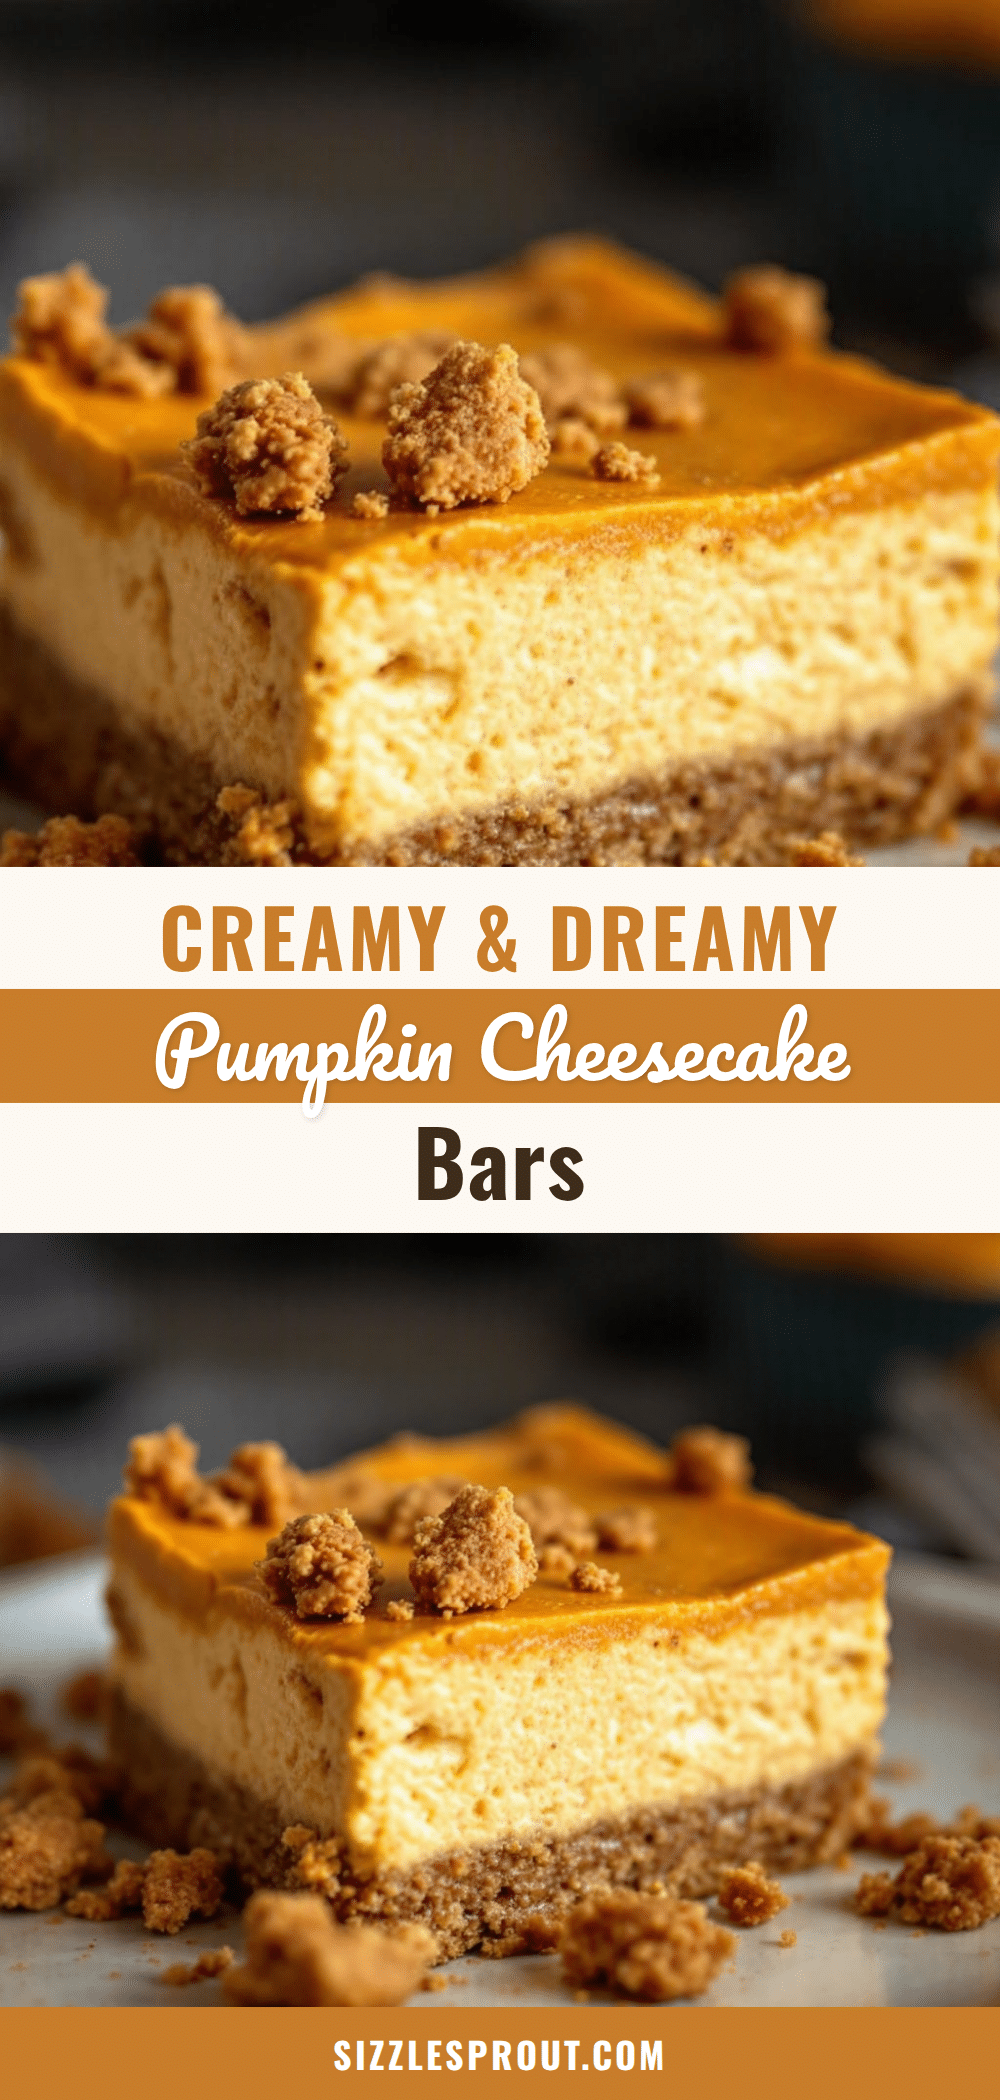
Creamy Pumpkin Cheesecake Bars with Gingersnap Crust
These creamy pumpkin cheesecake bars feature a crackly gingersnap crust and a silky pumpkin cheesecake filling. They’re easy to make, perfect for fall gatherings, and taste even better the next day.
- Prep Time: 20 minutes
- Cook Time: 40 minutes
- Total Time: 5 hours (including chilling)
- Yield: 16 servings 1x
- Category: Dessert
- Cuisine: American
Ingredients
- 2 cups gingersnap cookie crumbs (about 8 ounces or 225 grams)
- 5 tablespoons unsalted butter, melted (70 grams)
- 2 tablespoons granulated sugar (25 grams)
- Pinch of salt
- 16 ounces cream cheese, softened (two 8-ounce blocks, 450 grams)
- 3/4 cup granulated sugar (150 grams)
- 1 cup pumpkin puree (245 grams)
- 2 large eggs, room temperature
- 1 teaspoon vanilla extract
- 1 teaspoon pumpkin pie spice
- 1/2 teaspoon ground cinnamon
- 1/4 teaspoon salt
- 1/2 cup sour cream (120 grams) (optional topping)
- 1 tablespoon powdered sugar (optional topping)
- Caramel sauce or whipped cream (for serving, optional)
Instructions
- Preheat your oven to 325°F (160°C). Line a 9×9-inch baking pan with parchment paper, leaving an overhang on two opposite sides.
- Make the crust: In a medium bowl, combine gingersnap crumbs, melted butter, 2 tablespoons granulated sugar, and a pinch of salt. Stir until the mixture looks like wet sand.
- Press the crust mixture firmly and evenly into the prepared pan. Bake for 10 minutes, then set aside to cool slightly.
- Beat the cream cheese: In a large bowl, beat the softened cream cheese with an electric mixer on medium speed until smooth and creamy, about 2 minutes. Scrape down the sides.
- Add 3/4 cup granulated sugar and beat until combined, about 1 minute. Scrape the bowl again.
- Mix in pumpkin puree, vanilla, pumpkin pie spice, cinnamon, and 1/4 teaspoon salt. Beat on low speed until incorporated.
- Add eggs one at a time, beating on low speed just until combined after each addition. Do not overmix.
- Pour the filling over the crust and spread evenly. Tap the pan gently on the counter to release air bubbles.
- Bake for 35 to 40 minutes, until the edges are set and the center jiggles slightly when shaken.
- Cool completely on a wire rack for about 1 hour, then refrigerate for at least 4 hours, preferably overnight.
- If using the sour cream topping, whisk together sour cream and powdered sugar until smooth. Spread over chilled bars before slicing.
- Use the parchment sling to lift the bars out of the pan. Slice into 16 squares with a hot, clean knife.
Notes
Room temperature ingredients are crucial for a smooth filling. Do not overmix after adding eggs. Let bars cool gradually to prevent cracking. For clean slices, run the knife under hot water between cuts. Bars can be stored in the refrigerator for up to 5 days or frozen for up to 3 months.
Nutrition
- Serving Size: 1 bar
- Calories: 285
- Sugar: 19
- Sodium: 220
- Fat: 18
- Saturated Fat: 10
- Carbohydrates: 28
- Fiber: 1
- Protein: 5
Keywords: pumpkin cheesecake bars, gingersnap crust, fall dessert, Thanksgiving dessert, easy cheesecake bars


