Love this? Save it for later!
Share the inspiration with your friends
I did not trust gingersnaps in pumpkin pie. Honestly, I thought crushing cookies into a crust sounded like a mistake until I tasted the first slice. My grandmother always made the standard graham cracker version. It was safe, predictable, and frankly, a little boring. She believed that pumpkin pie needed a neutral base to let the spice shine. I respected her tradition, but I never felt excited about it.
Last October, a neighbor brought over a slice of something she called “spice cake pie.” I was polite enough to take a bite. The texture was unexpected. It wasn’t sandy or dry like a typical crust. It had a snap, a crumble, and a deep molasses flavor that hit me immediately. I asked her what she used. She laughed and said she just crushed a box of gingersnaps.
I went home and scoffed at the idea. Cookie crumbs in a custard pie? It sounded messy. It sounded like dessert dessert, which felt wrong for a traditional fall dinner. But that bite stayed with me. It lingered long after the plate was empty. I kept thinking about the contrast between the sweet spice and the tart pumpkin.
A week later, I found myself with a box of stale gingersnaps and a can of pumpkin puree. I decided to give it a try. I mixed the crumbs with butter and pressed it into the pan. I poured in my usual filling. I didn’t expect much. I expected a soggy, crumbly disaster.
When I pulled it from the oven, the smell was intoxicating. The kitchen smelled like a bakery, not just a kitchen. The first bite confirmed what I had feared and hoped for simultaneously. The crust didn’t just hold the pie; it elevated it. The ginger warmed the palate before the smooth custard even touched my tongue. It was a revelation. I had been wrong about the tradition. This wasn’t a mistake. It was an upgrade.
Now, every time I make this creamy homemade pumpkin pie with gingersnap crust, I remember that skepticism. It reminds me that the best recipes often come from breaking rules. You might doubt it too. Give it a chance. You will likely end up just as convinced as I am.
Why You’ll Love This Recipe
This recipe isn’t just another pumpkin pie. It’s the result of years of testing, tweaking, and eating way too many pies to know what actually works. I’ve tried the standard graham cracker crust until I was bored. I’ve tried pecan crusts that were too hard to chew. This version hits the sweet spot. It combines the ease of a no-bake crust with the complex flavor profile of a spice cake. Here is why this specific combination works so well for your holiday table.
- Quick & Easy: The crust comes together in under 10 minutes. You don’t need to roll out dough or worry about shrinkage. Just crush, mix, and press. This is perfect for busy weeknights or last-minute Thanksgiving prep when you are already stressed about the turkey.
- Simple Ingredients: No fancy grocery trips needed. You likely already have gingersnap cookies, butter, and sugar in your pantry. The filling uses common spices like cinnamon, nutmeg, and ginger. It is accessible cooking at its finest.
- Perfect for Holiday Gatherings: Great for brunch, potlucks, or cozy dinners. This pie travels well and holds its shape better than custard-only pies. It is sturdy enough to serve at a busy party without falling apart.
- Crowd-Pleaser: Always gets rave reviews from kids and adults alike. The cookie crust feels like a treat to children, while the sophisticated spice blend appeals to adults. It bridges the gap between a snack and a formal dessert.
- Unbelievably Delicious: The texture and flavor combo is next-level comfort food. The crunch of the crust contrasts beautifully with the silky filling. It is a mouthfeel experience that keeps people coming back for seconds.
What makes this recipe different from the rest is the attention to detail in the crust preparation. Many people just dump crumbs and butter together. I recommend toasting the crumbs slightly in the pan before adding the filling. This step adds a depth of flavor that raw cookie crumbs lack. It creates a nutty, caramelized base that supports the heavy pumpkin custard.
This recipe isn’t just good—it is the kind that makes you close your eyes after the first bite. It’s comfort food reimagined—healthier, faster, but with the same soul-soothing satisfaction. Perfect for impressing guests without stress, or turning a simple meal into something memorable. It pairs wonderfully with other baked goods, like my pumpkin spice french toast casserole for a full fall breakfast spread.
What Ingredients You Will Need
This recipe uses simple, wholesome ingredients to deliver bold flavor and satisfying texture without the fuss. The magic lies in the balance between the sweet, chewy cookies and the spiced, creamy filling. You do not need high-end specialty items. Standard grocery store brands work perfectly fine here. The key is quality butter and fresh spices.
- For the Gingersnap Crust:
- Gingersnap cookies: 1 ½ cups, finely crushed. These are the star. Look for brands like Keebler or store brand ginger snaps that have a bit of chew. Avoid the super hard, dry ones if possible, though they work in a pinch.
- Unsalted butter: 6 tablespoons, melted. Using unsalted allows you to control the saltiness. If you only have salted, reduce any added salt in the filling.
- Granulated sugar: 2 tablespoons. This helps the crust hold together and adds a slight crunch.
- Ground cinnamon: ½ teaspoon. Just a hint to bridge the cookie and the pie filling.
- For the Pumpkin Filling:
- Pumpkin puree: 15 ounces (1 can). Make sure it is 100% pure pumpkin, not pumpkin pie filling. The latter has too much sugar and spices already.
- Evaporated milk: 12 ounces (1 can). This is crucial. It adds richness and a slight caramel note that regular milk cannot match. Do not substitute with fresh milk unless you accept a thinner texture.
- Large eggs: 2 large, room temperature. These bind the filling. Room temperature eggs mix more evenly.
- Packed brown sugar: ¾ cup. Dark brown sugar is best for the molasses flavor, but light works too.
- Pumpkin pie spice: 1 ½ teaspoons. If you don’t have a blend, mix 1 tsp cinnamon, ½ tsp ginger, ¼ tsp nutmeg, and ¼ tsp cloves.
- Vanilla extract: 1 teaspoon. Pure vanilla is worth the extra cost.
- Salt: ¼ teaspoon. This balances the sweetness.
I recommend using a food processor to crush the cookies. It gives you the most consistent texture. If you don’t have one, put them in a ziplock bag and crush them with a rolling pin. You want fine crumbs, not chunky pieces. For the evaporated milk, I prefer the brand Carnation. It has a consistent creaminess that I trust.
In summer, you might swap pumpkin puree for roasted butternut squash, but the flavor will be slightly different. For a gluten-free option, use gluten-free gingersnap cookies. They are widely available now and work just as well. If you need a dairy-free version, use coconut cream instead of evaporated milk and vegan butter for the crust.
Equipment Needed
You do not need a lot of fancy gear to make this pie. In fact, keeping it simple is part of the appeal. Here is what you will need to get it done right.
- 9-inch pie dish: Glass or ceramic is best. Glass allows you to see the bottom crust browning. Avoid metal pans if you want an even bake.
- Food processor or blender: Essential for crushing the cookies quickly. A blender works too, but be careful not to turn the cookies into dust.
- Mixing bowls: One large bowl for the filling. One medium bowl for the crust.
- Whisk: A standard wire whisk is perfect for blending the eggs and milk. Avoid electric mixers for the filling to prevent adding too much air, which can cause cracking.
- Measuring cups and spoons: Standard dry and liquid measures.
- Pastry brush: Optional, but helpful for brushing the crust edges with a little milk to help them brown.
If you don’t have a food processor, a heavy-duty ziplock bag and a rolling pin will work. It takes more elbow grease, but it is effective. For the pie dish, I find that a dark glass pie plate promotes better browning on the bottom crust. If you use a light-colored dish, you might need to bake it on a lower rack.
Budget-friendly option: You can reuse pie dishes you already own. There is no need to buy a new one just for this recipe. Also, a simple whisk is cheaper and often more effective than an electric mixer for custard-based pies. It gives you better control over the texture.
Preparation Method
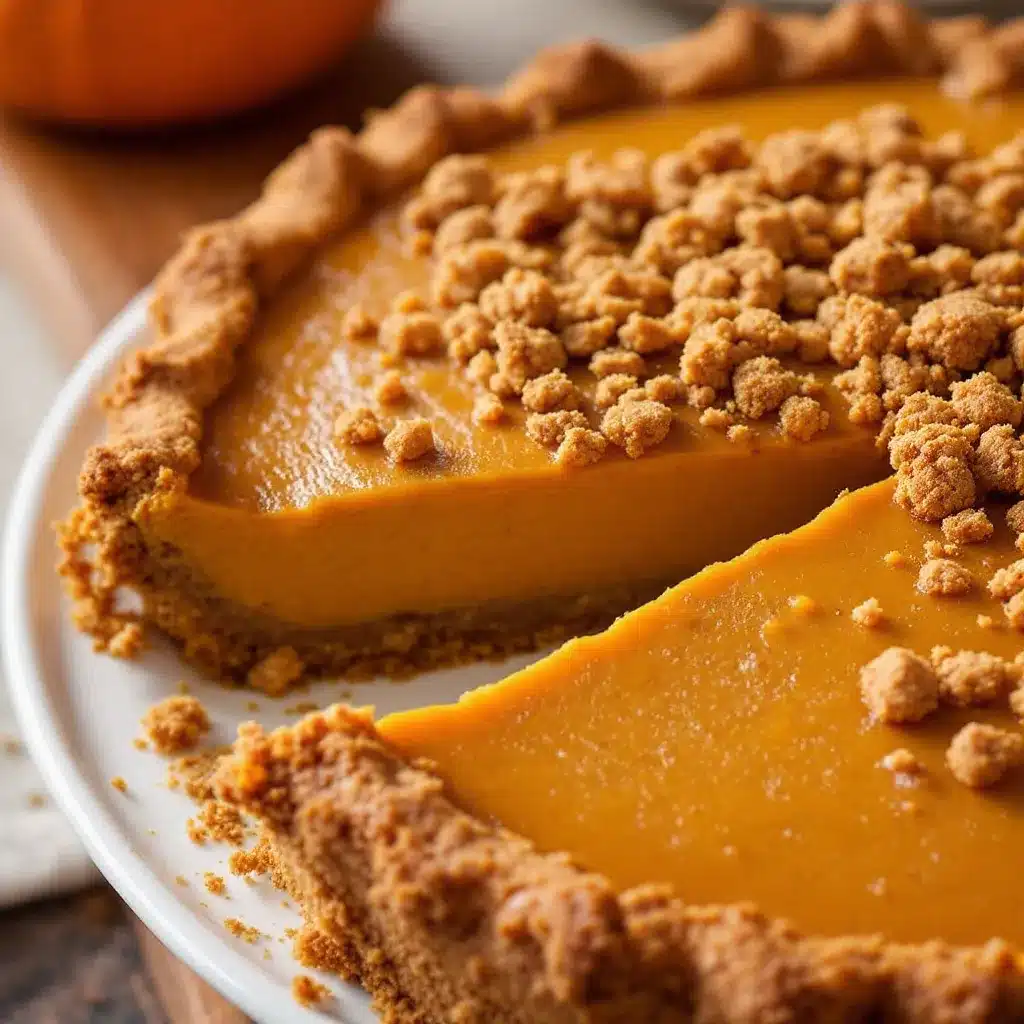
Making this creamy homemade pumpkin pie with gingersnap crust is straightforward. The hardest part is waiting for it to chill. Follow these steps closely for the best results.
- Prepare the Crust: Preheat your oven to 350°F (175°C). Place the gingersnap cookies in a food processor. Pulse until they are fine crumbs. This should take about 30 seconds. If you are doing it by hand, crush them in a bag until no large pieces remain.
(Time: 5 minutes) - Mix the Crust Base: In a medium bowl, combine the cookie crumbs, melted butter, sugar, and cinnamon. Stir until the mixture looks like wet sand. It should hold together when you pinch it.
(Time: 2 minutes) - Press the Crust: Pour the mixture into your 9-inch pie dish. Use the bottom of a measuring cup or your fingers to press the crumbs firmly into the bottom and up the sides. Make sure the edges are compact. A loose crust will crumble when you slice it.
(Time: 3 minutes) - Pre-bake the Crust: Place the empty crust in the preheated oven. Bake for 8-10 minutes. You want it to set and get slightly golden. This step prevents a soggy bottom. Remove it and let it cool on a wire rack.
(Time: 10 minutes baking) - Make the Filling: In a large bowl, whisk the eggs until smooth. Add the brown sugar, pumpkin puree, evaporated milk, pumpkin pie spice, vanilla, and salt. Whisk vigorously until everything is fully combined and smooth. There should be no lumps of sugar or spice.
(Time: 5 minutes) - Fill the Pie: Pour the filling into the cooled gingersnap crust. Smooth the top with a spatula. If there are bubbles, pop them with a knife.
(Time: 2 minutes) - Bake the Pie: Place the pie back in the oven. Bake at 350°F (175°C) for 50-60 minutes. The pie is done when the edges are set but the center still jiggles slightly like Jell-O. It will firm up as it cools. Do not overbake, or it will crack.
(Time: 55 minutes) - Cool Completely: Remove the pie from the oven. Place it on a wire rack. Let it cool for at least 2 hours, preferably 4 hours or overnight. This chilling time is non-negotiable. The filling needs to set properly.
(Time: 2-4 hours)
If the crust edges start browning too quickly during baking, cover them with a strip of aluminum foil or a pie shield. This ensures the filling cooks through without burning the crust.
Cooking Tips & Techniques
I have made this pie enough times to know where things can go wrong. Here are some professional tips to ensure your pie turns out perfectly every time.
- Room Temperature Ingredients: Make sure your eggs and milk are at room temperature. Cold ingredients can cause the filling to separate or not mix evenly. This takes the hassle out of whisking.
- Don’t Overmix: While you need to whisk the filling, don’t whip air into it. Too much air can lead to a puffy top that collapses and cracks in the oven. Gentle but thorough is the goal.
- The Jiggle Test: This is the most important visual cue. The center should wobble like gelatin, not like water. If it looks liquid, it needs more time. If it looks solid, it is overbaked.
Common mistake: Baking until the center is firm. This leads to a dry, rubbery texture. Trust the jiggle. - Cooling Patience: I know it is tempting to slice it warm. Resist the urge. The pie continues to cook as it rests. Slicing it too early will result in a messy, runny slice. Let it set in the fridge.
- Toast the Crumbs: Pre-baking the crust is essential. Raw cookie crumbs can taste dusty and raw. Toasting them brings out the molasses flavor and creates a sturdy base.
I once rushed this pie and sliced it after only 30 minutes. It was a soup disaster. I learned my lesson. Now, I make it the night before. It tastes better the next day anyway, as the flavors meld together.
For consistency, use the same size pie dish. A smaller dish will result in a thicker pie that might not cook evenly in the center. A larger dish will be too thin and might burn. Stick to a standard 9-inch dish.
Variations & Adaptations
This recipe is flexible. You can adapt it to fit your dietary needs or taste preferences. Here are a few ideas I have tried.
- Dairy-Free: Swap the evaporated milk for full-fat coconut milk (canned, not the beverage carton). Use vegan butter for the crust. The flavor will be slightly coconutty, which pairs well with pumpkin.
- Gluten-Free: Use certified gluten-free gingersnap cookies. Most major brands offer these now. Ensure your pumpkin puree is labeled gluten-free if you have celiac disease.
- Low-Sugar: Use a sugar substitute like erythritol or monk fruit in the crust and filling. Note that sugar provides bulk and moisture, so the texture might be slightly different. You may need to add a tablespoon of xanthan gum to help it set.
- Spice Level: If you love ginger, add an extra teaspoon of ground ginger to the filling. If you prefer less spice, reduce the pumpkin pie spice to 1 teaspoon and add more cinnamon.
- Maple Twist: Substitute half of the brown sugar with pure maple syrup. This adds a rustic, earthy sweetness that complements the gingersnaps beautifully.
I recently tried adding a layer of cream cheese to the bottom of the crust before adding the pumpkin. It created a delicious cheesecake-pie hybrid. It was rich and tangy. If you try this, use an 8-ounce block of softened cream cheese mixed with an egg and a little sugar.
You can also add chopped pecans to the crust for extra crunch. It adds a nutty element that contrasts well with the smooth filling. Just be careful not to make the crust too thick, or it will overpower the pie.
Serving & Storage Suggestions
How you serve this pie matters as much as how you make it. Here are my recommendations.
- Serving Temperature: Serve it chilled or at room temperature. Cold pie highlights the crispness of the crust. Room temperature allows the aromas to rise more fully. Avoid serving it warm, as the texture is less defined.
- Toppings: Whipped cream is classic. But try adding a drizzle of salted caramel sauce or a sprinkle of flaky sea salt. The salt enhances the sweetness and the ginger flavor.
- Pairings: This pie pairs well with black coffee, tea, or a stout beer. It also complements lighter desserts, like my small batch pumpkin chocolate chip cookies, if you are making a dessert board.
- Refrigeration: Store leftovers in the refrigerator, covered with plastic wrap or in an airtight container. It will last for up to 4 days.
- Freezing: You can freeze this pie. Wrap it tightly in plastic wrap and then aluminum foil. It will keep for up to 2 months. Thaw it in the refrigerator overnight before serving.
Flavors develop over time. The second day, the gingersnap crust softens slightly, becoming more cake-like. Some people prefer this texture. The third day, the spice flavor is most pronounced.
When reheating, do not use the microwave. It will make the crust soggy. If you want it warm, place a slice in a 300°F oven for 10 minutes. This restores some crispness to the crust.
Nutritional Information & Benefits
This pie is a treat, but it does have some nutritional benefits. Understanding the ingredients helps you make informed choices.
- Estimated Calories: Each slice (1/8 of the pie) contains approximately 350-400 calories. This varies based on the size of the slice and the specific brands used.
- Key Nutrients: Pumpkin is rich in Vitamin A, which is great for eye health. It also provides fiber and potassium. The gingersnap crust adds carbohydrates and some iron from the molasses.
- Dietary Considerations: This recipe contains dairy, eggs, and gluten. It is not suitable for vegans or those with severe allergies unless adapted. The lactose content is moderate due to the evaporated milk.
- Wellness Perspective: I view this as a mindful indulgence. It is not a health food, but it uses real ingredients. There are no artificial colors or preservatives. Enjoy it in moderation as part of a balanced diet.
The fiber from the pumpkin helps with digestion. The spices like ginger and cinnamon have anti-inflammatory properties. While the sugar content is high, the overall nutrient profile of the filling is decent compared to other custard pies.
If you are watching your sugar intake, consider reducing the sugar in the crust and using a sugar-free evaporated milk alternative. It changes the taste, but it is a viable option for some diets.
Conclusion
This creamy homemade pumpkin pie with gingersnap crust is worth the effort. It transforms a standard holiday dessert into something special. The crust adds a layer of complexity that you simply cannot get with graham crackers. It is crunchy, spicy, and sweet. The filling is smooth, rich, and perfectly spiced.
I encourage you to try this recipe. Do not be afraid of the cookie crust. It is the best part. Customize it with your favorite spices or toppings. Make it your own. I love this recipe because it balances tradition with innovation. It respects the past but improves on it.
Please share your results. I love seeing how others adapt this recipe. Leave a comment below with your tips or questions. If you make it, tag me on social media. I want to see your beautiful pies.
Try making this alongside my air fryer pumpkin donut holes for a complete fall dessert menu. Enjoy the process and the delicious results. Happy baking!
FAQs
Can I use fresh pumpkin instead of canned puree?
Yes, you can roast a sugar pumpkin and puree it yourself. However, fresh pumpkin has more water content. You will need to cook it down to remove excess moisture, or the pie will be runny. Canned puree is concentrated and reliable for this recipe.
Why did my pie crack?
Cracking usually happens from overbaking. The pie should still jiggle in the center when you take it out. It firms up as it cools. Also, avoid using an electric mixer for the filling, as too much air can cause expansion and cracking.
Can I make the crust without gingersnaps?
You can use graham crackers, vanilla wafers, or even shortbread cookies. Gingersnaps provide a unique spicy flavor that pairs well with pumpkin. If you use a neutral cookie, add extra cinnamon and ginger to the crust to mimic the flavor.
How long does the pie need to chill?
It needs at least 2 hours to set properly. For best results, chill it overnight. This allows the flavors to meld and the texture to become firm and sliceable. Rushing this step will result in a messy slice.
Is evaporated milk necessary?
It is highly recommended. Evaporated milk adds a creamy texture and a slight caramel flavor that regular milk cannot match. It also helps the pie set without being too heavy. If you must substitute, use half-and-half or heavy cream, but the texture will be richer and denser.
Pin This Recipe!
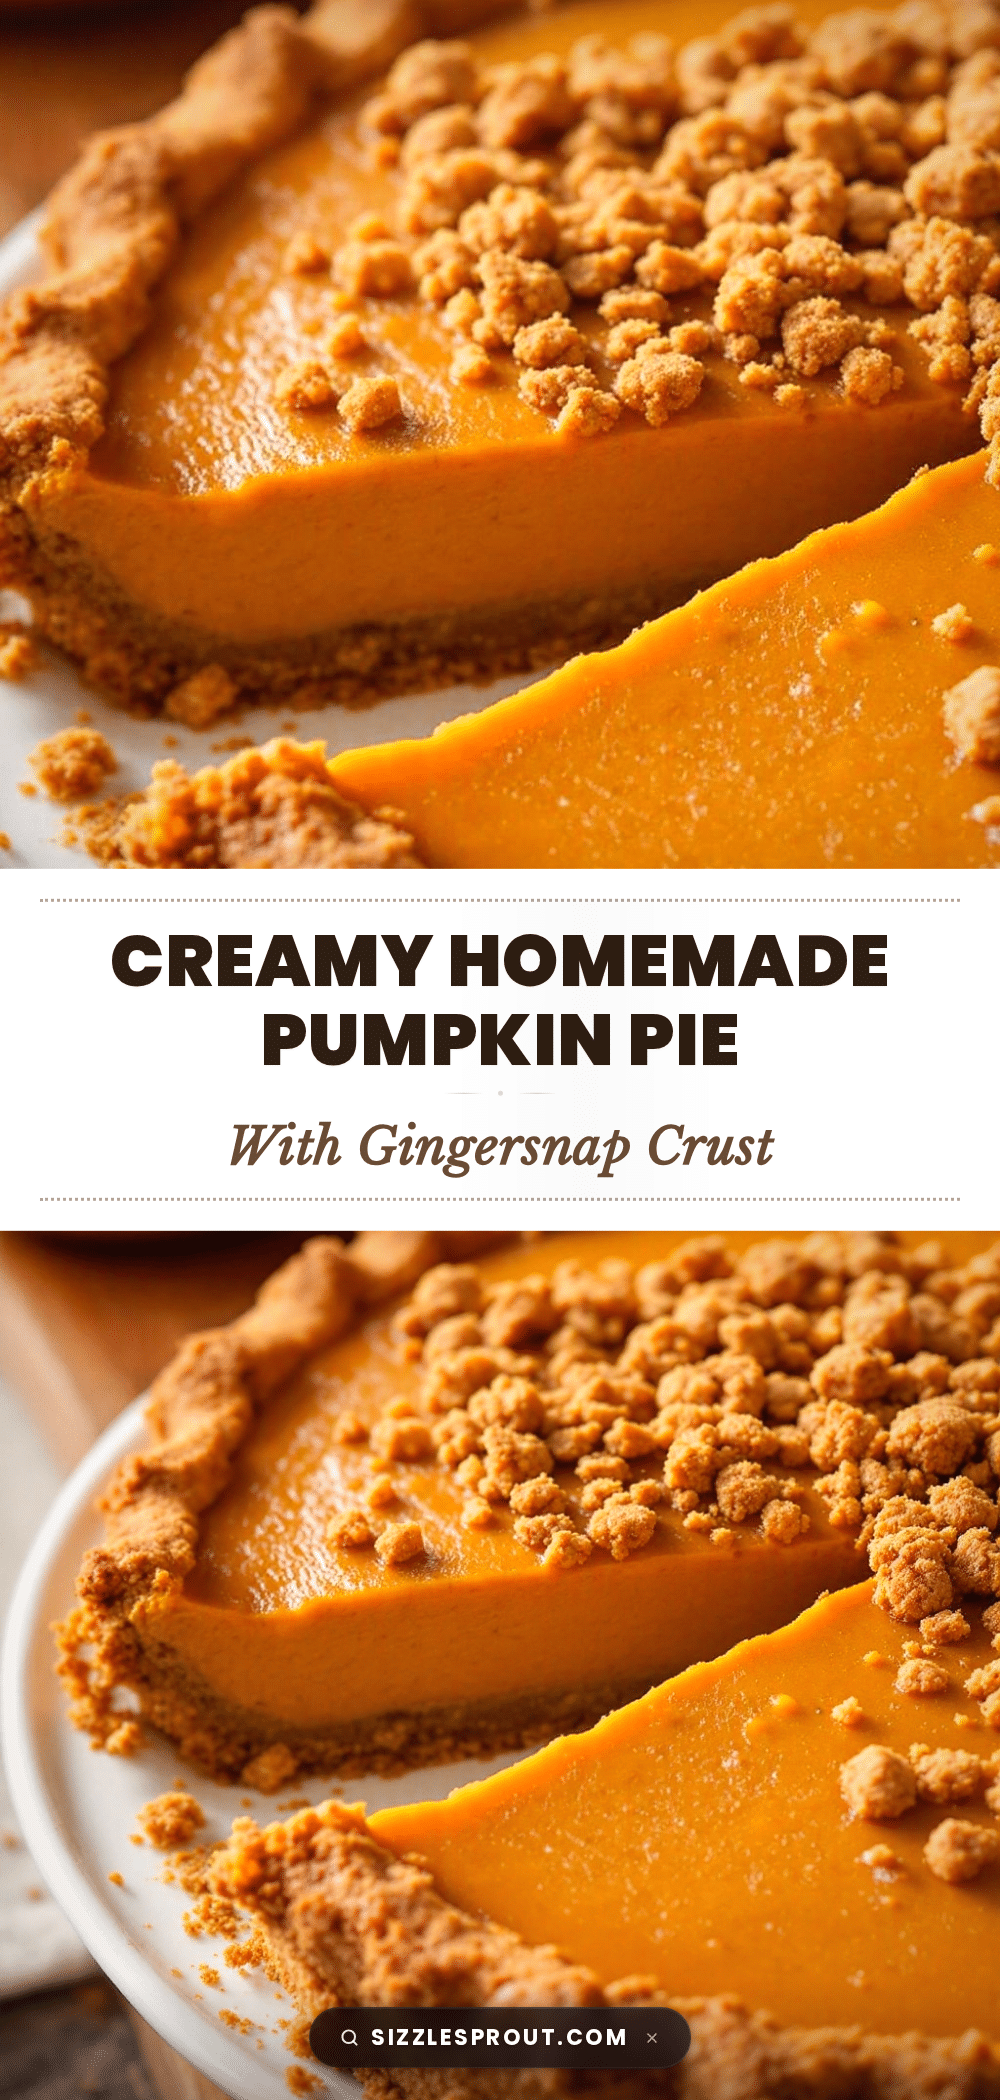
Creamy Homemade Pumpkin Pie: Best 10-Min Gingersnap Crust
A rich and creamy pumpkin pie featuring a unique, crunchy gingersnap cookie crust. This recipe combines the ease of a no-bake crust with a spiced custard filling for a crowd-pleasing holiday dessert.
- Prep Time: 15 minutes
- Cook Time: 65 minutes
- Total Time: 4 hours 20 minutes
- Yield: 8 servings 1x
- Category: Dessert
- Cuisine: American
Ingredients
- 1 ½ cups finely crushed gingersnap cookies
- 6 tablespoons unsalted butter, melted
- 2 tablespoons granulated sugar
- ½ teaspoon ground cinnamon
- 15 ounces (1 can) 100% pure pumpkin puree
- 12 ounces (1 can) evaporated milk
- 2 large eggs, room temperature
- ¾ cup packed brown sugar
- 1 ½ teaspoons pumpkin pie spice
- 1 teaspoon vanilla extract
- ¼ teaspoon salt
Instructions
- Preheat oven to 350°F (175°C). Pulse gingersnap cookies in a food processor until fine crumbs form.
- In a medium bowl, combine cookie crumbs, melted butter, sugar, and cinnamon. Stir until the mixture resembles wet sand.
- Press the crust mixture firmly into the bottom and up the sides of a 9-inch pie dish.
- Pre-bake the empty crust for 8-10 minutes until set and slightly golden. Remove and let cool on a wire rack.
- In a large bowl, whisk eggs until smooth. Add brown sugar, pumpkin puree, evaporated milk, pumpkin pie spice, vanilla, and salt. Whisk vigorously until fully combined and smooth.
- Pour the filling into the cooled gingersnap crust and smooth the top.
- Bake at 350°F (175°C) for 50-60 minutes. The pie is done when edges are set but the center jiggles slightly like Jell-O.
- Cool completely on a wire rack for at least 2 hours, preferably 4 hours or overnight, before slicing.
Notes
Ensure eggs and milk are at room temperature for even mixing. Do not overbake; the center should jiggle slightly as it firms up while cooling. For a gluten-free version, use gluten-free gingersnap cookies. For dairy-free, substitute evaporated milk with coconut cream and butter with vegan butter.
Nutrition
- Serving Size: 1 slice (1/8 of the
- Calories: 375
- Sugar: 32
- Sodium: 250
- Fat: 18
- Saturated Fat: 10
- Carbohydrates: 45
- Fiber: 2
- Protein: 6
Keywords: pumpkin pie, gingersnap crust, holiday dessert, fall recipes, easy pumpkin pie, gingersnap cookies, Thanksgiving dessert


