Love this? Save it for later!
Share the inspiration with your friends
The cast iron skillet sat on the counter, empty except for a few stray crumbs and a faint, sweet scent that clung to the air like a memory. My husband didn’t even ask for seconds. He just stared at the pan, then looked at me with that quiet, satisfied expression that says everything. “Do you have that recipe written down?” he asked, not as a question, but as a statement of fact. “Because I need it for the potluck on Sunday.”
Honestly, I was a little surprised. I usually expect the usual polite nods and quick bites, but this? This was different. It was the kind of dish that makes people stop talking. The brown sugar caramel had soaked into the bottom of the pan, creating a sticky, golden layer that seemed to pull everyone toward the table. I’ve made apple crisp before, plenty of times, but this version just stuck. It wasn’t just dessert; it was a moment.
It started because I had too many apples. You know how it is—those crisp, tart ones from the farmers market that pile up in your fridge until you forget about them. I needed a way to use them up before they got mealy. I wasn’t trying to reinvent the wheel. I just wanted something warm, something that smelled like October, and something that didn’t require a dozen fancy ingredients I wouldn’t use again.
So I mixed oats, flour, butter, and brown sugar. I tossed the apples with cinnamon and a little lemon juice. I baked it until the kitchen smelled like a bakery. Simple. But somehow, it became the thing everyone talked about. Now, it’s the first thing I make when the leaves start turning. It’s not just about the taste, though that’s definitely part of it. It’s about that feeling of coming home to something warm and ready. It’s the quiet pride of knowing you made something that brings people together. And if I’m being honest, it’s just really, really good.
Why You’ll Love This Recipe
Let’s be real for a second. There are a million apple crisp recipes out there. Some are soggy. Some are too sweet. Some have a topping that feels more like concrete than crumble. But this cozy brown sugar apple crisp with oat crumble? It’s the one that keeps coming back. I’ve tested it so many times that I can probably make it with my eyes closed, and it still comes out perfect every single time.
Here is why this recipe is your new go-to:
* **Quick & Easy**: You don’t need to spend hours peeling and slicing. This comes together in under 20 minutes of prep time. The rest is just waiting for the oven to do its magic. Perfect for busy weeknights or when you have last-minute guests.
* **Simple Ingredients**: You likely have everything in your pantry right now. Flour, oats, brown sugar, butter, apples, cinnamon. No weird extracts or hard-to-find spices. Just wholesome, basic stuff that works.
* **Perfect for Fall Gatherings**: Whether it’s a family dinner, a potluck, or just a cozy night in, this dessert fits right in. It’s warm, comforting, and smells incredible. It pairs beautifully with other seasonal favorites, like classic southern peach cobbler if you want to switch it up later, but this one is pure autumn.
* **Crowd-Pleaser**: Kids love the sweet oats. Adults love the tart apples. Everyone loves the brown sugar caramel. It’s the kind of dish that disappears fast.
* **Unbelievably Delicious**: The texture is key here. You get the soft, juicy apples underneath and the crunchy, buttery oat topping on top. It’s next-level comfort food.
What makes this different from the rest? It’s the oat crumble. Most recipes use just flour for the topping, which can get doughy. I use rolled oats. They add a chewiness and a nutty flavor that balances the sweetness of the brown sugar. Plus, I add a little extra butter to the topping to ensure it gets golden and crisp, not pale and soft. It’s a small tweak, but it makes a huge difference.
And let’s talk about the apples. I use a mix of Granny Smith and Honeycrisp. The Granny Smiths hold their shape and provide that necessary tartness, while the Honeycrisps break down slightly to create a saucy, juicy layer. It’s not just good—it’s the kind of dessert that makes you close your eyes after the first bite. It’s comfort food reimagined. It’s easy enough for a Tuesday night but special enough for a holiday table.
What Ingredients You Will Need
This recipe uses simple, wholesome ingredients to deliver bold flavor and satisfying texture without the fuss. You don’t need a specialty grocery store for this. Most of these items are pantry staples, and the apples are whatever is fresh and in season. The beauty of this dish is that it relies on quality basics rather than complex techniques.
Here is what you’ll need to gather:
**For the Apple Filling:**
* **Apples (6-7 medium)**: I recommend using a mix of tart and sweet apples. Granny Smith is great for structure, while Honeycrisp or Fuji adds sweetness. You want them firm enough to not turn into mush, but tender enough to eat.
* **Granulated Sugar (1/2 cup)**: Just a little bit to help draw out the juices from the apples. You don’t want it too sweet, as the brown sugar topping does most of the heavy lifting.
* **Lemon Juice (1 tablespoon)**: This is crucial. It prevents the apples from browning and adds a bright acidity that cuts through the richness of the butter and sugar.
* **Cinnamon (1 teaspoon)**: Ground cinnamon is the backbone of this flavor profile. Don’t skip it. It smells like home.
* **Nutmeg (1/4 teaspoon)**: A pinch of nutmeg adds depth. It’s subtle, but you’ll miss it if it’s not there.
* **Cornstarch (1 tablespoon)**: This helps thicken the natural juices from the apples so you get a nice syrupy sauce, not a watery mess.
* **Vanilla Extract (1 teaspoon)**: Pure vanilla adds warmth and rounds out the spice notes.
**For the Oat Crumble Topping:**
* **Old-Fashioned Rolled Oats (1 cup)**: Do not use instant oats. They will disintegrate. You want the chew and texture of rolled oats.
* **All-Purpose Flour (1 cup)**: This binds the topping together. If you need a gluten-free option, you can use a 1:1 gluten-free flour blend, though the texture might be slightly different.
* **Brown Sugar (1 cup, packed)**: This is the star of the topping. Dark brown sugar has a deeper molasses flavor, but light brown works too. It creates that sticky, caramel-like sauce.
* **Unsalted Butter (1/2 cup, cold and cubed)**: Cold butter is key for a crumbly texture. As it melts in the oven, it creates pockets of crispiness. I prefer unsalted so I can control the sodium.
* **Salt (1/2 teaspoon)**: A little salt balances the sweetness. It’s non-negotiable.
**Optional Add-ins:**
* **Chopped Walnuts or Pecans (1/2 cup)**: If you like a little crunch, add nuts to the topping. Toasted pecans pair especially well with apple.
* **Chai Spice Mix**: If you want to get fancy, swap the cinnamon for a chai blend. It adds ginger and cardamom notes that are lovely with apples.
I personally recommend using high-quality butter. The brand doesn’t matter as much as the fat content, but I find that European-style butters have a richer flavor that really shines in the crumble. Also, look for apples that are firm to the touch. Avoid any with soft spots or bruises. Freshness makes a big difference in the final texture.
Equipment Needed
You don’t need a fancy kitchen to make this. In fact, keeping the equipment simple is part of the charm. Here is what you’ll need:
* **9×9 Inch Baking Dish or Cast Iron Skillet**: A 9×9 dish is standard and works perfectly. However, I love making this in a cast iron skillet. It gives you that rustic, farmhouse look and the iron retains heat well, keeping the crisp warm longer. If you use a skillet, make sure it’s oven-safe.
* **Large Mixing Bowl**: For tossing the apples with the spices and sugar. A bowl with a wide mouth makes it easier to mix by hand.
* **Medium Mixing Bowl**: For the crumble topping.
* **Pastry Cutter or Fork**: To cut the butter into the flour and oat mixture. A pastry cutter works fastest, but a fork works fine if you don’t have one. You want the mixture to look like coarse crumbs.
* **Peeler and Knife**: To peel and slice the apples. A Y-peeler is easier on your wrists than a straight peeler.
* **Measuring Cups and Spoons**: Accuracy matters, especially with the flour and cornstarch. Level off your dry ingredients for best results.
If you don’t have a 9×9 dish, you can use a smaller dish, but the baking time will be shorter. Keep an eye on it. Also, if you’re using a glass dish, you might need to reduce the oven temperature by 25 degrees to prevent the bottom from burning. Cast iron and metal pans are more forgiving.
Preparation Method
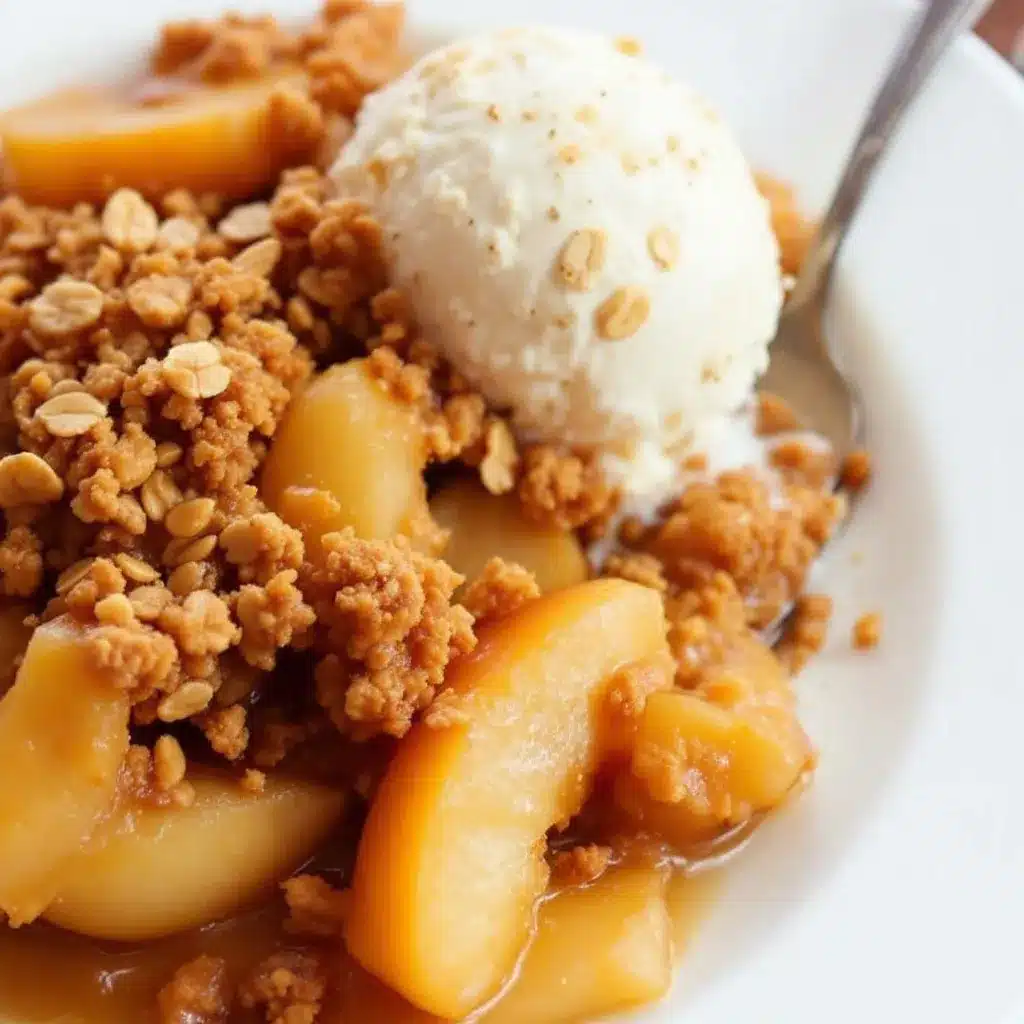
Making this cozy brown sugar apple crisp with oat crumble is straightforward. Follow these steps closely for the best results.
1. **Preheat the Oven**: Start by preheating your oven to 375°F (190°C). If you are using a cast iron skillet, you can place it in the oven while it preheats to warm it up. This helps the bottom crust get crispier. Let the oven heat for at least 15 minutes to ensure it’s fully hot.
2. **Prepare the Apples**: Wash, peel, and core the apples. Slice them into uniform pieces, about 1/4 to 1/2 inch thick. Uniformity is important so they cook evenly. If some pieces are too thick, they’ll stay hard while others turn to mush. Place the sliced apples in a large mixing bowl.
3. **Season the Apples**: Add the granulated sugar, lemon juice, cinnamon, nutmeg, cornstarch, and vanilla extract to the bowl with the apples. Toss everything together until the apples are evenly coated. The cornstarch will turn cloudy, which is normal. Let this sit for 10 minutes while you make the topping. This helps the apples release some juice.
4. **Make the Crumble Topping**: In a medium bowl, combine the rolled oats, all-purpose flour, brown sugar, and salt. If you are adding nuts, toss them in now. Use your fingers or a pastry cutter to cut in the cold, cubed butter. Work the butter into the dry ingredients until the mixture resembles coarse crumbs with some larger clumps. Don’t overmix; you want distinct crumbles, not a dough.
5. **Assemble the Dish**: Transfer the apple mixture into your prepared baking dish or skillet. Spread it out evenly. Pour the crumble topping over the apples. You don’t need to press it down. Just let it sit loosely on top. This allows the heat to circulate and bake the topping evenly.
6. **Bake**: Place the dish in the preheated oven. Bake for 45-55 minutes. You’ll know it’s done when the topping is golden brown and the apple juices are bubbling up around the edges. The bubbling is your cue that the cornstarch has thickened the sauce. If the topping is browning too fast, you can tent it loosely with aluminum foil for the last 10 minutes.
7. **Cool and Serve**: Remove from the oven and let it cool for at least 15-20 minutes before serving. This step is crucial. If you cut into it immediately, the filling will be runny. Cooling allows the sauce to set slightly, making it easier to scoop. Serve warm with a dollop of vanilla ice cream or whipped cream.
Cooking Tips & Techniques
Having made this recipe dozens of times, I’ve learned a few tricks to avoid common pitfalls.
* **Don’t Skimp on Cold Butter**: The texture of the crumble depends on the butter being cold. If the butter melts before it hits the oven, you lose those crunchy bits. Keep your butter in the fridge until the very last minute.
* **Use a Mix of Apples**: Using only one type of apple can lead to a one-dimensional flavor and texture. A mix of tart and sweet apples provides complexity. Granny Smiths hold their shape, while Honeycrisps soften nicely.
* **Watch the Bubbling**: The visual cue of bubbling juices is your best friend. It means the filling is cooked through and thickened. If the topping is done but the juices aren’t bubbling, bake it a few minutes longer.
* **Cooling is Key**: I know it’s tempting to dig in hot, but cooling is essential for the right texture. The sauce needs time to thicken. If you’re impatient, refrigerate it for an hour to speed things up, then reheat a portion.
* **Prevent Soggy Bottoms**: If you’re using a glass dish, place it on a preheated baking sheet. This helps conduct heat to the bottom crust, preventing a soggy base.
* **Taste Your Apples**: Before baking, taste a slice of apple. If it’s very tart, you might want to add a little extra sugar to the filling. If it’s very sweet, reduce the sugar slightly. Adjusting to your preference ensures the final dish is balanced.
Variations & Adaptations
This recipe is flexible. Here are some ways to make it your own:
* **Gluten-Free Option**: Swap the all-purpose flour for a 1:1 gluten-free flour blend. Ensure your oats are certified gluten-free if you have celiac disease or a severe allergy. The texture might be slightly denser, but it will still be delicious.
* **Dairy-Free Version**: Use a high-quality plant-based butter stick instead of dairy butter. Coconut oil can work, but it has a distinct flavor that might clash with the cinnamon. Vegan butter is the safer bet.
* **Nut-Free**: Simply omit the walnuts or pecans. The crumble will still be crunchy from the oats and flour.
* **Spice It Up**: Add a pinch of cardamom or allspice to the apple filling for a warmer, more complex flavor. Chai spices work wonderfully here.
* **Add Chocolate**: Sprinkle a handful of dark chocolate chips over the apples before adding the topping. It creates a chocolate-apple combo that is rich and indulgent.
* **Berry Twist**: Swap half the apples for fresh berries like raspberries or blackberries. The tartness of the berries pairs beautifully with the sweet crumble. Just note that berries release more water, so you might need an extra teaspoon of cornstarch.
I once made this with pear instead of apples. It was surprisingly good, but the texture was softer. I prefer the apple version, but it’s nice to have options.
Serving & Storage Suggestions
**Serving:**
Serve this crisp warm. It’s best eaten fresh out of the oven, but it’s also great at room temperature. Pair it with a scoop of vanilla bean ice cream, a dollop of whipped cream, or a slice of sharp cheddar cheese for a classic combo. It goes well with a cup of hot tea or coffee.
**Storage:**
* **Refrigerator**: Store leftovers in an airtight container in the fridge for up to 4 days. The crumble topping will soften, but the flavor remains good.
* **Freezer**: You can freeze the baked crisp. Wrap it tightly in plastic wrap and then aluminum foil. It will keep for up to 3 months. Thaw in the fridge overnight before reheating.
* **Reheating**: Reheat individual portions in the microwave for 30-60 seconds. For the whole dish, reheat in a 350°F oven for 15-20 minutes to restore some crispiness to the topping. If the topping gets soggy, you can pop it under the broiler for a minute to crisp it up again.
The flavors actually develop over time. Some people prefer it the next day, as the spices have had time to meld with the apple juices. It’s a matter of personal preference.
Nutritional Information & Benefits
This cozy brown sugar apple crisp with oat crumble is a balanced dessert. Apples are a great source of fiber and vitamin C. The oats provide complex carbohydrates and heart-healthy beta-glucans. Brown sugar adds sweetness and trace minerals like calcium and iron.
Here is an approximate nutritional breakdown per serving (assuming 8 servings):
* **Calories**: 350-400 kcal
* **Carbohydrates**: 55g
* **Fiber**: 4g
* **Sugar**: 35g
* **Protein**: 3g
* **Fat**: 16g
It is not a low-calorie dish, but it is a treat. The fiber from the apples and oats helps slow down sugar absorption. If you are watching your sugar intake, you can reduce the brown sugar in the topping by 1/4 cup. The apples’ natural sweetness will still provide plenty of flavor.
For those with dietary restrictions, remember to check your oats for gluten certification if needed. The recipe is naturally nut-free unless you add nuts. It’s a comforting option that doesn’t feel overly heavy, thanks to the fruit base.
Conclusion
This cozy brown sugar apple crisp with oat crumble is more than just a dessert. It’s a reminder that simple ingredients can create something truly special. It’s easy to make, uses what you have on hand, and brings warmth to your kitchen. I love that it’s forgiving. You can tweak the spices, swap the apples, or add nuts. It always turns out good.
I hope you try this recipe. It’s become a staple in my home, and I think it will become one in yours too. Don’t be afraid to experiment with the variations. Make it your own. And when you do, please let me know how it turns out. I’d love to hear your thoughts or see your photos. Share it with friends and family, and enjoy every bite.
Happy baking!
Frequently Asked Questions
Can I use frozen apples for this recipe?
Yes, you can use frozen apples, but they will release more water. Thaw them first and drain the excess liquid. You may need to add an extra tablespoon of cornstarch to the filling to ensure it thickens properly. The texture will be softer, but the flavor will still be great.
What is the best type of apple to use?
A mix of tart and sweet apples works best. Granny Smith provides tartness and structure, while Honeycrisp, Fuji, or Gala add sweetness and softness. Avoid Red Delicious, as they tend to turn mushy and lack flavor.
Can I make this ahead of time?
Yes! You can prepare the apple filling and crumble topping up to 24 hours in advance. Store them separately in the fridge. When ready to bake, let the apples sit at room temperature for 15 minutes, then assemble and bake as directed. You may need to add 5-10 minutes to the baking time since the ingredients will be cold.
Why is my crumble topping soggy?
Soggy topping usually happens if the butter was too warm or if the dish wasn’t baked long enough. Make sure your butter is cold and cubed. Also, ensure the apple juices are bubbling vigorously before removing the dish from the oven. This indicates the filling is cooked and the topping has had enough time to crisp.
How do I store leftovers?
Store leftovers in an airtight container in the refrigerator for up to 4 days. Reheat in the oven or microwave. The topping will soften in the fridge, but you can crisp it up again by baking it at 350°F for 10 minutes or using the broiler for a minute.
Pin This Recipe!
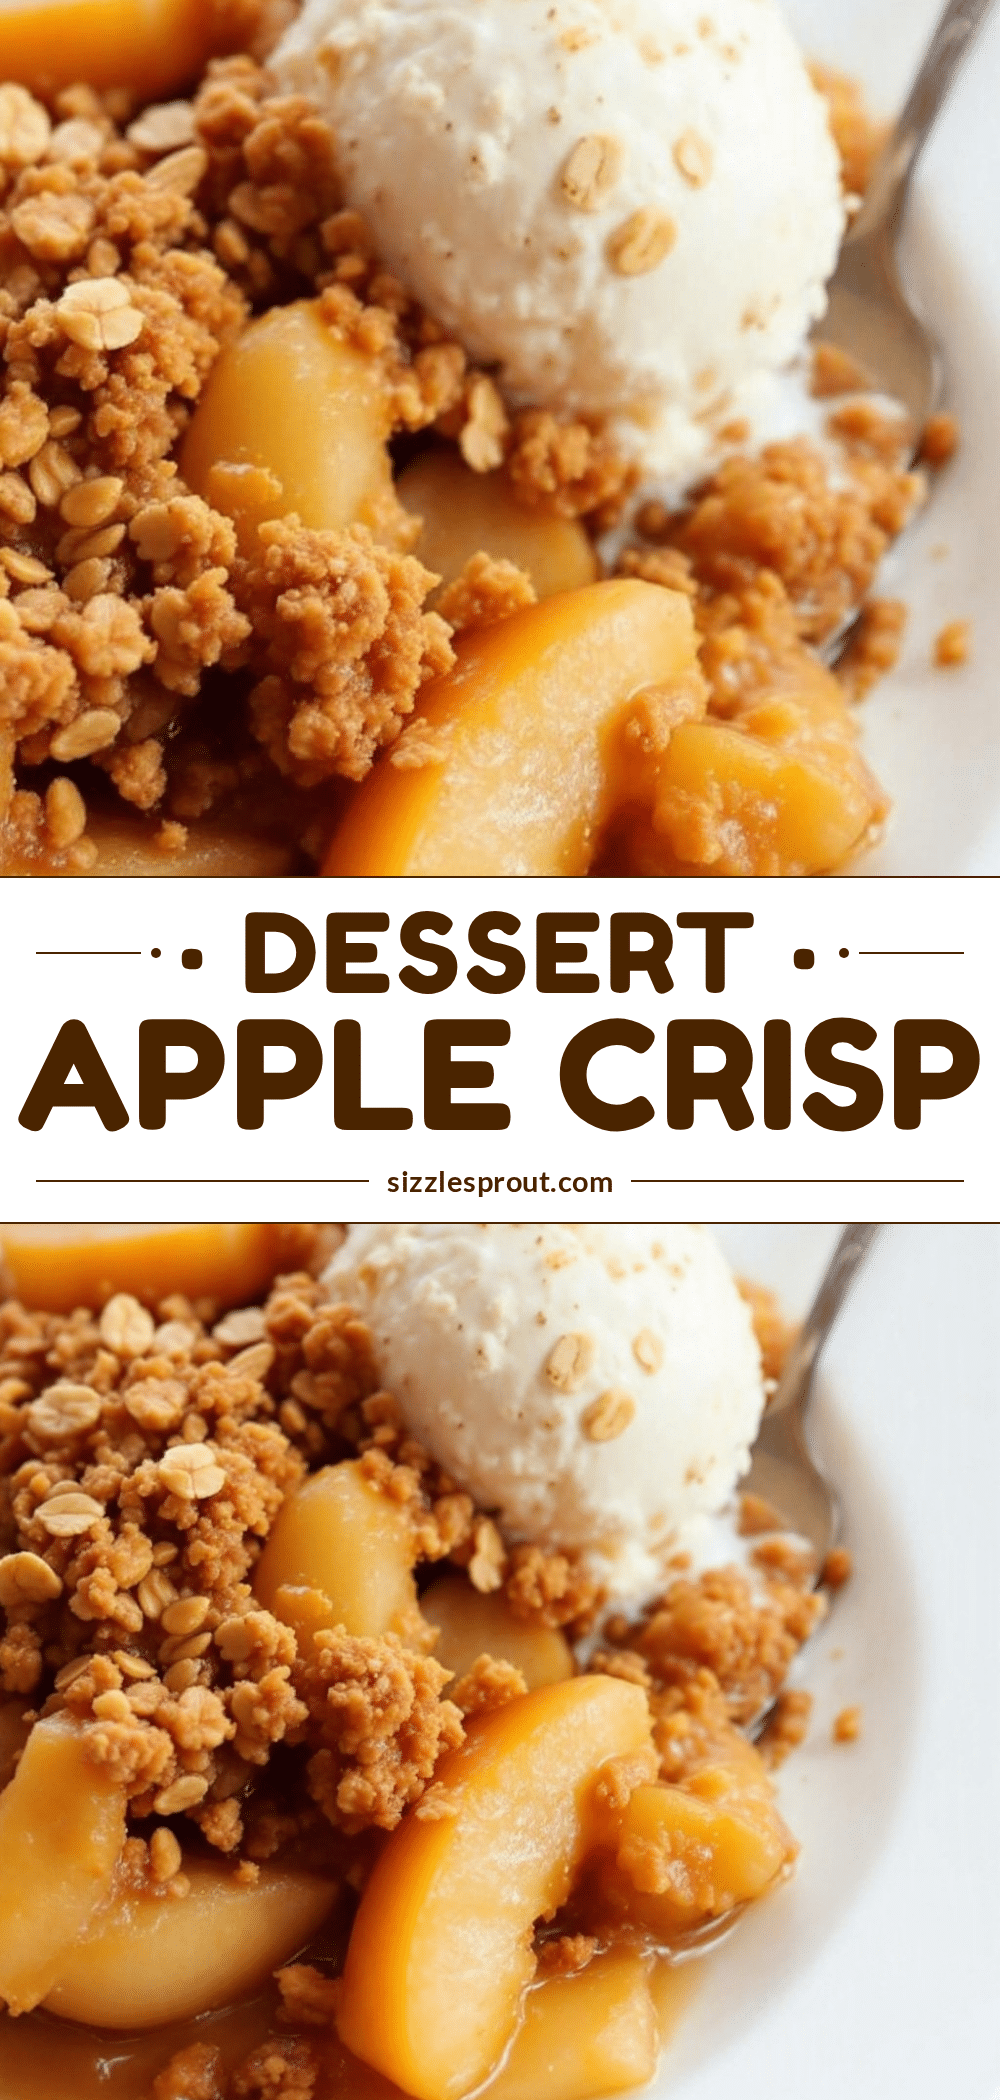
Cozy Brown Sugar Apple Crisp: Best Easy Fall Dessert

A warm, comforting fall dessert featuring tart and sweet apples topped with a crunchy, buttery oat and brown sugar crumble. Simple to make and perfect for gatherings.
- Prep Time: 20 minutes
- Cook Time: 45-55 minutes
- Total Time: 65-75 minutes
- Yield: 8 servings 1x
- Category: Dessert
- Cuisine: American
Ingredients
- 6–7 medium apples (mix of Granny Smith and Honeycrisp), peeled, cored, and sliced
- 1/2 cup granulated sugar
- 1 tablespoon lemon juice
- 1 teaspoon ground cinnamon
- 1/4 teaspoon nutmeg
- 1 tablespoon cornstarch
- 1 teaspoon vanilla extract
- 1 cup old-fashioned rolled oats
- 1 cup all-purpose flour
- 1 cup packed brown sugar
- 1/2 teaspoon salt
- 1/2 cup unsalted butter, cold and cubed
- 1/2 cup chopped walnuts or pecans (optional)
Instructions
- Preheat oven to 375°F (190°C). If using a cast iron skillet, place it in the oven to warm up.
- In a large mixing bowl, combine sliced apples, granulated sugar, lemon juice, cinnamon, nutmeg, cornstarch, and vanilla extract. Toss to coat evenly and let sit for 10 minutes.
- In a medium bowl, combine rolled oats, flour, brown sugar, and salt. Add optional nuts if using.
- Cut the cold, cubed butter into the dry ingredients using a pastry cutter or fingers until the mixture resembles coarse crumbs with some larger clumps.
- Transfer the apple mixture to the prepared baking dish or skillet and spread evenly.
- Sprinkle the crumble topping loosely over the apples.
- Bake for 45-55 minutes, or until the topping is golden brown and the apple juices are bubbling around the edges. Tent with foil if topping browns too quickly.
- Cool for at least 15-20 minutes before serving to allow the filling to set.
Notes
Use cold butter for the best crumble texture. A mix of tart (Granny Smith) and sweet (Honeycrisp) apples provides the best flavor and texture balance. Cooling the crisp for 15-20 minutes is crucial to prevent a runny filling. For a gluten-free version, use a 1:1 gluten-free flour blend and certified gluten-free oats.
Nutrition
- Serving Size: 1 slice
- Calories: 375
- Sugar: 35
- Sodium: 150
- Fat: 16
- Saturated Fat: 9
- Carbohydrates: 55
- Fiber: 4
- Protein: 3
Keywords: apple crisp, fall dessert, brown sugar, oat crumble, easy dessert, cast iron skillet, autumn recipes


