Love this? Save it for later!
Share the inspiration with your friends
Easy No Bake Peanut Butter Energy Balls: 5-Ingredient Best Snack
“Mom, I’m starving,” my youngest announced, hanging off the kitchen counter at 3:15 PM, a full hour before I’d planned to even think about snacks. I was elbow-deep in a batch of chocolate chip pumpkin bread for a neighbor, and the pantry looked like a scene from a disaster movie. I grabbed a jar of peanut butter, some oats I’d bought on a whim, and a bag of chocolate chips. “Give me five minutes,” I said, and that was it. I started mixing things in a bowl—no recipe, just a feeling. I rolled the sticky mixture into little balls, popped one in my mouth, and then handed one to her. She took a bite, chewed, and her eyes went wide. “What are these?” she asked, already reaching for another. I just shrugged. “Emergency balls, I guess.”
That afternoon, standing in my messy kitchen with flour on my jeans, I stumbled onto something that has become a weekly staple in our house. These Easy No Bake Peanut Butter Energy Balls are not just a snack; they are a tiny, peanut-buttery solution to that chaotic window between school pickup and dinner. They are the thing I make when I need a win, something that requires zero oven time and zero complicated techniques. Honestly, they taste like a treat but are packed with enough oats and protein to actually keep you full. It is the kind of snack that makes you feel like you have your life together, even when you are just winging it.
Why You’ll Love This Recipe
I have tested more energy ball recipes than I care to admit. Some were too dry, some fell apart, and some tasted like eating a spoonful of plain peanut flour. These are different. They hit that perfect sweet-salty-soft spot, and they are forgiving enough that even a distracted parent (me) can nail them every single time. Here’s why they’ve earned a permanent spot in my fridge:
- 5 Simple Ingredients: No weird powders or specialty items. You probably have everything right now.
- No Oven Required: It is a no bake recipe through and through. Perfect for hot days when you refuse to turn on the stove.
- Ready in 10 Minutes: From start to finish, including the time it takes to find a clean bowl, you are done in under ten minutes.
- Kid-Approved & Adult-Loved: My kids think they are dessert. I know they are a protein-packed snack. Everyone wins.
- Perfect for Meal Prep: Make a batch on Sunday, and you have grab-and-go snacks for the entire week. They are great for lunchboxes, post-workout fuel, or that 3 PM slump.
What sets this recipe apart is the texture. I spent a long time figuring out the exact ratio of wet to dry ingredients so the balls are soft, chewy, and hold together without being greasy or sticky. It is not just another version of the same old thing—this is the one that actually works. Plus, they are naturally sweetened with honey and have that rich, nutty flavor you crave. They are the kind of snack that makes you close your eyes after the first bite, even if you are just standing in front of the open fridge.
What Ingredients You Will Need
This recipe uses simple, wholesome ingredients to deliver that perfect energy ball texture and flavor. No complicated shopping lists here—just five pantry staples that come together beautifully.
- 1 cup creamy peanut butter (I prefer Skippy Natural or Jif Natural for the right consistency. Do not use the natural oily kind that separates unless you stir it really well—it can make the balls too greasy.)
- 1 cup old-fashioned rolled oats (Quick oats work in a pinch, but old-fashioned give you a better, chewier texture. For a gluten-free option, use certified gluten-free oats.)
- 1/2 cup honey (Local honey is my favorite for flavor, but any liquid honey works. You can substitute maple syrup for a vegan version, though the balls will be slightly softer.)
- 1/2 cup mini chocolate chips (I love Enjoy Life dark chocolate chips for a slightly less sweet option, or Guittard semi-sweet for a classic taste. Regular chocolate chips are fine, but mini ones distribute more evenly.)
- 1/4 cup ground flaxseed (This is the secret ingredient that helps bind everything together and adds a boost of fiber and omega-3s. You can substitute chia seeds or omit it entirely, but the balls might be a bit more crumbly.)
- Pinch of sea salt (Optional, but highly recommended. It balances the sweetness and makes the peanut butter flavor pop. I use Maldon flaky salt for a little crunch.)
That is it. Five ingredients (plus salt) and you are on your way to the best no-bake snack you will ever make. If you are out of flaxseed, you can throw in a tablespoon of chia seeds or even some unsweetened shredded coconut for texture. The beauty of this recipe is its flexibility—it is hard to mess up.
Equipment Needed
You do not need a fancy kitchen setup for this one. In fact, the simpler, the better. Here is what you will need:
- Large mixing bowl: Any bowl works, but a wide one makes mixing easier.
- Measuring cups and spoons: For accuracy, especially with the peanut butter and honey.
- Rubber spatula or wooden spoon: For mixing the sticky dough. A spatula scrapes the sides better.
- Cookie scoop or tablespoon: For portioning uniform balls. A cookie scoop is my favorite tool here—it makes the process so much faster and cleaner.
- Parchment paper or wax paper: For lining a baking sheet or plate while the balls chill.
- Baking sheet or large plate: To hold the balls as you roll them.
If you do not have a cookie scoop, just use a tablespoon and your hands. The mixture will be a little sticky, but a quick spray of cooking spray on your palms helps. I have made these with just a fork and a bowl before, and they turned out perfectly. No stand mixer, no food processor—just your hands and a little patience.
Preparation Method
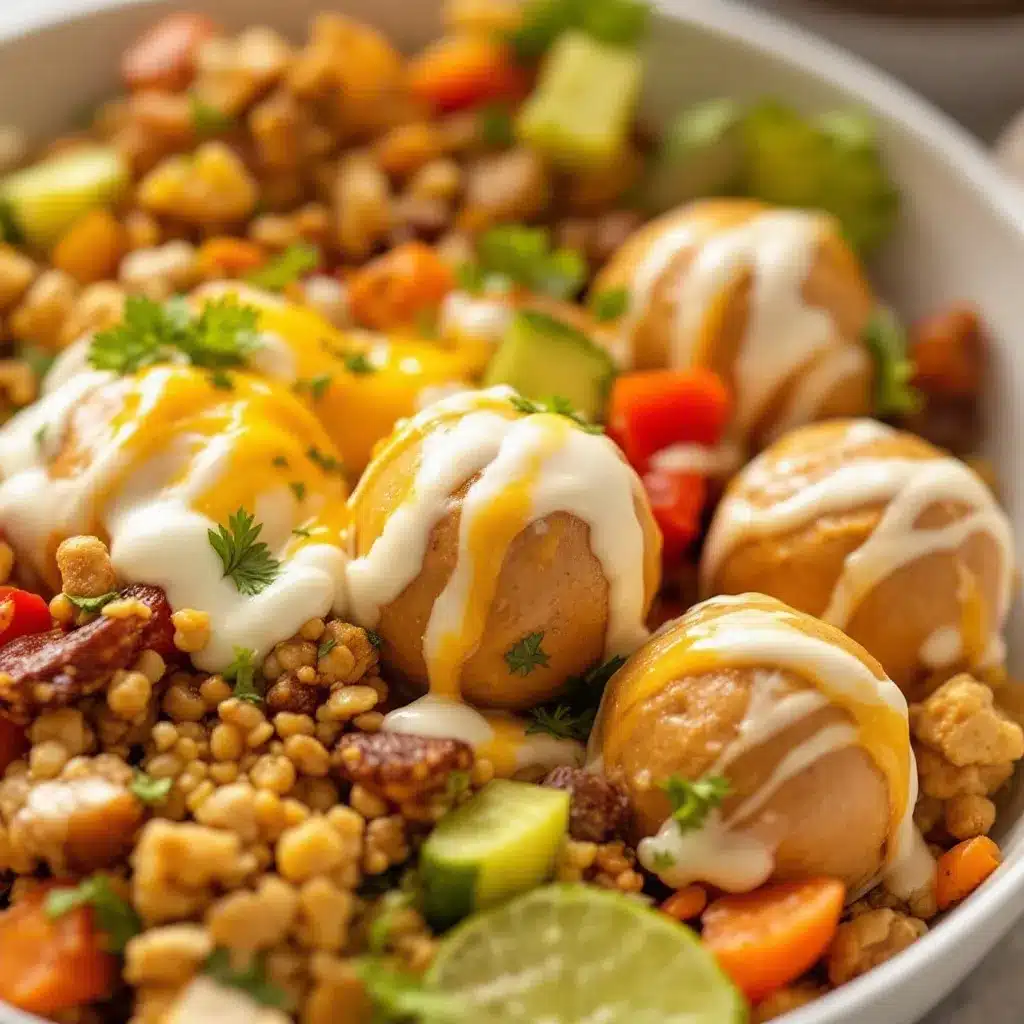
This is the easiest part. Follow these steps, and you will have a batch of perfect energy balls in no time.
- Combine the wet ingredients: In a large mixing bowl, add 1 cup creamy peanut butter and 1/2 cup honey. Stir them together with a rubber spatula until they are fully combined. The mixture will be thick and sticky, but keep mixing until it looks uniform. (Pro tip: spray your measuring cup with a little non-stick spray before measuring the honey—it will slide right out.)
- Add the dry ingredients: Pour in 1 cup old-fashioned rolled oats, 1/2 cup mini chocolate chips, and 1/4 cup ground flaxseed. Add a pinch of sea salt if you are using it. Stir everything together until the oats and chocolate chips are evenly distributed. The dough should be thick enough to hold its shape when you pinch it. If it looks too dry, add a tablespoon more honey. If it is too sticky, add a tablespoon more oats.
- Chill the mixture (optional but recommended): Pop the bowl in the fridge for 10-15 minutes. This makes the dough easier to handle and less sticky. If you are in a hurry, you can skip this step, but your hands will get a little messy. I usually chill it while I clean up the counter.
- Roll into balls: Using a cookie scoop or a tablespoon, scoop out portions of the dough. Roll them between your palms to form smooth balls, about 1 inch in diameter. If the dough sticks to your hands, lightly wet your fingers or spray them with a little cooking spray. Place each ball on a parchment-lined baking sheet or plate.
- Chill to set: Place the baking sheet in the refrigerator for at least 30 minutes. This allows the balls to firm up and hold their shape. If you can wait an hour, even better. They will be perfectly set and easy to grab.
- Store and enjoy: Transfer the energy balls to an airtight container. Keep them in the refrigerator for up to two weeks, or in the freezer for up to three months. They are delicious straight from the fridge or at room temperature.
That is it. Six simple steps, and you have a week’s worth of snacks. The first time I made these, I was shocked at how easy it was. No baking, no waiting for butter to soften, no complicated techniques. Just mix, roll, and chill.
Cooking Tips & Techniques
After making these energy balls dozens of times (and a few messy failures), I have learned a few things that make the process smoother and the results better.
- Use room temperature peanut butter: Cold peanut butter is hard to mix and can create lumps. Let it sit out for 15 minutes before you start. If you forget, microwave it for 10 seconds to soften it slightly.
- Do not overmix: Stir just until the ingredients are combined. Overmixing can make the oats break down and the texture become gummy. You want to see those oat flakes intact.
- Wet your hands: This is the number one trick for non-sticky rolling. Keep a small bowl of water nearby and dip your fingertips before rolling each ball. It makes the process so much less frustrating.
- Chill the dough: I know I said it is optional, but really, do it. Ten minutes in the fridge transforms the dough from a sticky mess into a manageable, rollable texture. It is worth the extra wait.
- Use a cookie scoop for uniformity: Not only does it make the balls look professional, but it ensures they all chill and set at the same rate. Plus, it is faster than eyeballing each one.
I learned the hard way that skipping the chilling step leads to flat, misshapen balls that look more like blobs. One time, I was in a rush and rolled them immediately, and they spread out on the plate like sad little pancakes. They still tasted great, but they were not pretty. Now I always chill the dough, even if it is just for five minutes.
Variations & Adaptations
One of the best things about this recipe is how easy it is to adapt. You can change the flavor profile, make it allergy-friendly, or just use what you have on hand. Here are some of my favorite variations:
- Chocolate Peanut Butter: Add 2 tablespoons of unsweetened cocoa powder to the dry ingredients. It turns the balls into a rich, fudgy treat that feels like dessert.
- Crunchy Peanut Butter: Swap the creamy peanut butter for crunchy. The little bits of peanut add texture and make the balls even more satisfying.
- Almond Butter Version: Replace the peanut butter with almond butter for a different nutty flavor. You might need to adjust the honey slightly, as almond butter can be less sweet.
- Add-Ins: Throw in 1/4 cup of unsweetened shredded coconut, dried cranberries, or chopped nuts. Each addition changes the texture and flavor in a fun way.
- Vegan Option: Use maple syrup instead of honey. The balls will be a bit softer, so you might want to add an extra tablespoon of oats to firm them up.
- Low-Sugar Version: Use sugar-free chocolate chips and reduce the honey to 1/3 cup. They will still be sweet enough from the peanut butter and chocolate.
I once made a batch with chopped dates instead of chocolate chips, and they turned out like little peanut butter date bars in ball form. My husband, who claims he does not like dates, ate six of them before I told him. So, do not be afraid to experiment.
Serving & Storage Suggestions
These energy balls are perfect straight from the fridge, but they also work great at room temperature. Here is how I like to serve and store them:
- Serving Temperature: I prefer them cold, straight from the fridge. The texture is firmer and the chocolate chips are snappy. If you like them softer, let them sit out for 5-10 minutes.
- Presentation: For a party or snack board, arrange them on a platter with fresh fruit, nuts, and cheese. They look beautiful alongside a bowl of grapes and some sharp cheddar.
- Pairings: Serve them with a glass of cold milk, a cup of coffee, or a pumpkin cream cold foam for a cozy afternoon treat. They also pair well with a smoothie for a quick breakfast.
- Storage: Keep them in an airtight container in the refrigerator for up to two weeks. I use a glass container with a tight lid to keep them fresh and prevent them from absorbing fridge odors.
- Freezing: These freeze beautifully. Place the balls on a baking sheet in the freezer for an hour, then transfer them to a freezer-safe bag. They will keep for up to three months. Thaw them in the fridge overnight or at room temperature for 15 minutes.
- Flavor Development: The flavors actually meld and deepen after a day in the fridge. They taste even better on day two, so do not be afraid to make them ahead.
I always keep a stash in the freezer for those days when I forget to prep snacks. They thaw quickly and are always a lifesaver. My kids know exactly where they are and grab them without asking—which is the highest compliment a snack can get.
Nutritional Information & Benefits
These energy balls are not just delicious—they are packed with good-for-you ingredients that keep you fueled and satisfied. Here is a rough estimate per ball (based on 20 balls per batch):
- Calories: Approximately 150-170 calories per ball
- Protein: 6-7 grams
- Healthy Fats: 9-10 grams (from peanut butter and flaxseed)
- Carbohydrates: 16-18 grams
- Fiber: 3-4 grams
- Sugar: 8-10 grams (mostly from honey and chocolate chips)
Health Benefits: The peanut butter provides protein and healthy monounsaturated fats that support heart health and keep you full. Oats are a great source of complex carbohydrates and soluble fiber, which helps with digestion and sustained energy. Flaxseed is rich in omega-3 fatty acids and lignans, which have anti-inflammatory properties. The chocolate chips add a touch of antioxidants, and the honey provides quick, natural energy.
Dietary Considerations: This recipe can be made gluten-free by using certified gluten-free oats. For a vegan version, swap the honey for maple syrup. It is naturally dairy-free (check your chocolate chips to be sure). The recipe contains peanuts, so it is not suitable for those with peanut allergies, but you can substitute sunflower seed butter or almond butter.
I love that these energy balls give me a guilt-free snack that actually nourishes my body. They are perfect for a pre-workout boost, an afternoon pick-me-up, or a quick breakfast on the go. They are proof that healthy snacks do not have to taste like cardboard.
Conclusion
These Easy No Bake Peanut Butter Energy Balls are the kind of recipe that makes you wonder why you ever bought store-bought granola bars. They are simple, fast, and endlessly customizable. With just five ingredients and ten minutes of your time, you can have a week’s worth of delicious, protein-packed snacks that the whole family will love.
I have made these for playdates, road trips, and late-night cravings, and they never disappoint. They are the snack I turn to when I need something reliable, something that makes me feel like I have my act together even when I am just barely hanging on. My advice? Make a double batch. Trust me, they will disappear faster than you expect.
I would love to hear how yours turn out! Did you add anything fun? Did your kids love them as much as mine? Drop a comment below and let me know. And if you are looking for another quick, healthy snack, check out these easy sheet pan salmon for a balanced meal idea. Happy snacking!
Frequently Asked Questions
Can I use natural peanut butter for these energy balls?
Yes, you can, but you need to stir it really well first. Natural peanut butter that separates can make the balls greasy and cause them to fall apart. If you use it, make sure it is well-mixed and at room temperature. You might also need to add a tablespoon more oats to absorb any extra oil.
How long do these energy balls last in the fridge?
They last up to two weeks in an airtight container in the refrigerator. In my house, they rarely make it past day four, but they stay fresh and delicious for the full two weeks. Just make sure the container is sealed tightly so they do not dry out.
Can I freeze these peanut butter energy balls?
Absolutely! Freezing them is a great way to have snacks on hand for weeks. Place the rolled balls on a baking sheet and freeze for an hour, then transfer them to a freezer-safe bag. They will keep for up to three months. Thaw them in the fridge overnight or at room temperature for 15 minutes before eating.
What can I use instead of honey?
Maple syrup is the best substitute for honey. It works in a 1:1 ratio and makes the recipe vegan. Agave syrup also works, but it is sweeter, so you might want to use a little less. Keep in mind that liquid sweeteners make the dough slightly softer, so you may need to add an extra tablespoon of oats to firm it up.
Why are my energy balls falling apart?
This usually happens when the mixture is too dry or not chilled enough. If your dough is crumbly, add a tablespoon of honey or peanut butter to bind it. If the balls fall apart after rolling, pop them in the fridge for 30 minutes to firm up. Also, make sure you are using creamy peanut butter—crunchy can sometimes cause the balls to be less cohesive.
Pin This Recipe!
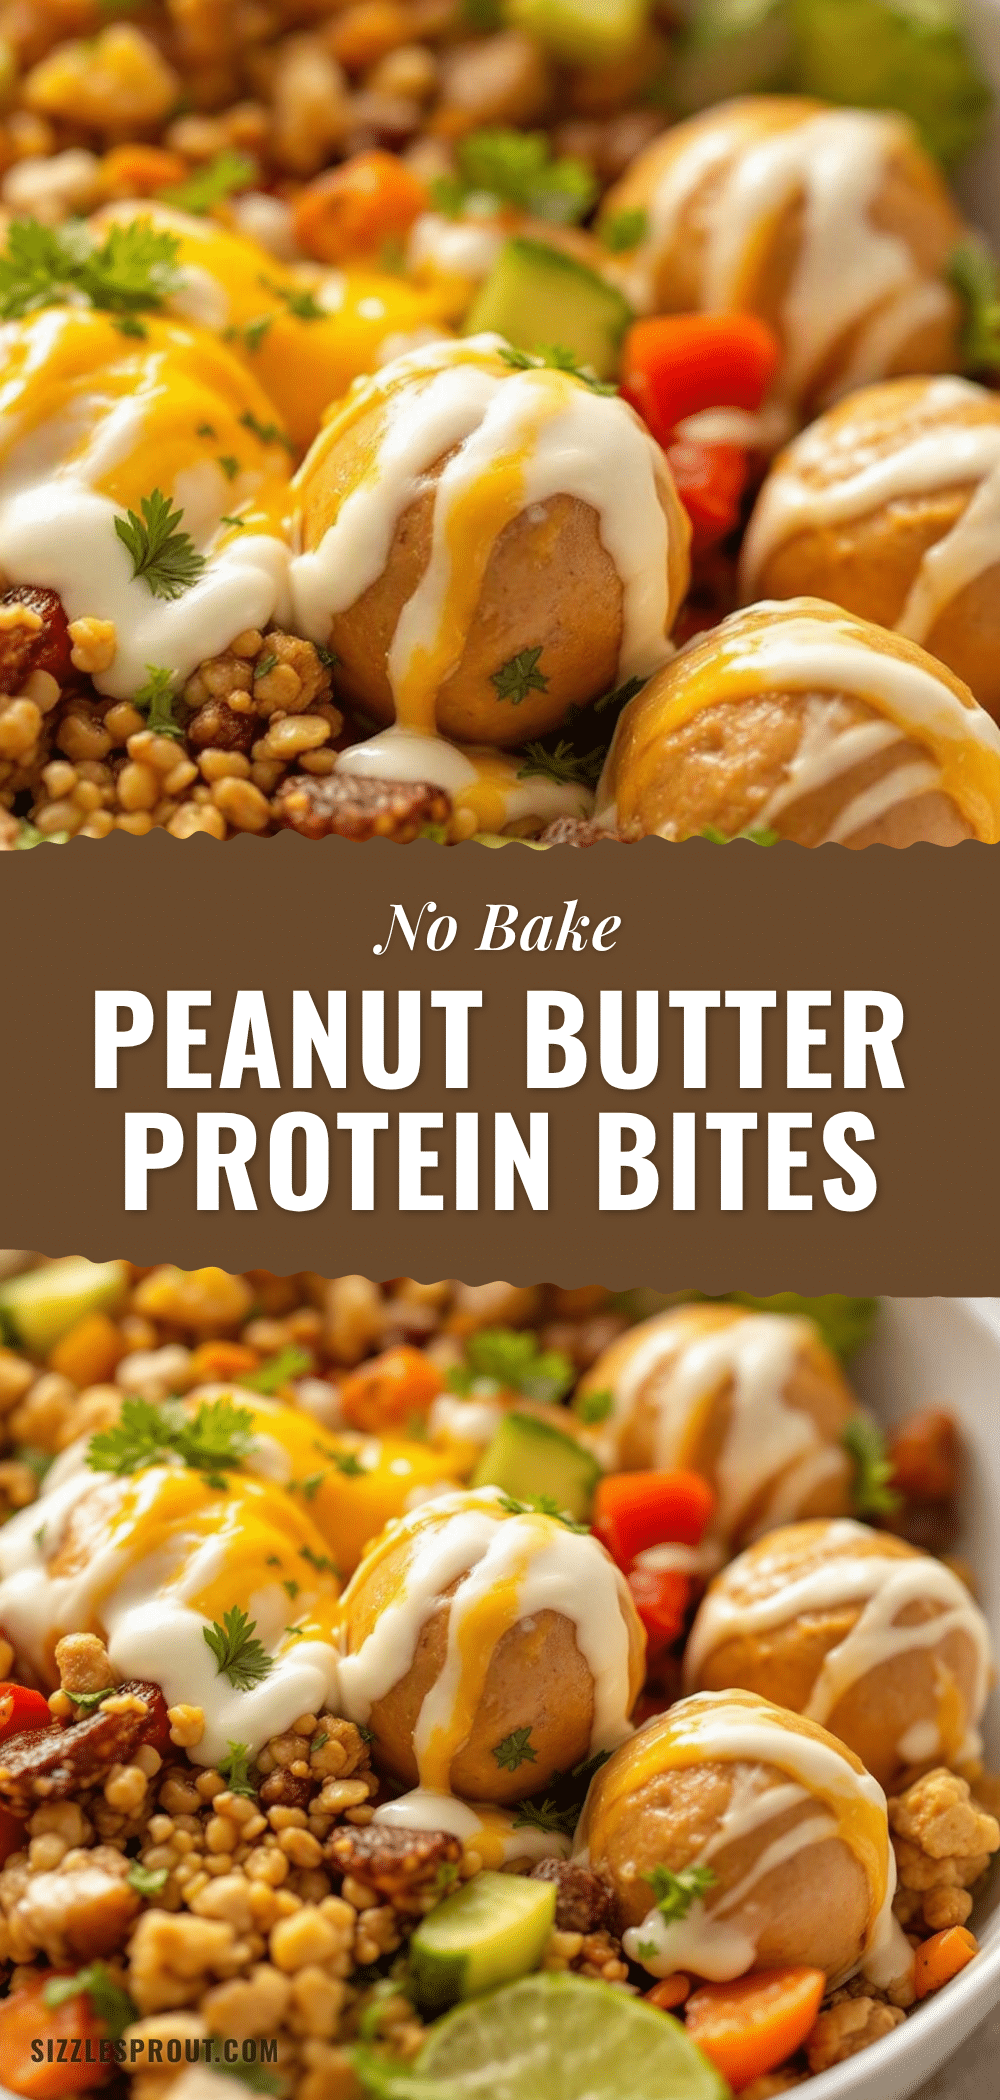
Easy No Bake Peanut Butter Energy Balls: 5-Ingredient Best Snack

These Easy No Bake Peanut Butter Energy Balls are a quick, protein-packed snack made with just five simple ingredients. Ready in 10 minutes, they are perfect for meal prep, lunchboxes, or a healthy treat.
- Prep Time: 10 minutes
- Cook Time: 0 minutes
- Total Time: 40 minutes (includes chilling)
- Yield: 20 servings 1x
- Category: Snack
- Cuisine: American
Ingredients
- 1 cup creamy peanut butter
- 1 cup old-fashioned rolled oats
- 1/2 cup honey
- 1/2 cup mini chocolate chips
- 1/4 cup ground flaxseed
- Pinch of sea salt (optional)
Instructions
- In a large mixing bowl, combine 1 cup creamy peanut butter and 1/2 cup honey. Stir until fully combined.
- Add 1 cup old-fashioned rolled oats, 1/2 cup mini chocolate chips, 1/4 cup ground flaxseed, and a pinch of sea salt (if using). Stir until evenly distributed. The dough should hold its shape when pinched; adjust with more honey or oats if needed.
- Optional: Chill the mixture in the refrigerator for 10-15 minutes to make it easier to handle.
- Using a cookie scoop or tablespoon, portion the dough and roll into 1-inch balls. If sticky, lightly wet your hands or spray with cooking spray.
- Place the balls on a parchment-lined baking sheet or plate. Refrigerate for at least 30 minutes to set.
- Transfer to an airtight container and store in the refrigerator for up to 2 weeks, or freeze for up to 3 months.
Notes
For best results, use room temperature peanut butter and chill the dough before rolling. If the mixture is too dry, add a tablespoon of honey; if too sticky, add a tablespoon of oats. Wetting your hands helps prevent sticking. The balls taste even better after a day in the fridge.
Nutrition
- Serving Size: 1 ball
- Calories: 160
- Sugar: 9
- Sodium: 85
- Fat: 9.5
- Saturated Fat: 2.5
- Carbohydrates: 17
- Fiber: 3.5
- Protein: 6.5
Keywords: no bake energy balls, peanut butter energy balls, 5 ingredient snack, healthy snack, gluten free snack, kid friendly snack


