Love this? Save it for later!
Share the inspiration with your friends
It is late October, and the only thing I want is a Best Fall Harvest Charcuterie Board with Honeycomb. The house is quiet, save for the crackle of the fireplace and the distant hum of a neighbor’s leaf blower. Outside, the air has that sharp, crisp bite that tells you winter is not far behind. Inside, the table is set with my favorite wooden board, the one with the deep grooves that hold cheese and crumbs with equal grace.
I often feel like a curator when I build these boards. It is less about cooking and more about arranging. There is a specific rhythm to it. You start with the anchors—the big wheels of cheese, the clusters of grapes—and then you fill in the gaps with the smaller treasures. The honeycomb is the star here, of course. It is that golden, sticky jewel that changes everything.
I remember the first time I bought a piece of raw honeycomb. I was nervous it would be too messy. But honestly, the drip is part of the experience. It forces you to slow down. You have to use your fingers, or a knife, or just a crust of bread. It turns a simple snack into a moment. This board isn’t just food; it is a pause button for a busy week.
The scent of roasted nuts and spiced cider fills the room. It feels like the season is being served on a plate. I don’t do this for parties often. It is usually just me, a glass of red wine, and the quiet satisfaction of a job well done. But when friends do come over, this board is the first thing they see. It sets the tone for the whole evening.
There is a comfort in the simplicity. You don’t need to cook a big dinner. You just need good ingredients and a little patience. The honeycomb melts slightly in the warmth of the room, becoming a liquid gold that pairs perfectly with salty crackers. It is that contrast that keeps you coming back.
I like to think of this board as a hug in edible form. It is warm, sweet, salty, and textured all at once. It feels like home. And in a world that is always moving too fast, taking twenty minutes to arrange cheese and fruit feels like a small act of rebellion. It is my quiet ritual, and I hope it becomes yours too.
Why You’ll Love This Recipe
Building the perfect fall charcuterie board is not just about throwing things on a plate; it is about balancing flavors and textures that sing together. After years of testing different combinations, I have found that the key to a standout board is contrast. You need something salty to cut the sweetness, something crunchy to break up the soft cheeses, and something fresh to lighten the richness. This Best Fall Harvest Charcuterie Board with Honeycomb delivers exactly that.
Here is why this specific arrangement works so well:
- Quick & Easy: You do not need to cook anything. This comes together in under 15 minutes, making it perfect for last-minute guests or a quiet night in when you don’t feel like turning on the stove.
- Simple Ingredients: No fancy grocery trips needed. You likely already have crackers, nuts, and cheese in your kitchen. The only special item is the honeycomb, which is becoming more widely available in the cheese or honey aisle.
- Perfect for Hosting: Great for autumn dinner parties, holiday appetizers, or cozy movie nights. It looks impressive but requires minimal effort on your part.
- Crowd-Pleaser: Always gets rave reviews from kids and adults alike. The honeycomb is a novel experience for some, and a beloved treat for others. Everyone finds something they love.
- Unbelievably Delicious: The texture and flavor combo is next-level comfort food. The creamy brie, the sharp cheddar, and the sticky honey create a symphony of tastes that is hard to beat.
What makes this recipe different from the rest is the inclusion of the honeycomb. Most fall boards rely on fruit jams or sweet spreads, but raw honeycomb offers a unique, crystalline texture that dissolves on the tongue. It adds a level of sophistication that feels handmade. Whether it is the special technique of layering the cheeses for visual impact or the perfectly balanced seasoning profile of the spiced nuts, this isn’t just another version—it is the best version.
This board isn’t just good—it is the kind that makes you close your eyes after the first bite. It is comfort food reimagined—healthier, faster, but with the same soul-soothing satisfaction. It is perfect for impressing guests without stress, or turning a simple meal into something memorable. You can pair it with a glass of cozy spiced apple cider for a non-alcoholic option, or a apple cider margarita if you want to kick things up a notch.
What Ingredients You Will Need
This recipe uses simple, wholesome ingredients to deliver bold flavor and satisfying texture without the fuss. The beauty of a charcuterie board is its flexibility, but for this fall harvest theme, we want ingredients that evoke the season. Think earthy, sweet, salty, and rich. Most of these items are pantry staples or easily found at any local grocery store.
For the Cheeses
- Brie or Camembert: One wheel, room temperature. Soft, creamy, and mild. I recommend looking for a local artisanal brand for the best flavor, but a standard wheel works fine too. (adds richness)
- Sharp Cheddar: 1 cup, cubed or sliced. The sharpness cuts through the fat of the brie. Aged cheddar is best.
- Gouda: 1 cup, smoked or plain. Smoked gouda adds a wonderful depth that pairs well with fall spices.
- Honeycomb: 1 small section. This is the star. Look for a clean, golden piece with visible wax cells. It should be fresh and not overly liquid.
For the Crunch and Savory Elements
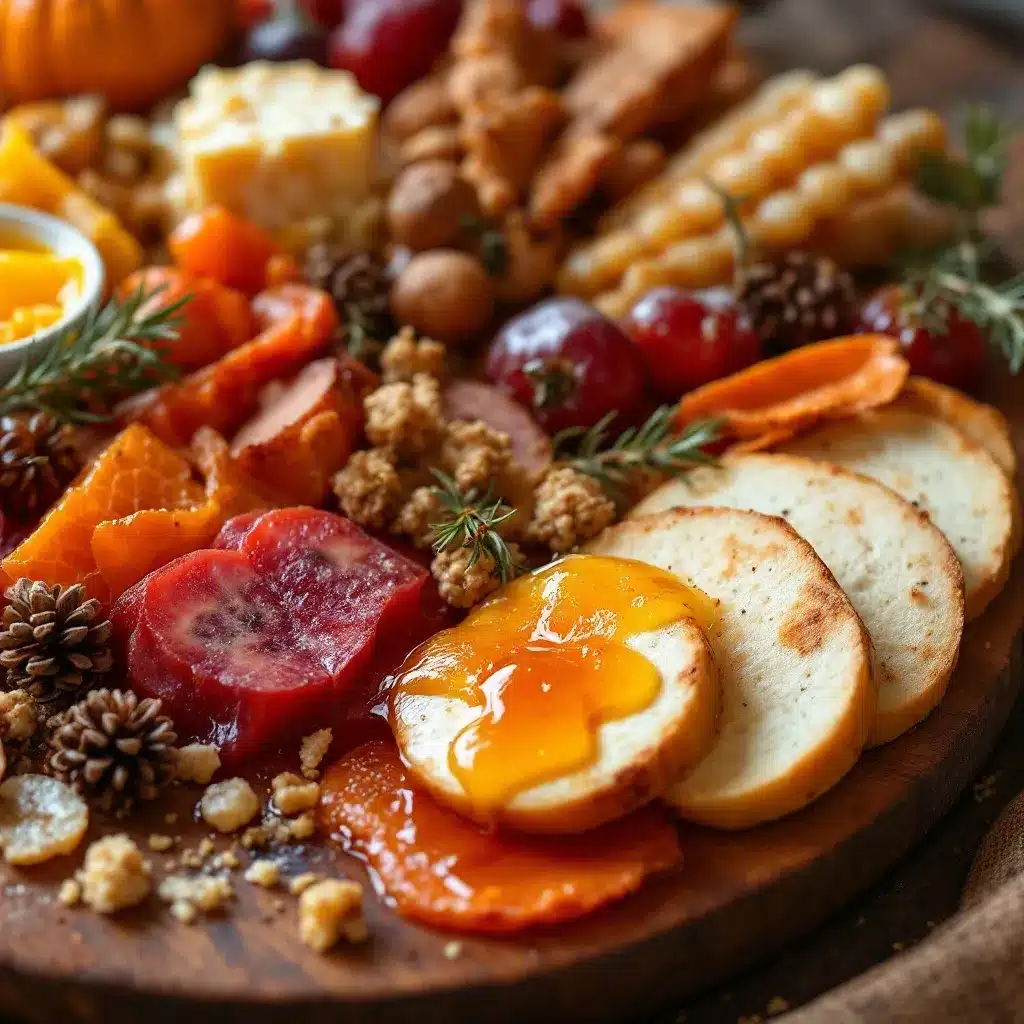
- Crackers: 2 varieties. I like a mix of water crackers and seeded crackers. Seeded crackers add texture and a nutty flavor.
- Salami or Prosciutto: 1 cup, folded or rolled. Cured meats add salt and protein. Pepperoni is also a fun, kid-friendly option.
- Roasted Nuts: 1 cup. Walnuts, pecans, or almonds. Toasting them beforehand enhances the flavor significantly.
- Pretzel Rods or Sticks: 1 cup. Adds a nice salty crunch and breaks up the softness of the cheese.
For the Sweet and Fresh Elements
- Fresh Grapes: 2 cups, red and green. They are juicy and sweet. Leaving them on the vine looks elegant.
- Pears or Apples: 2, sliced thinly. Firm varieties like Anjou pears or Honeycrisp apples hold up best. Toss slices in lemon juice to prevent browning.
- Dried Fruits: 1/2 cup. Fig jam, dried apricots, or cranberries. Dried figs look particularly beautiful on a fall board.
- Olives: 1/2 cup. Green or kalamata olives add a briny punch that balances the sweet honey.
For the best texture, ensure your cheeses are taken out of the fridge at least 30 minutes before serving. Cold cheese loses its flavor and aroma. Also, look for firm, small-curd cottage cheese is not needed here, but firm cheeses are key. In summer, swap in fresh berries instead of dried fruits. If you need a gluten-free option, use gluten-free crackers and ensure your nuts are certified gluten-free.
Equipment Needed
You do not need much to pull this off, which is part of the appeal. The most important piece of equipment is your serving vessel. A large wooden cutting board or a marble slab works beautifully. Wood adds warmth and fits the fall aesthetic perfectly, while marble keeps the cheese cool if you are serving in a warm room.
You will also need a sharp cheese knife. A standard chef’s knife can work, but a dedicated cheese knife with a hole in the blade helps prevent sticking. For the honeycomb, a small butter knife or a cheese plane is useful for breaking off manageable chunks without making a huge mess.
Small bowls or ramekins are helpful for holding olives, nuts, or dips. They keep the board organized and prevent cross-contamination of flavors. If you don’t have small bowls, you can use small ceramic dishes or even hollowed-out apples for a creative touch.
I personally prefer using a wooden board because it absorbs some of the moisture from the fruits and cheeses, keeping things from getting too soggy. If you use a marble board, wipe it down between servings to keep it looking pristine. Budget-friendly options include thrift store boards or even large slate tiles you can find at hardware stores. Just ensure they are food-safe and clean.
Preparation Method
Building the board is an art, but it is a simple one. The goal is to create a visually appealing arrangement that is also functional. You want guests to be able to grab a piece of everything without disturbing the whole layout. Here is how to do it step by step.
- Prep the Cheeses (5 minutes): Take your cheeses out of the refrigerator. If you are using a wheel of brie, place it in the center of the board. If you are using cheddar or gouda, cut them into cubes or slices. Place the cheese near the edges or in clusters. Leaving space between them makes the board look less cluttered. Note: Let the cheese come to room temperature for the best flavor.
- Add the Crackers and Bread (5 minutes): Fan out your crackers in a few piles. You can also stack them in small towers for height. Place the pretzel rods in a small bowl or lay them across the board. This adds vertical interest. Troubleshooting: If crackers are too large, break them in half for easier eating.
- Place the Meats (5 minutes): Fold slices of salami or prosciutto into loose rosettes. Tuck them into the gaps between the cheese and crackers. This adds color and variety. Sensory cue: The meat should look inviting and not too tightly packed.
- Fill with Fruits and Nuts (10 minutes): This is where the magic happens. Place clusters of grapes and slices of pear or apple in the empty spaces. Sprinkle roasted nuts and dried fruits around the board. Use the nuts to fill small gaps. Tip: Group similar items together for a cohesive look.
- Add the Honeycomb (2 minutes): This is the final touch. Place the honeycomb section in a prominent spot. It should be easy to access but also a focal point. If the honeycomb is very sticky, you can place it on a small piece of parchment paper on the board to prevent sticking. Warning: Handle honeycomb gently as it can crumble.
- Final Touches (3 minutes): Add olives, pickles, or any other garnishes. Check for balance. Do you have enough of everything? Is the board too crowded? Adjust as needed. Sensory cue: The board should smell like autumn—earthy, sweet, and savory.
Take your time with this process. It is meditative. Move items around until it feels right. There is no wrong way to do it, as long as it tastes good.
Cooking Tips & Techniques
While there is no cooking involved, there are techniques that can make your board look professional. First, consider the height. A flat board can look boring. Use small bowls, stack crackers, or lean cheese slices against each other to create vertical interest. This makes the board more inviting and easier to navigate.
Color is another important factor. Fall is a season of warm tones—reds, oranges, yellows, and browns. Try to incorporate a variety of colors. Green grapes, red apples, orange carrots, and brown nuts create a visually pleasing palette. If your board looks too monochromatic, add a pop of color with fresh herbs like rosemary or thyme.
Portioning is key. A good rule of thumb is to plan for 3-4 ounces of cheese and 2-3 ounces of meat per person. For fruits and nuts, aim for 1-2 ounces per person. This ensures you have enough without having too much waste. Common mistake: Overfilling the board. It is better to have a few empty spaces than a cluttered mess.
I once made the mistake of putting all the cheese in one pile. It looked messy and was hard to serve. Now, I spread them out. This also helps the cheese breathe and maintain its texture. Another tip is to add fresh herbs. A sprig of rosemary or a few leaves of basil can elevate the presentation and add a subtle aroma.
Finally, consider the flow. Place items that are often eaten together close to each other. For example, put the honeycomb near the crackers and cheese. This guides the guest on how to build their perfect bite. It is a small detail that makes a big difference in the overall experience.
Variations & Adaptations
One of the best things about charcuterie boards is their versatility. You can easily adapt this Best Fall Harvest Charcuterie Board with Honeycomb to suit different dietary needs or flavor preferences. Here are a few ideas to try.
Vegan Option: Swap the cheese for a variety of vegan cheeses, such as cashew-based brie or almond-based cheddar. Replace the meat with marinated tofu slices or roasted chickpeas. Use fruit leather or date paste instead of honeycomb for a sweet element. The nuts and fruits can remain the same.
Gluten-Free Option: Use gluten-free crackers, such as rice crackers or almond flour crackers. Ensure your nuts and dried fruits are certified gluten-free. This board is naturally gluten-free if you avoid processed meats and use GF crackers.
Savory Twist: If you prefer savory over sweet, reduce the amount of fruit and increase the savory elements. Add more olives, pickles, and cured meats. Use a sharp, aged cheese like Parmesan or Manchego instead of brie. You can still keep the honeycomb, as the saltiness of the cheese balances the honey.
Seasonal Swap: In the spring, swap the fall fruits for strawberries and raspberries. Add asparagus spears and fresh goat cheese. In the winter, add roasted root vegetables like beets and carrots. These variations keep the recipe fresh and exciting year-round.
I once tried adding a scoop of creamy caramel apple cheesecake dip to a board, and it was a hit. It added a warm, gooey element that paired well with the apples. Feel free to experiment with dips and spreads to find your perfect combination.
Serving & Storage Suggestions
When serving, place the board on the table as soon as possible. Cheese tastes best at room temperature, so allow it to sit out for 30-60 minutes before guests arrive. If you are serving a large group, make the board in stages. Start with the cheeses and crackers, then add the perishable items like fruits and meats just before serving.
For storage, keep any leftover cheese in an airtight container in the refrigerator. Cheese can dry out if exposed to air, so wrap it in parchment paper or wax paper before placing it in a container. Fruits should be stored separately to prevent them from getting mushy. Nuts and crackers can be kept in airtight containers at room temperature.
If you have leftover honeycomb, store it in an airtight container at room temperature. It will last for several weeks. However, the honey may continue to drip, so place it on a plate or in a shallow container. Reheating: Charcuterie boards are best served cold or at room temperature. Do not reheat the cheese or meats.
Flavors develop over time, so the board might taste different the next day. The crackers may lose their crunch, and the fruits may oxidize. For best results, enjoy the board fresh. If you need to prep ahead, chop the fruits and nuts the day before and store them separately.
Nutritional Information & Benefits
While charcuterie boards are often viewed as indulgent treats, they can be part of a balanced diet. The cheeses provide protein and calcium, which are essential for bone health. The nuts offer healthy fats, fiber, and protein, which can help keep you full and satisfied. The fruits provide vitamins and antioxidants, supporting overall health.
However, it is important to watch portion sizes. Cheese and meats are high in sodium and saturated fats, so moderation is key. The honeycomb adds natural sugars, so use it as a sweetener rather than a primary calorie source. Allergen note: This board contains dairy, nuts, and potentially gluten (depending on crackers). Always check labels for specific allergens.
I view this board as a way to enjoy high-quality ingredients in moderation. It is about savoring the flavors rather than consuming large quantities. It is a mindful eating experience that allows you to appreciate the complexity of each ingredient. Plus, sharing food with loved ones has its own health benefits, promoting social connection and mental well-being.
Conclusion
Creating a Best Fall Harvest Charcuterie Board with Honeycomb is a wonderful way to celebrate the season. It is simple, elegant, and delicious. Whether you are hosting a dinner party or enjoying a quiet night in, this board is sure to impress. I hope you try this recipe and make it your own. Feel free to swap ingredients based on what you have on hand or what your guests prefer.
I love this recipe because it brings people together. It is a shared experience, with everyone picking their favorite combinations. It sparks conversation and creates memories. So, grab your board, gather your ingredients, and start arranging. You will be surprised at how easy it is to create something beautiful.
Please share your creations with me! I would love to see your boards and hear how they turned out. Leave a comment below with your favorite additions or any questions you might have. And don’t forget to pin this recipe for later, so you can make it again next fall. Enjoy the process and the delicious results!
FAQs
How far in advance can I prepare the charcuterie board?
You can prepare the non-perishable items like crackers and nuts up to a day in advance. However, it is best to assemble the board 30-60 minutes before serving to ensure the cheese is at room temperature and the fruits look fresh. This allows the flavors to meld and the presentation to look its best.
Can I use different types of cheese?
Absolutely! Feel free to swap the brie for goat cheese, or the cheddar for gouda. The key is to have a mix of textures and flavors. A soft cheese, a hard cheese, and a blue cheese (if you like it) work well together. Just ensure you have enough variety to keep things interesting.
What drinks pair well with this board?
This board pairs beautifully with red wines like Pinot Noir or Merlot, which complement the salty meats and sweet fruits. For a non-alcoholic option, try a spiced apple cider or a ginger beer. The sweetness and spice in the drinks balance the savory elements of the board.
How do I keep the honey from dripping everywhere?
Place the honeycomb on a small piece of parchment paper or a small ceramic dish on the board. This contains the drips and makes it easier to serve. You can also provide small forks or toothpicks for guests to use, minimizing direct contact with the sticky honey.
Can I make this board gluten-free?
Yes, simply use gluten-free crackers and ensure your nuts and dried fruits are certified gluten-free. Many charcuterie items like cheese, meats, and fruits are naturally gluten-free, so it is easy to adapt. Just be mindful of processed meats, which may contain gluten as a filler.
Pin This Recipe!
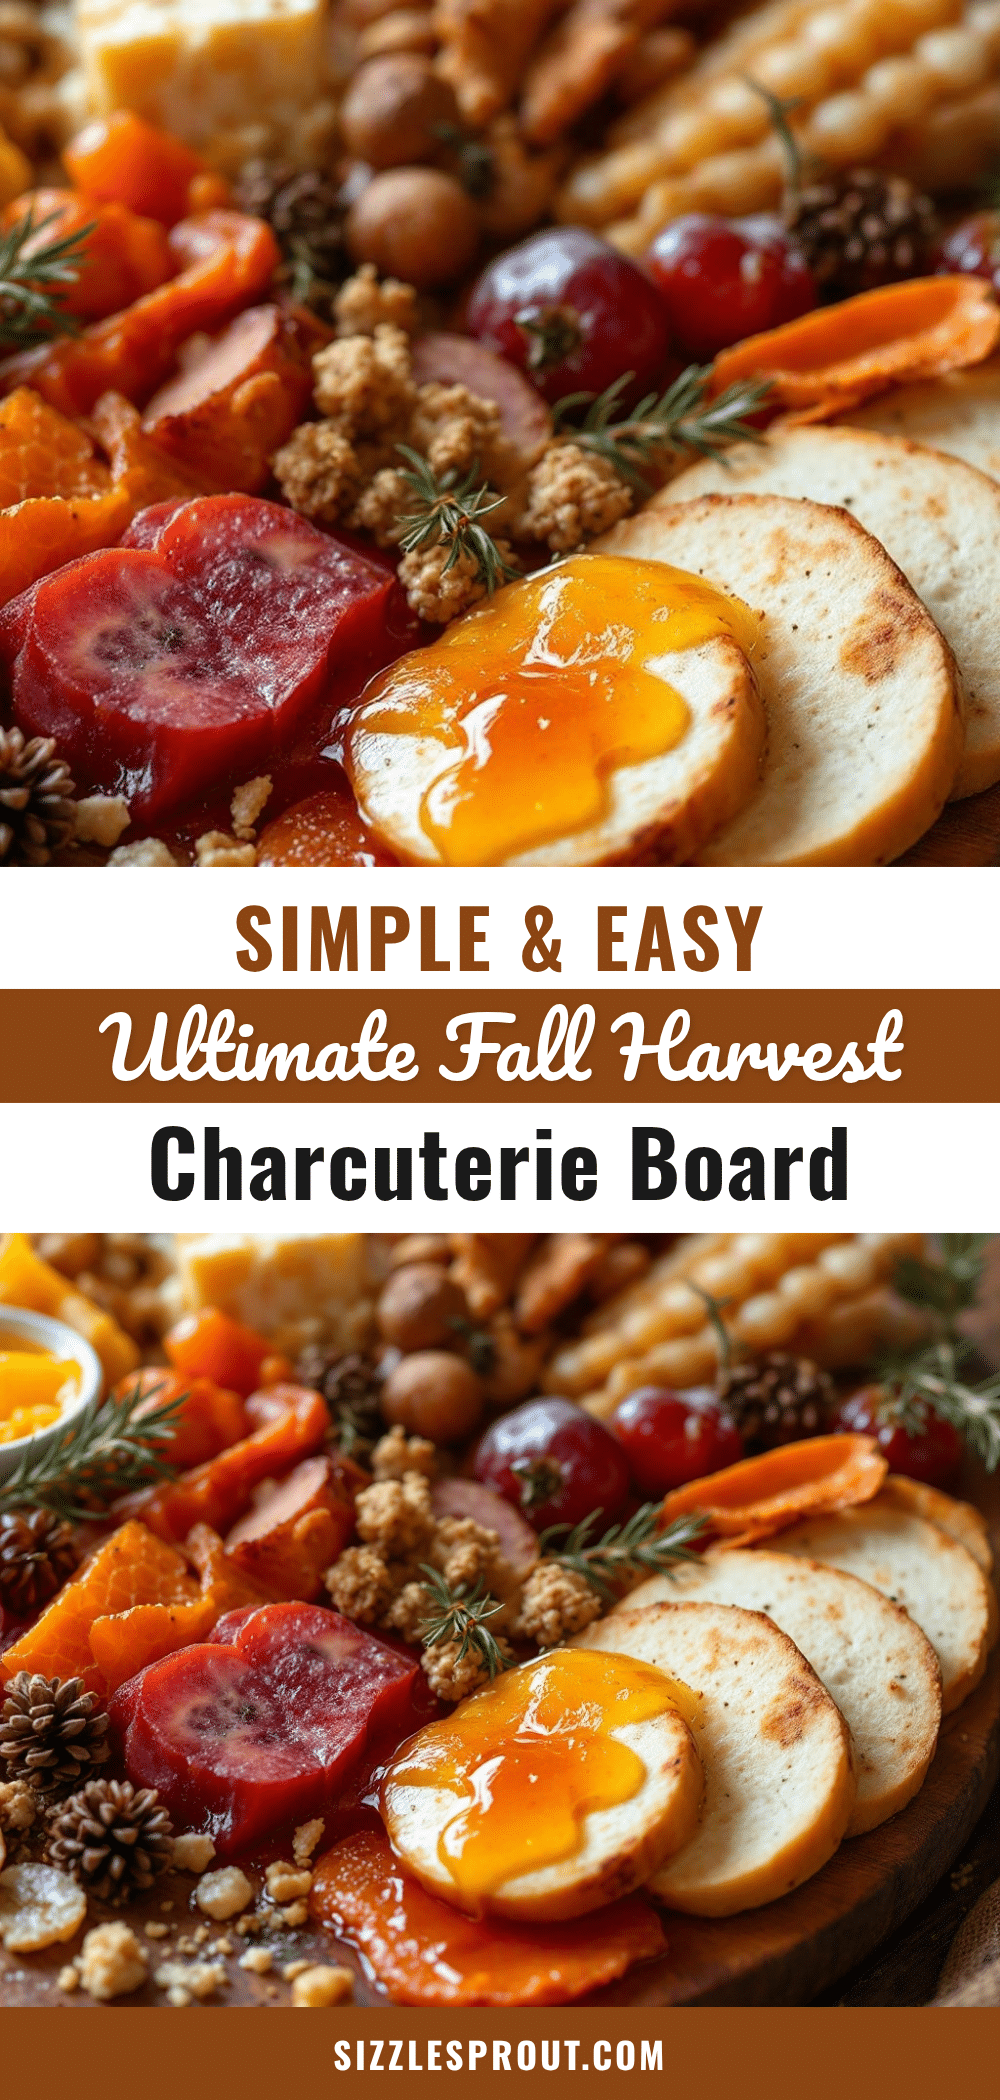
Best Fall Harvest Charcuterie Board with Honeycomb
A simple yet elegant fall-themed charcuterie board featuring a variety of cheeses, cured meats, fresh fruits, nuts, and raw honeycomb. This no-cook recipe comes together in under 15 minutes and is perfect for hosting or a quiet night in.
- Prep Time: 15 minutes
- Cook Time: 0 minutes
- Total Time: 15 minutes
- Yield: 8 servings 1x
- Category: Appetizer
- Cuisine: American
Ingredients
- 1 wheel Brie or Camembert, room temperature
- 1 cup Sharp Cheddar, cubed or sliced
- 1 cup Gouda, smoked or plain
- 1 small section Honeycomb
- 2 varieties of Crackers (e.g., water crackers and seeded crackers)
- 1 cup Salami or Prosciutto, folded or rolled
- 1 cup Roasted Nuts (walnuts, pecans, or almonds)
- 1 cup Pretzel Rods or Sticks
- 2 cups Fresh Grapes (red and green)
- 2 Pears or Apples, sliced thinly
- 1/2 cup Dried Fruits (figs, apricots, or cranberries)
- 1/2 cup Olives (green or kalamata)
Instructions
- Take cheeses out of the refrigerator 30 minutes before serving to reach room temperature.
- Place the wheel of Brie in the center of the board. Cut Cheddar and Gouda into cubes or slices and place them near the edges or in clusters, leaving space between items.
- Fan out crackers in piles or stack them for height. Place pretzel rods in a small bowl or lay them across the board.
- Fold slices of salami or prosciutto into loose rosettes and tuck them into gaps between cheese and crackers.
- Place clusters of grapes and slices of pear or apple in empty spaces. Sprinkle roasted nuts and dried fruits around the board, grouping similar items together.
- Place the honeycomb section in a prominent spot. If sticky, place it on a small piece of parchment paper to prevent sticking.
- Add olives and any other garnishes. Check for balance and adjust as needed.
Notes
Ensure cheeses are at room temperature for best flavor. If using a marble board, wipe it down between servings. For a vegan option, swap cheese for vegan alternatives and meat for tofu or chickpeas. Use gluten-free crackers for a gluten-free version. Store leftover honeycomb in an airtight container at room temperature.
Nutrition
- Serving Size: Approximately 3-4 ou
- Calories: 350
- Sugar: 18
- Sodium: 600
- Fat: 22
- Saturated Fat: 10
- Carbohydrates: 25
- Fiber: 3
- Protein: 12
Keywords: fall charcuterie board, honeycomb cheese board, autumn appetizer, no cook recipe, party snacks, cheese board ideas, harvest board


