Love this? Save it for later!
Share the inspiration with your friends
I was standing over my stove, pan in hand, watching golden flecks swirl in melting butter when my partner walked into the kitchen. He didn’t even ask what I was making. He just smelled it. That nutty, toasty aroma that hits you before you even see the food. He said, “Wait, did you make brown butter?” I nodded, holding the pan away from the heat just in time. That moment of panic—when you’re terrified of turning your best ingredient into bitter charcoal—is something every baker knows too well. But it’s also the secret to the best Crispy Brown Butter Chocolate Chip Skillet Cookie you’ll ever taste.
Skillet cookies have been a obsession of mine for years. There is something deeply satisfying about breaking a warm, gooey, crispy-edged cookie straight out of a cast iron pan. It’s communal. It’s messy. It’s perfect for those nights when you want dessert but don’t want to wash a dozen bowls. I’ve tried so many variations over the years. Some are too cakey, some lack that crucial crunch, and others just taste like generic chocolate chip cookies but bigger. This one is different. It’s the result of burning three separate batches of butter until I finally got it right.
The key isn’t just the brown butter; it’s the ratio of dough to pan. You need enough dough to create that thick, chewy center while still allowing the edges to crisp up against the hot iron. I remember the first time I made this for a casual Friday dinner, the smell drew people from the living room faster than any TV show could. We ate it with forks, scraping the last crumbs from the corners. Honestly, it’s the kind of recipe that turns skeptics into believers. If you’ve never tried baking a cookie in a skillet, you are in for a treat. It’s rustic, it’s indulgent, and it’s surprisingly easy to pull together in under an hour.
Why You’ll Love This Recipe
Let’s be real, baking cookies can be a bit of a chore. Measuring, mixing, chilling, scooping, baking. But this Crispy Brown Butter Chocolate Chip Skillet Cookie skips half of that drama. It’s built on the principles of high-quality ingredients and smart technique, not just following a box mix. I’ve tested this recipe enough times to know exactly what works and what doesn’t. Here is why this skillet cookie deserves a spot in your regular rotation.
- Quick & Easy: You don’t need to chill the dough for hours. Because we are using browned butter, the dough comes together quickly and can go straight into the pan. It’s perfect for those sudden cravings or last-minute guests who show up unannounced.
- Simple Ingredients: You likely already have everything in your pantry. Butter, sugar, flour, eggs, chocolate chips. No fancy flours or hard-to-find spices. Just good, honest baking staples.
- Perfect for Game Day: With all the football recipes on the site, it’s no surprise this fits right in. It’s sturdy enough to handle being passed around, and the salty-sweet combo pairs perfectly with cold drinks. Check out my perfect slow cooker football Sunday chili with cornbread to make a full meal out of it.
- Crowd-Pleaser: Kids love the chocolate. Adults love the complexity of the brown butter. It bridges the gap between a fancy bakery treat and a comfort food classic. It always gets rave reviews.
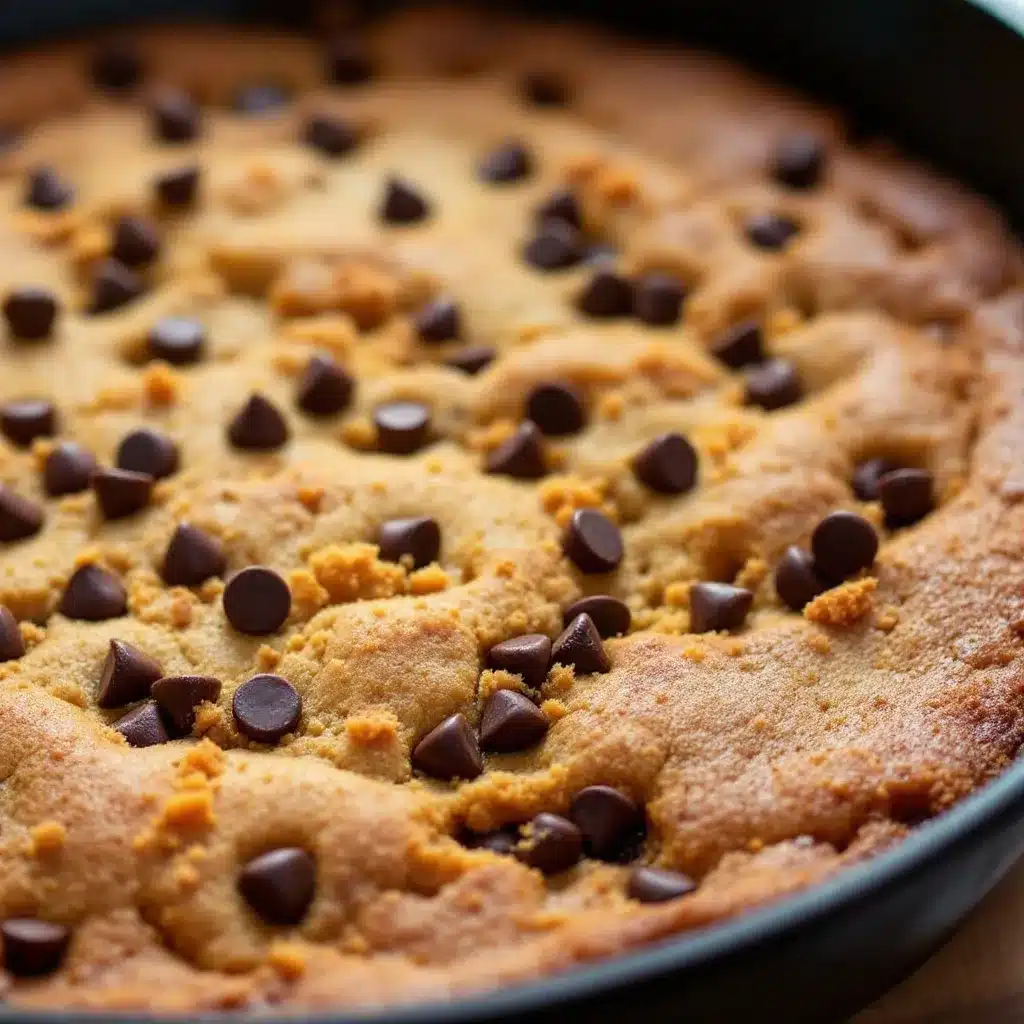
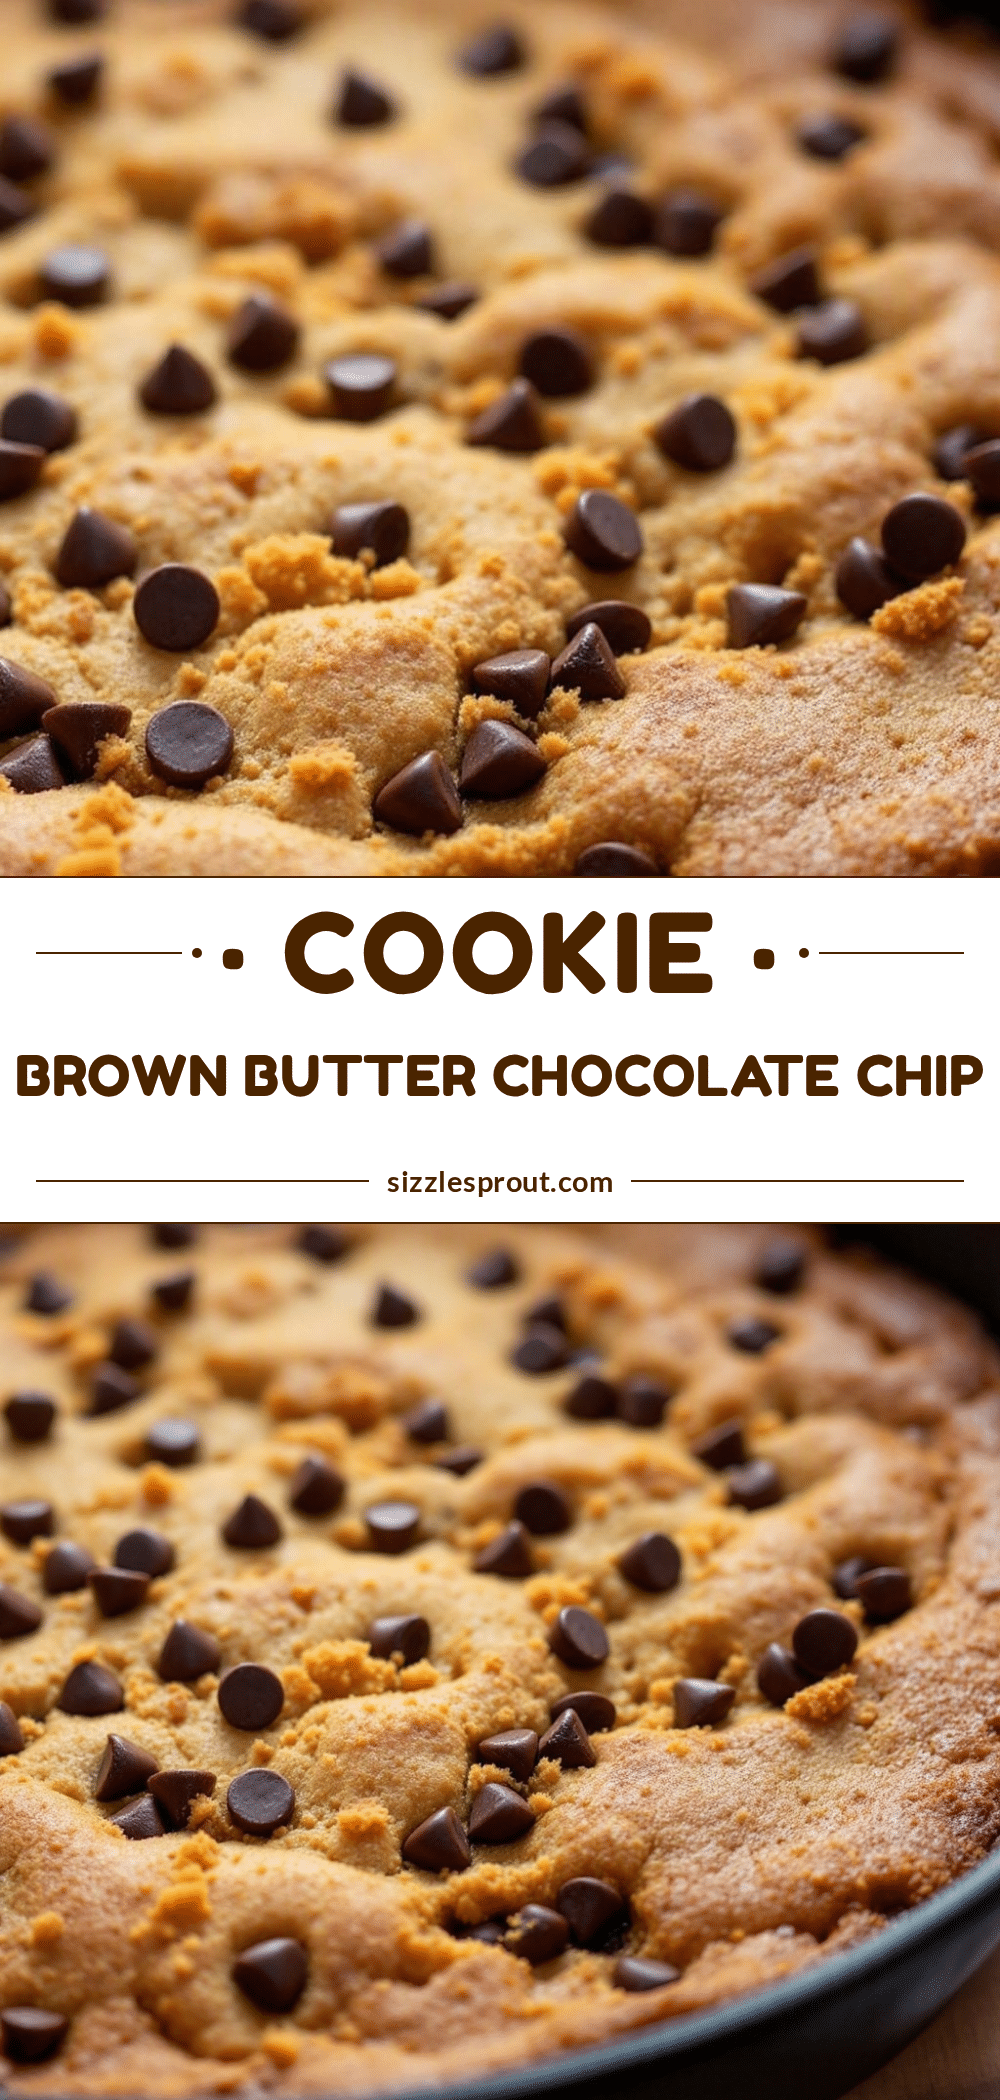
- Unbelievably Delicious: The texture is the star here. You get that shatteringly crisp edge, a chewy middle, and pockets of melty chocolate. It’s next-level comfort food.
What makes this recipe stand out from the rest is the technique of browning the butter. Most people just melt it. But browning it adds a deep, nutty flavor profile that mimics the taste of brownie batter. It’s a game-changer. I also recommend using a mix of dark and milk chocolate chips to balance the sweetness. This isn’t just another cookie recipe; it’s your best version of a skillet cookie, tested and trusted by my family.
What Ingredients You Will Need
This recipe relies on a few key components to get that specific texture and flavor. The quality of your ingredients really shines through here, so don’t be shy about using good butter and real chocolate. We are grouping them by their function in the dough to help you organize your mise en place.
For the Brown Butter Base
- Unsalted Butter: 1 cup (2 sticks / 226g). I recommend using a high-quality brand like Kerrygold or Plugra. The higher fat content makes a noticeable difference in the browning process. You’ll want to brown this until it smells like hazelnuts and turns a deep amber color.
- Granulated Sugar: 1 cup (200g). This helps create the crispy edges. White sugar spreads more than brown sugar, giving us that crunchy perimeter.
- Packed Brown Sugar: 1 cup (220g). Light or dark brown sugar both work, but dark adds a bit more molasses depth. This provides the chewiness and moisture.
For the Dough Structure
- Large Eggs: 2 large eggs, room temperature. Room temp eggs emulsify better into the butter mixture. Don’t skip this step, or your dough might look curdled.
- Vanilla Extract: 2 teaspoons. Use pure vanilla, not imitation. It’s a subtle note but essential for rounding out the chocolate flavor.
- All-Purpose Flour: 2 ¼ cups (280g). Spoon and level this carefully. If you scoop directly from the bag, you might pack too much flour, leading to a dry cookie.
- Baking Soda: 1 teaspoon. Helps the cookie spread and rise slightly.
- Salt: 1 teaspoon. Fine sea salt is best here. It cuts through the sweetness and enhances the chocolate.
For the Chocolate Layer
- Chocolate Chips: 2 cups. I use a mix of semi-sweet and milk chocolate chips. Semi-sweet keeps it from being too sweet, while milk chocolate adds creaminess. You can also chop up a chocolate bar for larger, gooier chunks.
- Flaky Sea Salt (Optional): For sprinkling on top after baking. This is non-negotiable for me. The contrast of salt on sweet chocolate is addictive.
If you are dairy-free, you can substitute the butter with a high-quality vegan butter stick that browns well, though the texture might be slightly different. For a gluten-free option, a 1:1 gluten-free flour blend works perfectly here. Just make sure it contains xanthan gum, or add ½ teaspoon to help with binding.
Equipment Needed
You don’t need a lot of fancy gadgets for this recipe, but having the right tools makes the process smoother. The most important piece of equipment is your skillet.
- 10-inch Cast Iron Skillet: This is the gold standard. Cast iron holds heat incredibly well, which is essential for getting those crispy edges. If you don’t have cast iron, an oven-safe stainless steel or carbon steel skillet works too. Avoid non-stick pans if you can, as they don’t conduct heat as evenly for browning edges.
- Medium Saucepan: Used specifically for browning the butter. A light-colored pan is helpful so you can see the color changes clearly without burning.
- Mixing Bowls: One medium bowl for wet ingredients and one large bowl for dry ingredients. A whisk is better than a spoon here to aerate the flour.
- Wooden Spoon or Silicone Spatula: For mixing the dough. You want to mix until just combined to avoid tough cookies.
- Measuring Cups and Spoons: For accurate measurements. Baking is science, after all.
If your cast iron skillet is seasoned well, you won’t even need to grease it, but a light spray of non-stick cooking spray ensures the cookie releases easily. I always keep a spare spatula handy for scraping the sides of the bowl to get all the chocolate chips in.
Preparation Method
Let’s get into the nitty-gritty. Making this cookie is straightforward, but timing is everything, especially with the brown butter. Follow these steps closely for the best results.
- Brown the Butter (5 minutes): Start by melting the butter in your saucepan over medium heat. Stir constantly. It will foam up, then subside. Watch it closely. Once the foam clears, you’ll see brown milk solids at the bottom. The butter will smell nutty. Immediately pour it into a heat-safe bowl to stop the cooking. Let it cool for about 10 minutes until it’s warm but not hot. Warning: If the butter is too hot, it will cook the eggs when you add them.
- Mix Wet Ingredients (2 minutes): In your large mixing bowl, whisk the cooled brown butter, granulated sugar, and brown sugar together until smooth. Add the eggs one at a time, whisking well after each addition. Stir in the vanilla extract. The mixture should look glossy and emulsified.
- Combine Dry Ingredients (2 minutes): In a separate medium bowl, whisk together the flour, baking soda, and salt. Sifting is optional but helps remove lumps. If you don’t have a sifter, just whisk vigorously.
- Make the Dough (3 minutes): Gradually add the dry ingredients to the wet ingredients. Mix with a wooden spoon or spatula until no streaks of flour remain. Do not overmix. Fold in the chocolate chips. The dough will be thick and sticky.
- Prepare the Skillet (1 minute): Preheat your oven to 350°F (175°C). If your skillet isn’t non-stick, lightly grease the inside with butter or oil. Press the dough evenly into the bottom of the skillet. You can use your hands or the back of a spoon. It should reach the edges.
- Bake (25-30 minutes): Place the skillet in the preheated oven. Bake for 25 to 30 minutes. You want the edges to be golden brown and crisp, while the center might still look slightly soft or underdone. This is intentional! It will continue to cook as it rests.
- Cool and Serve (10 minutes): Remove from the oven and immediately sprinkle with flaky sea salt if using. Let it cool in the pan for at least 10 minutes. This allows the center to set so you can cut clean slices. Serve warm with vanilla ice cream.
Personal tip: If your kitchen is hot, the dough might spread too much. If that happens, pop the skillet in the fridge for 15 minutes before baking to firm up the butter.
Cooking Tips & Techniques
Browning butter sounds intimidating, but it’s really just about attention. Here are some pro tips to ensure your cookie turns out perfectly every time.
Don’t Walk Away: Butter goes from brown to burnt in seconds. Keep your spoon in the pan and your eyes on the color. It should look like melted peanut butter, not coffee.
Room Temperature Eggs: Cold eggs can seize the warm butter, creating a grainy texture. Take your eggs out of the fridge 30 minutes before you start. If you forget, soak them in warm water for a few minutes.
Don’t Overbake: This is the biggest mistake people make. The center should look slightly underdone when you take it out. It continues to cook from residual heat. If it looks fully set in the middle, it will be dry and cakey once cooled.
Skillet Heat Management: If you notice the edges browning too fast before the center is cooked, cover the skillet loosely with foil for the last 5-10 minutes of baking. This traps steam and helps the center cook through without burning the crust.
Multitasking: While the cookie bakes, put a scoop of ice cream in the freezer to harden slightly, or brew a pot of coffee. The smell will fill your house, so be prepared for constant sampling!
Variations & Adaptations
One of the best things about skillet cookies is how adaptable they are. You can tweak this recipe to fit your taste or dietary needs.
- Double Chocolate: Swap ½ cup of the flour for unsweetened cocoa powder. Add chocolate shavings on top for extra richness.
- PB&J Skillet Cookie: Swirl ½ cup of peanut butter into the dough before baking. After baking, drizzle with strawberry jam or chocolate sauce. It’s a fun twist on a classic sandwich.
- Gluten-Free: Use a 1:1 gluten-free flour blend. The texture will be slightly more tender, but the flavor remains fantastic.
- Vegan Option: Use vegan butter (one that browns well) and a flax egg (1 tbsp ground flaxseed mixed with 3 tbsp water per egg). The texture might be less chewy, but it’s still delicious.
- Seasonal Twist: Add 1 teaspoon of pumpkin pie spice to the dry ingredients and fold in ½ cup of chopped pecans. It’s like a Thanksgiving dessert in cookie form.
I’ve also tried adding a layer of caramel sauce under the dough for a gooey bottom, but that can make it messy to eat. Stick to the classic version for the best structural integrity, or add mix-ins for simplicity.
Serving & Storage Suggestions
This cookie is best served warm, straight from the pan. It pairs beautifully with a cold glass of milk or a hot cup of coffee. For a more indulgent experience, serve it with a scoop of vanilla bean ice cream or a dollop of whipped cream. The contrast of hot cookie and cold cream is heavenly.
Storage: Leftovers can be stored in an airtight container at room temperature for up to 3 days. If you live in a humid climate, store it in the fridge to prevent sogginess. To reheat, microwave a slice for 20-30 seconds to restore that gooey texture.
Freezing: You can freeze unbaked dough in the skillet. Wrap the whole skillet tightly in plastic wrap and foil. Bake from frozen, adding 5-10 minutes to the baking time. Alternatively, bake the cookie, let it cool completely, slice it, and freeze individual portions. Reheat in the oven at 300°F for 10 minutes.
The flavors actually deepen after a day, making it great for meal-prepping dessert. The brown butter flavor becomes more pronounced as it sits.
Nutritional Information & Benefits
While this is definitely a treat, understanding the nutrition can help you enjoy it mindfully. Each serving (approx. 1/12th of the cookie) contains roughly 350-400 calories, depending on the size of your slice. It’s rich in fats from the butter and chocolate, and provides carbohydrates from the sugar and flour.
Health Benefits: Dark chocolate chips, if used, contain antioxidants like flavonoids. Butter provides fat-soluble vitamins A, D, E, and K. While not a health food, using real ingredients means you aren’t consuming empty additives.
Allergens: This recipe contains gluten, dairy, and eggs. Always check your chocolate chip brands for cross-contamination if you have severe allergies. For a lower-sugar option, you can reduce the sugar by ¼ cup, though it may affect the crispiness.
I always enjoy this as a special occasion dessert rather than a daily snack. Balance is key. Pair it with a piece of fruit or a protein-rich snack later in the day if you’re watching your intake.
Conclusion
There is a reason skillet cookies have taken over social media and dinner tables everywhere. They are the perfect intersection of comfort, convenience, and flavor. This Crispy Brown Butter Chocolate Chip Skillet Cookie is my favorite version because it balances the crispy and chewy textures perfectly, with the added depth of browned butter.
I encourage you to try this recipe and make it your own. Add your favorite nuts, swap the chocolate, or experiment with different salts. Baking is a creative process, and this canvas allows for so much fun. Once you try it, you’ll understand why it’s become a staple in my kitchen.
Don’t forget to leave a comment below if you make this! I love hearing how it turned out for you. Share your photos on social media and tag me—I’d love to see your skillet creations. Happy baking!
Frequently Asked Questions
Can I use a glass pie dish instead of cast iron?
Yes, but keep in mind that glass conducts heat differently. Glass may brown the edges slower. You might need to increase the baking time by 2-3 minutes. Also, glass doesn’t hold heat as well as cast iron, so the cookie might cool faster.
Why did my cookie spread too much?
This usually happens if the butter was too warm when mixed with the sugar, or if the dough wasn’t chilled enough. Make sure your brown butter has cooled to room temperature before mixing. If your kitchen is very warm, chill the dough for 15 minutes before baking.
Can I make this in a smaller skillet?
If you use an 8-inch skillet, the cookie will be thicker. You may need to increase the baking time by 5-10 minutes to ensure the center is cooked. Watch it closely to prevent the top from burning.
What is the best chocolate to use?
Chopped chocolate bars create larger, melty pockets of chocolate. Chips hold their shape better. I recommend a mix of both for the best texture contrast. Semi-sweet or dark chocolate balances the sweetness of the dough best.
How do I know when the brown butter is done?
Look for a golden-brown color at the bottom of the pan and a nutty, toasted aroma. It should smell like hazelnuts or toasted marshmallows. If it smells like burnt toast, it’s overdone. When in doubt, err on the side of lighter brown, as it continues to cook slightly after being removed from heat.
Pin This Recipe!
Crispy Brown Butter Chocolate Chip Skillet Cookie
A rustic, indulgent dessert featuring a thick, chewy center and shatteringly crisp edges, made with nutty brown butter and a mix of chocolate chips in a cast iron skillet.
- Prep Time: 15 minutes
- Cook Time: 30 minutes
- Total Time: 45 minutes
- Yield: 8 servings 1x
- Category: Dessert
- Cuisine: American
Ingredients
- 1 cup (2 sticks / 226g) unsalted butter
- 1 cup (200g) granulated sugar
- 1 cup (220g) packed brown sugar (light or dark)
- 2 large eggs, room temperature
- 2 teaspoons pure vanilla extract
- 2 ¼ cups (280g) all-purpose flour
- 1 teaspoon baking soda
- 1 teaspoon fine sea salt
- 2 cups chocolate chips (mix of semi-sweet and milk)
- Flaky sea salt (optional, for topping)
Instructions
- Brown the butter in a medium saucepan over medium heat, stirring constantly until it smells nutty and turns deep amber (about 5 minutes). Pour into a heat-safe bowl and let cool for 10 minutes until warm but not hot.
- In a large mixing bowl, whisk the cooled brown butter, granulated sugar, and brown sugar until smooth. Add eggs one at a time, whisking well after each addition. Stir in vanilla extract.
- In a separate medium bowl, whisk together the flour, baking soda, and salt.
- Gradually add the dry ingredients to the wet ingredients. Mix with a wooden spoon or spatula until no streaks of flour remain. Do not overmix. Fold in the chocolate chips.
- Preheat oven to 350°F (175°C). Lightly grease a 10-inch cast iron skillet if necessary. Press the dough evenly into the bottom of the skillet.
- Bake for 25-30 minutes until edges are golden brown and crisp, but the center still looks slightly soft.
- Remove from oven and immediately sprinkle with flaky sea salt if using. Let cool in the pan for at least 10 minutes before slicing and serving warm.
Notes
Ensure brown butter is cooled to warm, not hot, to avoid cooking the eggs. Do not overbake; the center should look slightly underdone as it will set while cooling. For gluten-free, use a 1:1 gluten-free flour blend. For vegan, use vegan butter and flax eggs.
Nutrition
- Serving Size: 1/12th of the cookie
- Calories: 375
- Sugar: 32
- Sodium: 250
- Fat: 22
- Saturated Fat: 13
- Carbohydrates: 45
- Fiber: 2
- Protein: 4
Keywords: skillet cookie, brown butter, chocolate chip, cast iron, dessert, easy baking, crowd pleaser


