Love this? Save it for later!
Share the inspiration with your friends
For a while, I just accepted that pumpkin pie wasn’t going to taste like anything other than sweetened canned squash and cinnamon. It was a flat, one-note dessert that sat on the edge of the plate, good enough for the holiday table but never something I’d seek out on a random Tuesday. The texture was often too jiggly, or worse, grainy from overbeating the eggs. I knew there had to be a richer, deeper flavor hiding somewhere in the pantry, something that matched the intensity of roasted squash without the artificial aftertaste.
I had been looking for a filling that actually felt substantial, a custard that held its own against a crisp crust. The gap in my dessert repertoire was loud and clear: I wanted nutty warmth, not just sugar. Most recipes called for raw pumpkin puree, which is fine, but it lacks that toasted complexity that makes autumn feel like autumn. It was a missing piece in my seasonal baking puzzle, a quiet absence of soul in a otherwise perfect dish.
Then came the brown butter. Honestly, it was a game-changer, though I didn’t realize it at first. I was just trying to fix a bland pie crust, and the smell of toasted milk solids pulled me out of the kitchen. That nutty, caramelized aroma changed everything. It brought a savory depth that cut through the sweetness of the condensed milk. Suddenly, the pie wasn’t just a side dish; it was the main event.
Adding a cinnamon whipped cream on top wasn’t even planned. It started as a way to use up leftover heavy cream, but the spice blend tied the whole thing together. The contrast between the warm, dense filling and the light, airy cream is what makes this recipe stick. It’s not about being fancy. It’s about getting the fundamentals right and letting the ingredients speak for themselves. That’s the kind of pie you remember.
Why You’ll Love This Recipe
This isn’t just another pumpkin pie recipe pulled from a generic cookbook. It’s the result of years of tweaking, burning butter, and tasting over-whisked custards. I’ve tested this version enough times to know exactly when the edges are set and when the center has that perfect, gentle jiggle. Here is why this specific version stands out from the crowd:
- Rich, Nutty Depth: The brown butter step adds a layer of complexity that regular melted butter can’t match. It tastes like toasted hazelnuts and caramel, making every bite feel sophisticated without any extra effort.
- Creamy, Not Jiggly: By balancing the eggs and avoiding overmixing, you get a texture that is silky and dense, similar to a cheesecake but with the familiar flavors of fall. No more liquidy centers or cracked tops.
- Simple Ingredients: You likely have everything in your fridge and pantry. No obscure spices or hard-to-find gadgets. Just good butter, real pumpkin, and a few pantry staples.
- Perfect for Gatherings: This pie holds up well at room temperature for a few hours, making it ideal for potlucks or Thanksgiving. It’s a crowd-pleaser that gets rave reviews from both pie purists and dessert lovers.
- Unbelievably Delicious: The cinnamon whipped cream isn’t just garnish; it’s essential. The spice in the cream ties back to the filling, creating a harmonious flavor profile that feels comforting and complete.
What makes this recipe different is the attention to the butter. Most people skip browning it, but that small step transforms the entire flavor profile. It’s not just “pumpkin pie”; it’s a richer, more nuanced experience. It’s the kind of dessert that makes you close your eyes after the first bite because the flavor is just that good. It’s comfort food reimagined—faster than a scratch pastry, but with the same soul-soothing satisfaction. Perfect for impressing guests without stress, or turning a simple meal into something memorable.
What Ingredients You Will Need
This recipe relies on simple, high-quality ingredients to deliver bold flavor and satisfying texture. The key is quality over quantity. Since there are fewer components, each one needs to shine. I use pantry staples, but I do recommend paying attention to the butter and pumpkin quality.
- Unsalted Butter (1 cup / 226g): This is the star. Use high-quality European-style butter if you can find it, as it has a higher fat content and browns more beautifully. Look for butter with at least 80% fat.
- Pumpkin Puree (15 oz / 425g): Make sure this is 100% pure pumpkin, not pumpkin pie filling. The filling already has sugar and spices, which would throw off the balance. I prefer Libby’s for consistency, but any plain puree works.
- Heavy Cream (1 cup / 240ml): Full-fat cream is non-negotiable for a rich custard. Do not substitute with milk or half-and-half, or the texture will be watery.
- Condensed Milk (14 oz / 397g): One can of sweetened condensed milk adds sweetness and thickness. It’s a classic ingredient for a reason. Keep the can at room temperature for easier pouring.
- Eggs (2 large + 1 yolk): Using an extra yolk adds richness and helps set the custard without making it rubbery. Room temperature eggs mix more evenly into the batter.
- Brown Sugar (1/2 cup / 65g): Packed brown sugar adds moisture and a hint of molasses. Dark brown sugar works if you want a deeper flavor, but light brown is standard.
- Spices: 1 tsp cinnamon, 1/2 tsp ginger, 1/4 tsp nutmeg, and 1/4 tsp cloves. Use fresh spices if possible, as old spices lose their punch quickly. Ground cinnamon is fine, but freshly grated nutmeg is worth the effort.
- Salt (1/2 tsp): Essential for balancing the sweetness. Don’t skip it.
- Vanilla Extract (1 tsp): Pure vanilla adds warmth. Avoid imitation vanilla, which can taste chemical.
- For the Cinnamon Whipped Cream: 1 cup heavy cream, 2 tbsp powdered sugar, 1/2 tsp cinnamon, and 1/2 tsp vanilla.
If you need substitutions, you can use dairy-free butter and coconut cream, though the flavor will be slightly different. For the crust, a standard graham cracker or pre-made pie shell works, but a buttery pastry shell is traditional.
Equipment Needed
You don’t need much fancy gear for this pie, but having the right tools makes the process smoother. A medium saucepan is essential for browning the butter evenly. I prefer stainless steel because it lets you watch the color change clearly. A whisk is better than a mixer here; it incorporates air gently and prevents overmixing, which leads to a smoother custard. A 9-inch pie dish is standard, but make sure it’s deep enough to hold the filling without spilling. A silicone spatula helps scrape every bit of browned butter from the pan. Finally, a handheld or stand mixer is needed for the whipped cream. If you don’t have a scale, use measuring cups, but level them off for accuracy.
Preparation Method
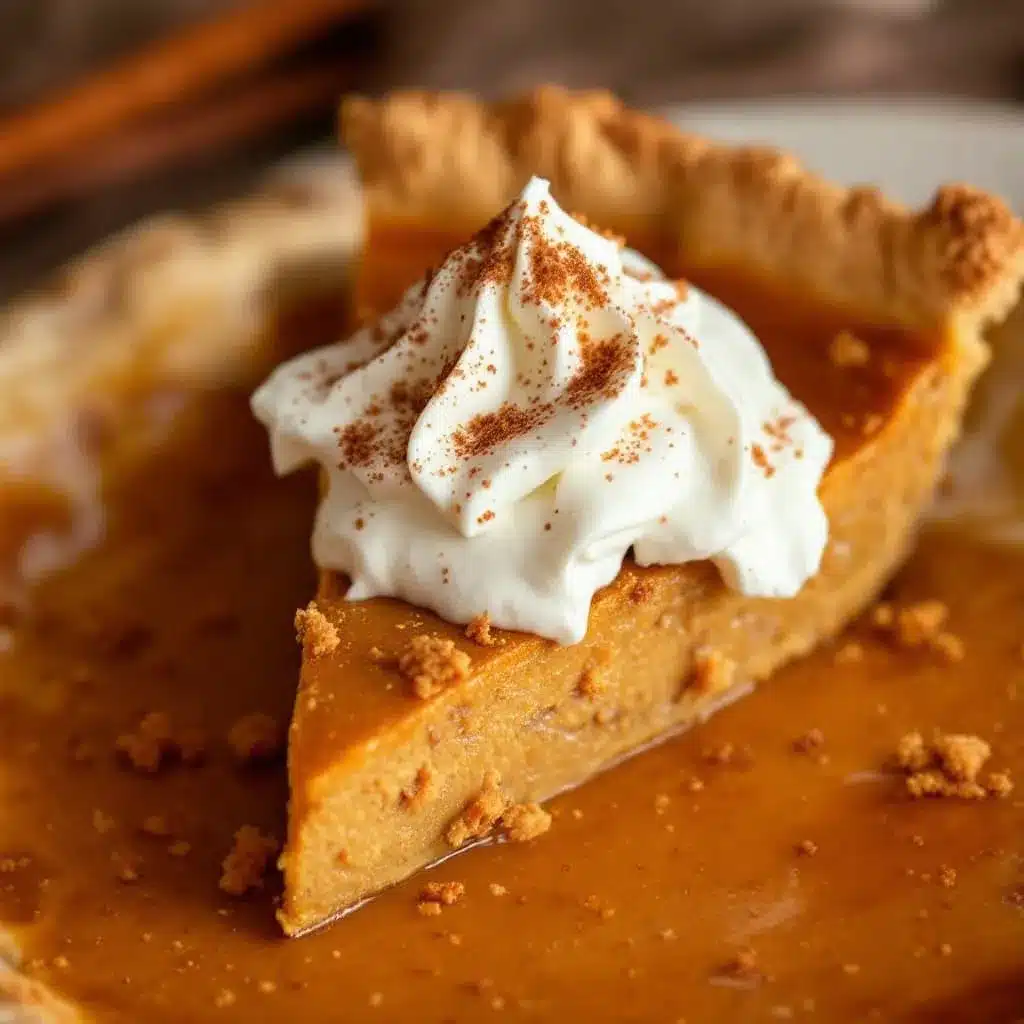
Let’s get into the nitty-gritty. This process takes about 15 minutes of active prep, plus baking and cooling time. Here is how to make it right.
- Brown the Butter (10 minutes): Melt the 1 cup of unsalted butter in a medium saucepan over medium heat. Stir constantly with a wooden spoon. The butter will foam up, then subside. Watch closely for the milk solids to turn golden brown and smell nutty. This usually takes 5-7 minutes. Do not walk away. Once it smells like toasted hazelnuts, remove it from the heat immediately and pour it into a heat-proof bowl to cool slightly. You want it warm, not hot, when you add it to the eggs.
- Prepare the Crust (Optional): If using a homemade pastry crust, blind bake it at 375°F (190°C) for 15 minutes. If using a graham cracker crust, you can skip this step. Let the crust cool completely.
- Mix the Dry Ingredients: In a large mixing bowl, whisk together the brown sugar, cinnamon, ginger, nutmeg, cloves, and salt. Make sure there are no lumps of sugar or spice.
- Combine Wet Ingredients: Add the pumpkin puree, heavy cream, condensed milk, eggs, egg yolk, and vanilla extract to the dry ingredients. Whisk gently until just combined. Do not overmix; you want to avoid incorporating too much air, which can cause cracks.
- Temper the Butter: Slowly drizzle the warm brown butter into the pumpkin mixture while whisking constantly. This ensures the butter incorporates smoothly without cooking the eggs. The mixture should look speckled with tiny brown bits from the butter solids.
- Fill the Pie Shell: Pour the filling into the prepared pie crust. Smooth the top with a spatula.
- Bake (50-60 minutes): Preheat your oven to 350°F (175°C). Place the pie on the center rack. Bake for 50-60 minutes. The edges should be set, but the center should still jiggle slightly like Jell-O when you shake the pan. It will firm up as it cools.
- Cool Completely: Let the pie cool on a wire rack for at least 2 hours. This is crucial for the custard to set properly. If you cut it too soon, it will be soupy.
- Make the Cinnamon Whipped Cream: While the pie cools, whip the heavy cream, powdered sugar, cinnamon, and vanilla until stiff peaks form. Be careful not to over-whip it into butter.
- Serve: Slice the cooled pie and top each slice with a dollop of cinnamon whipped cream. Enjoy immediately.
Common Questions About the Process
How do I know when the butter is browned?
Watch for the foam to settle and the bottom of the pan to show golden-brown specks. The smell will change from milky to nutty. If it smells burnt, start over.
Can I make this ahead of time?
Yes, this pie actually tastes better the next day. You can make it 24 hours in advance and store it in the fridge. Just add the whipped cream right before serving.
Cooking Tips & Techniques
Here are some lessons I’ve learned the hard way to help you succeed. First, temperature matters. If your brown butter is too hot when you add it to the eggs, you’ll scramble them. Let it cool for about 10-15 minutes after melting. Second, don’t over-whisk the filling. Once you add the eggs, mix just until the color is uniform. Overmixing adds air, which causes the pie to rise and then crack in the oven. Third, use a pie shield or foil to protect the crust edges if they start browning too quickly. The filling needs more time than the crust. Finally, let the pie cool completely. I know it’s tempting to cut into it warm, but the custard needs time to set. If you rush it, you’ll get a mess. A knife should slide through cleanly when it’s ready.
Variations & Adaptations
This recipe is versatile. Here are a few ways to tweak it:
- Gluten-Free: Use a gluten-free pie crust or a graham cracker crust made with GF crumbs. The filling is naturally gluten-free.
- Dairy-Free: Substitute the butter with vegan butter (one that browns well) and use coconut cream instead of heavy cream. The flavor will be slightly coconutty but still delicious.
- Spice Variation: Add a pinch of cardamom or allspice for a different aromatic profile. Or skip the cloves if you don’t like them.
- Maple Twist: Replace half the brown sugar with pure maple syrup for a deeper, earthier sweetness. This pairs well with the best brown butter pumpkin snickerdoodle cookies for a themed dessert table.
I once tried adding a layer of cream cheese to the bottom of the pie, and it was surprisingly good. It adds a tangy contrast to the sweet filling. Just spread a thin layer of sweetened cream cheese on the crust before adding the pumpkin mix.
Serving & Storage Suggestions
Serve this pie at room temperature or slightly chilled. Cold pie makes the butter firm up, which changes the texture. It’s best enjoyed when the flavors are fully developed. Pair it with a cup of hot coffee or a glass of cold milk. For a more festive touch, serve it alongside creamy caramel apple cheesecake dip for a dessert bar. Store leftovers in the refrigerator, covered with plastic wrap, for up to 4 days. The pie will keep well for up to a week. To reheat, let it sit out for 30 minutes to take the chill off. You can also warm individual slices in the microwave for 15 seconds, but avoid overheating. The flavors deepen over the first 24 hours, so it often tastes better on day two.
Nutritional Information & Benefits
This pie is rich and indulgent, so it’s best enjoyed in moderation. A typical slice contains approximately 450 calories, with significant amounts of fat and sugar from the butter, cream, and condensed milk. Pumpkin itself is high in vitamin A and fiber, which adds some nutritional value. The spices like cinnamon and ginger have anti-inflammatory properties. For a lighter option, reduce the brown sugar slightly or use a lighter crust. However, the full-fat version is what makes this recipe so satisfying. It’s a treat, not a health food, and that’s okay.
Conclusion
This brown butter pumpkin pie is worth the extra step of browning the butter. It transforms a simple dessert into something special, with a depth of flavor that feels homemade and heartfelt. I love this recipe because it balances tradition with a little bit of innovation. It’s reliable, delicious, and always a hit. I encourage you to try it and see how the nutty butter changes the game. You can always adjust the spices to your liking, but start with this base. If you make it, I’d love to hear how it turns out. Leave a comment below with your thoughts or share your variations. Happy baking, and enjoy every bite.
FAQs
Can I use fresh pumpkin instead of canned puree?
Yes, you can roast a sugar pumpkin and puree it yourself. However, fresh pumpkin has more water content, so you may need to strain it through a cheesecloth to remove excess liquid. Canned puree is more consistent and easier.
Why did my pie crack?
Cracking usually happens from overmixing or overbaking. Make sure to whisk gently and remove the pie from the oven when the center still jiggles slightly. It will firm up as it cools.
Can I freeze this pie?
Yes, you can freeze the pie without the whipped cream for up to 2 months. Wrap it tightly in plastic wrap and foil. Thaw it in the refrigerator overnight before serving.
What kind of crust is best?
A classic flaky pastry crust is traditional, but a graham cracker crust works well too and is easier. Both pair nicely with the brown butter filling.
How long does the brown butter last?
Once browned, the butter should be used immediately in the recipe. It can be stored in the fridge for a few days, but it’s best fresh for the best flavor.
Pin This Recipe!
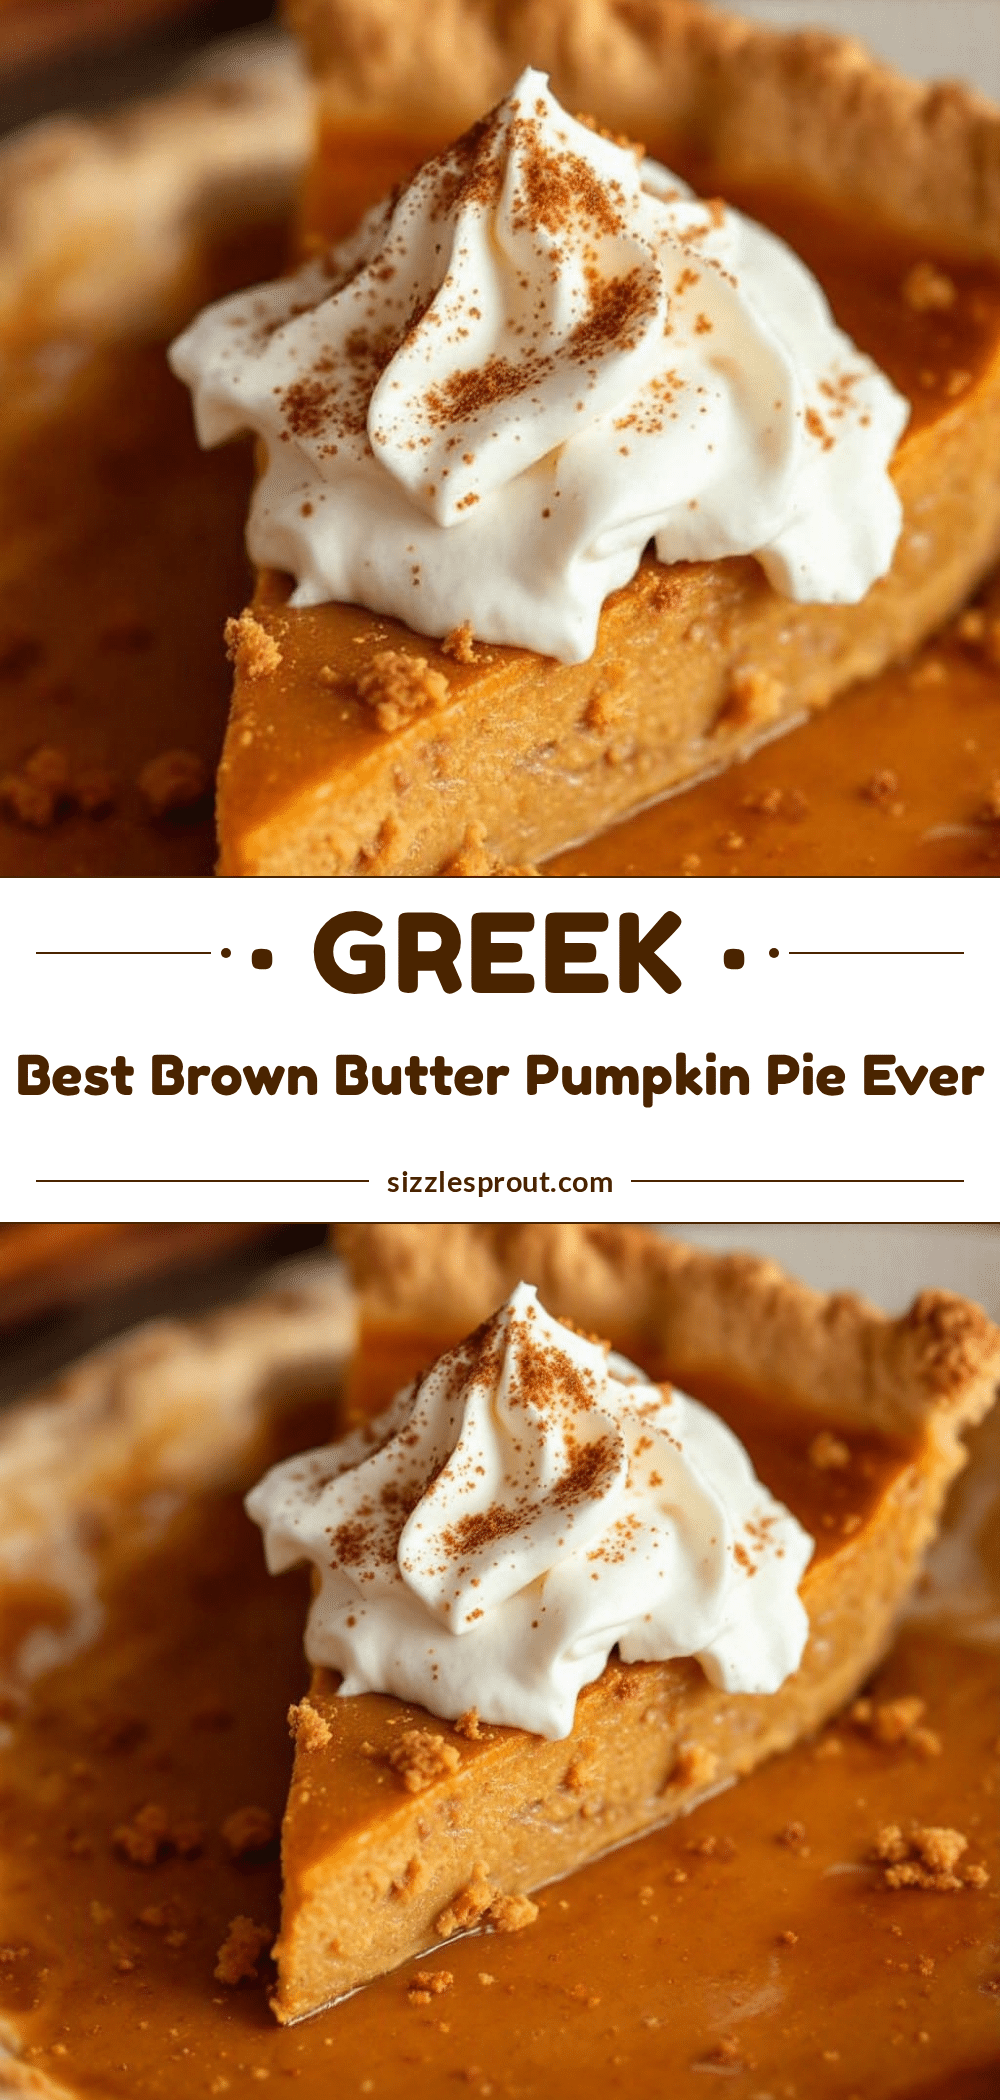
Best Brown Butter Pumpkin Pie Recipe: Easy & Creamy

A rich, nutty pumpkin pie featuring browned butter for deep flavor and a creamy, dense custard texture that avoids the common pitfalls of jiggly or grainy pies. Served with a homemade cinnamon whipped cream.
- Prep Time: 15 minutes
- Cook Time: 50-60 minutes
- Total Time: 2 hours 15 minutes
- Yield: 8 servings 1x
- Category: Dessert
- Cuisine: American
Ingredients
- 1 cup (226g) unsalted butter
- 15 oz (425g) 100% pure pumpkin puree
- 1 cup (240ml) heavy cream
- 14 oz (397g) sweetened condensed milk
- 2 large eggs + 1 egg yolk
- 1/2 cup (65g) packed brown sugar
- 1 tsp ground cinnamon
- 1/2 tsp ground ginger
- 1/4 tsp ground nutmeg
- 1/4 tsp ground cloves
- 1/2 tsp salt
- 1 tsp pure vanilla extract
- 1 pie crust (homemade pastry or graham cracker)
- For Cinnamon Whipped Cream: 1 cup heavy cream, 2 tbsp powdered sugar, 1/2 tsp cinnamon, 1/2 tsp vanilla
Instructions
- Preheat oven to 350°F (175°C).
- Melt 1 cup unsalted butter in a medium saucepan over medium heat. Stir constantly until foam subsides and milk solids turn golden brown with a nutty aroma (5-7 minutes). Remove from heat and pour into a heat-proof bowl to cool slightly until warm.
- If using a homemade pastry crust, blind bake at 375°F (190°C) for 15 minutes. Let cool completely. If using a graham cracker crust, skip baking.
- In a large mixing bowl, whisk together brown sugar, cinnamon, ginger, nutmeg, cloves, and salt.
- Add pumpkin puree, heavy cream, condensed milk, eggs, egg yolk, and vanilla extract to the dry ingredients. Whisk gently until just combined. Do not overmix.
- Slowly drizzle the warm brown butter into the pumpkin mixture while whisking constantly to temper the eggs.
- Pour filling into the prepared pie crust and smooth the top.
- Bake for 50-60 minutes until edges are set but the center still jiggles slightly like Jell-O.
- Cool completely on a wire rack for at least 2 hours to allow the custard to set.
- While pie cools, whip 1 cup heavy cream, powdered sugar, cinnamon, and vanilla until stiff peaks form.
- Serve slices topped with cinnamon whipped cream.
Notes
Ensure brown butter is warm, not hot, when adding to eggs to prevent scrambling. Do not overmix the filling to avoid cracks. The pie tastes better the next day. Store leftovers in the refrigerator for up to 4 days.
Nutrition
- Serving Size: 1 slice
- Calories: 450
- Sugar: 25
- Sodium: 300
- Fat: 35
- Saturated Fat: 20
- Carbohydrates: 30
- Fiber: 2
- Protein: 6
Keywords: brown butter pumpkin pie, pumpkin pie recipe, fall desserts, Thanksgiving pie, creamy pumpkin pie, homemade pumpkin pie


