Love this? Save it for later!
Share the inspiration with your friends
The surface is the first thing you notice. It’s not cracked, not dry, and definitely not grainy. It sits there in the springform pan like a slab of polished marble, smooth enough to reflect the overhead kitchen lights if you lean in close enough. I used to think that kind of perfection required hours of standing over a double boiler or a water bath that always seemed to leak. I was wrong. That specific, glass-like sheen is what I made this creamy no-bake pumpkin cheesecake for — everything else is secondary.
You know how some desserts feel like they are fighting you? The batter separates, the crust turns to mush, or the texture feels more like whipped air than actual cake? Let’s face it, I have spent way too many November evenings wrestling with gummy mixtures and sad, sunken centers. This recipe is the antidote to that frustration. It just works.
I remember the first time I made it. It was 11 PM on a Tuesday, and I had zero energy to turn on the oven. I just wanted something rich and spiced without the heat. I blended the cream cheese and pumpkin puree, poured it into the crust, and put it in the fridge. When I pulled it out the next morning, I almost didn’t cut into it. I just stared at that mirror finish. It was intimidatingly perfect.
That quiet realization stuck with me. I realized that sometimes, the best cooking is the kind that lets the ingredients do the heavy lifting. You don’t need to be a pastry chef to get this result. You just need to trust the process and let the cold do its job. This isn’t about showing off; it’s about getting that first bite of cool, spiced creaminess on a busy weeknight. It’s the kind of dessert that makes you feel like you pulled off a miracle, even though you barely lifted a finger.
Why You’ll Love This Recipe
This isn’t just another fall dessert that looks good in photos but tastes like canned pumpkin pie filling. I’ve tested this version multiple times, tweaking the ratios of cream cheese to pumpkin puree until I hit that sweet spot—literally. It’s the balance that matters. Too much puree makes it soupy; too little makes it dense and heavy. This version lands right in the middle, offering a texture that is incredibly light yet substantial enough to satisfy a serious sweet tooth.
Here is why this recipe has earned a permanent spot in my fall rotation:
* **Quick & Easy**: You can have this entire dessert prepared in about 15 minutes of active work. There is no baking, no preheating, and no waiting for ovens to cool down. It is perfect for busy weeknights or last-minute dinner party preparations.
* **Simple Ingredients**: You likely already have the core components in your fridge and pantry. Cream cheese, sugar, pumpkin puree, spices, and graham crackers. No fancy grocery trips needed for obscure ingredients.
* **Perfect for Fall Gatherings**: Whether it is a Thanksgiving side table, a Halloween party, or just a cozy Sunday night, this cheesecake fits right in. It brings that warm, spiced vibe without the hassle of baking a full-sized pie.
* **Crowd-Pleaser**: Kids love the creamy texture, and adults appreciate the not-too-sweet profile. It always gets rave reviews because it feels fancy but tastes comforting.
* **Unbelievably Delicious**: The texture is next-level comfort food. It melts in your mouth, delivering bursts of cinnamon, nutmeg, and ginger with every spoonful.
What makes this different from the rest? It’s the technique. By using full-fat block cream cheese and whipping it properly before adding the pumpkin, you incorporate air that creates that fluffy, mousse-like consistency. Many recipes skip this step and end up with a dense, heavy block. I learned this the hard way after my first attempt was too dense to enjoy. This is my best version, refined through trial and error.
It’s the kind of dessert that makes you close your eyes after the first bite. It’s comfort food reimagined—healthier in the sense that it’s no-bake and lighter, but with the same soul-soothing satisfaction as a warm slice of pie. It’s perfect for impressing guests without the stress of oven management, or turning a simple meal into something memorable.
What Ingredients You Will Need
This recipe relies on the quality of a few key components to deliver that bold, spiced flavor and satisfying texture without the fuss. Since there are no fillers or stabilizers from a box mix, your ingredients speak for themselves. I recommend using full-fat cream cheese and real pumpkin puree, not pumpkin pie filling, which is loaded with sugar and spices that will throw off the balance.
Here is what you need to gather:
**For the Crust**
* **Graham Cracker Crumbs**: About 1 ½ cups. I prefer homemade if you have the time, but store-bought works fine. Look for crumbs that are fine and uniform for the best texture.
* **Unsalted Butter, Melted**: ⅓ cup. This binds the crumbs together. Use real butter for that rich, nutty flavor.
* **Granulated Sugar**: 2 tablespoons. Just a touch to sweeten the crust without overpowering the spice.
* **Ground Cinnamon**: ½ teaspoon. Adds a warm base note to the crust.
**For the Filling**
* **Full-Fat Cream Cheese**: 2 blocks (16 oz total), softened to room temperature. This is non-negotiable. Low-fat versions contain water and gums that prevent proper setting and create a grainy texture. I recommend Kerrygold or a high-quality block brand for best texture.
* **Pumpkin Puree**: 15 oz (one standard can). Make sure it is 100% pure pumpkin, not pie filling.
* **Powdered Sugar**: 1 cup. This dissolves easily into the cream cheese, ensuring a smooth, lump-free filling.
* **Heavy Whipping Cream**: 1 cup, cold. This provides the structure and lightness. Do not substitute with milk or half-and-half.
* **Pure Vanilla Extract**: 1 teaspoon. Enhances the overall flavor profile.
* **Spices**: 1 teaspoon ground cinnamon, ½ teaspoon ground ginger, ¼ teaspoon ground nutmeg, and a pinch of cloves. This blend creates that classic pumpkin spice flavor.
**For the Topping (Optional but Recommended)**
* **Whipped Cream**: Freshly whipped heavy cream with a touch of powdered sugar.
* **Pumpkin Seeds**: Toasted pepitas for a crunchy contrast.
* **Caramel Drizzle**: Warm salted caramel sauce for a sweet finish.
If you are looking to substitute, you can use gluten-free graham crackers for the crust. For a dairy-free option, you can use vegan cream cheese blocks, though the texture may be slightly denser. I’ve tried it, and while it’s good, the classic version is just superior in mouthfeel.
Equipment Needed
You don’t need a fancy kitchen to make this, but having the right tools makes the process much smoother.
* **9-Inch Springform Pan**: This is the standard for cheesecakes. It allows you to remove the sides easily without damaging the delicate structure. If you don’t have one, a regular 9-inch round cake pan works, but you will need to line it well with parchment paper for removal.
* **Stand Mixer or Hand Mixer**: While you can do this by hand with a whisk, it takes significant elbow grease. A mixer ensures the cream cheese is silky and the whipped cream holds stiff peaks. I use a hand mixer for smaller batches, but a stand mixer is faster.
* **Large Mixing Bowls**: You need at least two—one for the cream cheese mixture and one for whipping the cream.
* **Rubber Spatula**: Essential for folding the whipped cream into the pumpkin mixture without deflating it. A silicone spatula is best for scraping the sides of the bowl.
* **Measuring Cups and Spoons**: Precision matters in baking. Use standard measuring cups for dry ingredients and liquid measuring cups for the puree and cream.
* **Fine-Mesh Sieve (Optional)**: If you want an ultra-smooth filling, you can press the pumpkin puree through a sieve to remove any fibrous strands. I usually skip this, but it’s a pro tip for a restaurant-quality finish.
If your springform pan leaks (a common issue), wrap the bottom and sides in heavy-duty aluminum foil before adding the crust. This prevents the filling from seeping out into the oven rack if you decide to bake it later, though for no-bake, it just keeps the pan clean.
Preparation Method
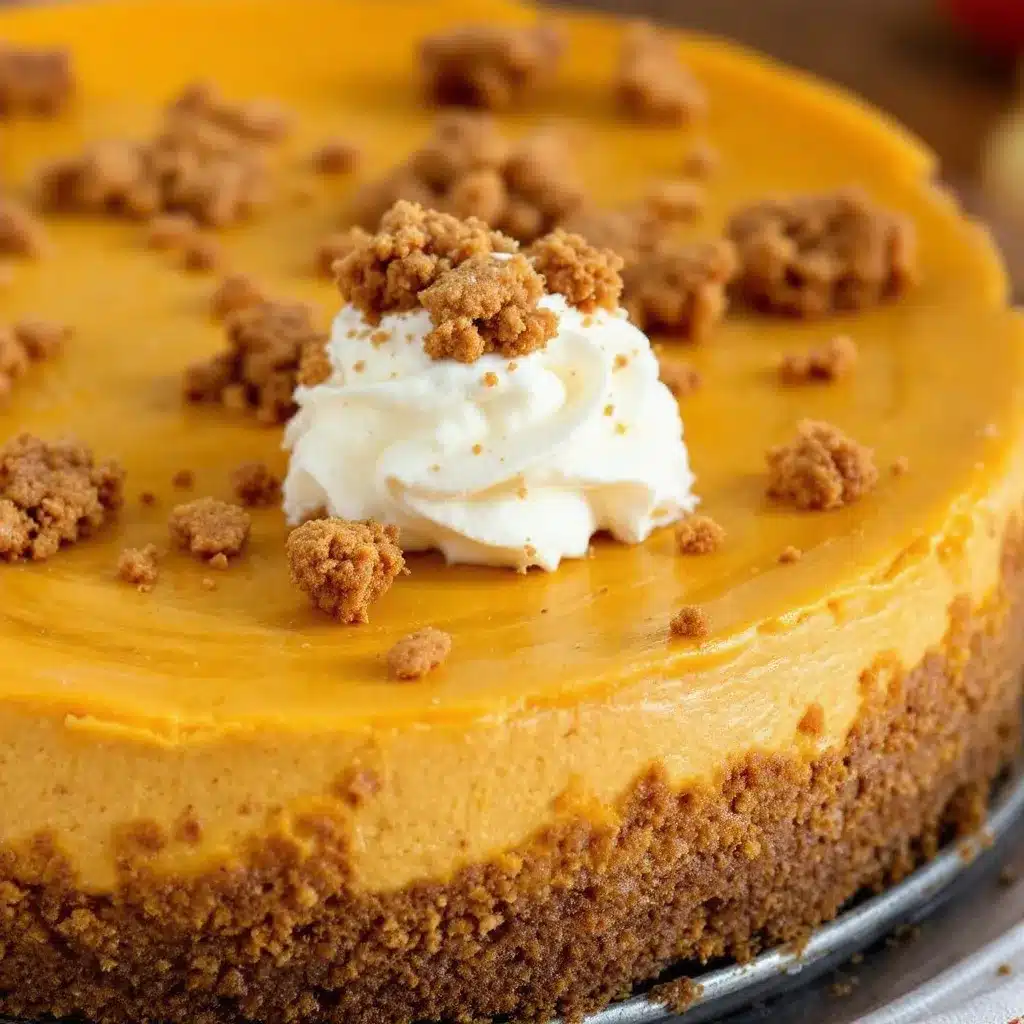
Making this creamy no-bake pumpkin cheesecake is straightforward if you follow the steps carefully. The key is temperature control and gentle handling.
**Step 1: Prepare the Crust**
Start by preheating your oven to 350°F (175°C) if you want a baked crust, though a raw crust works too. For the best texture, I recommend a quick bake. Combine the graham cracker crumbs, melted butter, sugar, and cinnamon in a medium bowl. Mix until it resembles wet sand. Press this mixture firmly into the bottom of the springform pan. Use the bottom of a measuring cup to pack it down evenly. Bake for 8-10 minutes until fragrant, then let it cool completely. If you skip baking, just press it down hard and refrigerate for 30 minutes to set.
**Step 2: Whip the Cream**
In a large, chilled bowl, pour the cold heavy whipping cream. Beat it on medium-high speed until stiff peaks form. This means when you lift the beaters, the cream stands up straight. Do not over-whip, or it will turn into butter. Set this aside. Chilling the bowl helps the cream whip faster and hold its structure better.
**Step 3: Beat the Cream Cheese**
In a separate large bowl, add the softened cream cheese. Beat it on medium speed until it is completely smooth and creamy. This can take 2-3 minutes. Scrape down the sides and bottom of the bowl to ensure there are no lumps. This step is crucial for a silky filling. If you rush this, you will end up with a grainy cheesecake.
**Step 4: Add Sugar and Spices**
Add the powdered sugar, vanilla extract, and all the spices (cinnamon, ginger, nutmeg, cloves) to the cream cheese. Beat on low speed until combined, then increase to medium until fully incorporated. The mixture should look pale and fluffy.
**Step 5: Incorporate Pumpkin Puree**
Add the pumpkin puree to the cream cheese mixture. Beat on low speed just until combined. Be careful not to overmix here, as adding too much air can make the filling too light and unstable. Scrape the bowl one more time to ensure everything is uniform.
**Step 6: Fold in the Whipped Cream**
This is the most important step for texture. Add about one-third of the whipped cream to the pumpkin mixture and mix it in to lighten the base. Then, gently fold in the remaining whipped cream using a rubber spatula. Use a cutting motion, slicing through the center and folding over the top. Rotate the bowl and repeat until no white streaks remain. Do not stir vigorously; you want to keep the air in the cream.
**Step 7: Assemble and Chill**
Pour the filling into the prepared crust. Smooth the top with the spatula. Cover the pan with plastic wrap or a lid. Refrigerate for at least 6 hours, but overnight is best. The longer it chills, the firmer it sets and the better the flavors meld.
**Step 8: Serve**
Remove the cheesecake from the fridge. Run a hot knife around the edge of the pan before releasing the springform ring to get clean slices. Top with whipped cream and toasted pumpkin seeds if desired. Slice and serve cold.
Cooking Tips & Techniques
Getting that perfect no-bake cheesecake texture requires a few specific techniques that separate the pros from the amateurs. I learned these through a few failed attempts where my cheesecake was either too runny or too dense.
First, **temperature is everything**. Your cream cheese must be fully softened to room temperature. If it’s cold, you will get lumps that you cannot beat out. However, your heavy cream must be ice cold. If your kitchen is warm, chill your mixing bowl and beaters in the freezer for 15 minutes before whipping. This ensures the cream holds stiff peaks.
Second, **do not overmix the pumpkin**. Pumpkin puree contains water. If you beat it too vigorously into the cream cheese, you can break the emulsion and make the filling watery. Mix just until combined. When folding in the whipped cream, be gentle. You are folding air into the mixture; beating it will deflate the cream and result in a dense, heavy cheesecake.
Third, **use a water bath if you bake the crust**. If you choose to bake the crust, ensure your springform pan is well-sealed with foil to prevent water from seeping in if you use a water bath method, though for no-bake, this is less critical.
Fourth, **let it chill overnight**. I know it’s tempting to eat it after 2 hours, but the structure needs time to set. The pectin in the pumpkin and the fat in the cream cheese need to firm up in the cold. An overnight chill results in a sliceable, clean-cut cheesecake. If you cut it too early, it will be messy and soft.
Finally, **use a sharp knife**. When slicing, dip your knife in hot water and wipe it dry between each cut. This ensures clean, professional-looking slices without smearing the topping. It makes a huge difference in presentation.
Variations & Adaptations
While the classic pumpkin spice flavor is my favorite, this recipe is a versatile base that can be adapted in many ways. Here are a few variations I have tried and loved.
**Gingersnap Crust Variation**
Swap the graham cracker crumbs for crushed gingersnap cookies. This adds a spicy, molasses-heavy flavor that pairs beautifully with the pumpkin. You may need slightly less sugar in the crust since gingersnaps are already sweet. This variation is perfect for those who love a stronger spice kick.
**Maple Pecan Topping**
Instead of caramel, make a maple pecan brittle. Toast pecans in a pan with maple syrup and a pinch of salt until golden. Crush them coarsely and sprinkle over the top of the cheesecake. The crunch of the nuts contrasts nicely with the smooth filling.
**Dairy-Free Option**
For a dairy-free version, use high-quality vegan cream cheese blocks (not tubs) and coconut cream instead of heavy whipping cream. Chill the coconut cream overnight, scoop out the solid part, and whip it. The texture will be slightly denser, but the flavor is still delicious. Note that vegan cream cheese can be grainier, so beat it longer.
**Chocolate Swirl**
Melt some dark chocolate and swirl it into the pumpkin mixture before pouring it into the crust. This creates a marbled effect and adds a rich chocolate note. It’s a great option for those who want a dessert that feels a bit more indulgent.
**Low-Sugar Adaptation**
Use a sugar substitute like erythritol or monk fruit instead of powdered sugar. Keep in mind that sugar substitutes can have a cooling effect, so start with less and adjust to taste. The texture may be slightly different, but it is still a viable option for low-carb diets.
I personally love adding a layer of salted caramel in the middle. It adds a salty-sweet contrast that elevates the simple pumpkin flavor. It’s a bit more work, but worth it for special occasions.
Serving & Storage Suggestions
This creamy no-bake pumpkin cheesecake is best served chilled. The cold temperature enhances the creamy texture and balances the sweetness. I recommend serving it with a dollop of freshly whipped cream and a sprinkle of toasted pumpkin seeds for added crunch and visual appeal. It pairs wonderfully with a cup of hot coffee or a glass of cold milk. For a more sophisticated pairing, try a spiced chai latte or a warm apple cider.
**Storage Instructions**
Store any leftovers in the refrigerator, covered tightly with plastic wrap or in an airtight container. The cheesecake will keep well for up to 5 days. The flavors actually improve after the first day as the spices have more time to meld with the cream cheese.
**Freezing**
You can freeze this cheesecake for up to 2 months. Wrap the entire springform pan in plastic wrap and then in aluminum foil. Thaw it overnight in the refrigerator before serving. Note that the texture may become slightly softer after thawing, but it will still be delicious. Avoid freezing with whipped cream on top, as it can separate. Add fresh toppings just before serving.
**Reheating**
Do not reheat this cheesecake. It is meant to be eaten cold. If you need to soften it slightly for serving, let it sit at room temperature for 10-15 minutes before slicing. This makes it easier to cut and brings out the aroma of the spices.
Nutritional Information & Benefits
This creamy no-bake pumpkin cheesecake is a richer dessert, but it does offer some nutritional benefits. Pumpkin puree is high in vitamin A, fiber, and potassium, which supports eye health and digestion. Cream cheese provides calcium and protein, though it is also high in saturated fat. The graham cracker crust adds carbohydrates and fiber.
A typical slice contains approximately 350-400 calories, depending on the size and toppings. It is not a low-calorie dessert, but it is satisfying in smaller portions. For those with dietary restrictions, this recipe can be adapted to be gluten-free or dairy-free, as mentioned in the variations section. However, it is not suitable for vegans without significant substitutions.
From a wellness perspective, I enjoy this as a mindful treat. It’s not something I eat every day, but it’s a wonderful way to celebrate the season. The spices like cinnamon and ginger have anti-inflammatory properties, which is a nice bonus. Just be mindful of portion sizes and enjoy it slowly.
Conclusion
This creamy no-bake pumpkin cheesecake is a fall staple for a reason. It’s easy to make, incredibly delicious, and looks impressive enough for any gathering. I love this recipe because it requires minimal effort but delivers maximum flavor and satisfaction. It’s the perfect way to use up pumpkin puree and enjoy the tastes of autumn without turning on the oven.
I encourage you to customize this recipe to your liking. Try different toppings, crusts, or variations to make it your own. Whether you stick to the classic or add a swirl of caramel, you will love the result.
Please share your creations with me! I’d love to see how you make this recipe your own. Leave a comment below with your tips or variations, and don’t forget to share this recipe with friends who love fall desserts. Enjoy every bite of this silky, spiced delight.
Frequently Asked Questions
Can I use pumpkin pie filling instead of pumpkin puree?
No, do not use pumpkin pie filling. It contains added sugars and spices that will throw off the balance of sweetness and flavor in your cheesecake. Always use 100% pure pumpkin puree.
Why is my cheesecake runny?
This usually happens if the cream cheese was not softened enough, the whipped cream was overmixed or deflated, or the cheesecake was not chilled long enough. Ensure you chill it for at least 6 hours, preferably overnight, to allow it to set properly.
Can I make this cheesecake ahead of time?
Yes, this cheesecake is perfect for making ahead. It can be prepared up to 2 days in advance. In fact, it often tastes better the next day as the flavors have time to meld.
How do I get clean slices?
Use a sharp knife and dip it in hot water between each cut. Wipe the blade dry before slicing to ensure a clean cut without smearing the filling.
Can I freeze this cheesecake?
Yes, you can freeze it for up to 2 months. Wrap it tightly in plastic wrap and aluminum foil. Thaw it in the refrigerator overnight before serving. Note that the texture may change slightly after freezing.
Pin This Recipe!
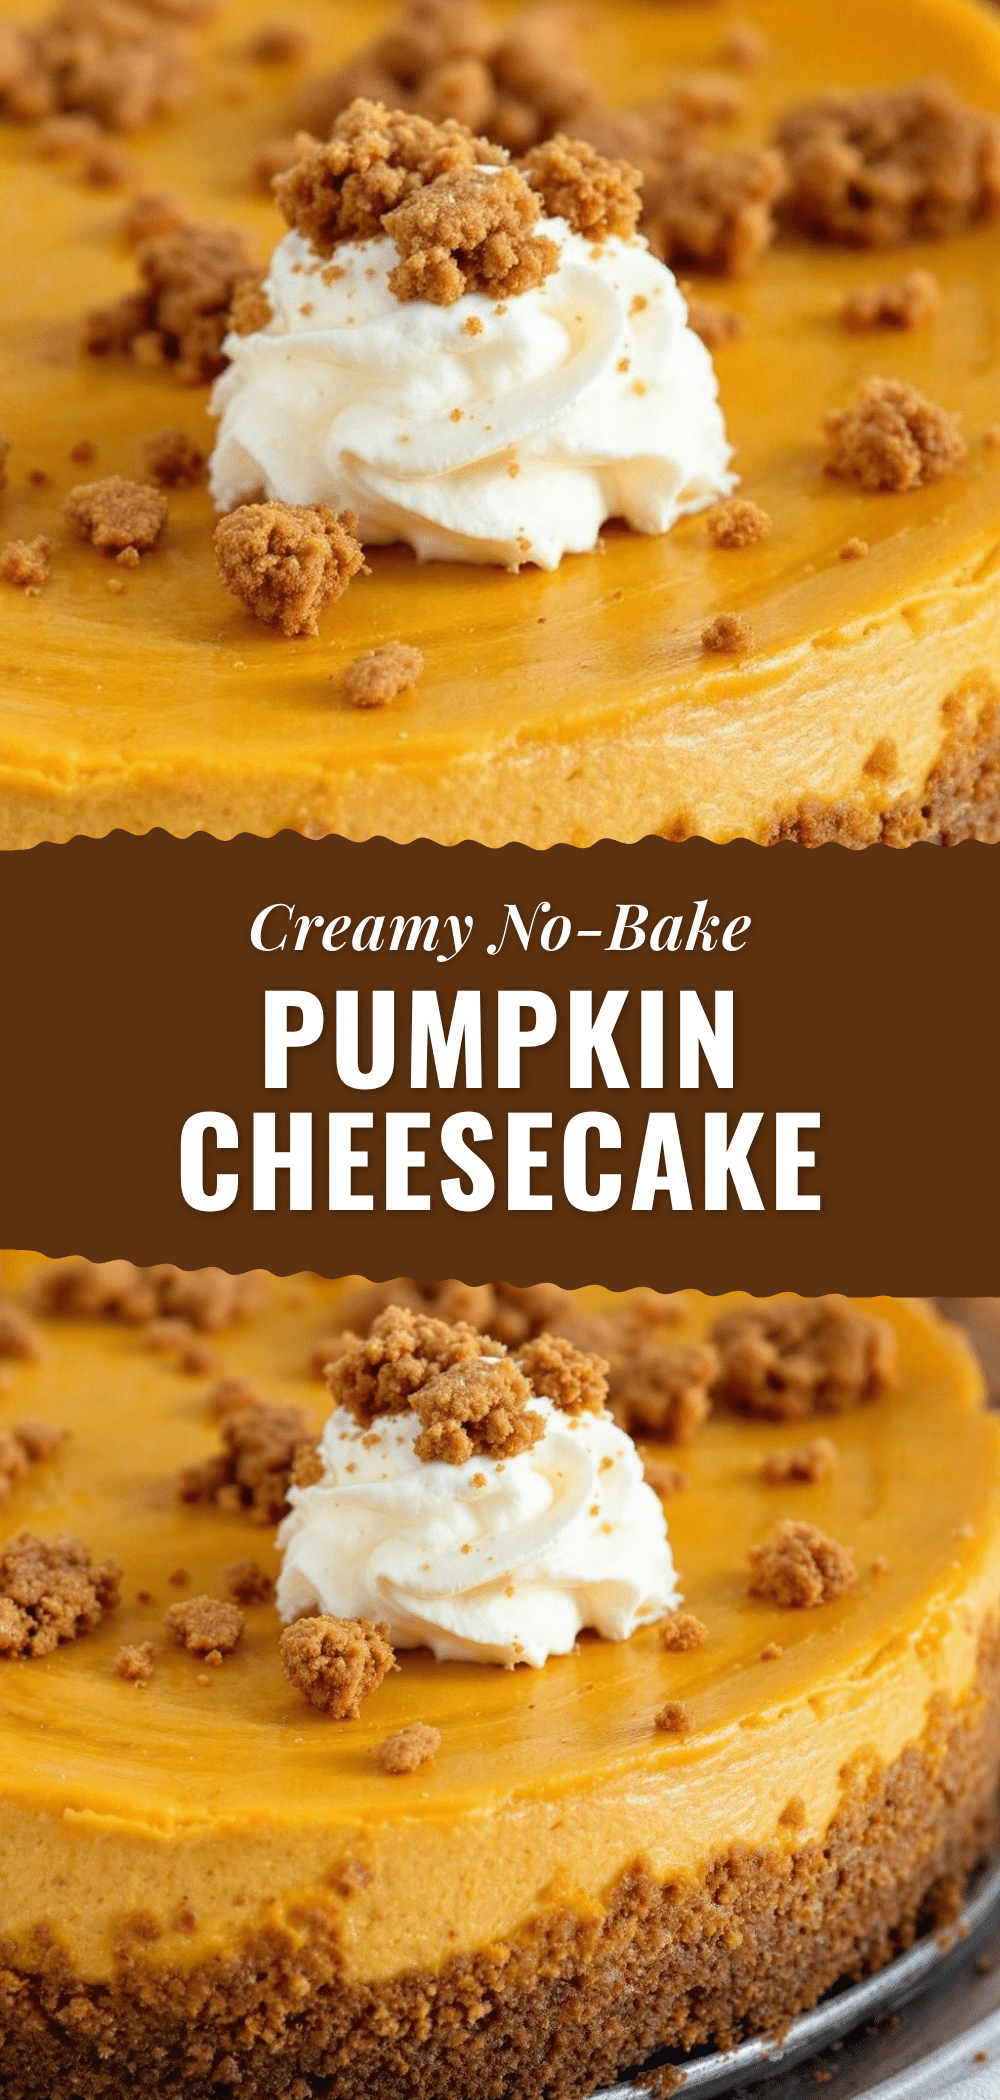
Creamy No-Bake Pumpkin Cheesecake
A smooth, no-bake pumpkin cheesecake with a polished marble-like finish. This easy fall dessert combines full-fat cream cheese and pumpkin puree for a light, spiced, and creamy texture without the hassle of baking.
- Prep Time: 15 minutes
- Cook Time: 10 minutes
- Total Time: 6 hours 25 minutes
- Yield: 8 servings 1x
- Category: Dessert
- Cuisine: American
Ingredients
- 1 ½ cups graham cracker crumbs
- ⅓ cup unsalted butter, melted
- 2 tablespoons granulated sugar
- ½ teaspoon ground cinnamon
- 16 oz full-fat cream cheese, softened to room temperature
- 15 oz 100% pure pumpkin puree
- 1 cup powdered sugar
- 1 cup heavy whipping cream, cold
- 1 teaspoon pure vanilla extract
- 1 teaspoon ground cinnamon
- ½ teaspoon ground ginger
- ¼ teaspoon ground nutmeg
- Pinch of ground cloves
Instructions
- Combine graham cracker crumbs, melted butter, 2 tablespoons granulated sugar, and ½ teaspoon cinnamon in a medium bowl. Mix until it resembles wet sand.
- Press the crust mixture firmly into the bottom of a 9-inch springform pan. Bake at 350°F (175°C) for 8-10 minutes until fragrant, then let cool completely. Alternatively, press down hard and refrigerate for 30 minutes to set.
- In a large, chilled bowl, beat the cold heavy whipping cream on medium-high speed until stiff peaks form. Set aside.
- In a separate large bowl, beat the softened cream cheese on medium speed until completely smooth and creamy (2-3 minutes). Scrape down the sides and bottom.
- Add the powdered sugar, vanilla extract, and spices (1 tsp cinnamon, ½ tsp ginger, ¼ tsp nutmeg, pinch of cloves) to the cream cheese. Beat on low until combined, then medium until fully incorporated and fluffy.
- Add the pumpkin puree to the cream cheese mixture. Beat on low speed just until combined. Do not overmix.
- Add one-third of the whipped cream to the pumpkin mixture and mix to lighten the base. Gently fold in the remaining whipped cream using a rubber spatula until no white streaks remain.
- Pour the filling into the prepared crust and smooth the top. Cover with plastic wrap and refrigerate for at least 6 hours, preferably overnight.
- To serve, run a hot knife around the edge of the pan before releasing the springform ring. Slice and serve cold with optional toppings.
Notes
Ensure cream cheese is fully softened to room temperature to avoid lumps. Keep heavy whipping cream and the mixing bowl cold to ensure stiff peaks. Do not overmix the pumpkin puree to prevent a watery filling. Chill overnight for the best texture and clean slices. Use a hot, dry knife for clean cuts.
Nutrition
- Serving Size: 1 slice
- Calories: 375
- Sugar: 22
- Sodium: 250
- Fat: 28
- Saturated Fat: 16
- Carbohydrates: 28
- Fiber: 1
- Protein: 5
Keywords: no-bake cheesecake, pumpkin dessert, fall recipes, easy dessert, cream cheese, pumpkin puree, graham cracker crust, holiday baking


