Love this? Save it for later!
Share the inspiration with your friends
For a while, I just accepted that fall dessert spreads weren’t going to taste like actual autumn. You know the type? Those plastic-wrapped cheese cubes and stale pretzels that sit on a counter, looking festive but tasting like regret. I had been looking for a centerpiece that actually felt like the season, something that smelled like cinnamon and crisp orchards instead of processed sugar.
It wasn’t that I didn’t like appetizers. I loved the idea of grazing, of having something beautiful to look at while people chatted. But every time I tried to make a charcuterie board for a party, it ended up feeling like a sad compromise between a snack and a meal. The meat was too salty, the crackers were too dry, and honestly, nobody really wanted another slice of pizza by midnight.
I remember one specific October evening, hosting a small group of friends. I had spent an hour arranging slices of salami and triangles of brie. It looked nice in the photos, sure. But when the night wound down, the only thing left untouched was that sad, lonely board. We ended up eating cereal out of bowls in the kitchen. It felt like a failure of hospitality, even though I had tried so hard.
That’s when I realized the gap. We didn’t need more savory snacks. We needed a dessert board that captured the cozy, nostalgic feeling of a pumpkin patch visit without the sticky hands and travel time. Something that felt indulgent but was easy to assemble. I wanted something that bridged the gap between a fancy restaurant dessert and a backyard barbecue treat.
The answer came in the form of apples and caramel. Not the hard, candy-coated kind you buy at the county fair, but the soft, drizzled, loaded kind. I started experimenting with different cheeses, nuts, and dips. I wanted to see if I could make a board that was sweet enough to satisfy a dessert craving but structured enough to be elegant.
It took a few tries to get the balance right. Too much cheese, and it feels like lunch. Too much fruit, and it feels like a salad. But when I finally nailed the ratio of sharp cheddar to sweet caramel, everything clicked. It wasn’t a triumphant moment with music swelling. It was just a quiet realization that this was the missing piece for our fall gatherings. Now, this caramel apple charcuterie board is the first thing I set out when autumn arrives. It’s simple, it’s delicious, and it actually tastes like the season we’re trying to celebrate.
Why You’ll Love This Recipe
There is a specific kind of magic that happens when you combine crisp apples with warm, gooey caramel. It’s not just about the taste; it’s about the experience of putting it together. I’ve tested this setup dozens of times, from small dinner parties to large holiday gatherings, and it consistently gets the best reactions. Here is why this caramel apple charcuterie board stands out from the rest.
* **Quick & Easy**: You know how some recipes promise to be “easy” but require three hours of chopping and sautéing? This one is different. It comes together in under 20 minutes. You don’t need to cook a complex sauce from scratch if you don’t want to, though I’ll share a trick to make it taste homemade. It is perfect for busy weeknights or last-minute cravings when you want something fancy but have zero energy.
* **Simple Ingredients**: No fancy grocery trips needed. You likely already have most of these items in your kitchen. Apples, cheese, nuts, and caramel are staples in most homes during the fall. This isn’t a recipe that requires you to hunt down obscure ingredients or spend a fortune at a specialty shop. It uses what you have, which makes it incredibly approachable for beginner cooks.
* **Perfect for Fall Gatherings**: Whether it is a backyard bonfire, a cozy dinner party, or just a Tuesday night treat, this board fits the occasion. It taps into that seasonal craving for warm spices and sweet flavors. It’s great for brunch if you swap out the savory elements, or for holiday mornings when you want something lighter than a heavy pie.
* **Crowd-Pleaser**: I’ve served this to picky eaters and dessert lovers alike, and everyone finds something they like. Kids love the apple slices and the caramel drizzle. Adults appreciate the sharp cheddar and the crunch of the nuts. It’s a versatile board that satisfies different textures and taste preferences without needing multiple separate dishes.
* **Unbelievably Delicious**: The texture and flavor combo is next-level comfort food. The crunch of the apple against the creaminess of the cheese and the stickiness of the caramel creates a sensory experience that is hard to beat. It’s not just good—it is the kind of combination that makes you close your eyes after the first bite.
What makes this recipe different from the rest is the balance. Many dessert boards are just fruit and chocolate, which can get heavy. This one uses the acidity of the apples and the saltiness of the cheese to cut through the sweetness of the caramel. It’s comfort food reimagined—healthier, faster, but with the same soul-soothing satisfaction. It’s perfect for impressing guests without stress, or turning a simple meal into something memorable. Plus, if you want to lean into the fall theme even more, you can pair it with a easy apple cider margarita recipe with cinnamon sugar rim for a complete seasonal experience.
What Ingredients You Will Need
This recipe uses simple, wholesome ingredients to deliver bold flavor and satisfying texture without the fuss. The beauty of a charcuterie board is that it is modular. You can adjust the components based on what you have on hand or what your guests prefer. The key is to have a mix of textures—crunchy, creamy, crisp, and chewy—and a balance of sweet and salty flavors.
Here is what you will need to build the perfect board. I have grouped them by function to help you visualize how they come together.
**The Star: Fresh Apples**
* **Honeycrisp apples**: These are my top choice because they stay crisp and don’t brown too quickly. They have a natural sweetness that pairs well with caramel.
* **Fuji apples**: A great alternative if you prefer a slightly sweeter, softer crunch.
* **Granny Smith apples**: Use these if you want to balance out the sweetness of the caramel with some tartness.
* *Prep note*: Core the apples and slice them into wedges or thick coins. Keep the skin on for color and fiber.
**The Cheese Element**
* **Sharp cheddar cheese**: Aged cheddar adds a nice punch of saltiness that contrasts the sweet caramel. Cube it or slice it into thin triangles.
* **Cream cheese**: Soften a block of cream cheese and spread it on a small plate or in a ramekin. It acts as a dip for the apple slices.
* **Brie or Camembert**: If you want a softer, richer option, a small wheel of brie is fantastic. Serve it with the rind on for a sophisticated look.
* *Tip*: I recommend using a high-quality block of cheddar rather than pre-shredded bags. Pre-shredded cheese has anti-caking agents that prevent it from melting or pairing as smoothly with the caramel.
**The Crunch & Texture**
* **Pecans**: Toasted pecans add a buttery crunch that is classic with apple desserts. Chop them roughly for easy eating.
* **Walnuts**: A good substitute for pecans if you have tree nut allergies (though obviously not for those with allergies). They add a slightly bitter note that balances the sugar.
* **Granola**: Clusters of granola add a cereal-like crunch that feels unexpected but works well. Look for a honey-oat variety.
* **Pretzel bites**: For a salty crunch that isn’t cheese-based, pretzel bites are a great addition. They mimic the flavor of caramel corn.
**The Sweet & Sticky**
* **Caramel sauce**: You can use store-bought sauce for convenience, but a homemade version is worth the effort. Look for a thick, pourable consistency.
* **Salted caramel chips**: These are great for garnishing. They add visual appeal and bursts of salty sweetness.
* **Peanut butter**: A small bowl of smooth or crunchy peanut butter adds a protein-rich dip option that pairs perfectly with apples.
**The Garnish**
* **Cinnamon sugar**: Mix granulated sugar with ground cinnamon for sprinkling. It enhances the apple flavor and adds a festive look.
* **Fresh mint leaves**: Use sparingly for color. It’s not for eating in large quantities, but it makes the board pop visually.
* **Dried cranberries**: These add a chewy texture and a tart burst that complements the nuts and cheese.
*Substitution guidance*: If you are dairy-free, swap the cheese for a dairy-free cheddar alternative or omit it entirely and focus on the nut butter and caramel dips. For a gluten-free option, ensure your granola and pretzels are certified gluten-free, or swap them for rice crackers and roasted chickpeas.
Equipment Needed
You don’t need a lot of fancy gadgets to pull this off, but having the right tools makes the assembly process smoother. Here is what you will need.
* **Large wooden board or platter**: This is the foundation. A large wooden board, like a walnut or maple slab, looks rustic and warm. It should be big enough to hold all the ingredients without overcrowding. If you don’t have a board, a large marble slab or even a clean, large baking sheet works well.
* **Sharp chef’s knife**: You need a sharp knife to slice the apples cleanly. A dull knife will bruise the fruit and make it oxidize (turn brown) faster. I prefer a knife with a curved blade for easy rocking motion.
* **Apple corer**: This isn’t strictly necessary, but it saves time. A simple apple corer removes the core in one twist. If you don’t have one, just use your knife to cut around the core carefully.
* **Small bowls or ramekins**: You will need these for the dips (caramel, peanut butter, cream cheese). Glass ramekins look elegant, but small ceramic bowls work too. Try to use bowls that are low-profile so they don’t block the view of the other ingredients.
* **Pastry brush**: If you make your own caramel sauce, a pastry brush helps you clean the sides of the saucepan if any sugar crystallizes. It’s also useful for lightly brushing apples with lemon juice to prevent browning.
* **Cheese knife**: A small cheese knife with a forked tip is handy for cutting and serving the cheese cubes. If you don’t have one, a small paring knife works fine.
*Personal experience*: I used to use a regular dinner plate for my boards, but it looked cluttered. Investing in a dedicated serving board changed everything. It gives you space to arrange the items and makes the presentation look intentional. Don’t worry about spending a lot; you can find beautiful boards at thrift stores or hardware stores for a fraction of the price of kitchenware shops.
Preparation Method
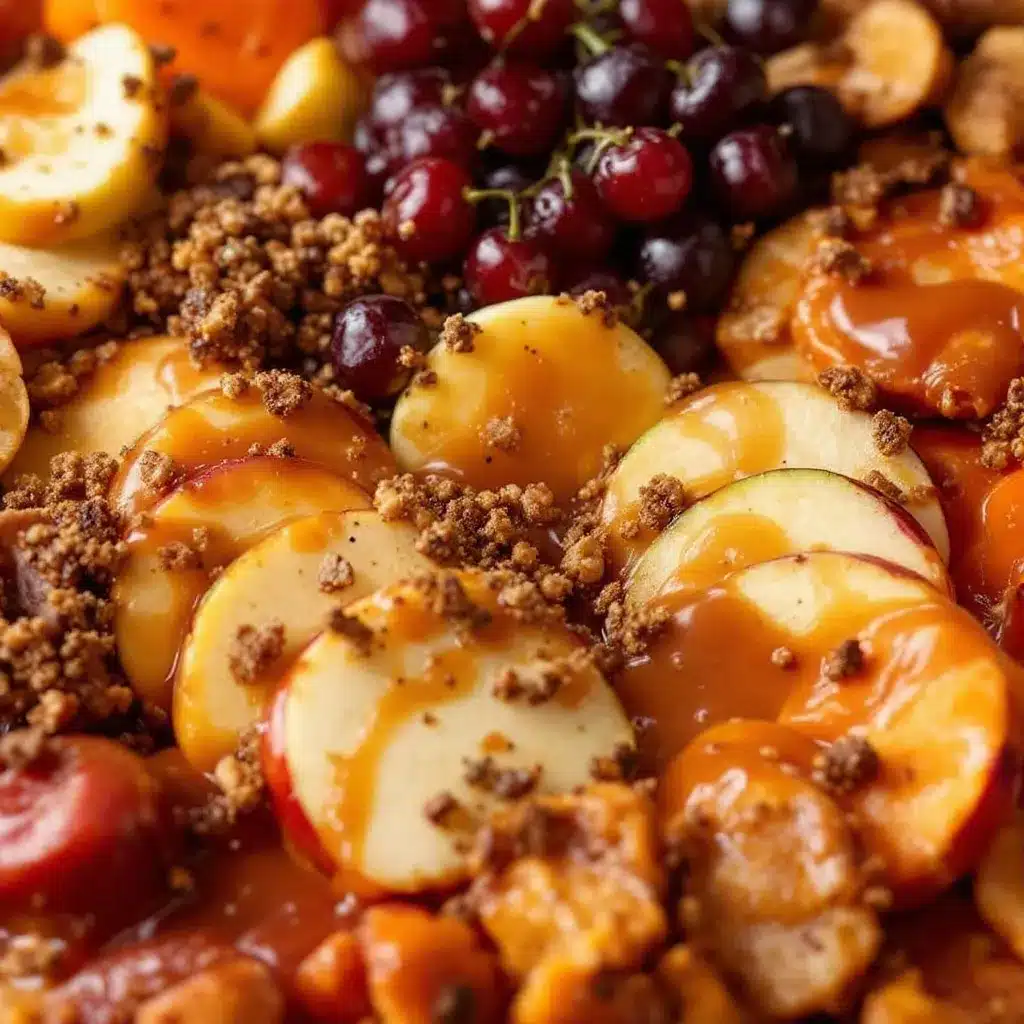
Assembling this board is straightforward, but there is a right way and a wrong way to do it. The goal is to create a visually appealing layout that is also functional for your guests. Follow these steps to ensure your caramel apple charcuterie board looks professional and tastes amazing.
1. **Prep the Apples (5 minutes)**
Wash the apples thoroughly under cold water. Dry them completely with a paper towel. Moisture is the enemy of a good board; wet apples will make the caramel slide off and the cheese soggy. Using your sharp chef’s knife, core the apples and slice them into uniform wedges. Aim for about 1/4 inch thickness. If you slice them too thin, they might break when dipped. If they are too thick, they will be hard to eat. Place the slices in a large bowl. *Pro tip*: Toss them lightly with a teaspoon of lemon juice to keep them bright and prevent browning.
2. **Prepare the Dips (5 minutes)**
While the apples are prepping, get your dips ready. If using store-bought caramel, pour it into a small serving bowl. If you are making it from scratch, heat it gently until it is pourable but not hot. For the cream cheese dip, take a block of softened cream cheese and place it on a small plate. You can leave it as a block for people to dip, or mix it with a tablespoon of powdered sugar and a dash of cinnamon for a sweeter dip. Pour the peanut butter into another small bowl. Arrange these bowls on your board first, as they are the anchor points for your layout.
3. **Arrange the Cheese (5 minutes)**
Place your cheese elements on the board. If using cheddar cubes, cluster them together in one section. If using a wheel of brie, place it in the center or off to the side. Add the cream cheese block nearby. The cheese provides the salty contrast, so distribute it evenly across the board so guests can find it easily. Don’t overcrowd the cheese; leave space for the fruit and nuts.
4. **Add the Crunch (5 minutes)**
Scatter the toasted pecans, walnuts, and granola around the board. You can pile them in small mounds or spread them out loosely. I like to tuck the nuts between the apple slices and the cheese bowls. This creates a natural transition between the different textures. If using pretzel bites, sprinkle them near the caramel bowls for a salty-sweet combo.
5. **Place the Apples (5 minutes)**
Fan out the apple slices around the board. You can lay them flat or stand them up on their edges for height. Standing them up adds visual interest and makes it easier for guests to grab a slice. Arrange them in a circular pattern around the cheese and dips, or fill in the empty spaces between the other items. Make sure the colors are vibrant and the slices are facing up.
6. **Final Garnish and Drizzle (5 minutes)**
This is the fun part. Drizzle the caramel sauce over the apples and cheese. Don’t be shy, but don’t drown them either. A zigzag pattern looks best. Sprinkle the cinnamon sugar over the caramel for extra flavor. Add the dried cranberries and salted caramel chips for pops of color. Finally, place a few fresh mint leaves on top for a touch of green. Step back and adjust any items that look out of place. Your board is ready to serve.
*Note*: Assemble the board no more than 30 minutes before serving if you want the apples to stay crisp. If you need to prepare ahead, keep the apples in an airtight container with a damp paper towel in the fridge, and assemble the board right before guests arrive.
Cooking Tips & Techniques
Even though this recipe doesn’t involve much cooking, there are techniques that can make a huge difference in the final result. I’ve learned a few things the hard way, and I want to share them with you so you don’t make the same mistakes.
* **Prevent Browning**: Apples oxidize quickly once cut. The lemon juice trick mentioned earlier is essential. If you don’t like lemon flavor, you can use a tiny bit of pineapple juice or just assemble the board very close to serving time. Another option is to brush the apple slices with a little melted white chocolate, which acts as a barrier against air.
* **Toast Your Nuts**: Never skip toasting your pecans or walnuts. Raw nuts can taste bland and woody. Toast them in a dry skillet over medium heat for 3-5 minutes until they smell fragrant. This brings out their natural oils and adds a deeper flavor that pairs better with caramel. Let them cool completely before adding them to the board, or they will melt the cheese.
* **Caramel Consistency**: If your caramel sauce is too thick, it will clump on the apples. Warm it up gently in the microwave in 10-second intervals, stirring in between, until it reaches a drizzle-able consistency. If it’s too thin, it will run off the board. You want a thick syrup, not a thin glaze. Adding a pinch of sea salt to the caramel can help it set slightly faster on the cool apples.
* **Balance the Board**: A common mistake is making the board too sweet. Remember that the cheese and nuts provide salt and fat. If you use a very sweet caramel and sweet apples, add something tart like the Granny Smith apples or dried cranberries to balance it out. Visual balance is also important. Try to distribute colors evenly so one side isn’t all red and the other is all brown.
* **Temperature Matters**: Serve the cheese at room temperature. Cold cheese can be waxy and less flavorful. Take it out of the fridge about 30 minutes before assembling. The apples should be chilled for crunch, but not ice cold. This contrast in temperatures adds to the eating experience.
Variations & Adaptations
One of the best things about this caramel apple charcuterie board is how adaptable it is. You can tweak it based on dietary needs, seasonal availability, or personal taste. Here are a few variations I’ve tried and loved.
* **Dairy-Free Option**: Simply omit the cheese and use a dairy-free cream cheese alternative if you want a dip. Focus on the nut butters and caramel. You can add dark chocolate squares or dairy-free chocolate chips for a rich, sweet element. The apples and nuts will carry the board on their own.
* **Gluten-Free Twist**: Ensure all your crackers, pretzels, and granola are certified gluten-free. You can swap pretzels for rice cakes or gluten-free crackers. The rest of the ingredients are naturally gluten-free, so this is an easy swap for guests with sensitivities.
* **Nut-Free Variation**: For schools or events with nut allergies, skip the pecans and walnuts. Use seeds like pumpkin seeds (pepitas) or sunflower seeds for crunch. You can also add pretzel bites or rice crispy treats for texture. Make sure to check labels on caramel and chocolate to ensure they are processed in nut-free facilities.
* **Spring/Summer Adaptation**: While apples are fall staples, you can use pears in late summer or strawberries in spring. Strawberries with white chocolate and caramel drizzle are a fantastic spring variation. Swap the cheddar for a sweet brie or mascarpone with honey.
* **My Personal Favorite**: I love adding a layer of apple butter to the board. It’s a thicker, spicier version of applesauce. Spread it in a small bowl and serve it alongside the caramel. The warm spice notes of cinnamon and nutmeg in the apple butter complement the fresh apples beautifully. It’s a subtle change that adds a lot of depth.
Serving & Storage Suggestions
How you serve and store this board can affect its freshness and appeal. Here are some tips to keep it looking and tasting great.
* **Serving Temperature**: Serve the board at room temperature for the best flavor experience. The cheese should be soft, and the caramel should be at a consistency that coats the apple without dripping. If the room is very warm, keep the board in the shade to prevent the cheese from sweating.
* **Complementary Pairings**: This board pairs wonderfully with a glass of cider or a light dessert wine. A creamy caramel apple cheesecake dip can also be served on the side for those who want an extra sweet option. For drinks, consider a cozy slow cooker spiced apple cider to keep the fall theme going.
* **Storage**: Leftovers can be stored in the refrigerator. Keep the apple slices in an airtight container with a damp paper towel to maintain crispness. The cheese can be wrapped in wax paper or placed in a container. The caramel sauce should be stored in a sealed jar.
* **Reheating**: You can gently warm the caramel sauce before serving leftovers. Microwave it in short bursts and stir. The apples will soften slightly after a day in the fridge, so they are best eaten within 24 hours. The cheese and nuts will keep for up to 3 days.
* **Flavor Development**: Interestingly, the flavors meld together after a few hours. The caramel soaks slightly into the cheese, and the apple skins release a bit of juice. This isn’t always better, but it’s worth noting if you plan to make it ahead. For the best texture, assemble as close to serving time as possible.
Nutritional Information & Benefits
This caramel apple charcuterie board offers a mix of nutrients, though it is definitely a treat. Apples provide fiber and vitamin C, which support immune health and digestion. The nuts offer healthy fats and protein, which help keep you full. Cheese adds calcium and protein.
* **Estimated Values**: Per serving (approx. 100g), there are about 200-250 calories, depending on the amount of caramel and cheese.
* **Dietary Considerations**: This board can be made gluten-free and dairy-free. It is naturally nut-free if you omit the nuts, but cross-contamination should be checked if you have severe allergies.
* **Health Perspective**: While it is high in sugar from the caramel, the fiber from the apples and nuts helps moderate blood sugar spikes. It’s a better option than processed candies because it contains whole foods. I view this as a mindful dessert—enjoy it slowly and savor the flavors.
Conclusion
This caramel apple charcuterie board is more than just a snack; it’s a celebration of fall flavors. It’s easy to make, visually stunning, and delicious enough to impress even the pickiest eaters. I love this recipe because it brings people together around simple, wholesome ingredients. It’s the kind of dish that encourages conversation and sharing.
I encourage you to customize it based on your preferences. Try different types of apples, experiment with nut butters, or add your favorite candies. Make it your own. I hope this recipe becomes a staple in your fall hosting routine, just as it has in mine.
If you make this board, I’d love to hear how it turns out. Leave a comment below with your favorite variations or photos of your creation. Share it with friends and family, and let them know how easy it is to bring the taste of autumn to your table. Enjoy every bite!
Frequently Asked Questions
Can I make this charcuterie board ahead of time?
You can prepare most of the components ahead of time. Slice the apples and store them in an airtight container with lemon juice. Toast the nuts and chop the cheese. However, assemble the board within 30 minutes of serving to keep the apples crisp and the caramel from melting.
What kind of apples are best for this board?
Honeycrisp and Fuji apples are great choices because they are sweet and stay crisp. Granny Smith apples add a nice tart contrast. Avoid varieties like Red Delicious, which can be mealy and less flavorful.
How do I prevent the caramel from making the board messy?
Use a thick caramel sauce and drizzle it sparingly. Serve the caramel in small bowls on the side for dipping if you are worried about mess. This allows guests to control how much caramel they add to their apples.
Can I use store-bought caramel sauce?
Yes, store-bought caramel sauce works perfectly fine and saves time. Look for a brand that is thick and pourable. You can also warm it slightly to make it easier to drizzle.
What cheese pairs best with caramel and apples?
Sharp cheddar is a classic pairing because the saltiness cuts the sweetness. Brie and camembert also work well for a softer, richer option. Cream cheese provides a neutral base that lets the apple and caramel flavors shine.
Pin This Recipe!
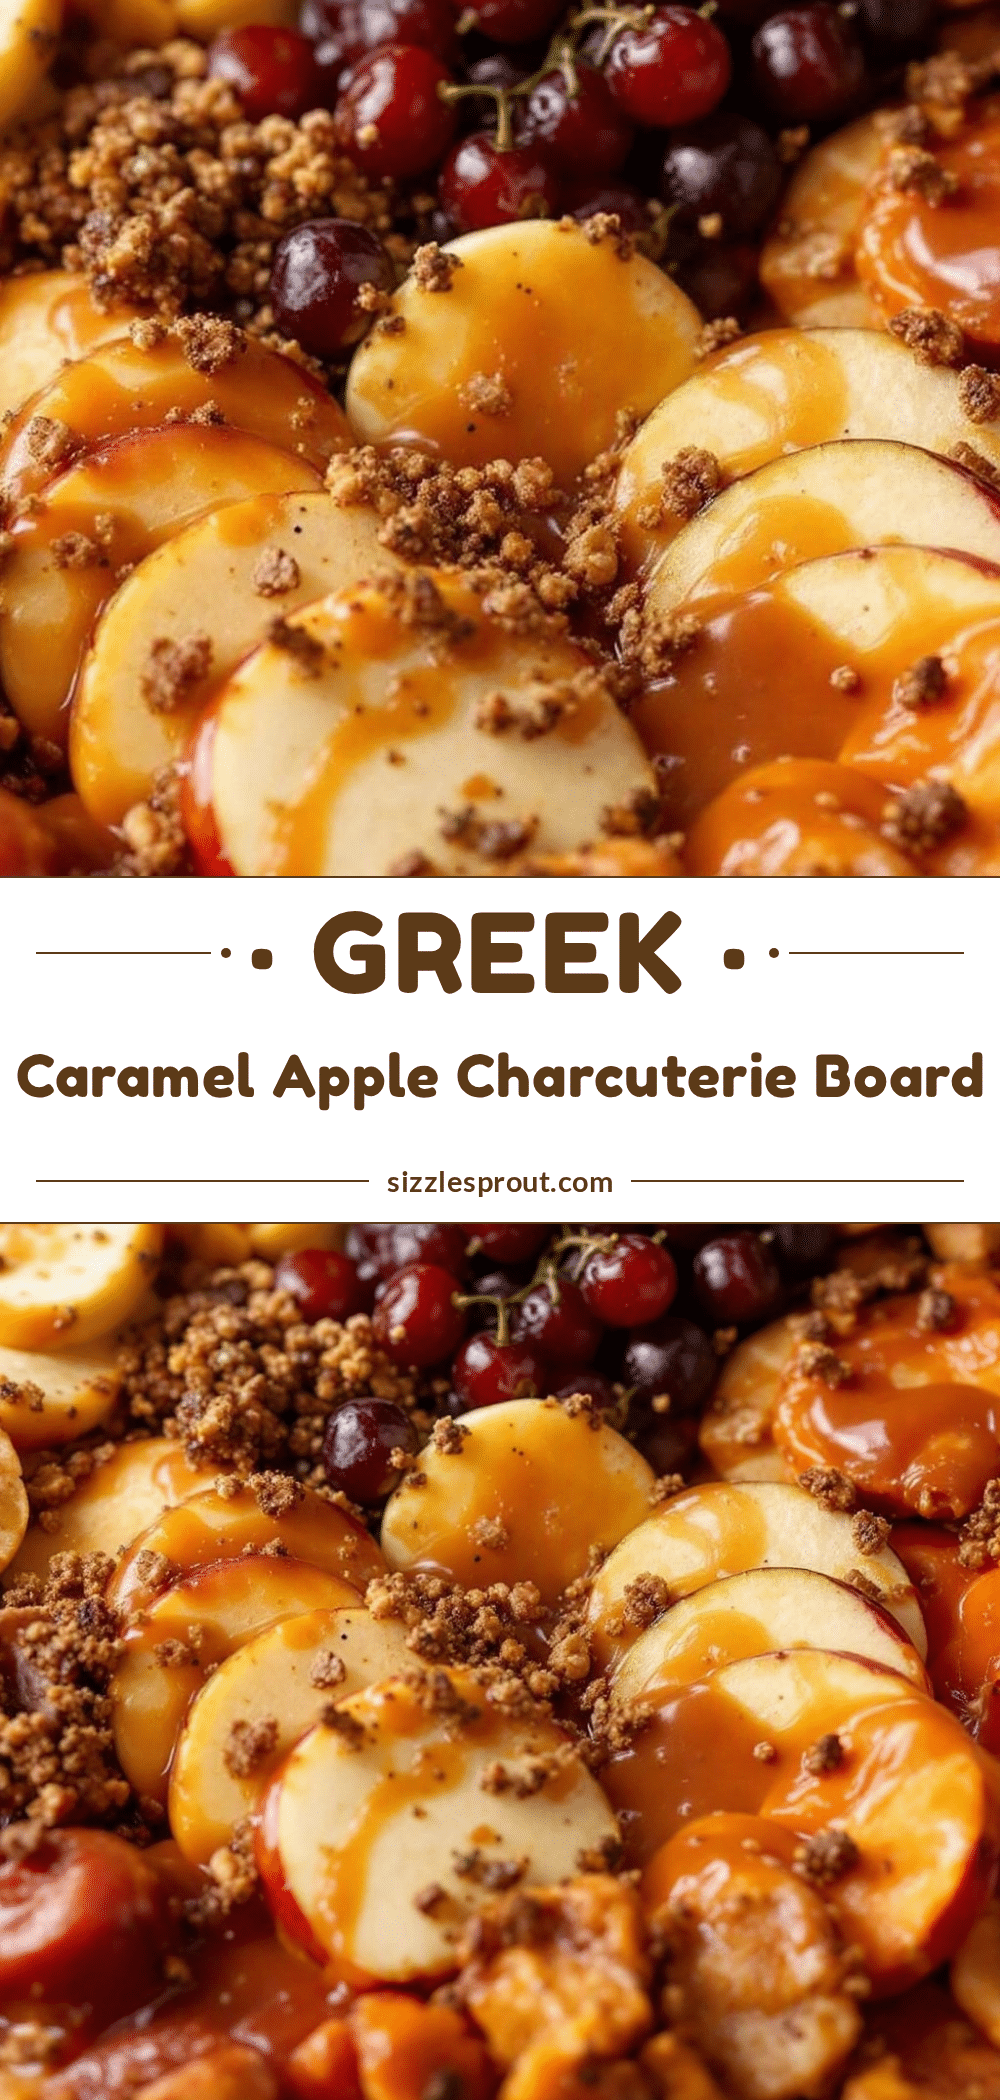
Irresistible Caramel Apple Charcuterie Board

A festive and easy-to-assemble dessert board featuring crisp apples, sharp cheddar, creamy caramel, and crunchy nuts, perfect for capturing the cozy flavors of autumn.
- Prep Time: 20 minutes
- Cook Time: 0 minutes
- Total Time: 20 minutes
- Yield: 8 servings
- Category: Dessert
- Cuisine: American
Ingredients
- Honeycrisp apples (or Fuji/Granny Smith)
- Sharp cheddar cheese, cubed or sliced
- Cream cheese, softened
- Brie or Camembert wheel (optional)
- Toasted pecans, chopped
- Walnuts, chopped (optional)
- Honey-oat granola clusters
- Pretzel bites
- Caramel sauce (store-bought or homemade)
- Salted caramel chips
- Peanut butter (smooth or crunchy)
- Cinnamon sugar
- Fresh mint leaves
- Dried cranberries
- Lemon juice
Instructions
- Wash and dry apples thoroughly. Core and slice into 1/4 inch wedges. Toss lightly with lemon juice to prevent browning.
- Prepare dips by pouring caramel sauce and peanut butter into small bowls. Place softened cream cheese on a small plate or mix with powdered sugar and cinnamon.
- Arrange cheese elements (cheddar, brie, cream cheese) on the board, distributing them evenly.
- Scatter toasted nuts, granola, and pretzel bites around the board, tucking them between other items.
- Fan out apple slices around the board, standing them up for visual interest or laying them flat.
- Drizzle caramel sauce over apples and cheese in a zigzag pattern. Sprinkle with cinnamon sugar, dried cranberries, and salted caramel chips. Garnish with fresh mint.
- Serve immediately or within 30 minutes of assembly to maintain apple crispness.
Notes
Assemble the board no more than 30 minutes before serving to keep apples crisp. Toast nuts in a dry skillet for 3-5 minutes to enhance flavor. Serve cheese at room temperature for best flavor. For dairy-free options, omit cheese and use dairy-free alternatives. For gluten-free, ensure crackers and granola are certified GF.
Nutrition
- Serving Size: Approx. 100g per ser
- Calories: 225
- Sugar: 22
- Sodium: 180
- Fat: 12
- Saturated Fat: 5
- Carbohydrates: 28
- Fiber: 3
- Protein: 4
Keywords: caramel apple charcuterie board, fall dessert, easy appetizer, autumn party food, cheese and fruit board, no-bake dessert


