Love this? Save it for later!
Share the inspiration with your friends
I didn’t trust candy corn in a rice krispie treat. Let me be honest—I thought it would turn into a weird, waxy mess. Every Halloween, I’d watch friends pile those little orange triangles onto their dessert tables, and I’d quietly stick with the plain version. But then my kid came home from a school party holding a neon-flecked square wrapped in plastic wrap, and she looked at me like I’d just won parenting. “Mom, you have to make these.” So I did. And I was wrong.
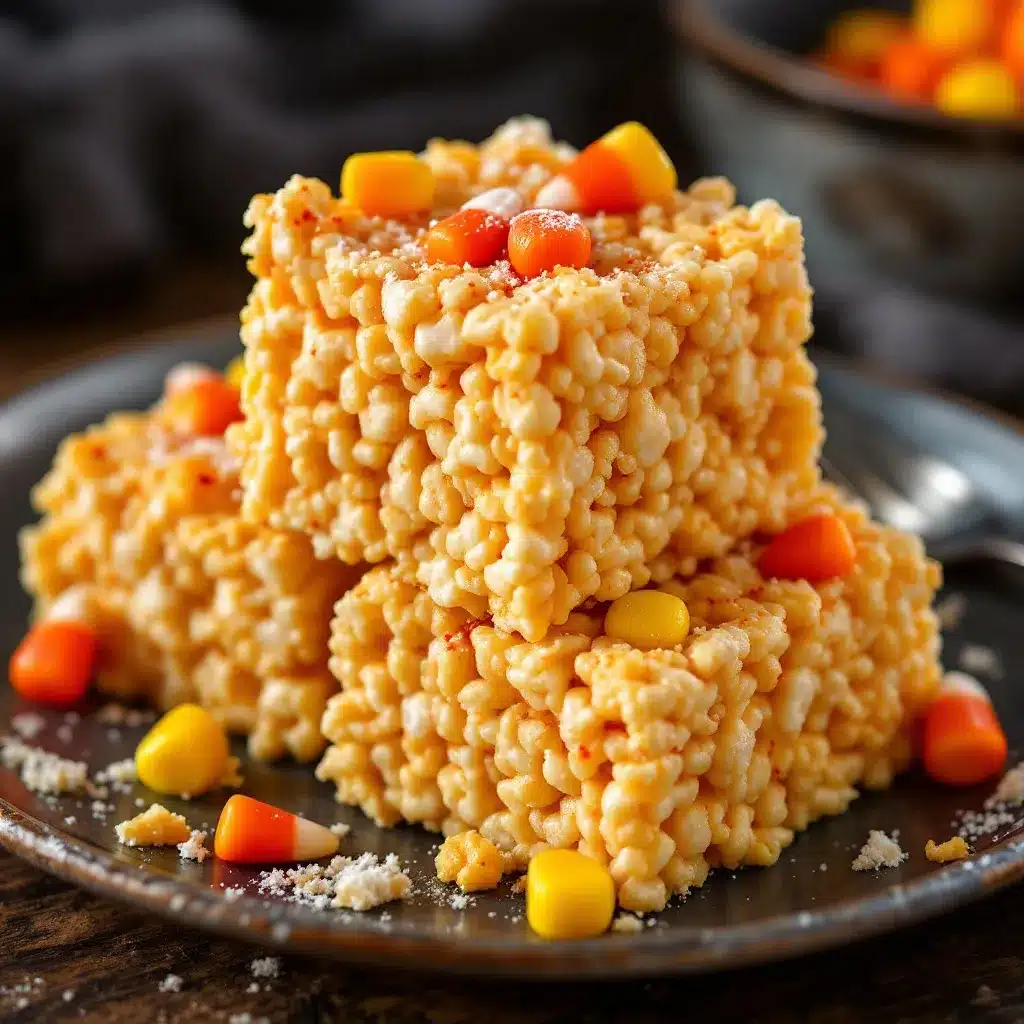
The first batch came out of the pan looking like a Halloween craft project gone right. The candy corn didn’t melt into a sugary puddle—it stayed intact, giving each bite a subtle chewiness that plain marshmallow treats just don’t have. I remember standing over the counter, picking at the edges, trying to figure out why this simple combination worked so well. It wasn’t just the nostalgia factor or the festive colors. There was something about the salty butter, the sticky marshmallows, and those little candy corn pieces that clicked.
These Easy Halloween Rice Krispie Treats with Candy Corn have become our go-to for October. They come together in about fifteen minutes, require zero baking skills, and somehow make everyone happy—even the candy corn skeptics. I’ve brought them to potlucks, classroom parties, and movie nights, and they disappear faster than anything else on the table. Honestly, I think the secret is that they don’t try too hard. They’re just a classic treat with a little Halloween spirit thrown in, and that’s exactly what makes them work.
Why You’ll Love This Recipe
I’ve tested this recipe about six times to get the proportions right. Too much candy corn and the treats get cloyingly sweet. Too little and you miss the point entirely. But after a few batches—and some very patient taste-testers—I landed on a version that balances the classic marshmallow texture with just enough candy corn to feel festive without overwhelming your teeth.
- Quick & Easy: These come together in about 15 minutes of active time. No oven required, no complicated steps. Just a pot, a spatula, and a pan.
- Simple Ingredients: You probably already have butter, marshmallows, and cereal in your pantry. The candy corn is the only special purchase, and it’s everywhere in October.
- Perfect for Halloween Parties: Whether you’re hosting a classroom celebration, a neighborhood get-together, or just want something fun for your own family, these treats fit the bill. They’re portable, kid-friendly, and instantly recognizable as a Halloween snack.
- Crowd-Pleaser: I’ve watched kids and adults alike grab for these. The candy corn skeptics? They end up reaching for seconds. There’s something about the combination that wins people over.
- Unbelievably Delicious: The texture is what gets me. You get that classic crispy-chewy rice krispie base, then these little pockets of candy corn that add a distinct sweetness and a slightly firmer bite. It’s comfort food dressed up for the season.
What makes this version different from the dozens of Halloween treat recipes out there? It’s the ratio. Most recipes either bury the candy corn under too much marshmallow or let it dominate. I wanted a treat where you could taste the candy corn without feeling like you were eating a handful of it. After some trial and error—and a few overly sticky batches—I found the sweet spot. These treats are festive, but they’re still recognizable as the rice krispie treats you grew up loving. They just have a little Halloween flair.
What Ingredients You Will Need
This recipe keeps things simple. You don’t need any specialty baking supplies or hard-to-find items. Everything is available at your regular grocery store, especially during the Halloween season. Here’s what you’ll need:
- Unsalted butter (6 tablespoons or 85 grams): I use unsalted so I can control the salt level. If you only have salted butter on hand, just reduce or skip the added salt later. I prefer using a good-quality butter like Kerrygold for richer flavor, but any brand works fine.
- Mini marshmallows (10 ounces or 283 grams): The mini ones melt faster and more evenly than the large ones. I’ve tested this with both, and the minis give you a smoother, more consistent marshmallow coating. Jet-Puffed is my go-to brand because they melt reliably without turning into a gluey mess.
- Crispy rice cereal (6 cups or about 180 grams): Kellogg’s Rice Krispies is the classic choice, but any store-brand crispy rice cereal works. Just make sure it’s fresh—stale cereal will give you soggy treats. I’ve also tested this with puffed brown rice cereal for a slightly nuttier flavor, and it works well if you want a whole-grain option.
- Candy corn (1 cup or about 200 grams): This is the star of the show. I recommend using fresh candy corn—stale candy corn gets hard and chewy in a bad way. Brach’s is the most widely available brand, and it holds up well during the melting process. You can also use autumn mix (the ones with the little pumpkins) if you want more color variety.
- Salt (¼ teaspoon): A little salt balances the sweetness and brings out the buttery flavor. Don’t skip it. I use fine sea salt, but table salt works just as well.
- Vanilla extract (½ teaspoon): This is optional, but I find it rounds out the flavors nicely. Pure vanilla extract is best, but imitation works in a pinch.
- Non-stick cooking spray: You’ll need this for greasing your spatula and the pan. It makes cleanup so much easier and prevents the marshmallow mixture from sticking to everything in sight.
One note on the candy corn: I’ve tried using the small candy corn pieces that come in some Halloween mixes, and they don’t work as well. The regular-sized candy corn holds its shape better during the mixing process. If you want to get creative, you can also add a handful of mini chocolate chips or chopped nuts, but I prefer to keep these treats focused on the candy corn. It’s Halloween, after all.
Equipment Needed
You don’t need any fancy equipment for this recipe. Here’s what you’ll need:
- Large pot or Dutch oven (at least 5-quart): You need enough room to stir the marshmallow mixture with the cereal without spilling over the sides. I use a 5.5-quart Dutch oven, and it gives me plenty of room to work.
- 9×13-inch baking pan: This is the standard size for a batch of rice krispie treats. A glass or metal pan works fine. If you want thicker treats, you can use a 9×9-inch pan instead—just adjust the cooking time slightly since the layer will be thicker.
- Silicone spatula: A good spatula is essential for stirring the marshmallow mixture without scratching your pot. I prefer a heat-resistant silicone spatula because it doesn’t melt and it scrapes the sides cleanly. If you don’t have one, a wooden spoon works, but it’s harder to get the mixture evenly distributed.
- Parchment paper: Lining your pan with parchment paper makes lifting the treats out a breeze. Leave some overhang on two sides so you can pull the whole block out in one piece. If you don’t have parchment, you can grease the pan well with butter or cooking spray.
- Sharp knife: For cutting clean squares. A serrated knife works best because it saws through the treats without squishing them. A chef’s knife also works—just wipe it clean between cuts.
- Measuring cups and spoons: Standard set for measuring the butter, marshmallows, cereal, and candy corn.
I’ve made these treats in a pinch using just a pot and a butter knife, and they still turned out fine. The parchment paper is the one thing I wouldn’t skip—it makes the whole process so much easier. If you’re on a budget, a basic spatula and a metal baking pan from the dollar store will work just as well as the expensive stuff.
Preparation Method
This recipe moves fast once you start, so I recommend having all your ingredients measured and ready before you turn on the heat. Here’s the step-by-step process:
- Prepare your pan. Line a 9×13-inch baking pan with parchment paper, leaving about 2 inches of overhang on the long sides. Lightly spray the parchment with non-stick cooking spray. This will make lifting the treats out later super easy. Set the pan aside.
- Melt the butter. Place the 6 tablespoons of unsalted butter in a large pot or Dutch oven over medium-low heat. Let it melt slowly, stirring occasionally with your silicone spatula. You want the butter fully melted but not bubbling or browning—just liquid and warm. This takes about 2-3 minutes.
- Add the marshmallows. Pour the entire 10-ounce bag of mini marshmallows into the pot with the melted butter. Stir continuously until the marshmallows are completely melted and the mixture is smooth. This usually takes about 4-5 minutes. Don’t rush this step—if you turn the heat up too high, the marshmallows can scorch and turn grainy. Keep the heat on medium-low and be patient. The mixture should be glossy and stretchy when it’s ready.
- Season the mixture. Once the marshmallows are fully melted, remove the pot from the heat. Stir in the ¼ teaspoon of salt and the ½ teaspoon of vanilla extract (if using). Give it a good stir to incorporate everything evenly. The salt is crucial here—it cuts through the sweetness and makes the treats taste more balanced.
- Add the cereal. Pour the 6 cups of crispy rice cereal into the pot. Use your spatula to fold the cereal into the marshmallow mixture gently. Work from the bottom up, making sure every piece of cereal gets coated. Don’t stir too aggressively—you want to keep the cereal pieces intact, not crush them into crumbs. This takes about 2 minutes of gentle folding.
- Add the candy corn. Once the cereal is mostly coated, sprinkle the 1 cup of candy corn over the top. Fold it in gently, just until the candy corn is distributed throughout the mixture. You want the candy corn pieces to stay whole, so don’t overmix. If you stir too much, the candy corn can start to melt from the residual heat, and you’ll lose that nice texture contrast.
- Transfer to the pan. Scrape the mixture into your prepared pan. Use your spatula to spread it evenly. Here’s a trick: spray your spatula with non-stick cooking spray before pressing the mixture down. This prevents the marshmallow from sticking to the spatula and pulling up pieces of the treats. Gently press the mixture into an even layer. Don’t press too hard—you want the treats to be compact but not dense.
- Let them set. Allow the treats to cool at room temperature for at least 30 minutes before cutting. If you’re in a hurry, you can pop them in the refrigerator for 15 minutes, but I prefer room temperature setting because it gives a better texture. The treats should be firm to the touch but still slightly soft when you press them.
- Cut and serve. Once the treats are set, lift the entire block out of the pan using the parchment paper overhang. Place it on a cutting board. Use a sharp knife to cut into squares. I usually cut 12 large squares or 24 smaller ones, depending on the occasion. Wipe the knife clean between cuts for the neatest edges.
A few sensory cues to watch for: when the marshmallows are fully melted, the mixture should look like thick, glossy glue. When you fold in the cereal, you should hear a slight crackling sound—that’s the cereal staying fresh and crispy. The finished treats should look speckled with orange and yellow candy corn pieces, not like a solid mass of color. If the candy corn starts to streak, you’ve mixed too long.
Cooking Tips & Techniques
I’ve made these treats enough times to know where things can go wrong. Here are some hard-earned lessons:
Don’t overheat the marshmallows. This is the most common mistake. If you cook the marshmallows on high heat or for too long, they turn into a tough, chewy mass that’s impossible to work with. Keep the heat on medium-low and stir constantly. The moment the marshmallows are smooth and fully melted, take the pot off the heat. I learned this the hard way when I made a batch that turned into something resembling taffy—edible but not pleasant.
Work quickly but gently. Once you add the cereal, you’re on the clock. The marshmallow mixture starts to set as it cools, so you want to get everything mixed and into the pan within a few minutes. But don’t rush so much that you crush the cereal or break the candy corn. A gentle hand gives you better texture. If the mixture starts to stiffen before you’re done, you can place the pot back on low heat for 30 seconds to soften it.
Use room temperature candy corn. If your candy corn is cold from the pantry or fridge, it can cause the marshmallow mixture to seize up slightly. I like to let my candy corn sit at room temperature for about 15 minutes before adding it. This helps it incorporate more smoothly without shocking the warm marshmallow mixture.
Grease everything. This is not the time to be sparing with non-stick spray. Grease your spatula, your hands (if you’re pressing the mixture down), and the parchment paper. Marshmallow mixture sticks to everything, and there’s nothing worse than losing half your treat to the spatula. I keep a small bowl of water nearby to wet my hands if I need to press the mixture down—the water prevents sticking better than oil.
Cut with confidence. Use a sharp knife and cut in one smooth motion. Sawing back and forth will tear the treats and leave ragged edges. If you want perfectly clean cuts, you can dip your knife in hot water and wipe it dry between cuts. This melts through the marshmallow cleanly. I usually skip this step for casual batches, but it makes a difference if you’re bringing these to a party.
Variations & Adaptations
One of the best things about this recipe is how easy it is to customize. Here are some variations I’ve tried and loved:
Chocolate Drizzle: Melt about ½ cup of semi-sweet or dark chocolate chips with a teaspoon of coconut oil, then drizzle it over the cooled treats. The chocolate adds a rich contrast to the sweet candy corn. I did this for a Halloween party last year, and the treats were gone within twenty minutes. The chocolate also helps the treats look fancier without much extra effort.
Peanut Butter Version: Stir in ¼ cup of creamy peanut butter with the melted marshmallows. The peanut butter adds a savory-sweet depth that pairs surprisingly well with the candy corn. Just make sure to stir it in thoroughly so there are no streaks. If you have a peanut allergy in the house, you can use sunflower seed butter instead—it works the same way.
Spooky Shapes: Instead of cutting the treats into squares, press the mixture into a Halloween-themed cookie cutter (like a pumpkin, ghost, or bat) before it fully sets. You’ll need to work quickly and press the mixture firmly into the cutter. This is a fun activity to do with kids, though be warned—it’s a little messy. I usually make a batch of squares for eating and a few shaped ones for decoration.
Gluten-Free Option: The base recipe is already gluten-free if you use certified gluten-free crispy rice cereal. Most major brands are gluten-free, but double-check the label if you’re serving someone with celiac disease. The candy corn is also typically gluten-free, but again, check the packaging to be safe.
Vegan Adaptation: Use vegan butter (like Earth Balance) and vegan marshmallows (Dandies is a reliable brand). The texture will be slightly different—vegan marshmallows don’t stretch as much—but the treats still taste great. I’ve tested this version, and it works well for dairy-free and vegan diets.
My personal favorite variation is the chocolate drizzle. It takes the treats from “kids’ snack” to “party dessert” without adding much effort. I’ve also tried mixing in a handful of pretzel pieces for a salty crunch, and that was a hit too. The key is to keep the additions simple so the candy corn remains the star.
Serving & Storage Suggestions
These treats are best served at room temperature. If they’re too cold, the marshmallow gets firm and the candy corn becomes hard. I like to take them out of the fridge about 15 minutes before serving to let them soften slightly. They’re perfect for Halloween parties, classroom celebrations, or just a fun after-school snack.
For presentation, I arrange them on a platter lined with orange or black napkins. You can also stack them in a clear jar or wrap them individually in plastic wrap for party favors. If you want to get extra festive, sprinkle a little orange and black sanding sugar on top before the treats set.
Storage: Store the treats in an airtight container at room temperature for up to 3 days. I use a container with a tight-fitting lid and layer the treats between sheets of parchment paper. Do not refrigerate them—the cold dries them out and makes the candy corn tough. If you live in a humid climate, you might notice the treats getting slightly sticky after a day or two. That’s normal. Just keep them in a cool, dry place.
Freezing: You can freeze these treats for up to 2 months. Wrap each square individually in plastic wrap, then place them in a freezer-safe bag or container. To thaw, let them sit at room temperature for about 30 minutes. The texture will be slightly softer after freezing, but they’re still delicious. I’ve frozen batches for Halloween parties and they’ve held up well.
One thing I’ve noticed: the flavors actually meld together after a day or two. The candy corn softens slightly and blends with the marshmallow, creating a more uniform taste. Some people prefer them fresh, but I actually like them better on day two. The marshmallow gets a little chewier, and the candy corn becomes less distinct—almost like a subtle honey sweetness running through the whole treat.
Nutritional Information & Benefits
Let’s be real—these are a treat, not a health food. But here’s the estimated nutritional breakdown for one large square (based on 12 servings per batch):
- Calories: Approximately 220-250 per square
- Fat: 8-10 grams (mostly from butter)
- Carbohydrates: 38-42 grams
- Sugar: 22-26 grams
- Protein: 1-2 grams
- Sodium: 150-180 mg
These values will vary depending on the exact brands you use and how you cut the treats. The candy corn contributes a fair amount of sugar, so if you’re watching your intake, you might want to cut smaller squares or share with a crowd.
On the positive side, the crispy rice cereal is fortified with iron and B vitamins, so you’re getting a small nutritional boost. The butter provides vitamin A and healthy fats. And honestly, there’s something to be said for the mental health benefits of enjoying a seasonal treat without guilt. Halloween comes once a year, and these treats are part of the fun.
If you have dietary restrictions, please note that this recipe contains dairy (butter) and may contain gluten depending on the cereal brand. The candy corn is typically free of common allergens, but always check the label. For a dairy-free version, use vegan butter and vegan marshmallows as mentioned in the variations section.
Conclusion
These Easy Halloween Rice Krispie Treats with Candy Corn are proof that sometimes the simplest ideas are the best. They take about fifteen minutes to make, use ingredients you can find at any grocery store, and bring a little Halloween magic to your table without requiring any baking skills. Whether you’re making them for a classroom party, a Halloween potluck, or just because you want something sweet and festive, they deliver every time.
I love that this recipe is flexible enough to adapt to whatever you have on hand. You can add chocolate, peanut butter, or pretzels. You can cut them into shapes or keep them as squares. The base recipe is solid, but it’s also a canvas for your own creativity. That’s the kind of recipe I keep coming back to—one that works as written but also invites you to make it your own.
If you try these treats, I’d love to hear how they turn out. Leave a comment below and let me know if you added any twists, or if the candy corn skeptics in your life were converted. And if you’re looking for more fall-inspired treats, you might enjoy my moist pumpkin banana walnut bread or these pumpkin cream cheese muffins with streusel for more seasonal baking. Happy Halloween, and happy snacking!
Frequently Asked Questions
Can I use regular marshmallows instead of mini marshmallows?
Yes, you can use regular-sized marshmallows, but they take longer to melt and can be harder to incorporate evenly. If you use large marshmallows, cut them into smaller pieces before melting to speed up the process. Mini marshmallows are preferred because they melt faster and more consistently. I recommend sticking with minis if you can find them.
Why did my treats turn out hard and chewy?
This usually happens when the marshmallows are overcooked or when the treats are pressed too firmly into the pan. Cook the marshmallows on medium-low heat just until they’re melted—don’t let them bubble or brown. When pressing the mixture into the pan, use gentle pressure. You want the treats compact but not dense. Over-pressing squeezes out the air and makes them tough.
Can I use homemade marshmallows for this recipe?
Technically yes, but I don’t recommend it. Homemade marshmallows have a different moisture content and melting behavior than store-bought ones. They can make the treats too sticky or cause them to set improperly. If you want to experiment, you’ll need to adjust the ratios, but for consistent results, stick with store-bought mini marshmallows.
How do I keep the candy corn from melting completely into the mixture?
The key is to add the candy corn after you’ve removed the pot from the heat and stirred in the cereal. This gives the marshmallow mixture a chance to cool slightly before the candy corn goes in. Also, fold the candy corn in gently and briefly—just enough to distribute it. If you stir too long, the residual heat will start to melt the candy corn. Working quickly is your best defense.
Can I make these treats ahead of time for a party?
Absolutely. These treats actually hold up well for a day or two. Make them the day before your party, let them cool completely, and store them in an airtight container at room temperature. I’ve also made them up to three days in advance, and they were still delicious. Just don’t refrigerate them, as the cold can make the candy corn hard and the marshmallow tough. If you’re serving them at a party, arrange them on a platter just before guests arrive for the best presentation.
Pin This Recipe!
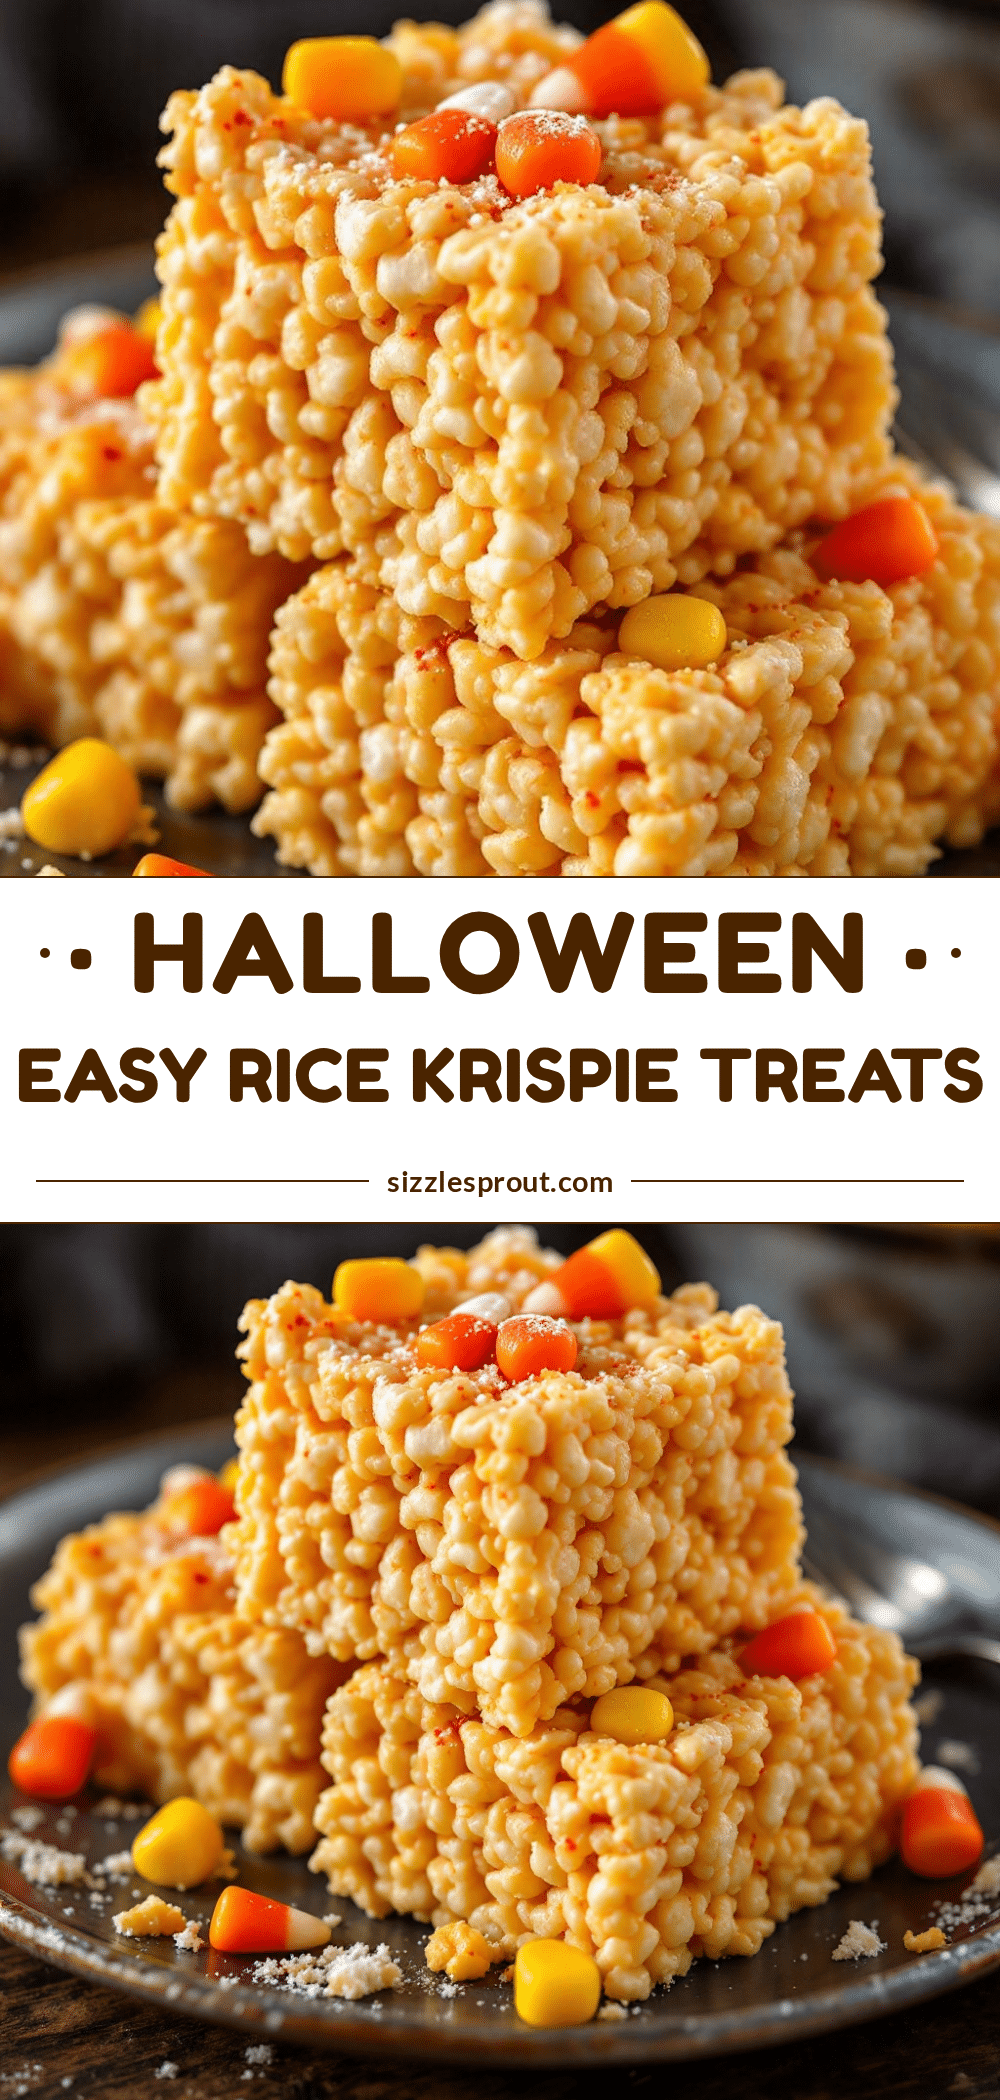
Easy Halloween Rice Krispie Treats with Candy Corn

These quick and easy Halloween Rice Krispie Treats with Candy Corn come together in about 15 minutes, require zero baking skills, and balance classic marshmallow texture with festive candy corn for a crowd-pleasing seasonal snack.
- Prep Time: 15 minutes
- Cook Time: 5 minutes
- Total Time: 20 minutes
- Yield: 12 servings 1x
- Category: Dessert
- Cuisine: American
Ingredients
- 6 tablespoons (85 grams) unsalted butter
- 10 ounces (283 grams) mini marshmallows
- 6 cups (about 180 grams) crispy rice cereal
- 1 cup (about 200 grams) candy corn
- ¼ teaspoon fine sea salt
- ½ teaspoon vanilla extract (optional)
- Non-stick cooking spray
Instructions
- Line a 9×13-inch baking pan with parchment paper, leaving about 2 inches of overhang on the long sides. Lightly spray the parchment with non-stick cooking spray. Set aside.
- Place the 6 tablespoons of unsalted butter in a large pot or Dutch oven over medium-low heat. Let it melt slowly, stirring occasionally, until fully melted but not bubbling or browning (about 2-3 minutes).
- Pour the entire 10-ounce bag of mini marshmallows into the pot with the melted butter. Stir continuously until the marshmallows are completely melted and the mixture is smooth and glossy (about 4-5 minutes). Keep heat on medium-low to avoid scorching.
- Remove the pot from the heat. Stir in the ¼ teaspoon of salt and the ½ teaspoon of vanilla extract (if using) until evenly incorporated.
- Pour the 6 cups of crispy rice cereal into the pot. Gently fold the cereal into the marshmallow mixture using a spatula, working from the bottom up until every piece is coated (about 2 minutes). Avoid crushing the cereal.
- Sprinkle the 1 cup of candy corn over the top and fold it in gently just until distributed. Do not overmix to keep the candy corn intact.
- Scrape the mixture into the prepared pan. Spray the spatula with non-stick cooking spray and gently press the mixture into an even layer. Do not press too hard.
- Let the treats cool at room temperature for at least 30 minutes until firm to the touch but still slightly soft.
- Lift the entire block out of the pan using the parchment paper overhang. Place on a cutting board and cut into squares using a sharp knife. Wipe the knife clean between cuts for neat edges.
Notes
Don’t overheat the marshmallows; keep heat on medium-low. Work quickly but gently once cereal is added. Use room temperature candy corn. Grease spatula and parchment to prevent sticking. For clean cuts, dip knife in hot water and wipe dry between cuts. Store in an airtight container at room temperature for up to 3 days. Freeze for up to 2 months.
Nutrition
- Serving Size: 1 large square
- Calories: 235
- Sugar: 24
- Sodium: 165
- Fat: 9
- Saturated Fat: 5
- Carbohydrates: 40
- Protein: 1.5
Keywords: Halloween rice krispie treats, candy corn treats, easy Halloween dessert, no-bake Halloween treats, rice krispie treats with candy corn


