Love this? Save it for later!
Share the inspiration with your friends
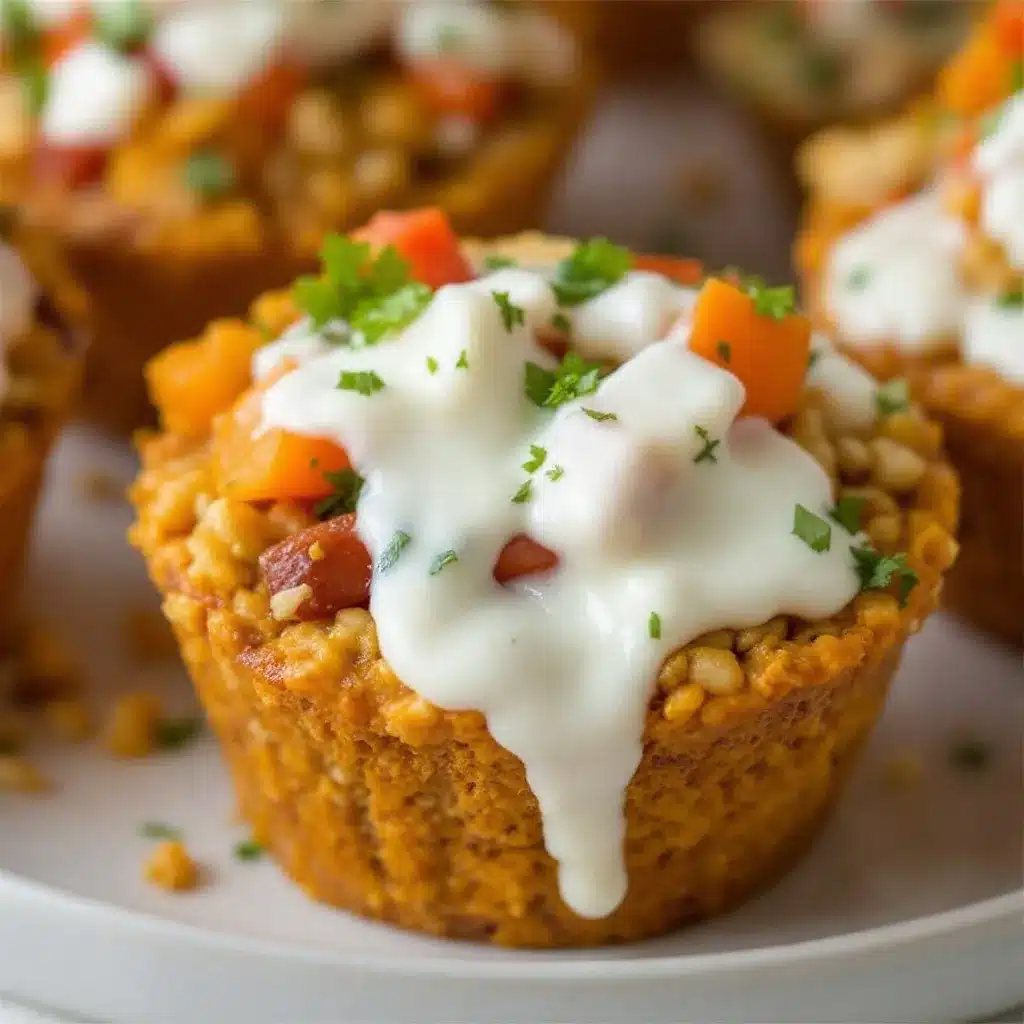
Third batch in three days and I finally stopped overmixing. The first tray came out dense—like little pumpkin hockey pucks. Second batch? Better, but the tops sank. By Sunday evening, with flour dusted across my counter and a sink full of measuring cups, I pulled out a tray of baked pumpkin oatmeal cups that actually bounced back when I pressed them. That slight spring. That tender, almost muffin-like crumb held together by oats instead of flour. I stood there eating one straight from the pan, and honestly? I knew I wasn’t going to tweak this version again.
It wasn’t about being fancy. It was about having something in the fridge on Monday morning that didn’t require thought. Something I could grab, microwave for twenty seconds, and eat while packing lunches. These oatmeal cups became that thing. They’re not too sweet—just enough maple to feel like a treat—and the pumpkin keeps them ridiculously moist without any oil. I started making them for myself, but by Wednesday my kids were grabbing them after school too.
The real test came Friday morning. I was running late, coffee in one hand, car keys in the other, and I grabbed one of these cups wrapped in a paper towel. It held up. No crumbs all over my shirt. No sticky fingers on the steering wheel. Just a warm, spiced breakfast that tasted like fall without any of the work. That’s when I knew this recipe had earned its spot in my weekly rotation.
These baked pumpkin oatmeal cups are the kind of recipe you make once and then just keep making because they solve a real problem. Breakfast that’s ready before you are. No bowl required.
Why You’ll Love This Recipe
I’ve tested a lot of oatmeal cup recipes over the years. Some turn out dry. Some fall apart. Some taste like sad, soggy oats pretending to be something they’re not. These are different. They hold their shape, they’re actually moist, and they taste like a pumpkin muffin that decided to be healthy.
- Meal Prep Dream: Make a batch on Sunday and breakfast is sorted for the week. They reheat in under 30 seconds.
- Simple Ingredients: You probably have everything already—oats, pumpkin puree, eggs, maple syrup. No weird flours or specialty items.
- Perfect for Busy Mornings: Grab one on your way out the door. Eat it in the car. Eat it while wrangling kids. No judgment here.
- Kid-Approved: My own children went from “what’s that?” to “can I have another?” in about 48 hours. The texture is familiar enough for picky eaters.
- Actually Filling: Between the oats, eggs, and pumpkin, you get protein, fiber, and complex carbs that keep you full until lunch. No mid-morning crash.
What makes these different from every other oatmeal cup recipe? It’s the ratio. I spent three batches figuring out the exact balance of wet to dry ingredients so the cups stay tender without being mushy. The pumpkin does double duty here—it adds moisture and natural sweetness, which means you can use less maple syrup than you’d think. Plus, I add a pinch of black pepper to the spice mix. Trust me on this. It doesn’t make them spicy; it just makes the cinnamon and ginger taste deeper. It’s a little trick I picked up from making cozy pumpkin sourdough last fall, and it works beautifully here too.
This is the recipe you make when you want to feel organized. When you want to walk into your kitchen at 6:45 AM and already have breakfast handled. It’s not complicated. It’s just reliable.
Ingredients Needed
This recipe uses simple, pantry-friendly ingredients that come together to create something genuinely satisfying. No hunting down obscure items at specialty stores. These are the same ingredients you’d use for a batch of moist pumpkin banana walnut bread, just in different proportions.
- Rolled oats, 2 cups (180g) – Use old-fashioned rolled oats, not quick-cooking. Quick oats absorb liquid differently and can turn mushy. If you’re gluten-sensitive, grab certified gluten-free oats.
- Pumpkin puree, 1 cup (240g) – Make sure it’s 100% pure pumpkin, not pumpkin pie filling. Libby’s is my go-to because it’s consistently thick. If your puree looks watery, blot it with a paper towel before measuring.
- Eggs, 2 large – Room temperature if you remember, straight from the fridge if you don’t. It honestly doesn’t matter much here.
- Maple syrup, ⅓ cup (80ml) – Pure maple syrup, not pancake syrup. The flavor matters. You can substitute honey if that’s what you have, but the maple-pumpkin combo is really lovely.
- Milk, ½ cup (120ml) – Any milk works. I use whole milk for richness, but almond milk, oat milk, or even buttermilk all work. Coconut milk adds a subtle tropical note that’s surprisingly good.
- Coconut oil, 2 tablespoons (30ml), melted – Or melted butter. Both work. Coconut oil keeps them dairy-free and adds a faint sweetness in the background.
- Vanilla extract, 1 teaspoon – Pure vanilla if you have it. Imitation works too. Just don’t skip it.
- Pumpkin pie spice, 2 teaspoons – Store-bought is fine. Or make your own: 1 teaspoon cinnamon, ½ teaspoon ginger, ¼ teaspoon nutmeg, ¼ teaspoon allspice, and a pinch of cloves.
- Cinnamon, 1 teaspoon – Because you can never have too much cinnamon in a pumpkin recipe.
- Baking powder, 1½ teaspoons – This gives them lift. Without it, they’d be flat and dense.
- Salt, ¼ teaspoon – Balances the sweetness and makes the spices pop.
- Black pepper, a pinch – I know it sounds weird. Just trust me. It rounds out the warm spices in a way that’s barely noticeable but makes a difference.
- Optional mix-ins: ½ cup chocolate chips, chopped pecans, or dried cranberries – I usually add chocolate chips because I’m an adult who makes her own decisions.
Equipment Needed
You don’t need a fancy kitchen for these. Just the basics, plus a muffin tin.
- Muffin tin (12-cup standard size) – This is non-negotiable. A jumbo muffin tin will give you different results, and a mini tin will cook too quickly.
- Paper liners or silicone muffin cups – I prefer silicone because nothing sticks to them. If using paper liners, spray them lightly with cooking spray. These cups are moist and will stick to plain paper.
- Large mixing bowl – Any bowl you own. This isn’t fussy.
- Whisk – For the wet ingredients. A fork works in a pinch.
- Spatula – For folding everything together without overmixing.
- Measuring cups and spoons – Standard set. Nothing fancy.
- Ice cream scoop or large spoon – For portioning the batter evenly. An ice cream scoop makes this so much faster.
- Cooling rack – Helps them cool evenly so the bottoms don’t get soggy.
If you don’t have a cooling rack, just transfer the cups to a plate after a few minutes in the pan. It’s not ideal, but it works. I’ve done it plenty of times.
Preparation Method
Preheat your oven to 350°F (175°C). Line your muffin tin with liners or grease it well if you’re going without. These cups are sticky, so don’t skip this step.
- Mix the dry ingredients. In a large bowl, combine the rolled oats, pumpkin pie spice, cinnamon, baking powder, salt, and that pinch of black pepper. Whisk them together so the spices are evenly distributed. This takes about 30 seconds.
- Mix the wet ingredients. In a separate bowl, whisk together the pumpkin puree, eggs, maple syrup, milk, melted coconut oil, and vanilla extract. Whisk until smooth. The mixture should look like thick, orange pancake batter. If your pumpkin puree was cold, the coconut oil might clump up a little. That’s fine. Just keep whisking.
- Combine wet and dry. Pour the wet ingredients into the dry ingredients. Fold gently with a spatula until just combined. Stop as soon as you don’t see any more dry oats. Overmixing is the number one reason these turn out dense. I learned this the hard way, twice. A few lumps are fine.
- Fold in mix-ins. If you’re using chocolate chips, nuts, or dried fruit, fold them in now. About 30 seconds of folding. Don’t go crazy.
- Let the batter rest. Here’s the trick most recipes don’t tell you. Let the batter sit for 10 minutes before scooping. This gives the oats time to absorb some of the liquid, which means the cups will hold together better and have a softer texture. Use this time to wash the dishes you’ve already dirtied.
- Scoop the batter. Use an ice cream scoop or a large spoon to divide the batter evenly among the 12 muffin cups. Fill them almost to the top—these don’t rise dramatically like muffins. A full scoop per cup is perfect.
- Bake. Place the tin in the center of the oven and bake for 22-25 minutes. At 22 minutes, insert a toothpick into the center of one cup. If it comes out clean or with just a few moist crumbs, they’re done. If it looks wet, give them 3 more minutes and check again.
- Cool in the pan. Let the cups cool in the muffin tin for 5 minutes. This helps them set so they don’t fall apart when you remove them. After 5 minutes, transfer them to a cooling rack. If you don’t have a rack, a large plate works.
- Cool completely before storing. This is important. If you put them in a container while they’re still warm, condensation will make them soggy. Give them at least 30 minutes on the counter.
Your kitchen will smell like a pumpkin candle store while these bake. It’s one of the best parts.
Cooking Tips & Techniques
I’ve made enough mistakes with oatmeal cups to fill a small notebook. Here’s what I’ve learned so you don’t have to repeat my errors.
Don’t skip the rest time. That 10-minute rest after mixing the batter isn’t optional. The oats need time to hydrate. Without it, the cups can turn out dry and crumbly because the oats steal moisture from the eggs and pumpkin during baking. Let them sit. Set a timer if you have to.
Watch your oven temperature. Ovens run hot or cold, and it matters here. If your cups are browning too fast on top but still wet in the center, your oven is too hot. Drop the temperature by 25 degrees next time. If they’re pale and soft after 25 minutes, your oven might run cool. An inexpensive oven thermometer changed my baking life. I’m not exaggerating.
Use a cookie scoop for even portions. The first time I made these, I used a spoon and ended up with six giant cups and six tiny ones. The small ones burned. The big ones were undercooked. An ice cream scoop gives you perfectly even cups that all finish baking at the same time. It’s a small thing that makes a big difference.
Double the batch. These freeze beautifully, so I always make two tins at once. One goes in the fridge for the week, the other goes in the freezer for later. Future you will be very grateful when you’re scrambling for breakfast on a Wednesday morning.
Check for doneness with your finger, not just a toothpick. The toothpick test works, but I also gently press the top of a cup. If it springs back, it’s done. If it leaves an indent, it needs more time. This is how I stopped overbaking them.
Variations & Adaptations
This recipe is flexible. I’ve made it at least a dozen different ways, and honestly, most of them were good. Here are some variations worth trying.
Vegan Version: Replace the eggs with flax eggs (2 tablespoons ground flaxseed mixed with 5 tablespoons water, let sit for 5 minutes). Use plant-based milk and maple syrup. The texture will be slightly more tender and a bit less sturdy, but they still hold together well.
Protein Boost: Add one scoop of vanilla or unflavored protein powder. Reduce the oats by ¼ cup to compensate. You might need an extra tablespoon of milk if the batter looks too thick. These are great post-workout breakfasts.
Apple Pumpkin: Fold in ½ cup finely diced apple (peeled) along with the mix-ins. The apple adds little bursts of sweetness and a slightly different texture. This version reminds me of easy apple nachos with peanut butter drizzle, but in breakfast form.
Lower Sugar: Reduce the maple syrup to ¼ cup. The cups will be less sweet but still flavorful thanks to the pumpkin and spices. Add an extra tablespoon of milk to keep the moisture balance right.
Chocolate Lover’s: Use ½ cup chocolate chips and add 1 tablespoon of cocoa powder to the dry ingredients. The chocolate-pumpkin combination is underrated. It’s like a healthier brownie for breakfast.
Savory-Sweet: Skip the maple syrup entirely, add an extra pinch of salt, and fold in ¼ cup crumbled feta and 2 tablespoons chopped fresh sage. This sounds weird but works shockingly well. Serve these alongside eggs for a full breakfast.
Serving & Storage Suggestions
These oatmeal cups are at their best warm, but they’re perfectly good at room temperature too. Here’s how to handle them.
For immediate serving: Let them cool for 5 minutes in the pan, then transfer to a plate. Serve warm with a pat of butter or a drizzle of extra maple syrup. A dollop of Greek yogurt on the side turns this into a more substantial breakfast.
For meal prep: Once completely cool, store them in an airtight container in the refrigerator for up to 5 days. Layer them with parchment paper between stacks so they don’t stick together. To reheat, microwave one cup for 20-25 seconds. It comes out tasting almost fresh-baked.
For freezing: Place the cooled cups on a baking sheet in a single layer and freeze for 1 hour. Transfer to a freezer-safe bag or container. They’ll keep for up to 3 months. To reheat from frozen, microwave for 45-60 seconds, or let them thaw in the fridge overnight and warm for 15 seconds.
On-the-go tip: Wrap a cold cup in a paper towel and toss it in your bag. It’ll be at room temperature by the time you’re ready to eat. No microwave required. This is my go-to method for busy mornings.
Flavor development: These actually taste better on day two. The spices have time to meld, and the texture evens out. If you can wait, make them a day ahead. I know that’s hard when your kitchen smells like fall, but it’s worth it.
Nutritional Information & Benefits
These numbers are estimates based on the recipe as written, without optional mix-ins. One cup (out of 12) contains approximately:
- Calories: 145
- Protein: 5g
- Carbohydrates: 22g
- Fiber: 3g
- Sugar: 8g
- Fat: 5g
- Iron: 1mg
- Vitamin A: 80% of the daily value
The pumpkin here isn’t just for flavor. It’s packed with vitamin A, which supports eye health and immune function. The oats provide soluble fiber that helps keep cholesterol in check and keeps you full. Eggs add high-quality protein and choline, which is important for brain health. Compared to a typical muffin from a coffee shop, these have about half the sugar and triple the fiber. They’re a breakfast that actually fuels your morning instead of sending you on a blood sugar roller coaster.
If you’re watching your sugar intake, the maple syrup can be reduced to ¼ cup without major texture issues. For a lower-carb option, replace half the oats with additional pumpkin puree, though the texture will be softer and more pudding-like.
Conclusion
These baked pumpkin oatmeal cups aren’t going to win any beauty contests. They’re not tall and domed like bakery muffins. They’re humble little cups of oats and pumpkin that just happen to make your mornings infinitely easier. That’s their superpower. They show up when you need them, they taste like fall, and they don’t demand anything from you except a few minutes of prep on a Sunday afternoon.
I make these every single week from September through November. Sometimes I add chocolate chips. Sometimes I throw in chopped pecans. Sometimes I make them plain because that’s what I’m in the mood for. The recipe adapts to you, not the other way around.
Try this recipe once, and I think you’ll see what I mean. Play with the mix-ins. Adjust the sweetness. Make them your own. And when you do, come back and tell me how they turned out. I love hearing about your variations almost as much as I love eating these cups straight from the freezer.
Happy meal prepping, friends. Your future self is going to thank you.
Frequently Asked Questions
Can I use quick oats instead of rolled oats?
You can, but the texture will be different. Quick oats are cut smaller and absorb liquid faster, which can make the cups softer and almost mushy. Rolled oats give you a better, more substantial texture. If you only have quick oats, reduce the milk by 2 tablespoons and expect a more tender, less chewy result.
Why did my oatmeal cups turn out dry?
The most common reason is overbaking. Check them at 22 minutes. Every oven is different, and even two extra minutes can make the difference between moist and dry. Another culprit is overmixing the batter, which develops the starches in the oats and creates a denser, drier texture. Mix until just combined and no more.
Can I make these without eggs?
Yes. Use a flax egg (1 tablespoon ground flaxseed mixed with 2.5 tablespoons water per egg, let sit for 5 minutes). The texture will be slightly more fragile, so let them cool completely in the pan before removing. They’re still delicious, just a bit more delicate.
How do I keep them from sticking to the liners?
This is a common complaint with moist baked goods. Spray your paper liners lightly with cooking spray before adding the batter. Even better, use silicone muffin cups. Nothing sticks to silicone. I switched years ago and never looked back.
Can I double this recipe?
Absolutely. This recipe doubles perfectly. Just make sure your mixing bowl is big enough, and bake in two separate muffin tins. You might need to rotate the pans halfway through baking if your oven has hot spots. The frozen batch will save you on those mornings when you just can’t.
Pin This Recipe!
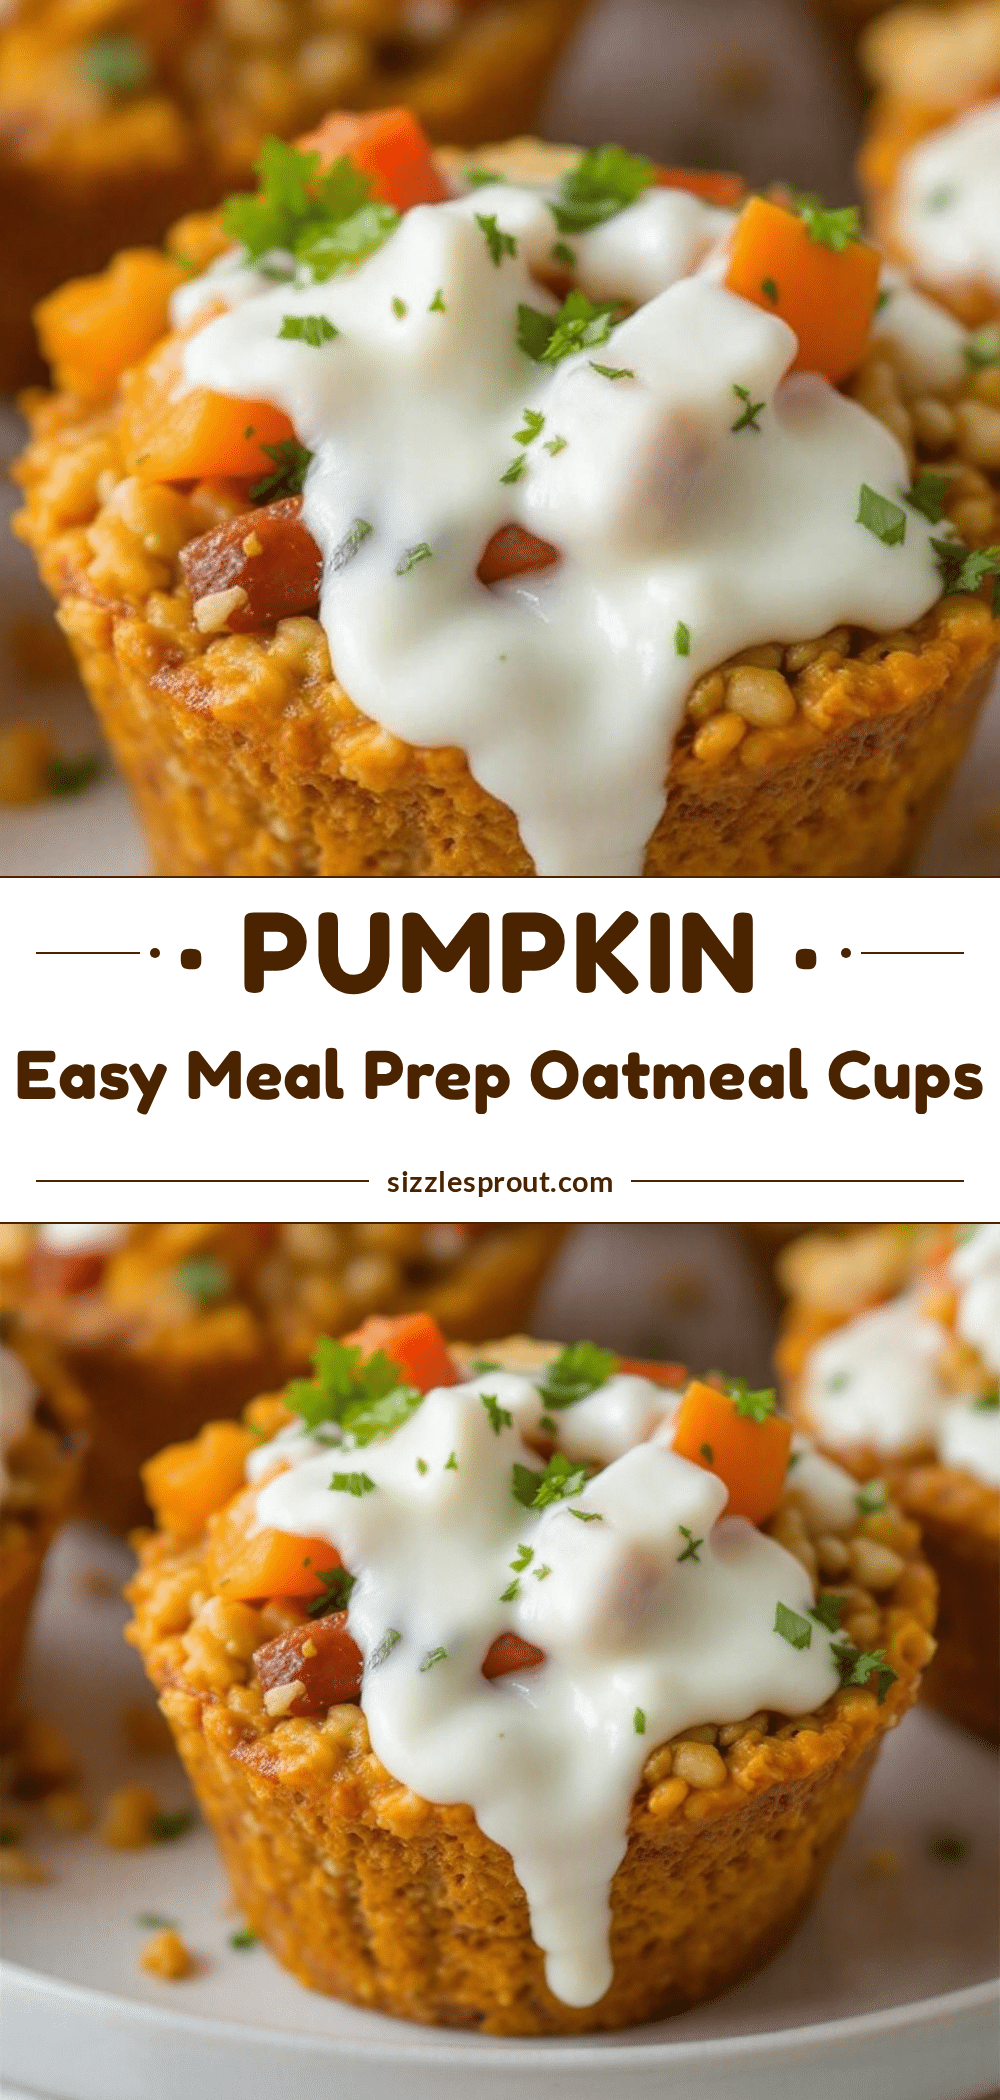
Easy Baked Pumpkin Oatmeal Cups for Perfect Meal Prep

These baked pumpkin oatmeal cups are tender, moist, and perfectly spiced, making them an ideal grab-and-go breakfast for busy mornings. Made with simple ingredients like oats, pumpkin puree, and maple syrup, they reheat in seconds and keep you full until lunch.
- Prep Time: 15 minutes
- Cook Time: 25 minutes
- Total Time: 40 minutes
- Yield: 12 servings
- Category: Breakfast
- Cuisine: American
Ingredients
- Rolled oats, 2 cups (180g)
- Pumpkin puree, 1 cup (240g)
- Eggs, 2 large
- Maple syrup, ⅓ cup (80ml)
- Milk, ½ cup (120ml)
- Coconut oil, 2 tablespoons (30ml), melted
- Vanilla extract, 1 teaspoon
- Pumpkin pie spice, 2 teaspoons
- Cinnamon, 1 teaspoon
- Baking powder, 1½ teaspoons
- Salt, ¼ teaspoon
- Black pepper, a pinch
- Optional mix-ins: ½ cup chocolate chips, chopped pecans, or dried cranberries
Instructions
- Preheat your oven to 350°F (175°C). Line your muffin tin with liners or grease it well.
- Mix the dry ingredients: In a large bowl, combine the rolled oats, pumpkin pie spice, cinnamon, baking powder, salt, and black pepper. Whisk together.
- Mix the wet ingredients: In a separate bowl, whisk together the pumpkin puree, eggs, maple syrup, milk, melted coconut oil, and vanilla extract until smooth.
- Combine wet and dry: Pour the wet ingredients into the dry ingredients. Fold gently with a spatula until just combined. Do not overmix.
- Fold in mix-ins: If using chocolate chips, nuts, or dried fruit, fold them in now.
- Let the batter rest for 10 minutes to allow the oats to absorb liquid.
- Scoop the batter: Use an ice cream scoop or large spoon to divide the batter evenly among the 12 muffin cups, filling them almost to the top.
- Bake for 22-25 minutes. Insert a toothpick into the center of one cup; if it comes out clean or with a few moist crumbs, they’re done.
- Cool in the pan for 5 minutes, then transfer to a cooling rack to cool completely before storing.
Notes
Don’t skip the 10-minute rest time after mixing the batter; it helps the oats hydrate for a better texture. Overmixing can make the cups dense. For best results, use rolled oats, not quick-cooking. These cups freeze well for up to 3 months.
Nutrition
- Serving Size: 1 oatmeal cup
- Calories: 145
- Sugar: 8
- Sodium: 120
- Fat: 5
- Saturated Fat: 3
- Carbohydrates: 22
- Fiber: 3
- Protein: 5
Keywords: pumpkin oatmeal cups, baked oatmeal cups, meal prep breakfast, healthy pumpkin breakfast, easy oatmeal cups


