Love this? Save it for later!
Share the inspiration with your friends
The first Saturday in October, and the kitchen window is fogged up from the steam of a boiling kettle. Rain streaks down the glass, and the only sound is the soft thud of the wooden spoon against the mixing bowl. I wasn’t planning to bake. But the can of pumpkin puree on the counter had been staring at me for three days, and the bag of gluten-free flour blend was almost empty. So I pulled out the cinnamon, the cream of tartar, the sugar—and I started measuring. No music, no podcast, just the rhythm of scooping and stirring. That quiet hour turned into something I didn’t expect: a cookie that tasted like the exact middle ground between autumn and a hug. These soft gluten-free pumpkin snickerdoodles weren’t born from a recipe test—they came from a rainy Saturday and a stubborn need to make something good out of what I had.
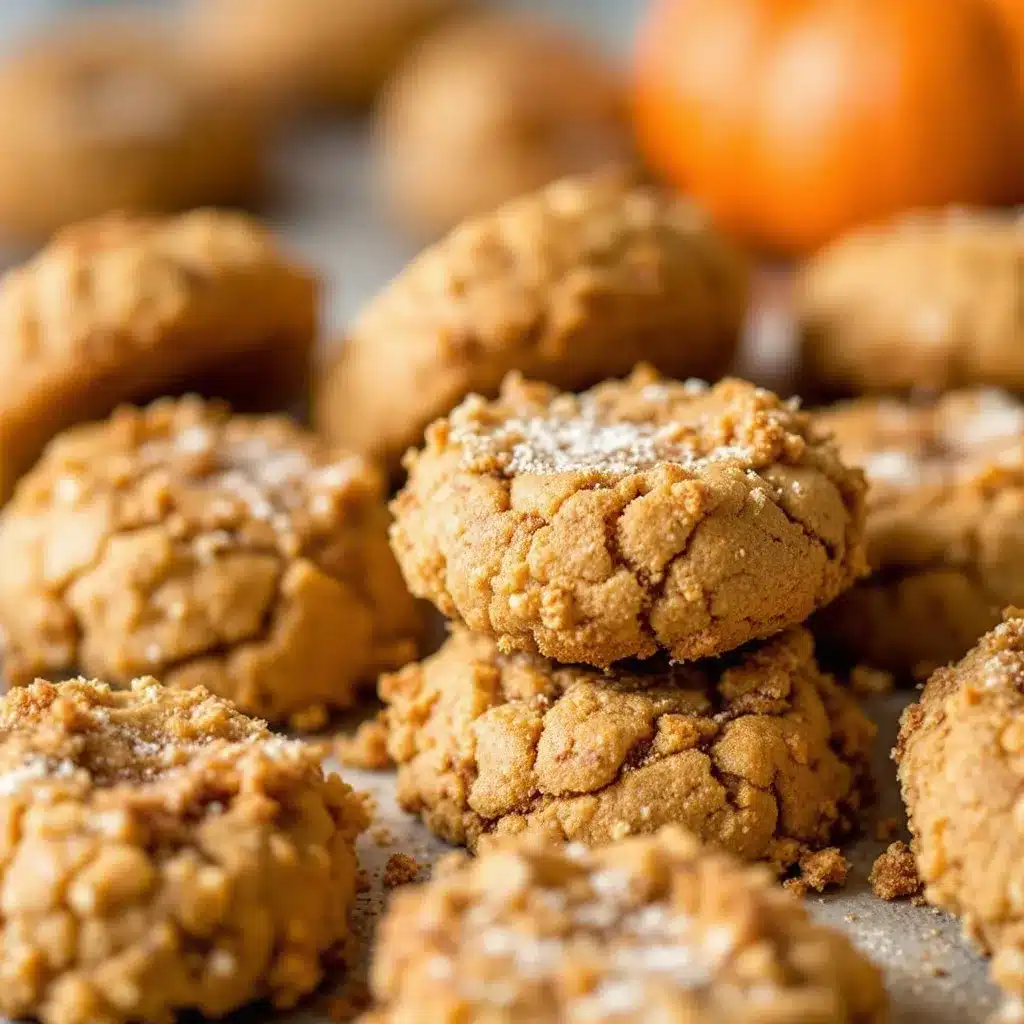
Honestly, I wasn’t sure they’d work. Gluten-free baking can be a gamble, and adding pumpkin—which is basically wet, squashy uncertainty—felt like pushing my luck. But the first batch came out of the oven, and I stood there holding the baking sheet, letting the heat hit my face. They were puffed, crackled, dusted in cinnamon sugar. I bit into one while it was still warm, and the texture was exactly what I’d been chasing: soft, almost pillowy, with that slight chew on the edge. Not dry. Not gummy. Just right. And that’s the thing about this recipe—it wasn’t written to impress anyone. It was written because I wanted a gluten-free cookie that actually felt like a cookie. One that didn’t need a disclaimer. One you could hand to someone and watch them reach for another without asking a single question.
Why You’ll Love This Recipe
I’ve made a lot of gluten-free cookies in my time. Some were triumphs. Others were edible science experiments that never made it to the blog. But these pumpkin snickerdoodles? They’re the ones I keep coming back to. Here’s why they work so well:
- Soft and tender, not crumbly – The pumpkin adds moisture and fat, which helps gluten-free flours behave themselves. No sandy texture here.
- Simple ingredients you probably have – No weird gums or specialty starches. Just a good all-purpose gluten-free flour blend and pantry staples.
- No chilling required – Mix, roll, bake. That’s it. Perfect for when you need cookies in under 30 minutes.
- Kid-approved and crowd-pleasing – I brought these to a fall gathering, and no one guessed they were gluten-free. They just asked for the recipe.
- That classic snickerdoodle tang – Cream of tartar gives it the signature flavor, and the cinnamon-sugar coating adds that crackly, crunchy exterior.
What sets these apart from other pumpkin cookies is the texture. Most gluten-free pumpkin cookies turn out either cakey or flat and greasy. These strike that perfect middle ground—soft and slightly dense, like a really good bakery-style cookie. The cream of tartar is non-negotiable here. It’s what gives snickerdoodles their distinctive tangy flavor and helps the cookies hold their shape without spreading into sad little puddles. And the pumpkin isn’t just for flavor—it replaces some of the butter, making these a touch lighter without losing richness.
These cookies are the kind that make you close your eyes after the first bite. Not because they’re fancy, but because they taste like the best version of a simple thing. That’s the kind of baking I love most.
What Ingredients You Will Need
This recipe uses straightforward ingredients, but a few of them do some heavy lifting. Here’s what you’ll need and why each one matters:
For the Cookies
- 1 cup (226g) unsalted butter, softened – I use unsalted so I can control the salt level. If you only have salted, just reduce the added salt by ¼ teaspoon. Let it sit out for about 30 minutes—it should be soft but not melty.
- ¾ cup (150g) granulated sugar – White sugar gives the cookies structure and helps them spread just enough. Don’t swap for coconut sugar here; it changes the texture.
- ½ cup (100g) packed light brown sugar – Adds moisture and a hint of molasses that plays beautifully with the pumpkin and cinnamon.
- ½ cup (120g) pumpkin puree – Not pumpkin pie filling. Make sure you grab 100% pure pumpkin puree. I like Libby’s for consistent moisture content, but any brand works as long as it’s not seasoned.
- 1 large egg, room temperature – Helps bind everything together. Cold egg can seize the butter, so let it sit out for 15 minutes.
- 1 teaspoon vanilla extract – Pure vanilla, not imitation, if you can swing it. It rounds out the spices.
- 2 ½ cups (300g) gluten-free all-purpose flour blend – I use King Arthur Measure for Measure or Bob’s Red Mill 1-to-1. Both contain xanthan gum, which is essential for structure. If your blend doesn’t have it, add 1 teaspoon of xanthan gum.
- 1 teaspoon cream of tartar – This is the secret ingredient. It gives snickerdoodles their signature tang and helps prevent the cookies from spreading too much.
- ½ teaspoon baking soda – Works with the cream of tartar to give lift.
- ½ teaspoon salt – Fine sea salt, not coarse. It balances the sweetness.
- 1 teaspoon ground cinnamon – The backbone of the spice profile.
- ½ teaspoon ground ginger – Adds warmth without being loud.
- ¼ teaspoon ground nutmeg – Freshly grated if you have it, but pre-ground works fine.
- ¼ teaspoon ground cloves – Just a whisper. Too much can overpower.
For the Cinnamon-Sugar Coating
- ¼ cup (50g) granulated sugar
- 1 tablespoon ground cinnamon – I like using a high-quality cinnamon like Saigon or Ceylon for a deeper flavor.
Substitution notes: If you need dairy-free, use a good plant-based butter stick (I like Miyoko’s or Country Crock Plant Butter). The texture will be slightly less tender but still delicious. For an egg-free version, try a flax egg (1 tablespoon flax meal + 3 tablespoons water, let sit for 5 minutes). The cookies will be a bit more delicate, so handle them gently.
Equipment Needed
You don’t need much for this recipe. Here’s what I used:
- Electric hand mixer or stand mixer – A hand mixer works perfectly. If you’re mixing by hand, soften the butter really well and be ready for a workout.
- Large mixing bowl – I use a glass or ceramic bowl. Metal can sometimes react with the cream of tartar, though it’s rarely an issue.
- Medium mixing bowl – For whisking dry ingredients together.
- Whisk – To aerate the flour blend and break up clumps.
- Rubber spatula – For scraping down the bowl and folding the dough.
- Cookie scoop (1.5 tablespoon size) – Not essential, but it makes uniform cookies that bake evenly. I use a #40 scoop.
- Baking sheets – Two standard half-sheet pans. If you only have one, let it cool completely between batches.
- Parchment paper – Non-negotiable for gluten-free cookies. They’re more delicate, and parchment prevents sticking without extra grease.
- Cooling rack – Lets air circulate so the bottoms don’t get soggy.
If you don’t have a cookie scoop, just use two spoons or your hands. The dough isn’t super sticky, so rolling by hand works fine. Budget tip: reusable silicone baking mats are a great alternative to parchment and last for years.
Preparation Method
Let’s make these cookies. The whole process takes about 25 minutes from start to finish, and most of that is hands-off baking time.
- Preheat the oven to 350°F (175°C). Line two baking sheets with parchment paper. This is your setup moment—get everything ready before you start mixing.
- Cream the butter and sugars. In a large mixing bowl, beat the softened butter, granulated sugar, and brown sugar together on medium speed until light and fluffy. This takes about 2-3 minutes. You want it to look pale and airy. Scrape down the sides of the bowl with a spatula halfway through. Don’t rush this step—proper creaming adds air that helps the cookies rise.
- Add the wet ingredients. Beat in the pumpkin puree, egg, and vanilla extract. Mix on low speed until just combined. The mixture might look slightly curdled at this point—that’s normal. Pumpkin and butter don’t emulsify perfectly, but it all comes together in the oven.
- Whisk the dry ingredients. In a separate medium bowl, whisk together the gluten-free flour blend, cream of tartar, baking soda, salt, cinnamon, ginger, nutmeg, and cloves. Whisking aerates the flour and distributes the spices evenly. If your flour blend is lumpy, sift it.
- Combine wet and dry. Add the dry ingredients to the wet mixture in two additions, mixing on low speed after each. Stop when you no longer see streaks of flour. Overmixing will make the cookies tough. The dough should be soft, slightly sticky, and hold together when pressed.
- Make the cinnamon-sugar coating. In a small bowl, stir together the ¼ cup granulated sugar and 1 tablespoon cinnamon. Set it next to your baking sheets.
- Shape the cookies. Using a cookie scoop or a tablespoon, portion out about 1.5 tablespoons of dough. Roll it into a ball between your palms. Drop the ball into the cinnamon-sugar mixture and roll it around until fully coated. Place it on the prepared baking sheet. Repeat, spacing the dough balls about 2 inches apart. You should get about 24 cookies total.
- Bake. Place one baking sheet at a time on the center rack. Bake for 10-12 minutes. The cookies will look puffed and slightly cracked on top. The edges should be set but the centers will still look soft and a little underdone. That’s exactly what you want. For softer cookies, bake for 10 minutes. For slightly firmer edges, go to 12.
- Cool on the baking sheet. Let the cookies rest on the hot baking sheet for 5 minutes. This is crucial—they’re very fragile right out of the oven, and the residual heat finishes setting the centers. After 5 minutes, transfer them to a wire cooling rack to cool completely.
Troubleshooting note: If your cookies spread too much, your butter was probably too soft or your flour blend needs more binder. Next time, chill the dough balls for 15 minutes before baking. If they’re too puffy and don’t crack, you might have over-measured the flour. Fluff your flour blend with a spoon before scooping, then level it off with a knife.
Cooking Tips & Techniques
I learned most of these the hard way—by making batches that didn’t turn out. Here’s what I wish someone had told me:
Measure your flour correctly. Gluten-free flour blends are lighter than wheat flour, so scooping directly with the measuring cup packs in too much. Use a spoon to fluff the flour in the bag, then spoon it into your measuring cup and level it off. This simple step prevents dry, crumbly cookies.
Don’t skip the cream of tartar. I know it’s one of those ingredients you buy once and forget about. But it does two things: it gives snickerdoodles their signature tang, and it reacts with the baking soda to help the cookies rise and set properly. Without it, you’ll get flat, bland cookies.
Let the dough rest if it feels too sticky. Gluten-free flours absorb moisture slowly. If your dough feels more like batter than dough, let it sit for 5-10 minutes. The flour will hydrate, and the dough will firm up. If it’s still too sticky after resting, add a tablespoon more flour.
Bake one sheet at a time. I know it’s tempting to cram both sheets in the oven, but the heat circulation gets uneven, and the cookies on the bottom rack will spread more and bake faster. If you only have one oven, just bake in batches. The dough holds up fine at room temperature.
Use a timer, not your eyes. Gluten-free cookies can look underdone even when they’re perfectly baked. Trust the timer. Pull them out when the edges are set and the centers are still soft. They’ll continue baking on the hot sheet.
One of my biggest failures was a batch I left in the oven an extra two minutes because I thought they looked too pale. They came out dry and crumbly. Now I set a timer and resist the urge to peek until it goes off.
Variations & Adaptations
This recipe is forgiving, and I’ve tried a few twists over the years. Here are my favorites:
Vegan version: Replace the butter with a high-quality vegan butter stick and use a flax egg (1 tablespoon flax meal + 3 tablespoons water). The cookies will be slightly less tender but still delicious. Add an extra tablespoon of pumpkin puree for moisture.
Spiced-up version: Add ¼ teaspoon cardamom and a pinch of black pepper to the flour mixture. The pepper sounds weird, but it brings out the warmth of the ginger and cinnamon without tasting spicy. I tried this on a whim one afternoon, and it’s now my go-to fall version.
Pumpkin seed crunch: After rolling the dough balls in cinnamon sugar, press a few raw pumpkin seeds onto the top of each one. It adds a nice crunch and makes them look prettier for holiday cookie platters.
Gluten-free flour blend swap: If you use a blend without xanthan gum, add 1 teaspoon of xanthan gum or 1½ teaspoons of psyllium husk powder. The cookies will spread more without it. I’ve tested this with both, and the psyllium gives a slightly chewier texture that I actually prefer.
Lower sugar option: Reduce the granulated sugar to ½ cup and the brown sugar to ⅓ cup. The cookies will be less sweet and a bit more cake-like, but they still taste great. The cinnamon-sugar coating is non-negotiable though—that’s where most of the flavor lives.
If you’re in the mood for more cozy pumpkin treats, you might also enjoy this cozy pumpkin sourdough bread or these pumpkin cream cheese muffins with streusel topping. Both use similar fall spices and are perfect for weekend baking.
Serving & Storage Suggestions
These cookies are best served slightly warm, when the centers are still soft and the cinnamon-sugar coating is fragrant. Let them cool for 5 minutes on the baking sheet, then transfer to a plate and serve immediately. If you want to reheat them later, pop one in the microwave for 8-10 seconds—it brings back that fresh-from-the-oven texture.
For a cozy fall dessert board, arrange these cookies alongside a warm homemade pumpkin spice latte or a mug of hot apple cider. They also pair beautifully with a scoop of vanilla ice cream or a dollop of whipped cream for a simple but satisfying dessert.
Storage: Keep the cookies in an airtight container at room temperature for up to 4 days. Place a slice of bread in the container to help maintain softness—the cookies will absorb the moisture from the bread. Change the bread slice every other day if you’re storing them longer.
Freezing: These freeze beautifully. Arrange the baked and cooled cookies in a single layer on a baking sheet and freeze for 1 hour. Then transfer them to a freezer-safe bag or container. They’ll keep for up to 3 months. To thaw, let them sit at room temperature for about 15 minutes, or microwave for 10 seconds.
Freezing the dough: You can also freeze the unbaked dough balls. Roll them into balls, coat in cinnamon sugar, and place them on a parchment-lined baking sheet. Freeze until solid, then transfer to a freezer bag. Bake from frozen, adding 2-3 minutes to the baking time. This is my favorite trick for having fresh cookies on demand without the prep work.
The flavors actually deepen after a day or two in the fridge. The pumpkin and spices meld together, and the texture stays soft. I’ve been known to sneak one straight from the container at 10 p.m. No regrets.
Nutritional Information & Benefits
Here’s the approximate nutritional breakdown for one cookie (based on 24 cookies):
- Calories: 145
- Fat: 8g
- Carbohydrates: 18g
- Fiber: 1g
- Sugar: 11g
- Protein: 2g
- Sodium: 85mg
Pumpkin is the star here nutritionally. It’s packed with vitamin A (beta-carotene), which supports eye health and immune function. It also adds fiber and moisture without much fat, which is why these cookies stay soft without needing a ton of butter. The cinnamon and ginger are anti-inflammatory and add antioxidants, so you can feel slightly virtuous about eating a few.
These cookies are gluten-free, nut-free (if you skip the pumpkin seed variation), and can be made dairy-free with simple swaps. They’re not low-sugar, but they’re made with real ingredients and no weird additives. I like knowing exactly what’s in my treats, and this recipe delivers on that front.
If you’re looking for a healthier pumpkin option, this moist pumpkin banana walnut bread is a great choice for breakfast or a snack. It’s naturally sweetened and packed with whole grains.
Conclusion
These soft gluten-free pumpkin snickerdoodles are everything I want in a fall cookie: tender, warmly spiced, and dusted with that crackly cinnamon-sugar coating. They come together quickly, use simple ingredients, and don’t require any special equipment or techniques. Whether you’re baking for a holiday gathering, a cozy weekend treat, or just because the weather turned chilly, these cookies deliver.
I love that this recipe works for everyone—gluten-free eaters and regular cookie lovers alike. No one has to feel left out. And honestly, the fact that they’re gluten-free is almost incidental. They’re just good cookies.
If you try them, let me know how they turn out. Leave a comment below or tag me in your photos—I genuinely love seeing your bakes. And if you tweak the recipe or come up with a fun variation, share that too. That’s how recipes evolve and get even better.
So go ahead. Preheat that oven. Get your hands a little messy. And make some cookies that taste like October in the best possible way.
Frequently Asked Questions
Can I use pumpkin pie filling instead of pumpkin puree?
No, please don’t. Pumpkin pie filling is pre-sweetened and spiced, which will throw off the sugar and spice balance in this recipe. Stick with 100% pure pumpkin puree. Libby’s is my go-to, but any brand works as long as the ingredient list says “pumpkin” and nothing else.
Why did my cookies turn out flat?
Flat cookies usually mean the butter was too soft or the dough wasn’t chilled enough. If your kitchen is warm, try chilling the dough balls for 15 minutes before baking. Also check that your cream of tartar and baking soda are fresh—they lose potency over time. If they’re more than 6 months old, replace them.
Can I make these cookies ahead of time for a party?
Absolutely. You can bake them up to 2 days ahead and store them in an airtight container. Or freeze the unbaked dough balls and bake fresh the day of your party. That way your guests get warm, fresh cookies with minimal effort.
What gluten-free flour blend works best?
I’ve tested this recipe with King Arthur Measure for Measure, Bob’s Red Mill 1-to-1, and Cup4Cup. All three work well. The key is using a blend that already contains xanthan gum or another binder. If your blend doesn’t have it, add 1 teaspoon of xanthan gum or psyllium husk powder.
Can I reduce the sugar in this recipe?
You can reduce the granulated sugar to ½ cup and the brown sugar to ⅓ cup without major issues. The cookies will be less sweet and slightly more cake-like in texture. But don’t skip the cinnamon-sugar coating—that’s where a lot of the flavor and texture comes from. If you want to reduce sugar further, try using a sugar substitute like monk fruit sweetener, but note that the texture may change.
Pin This Recipe!
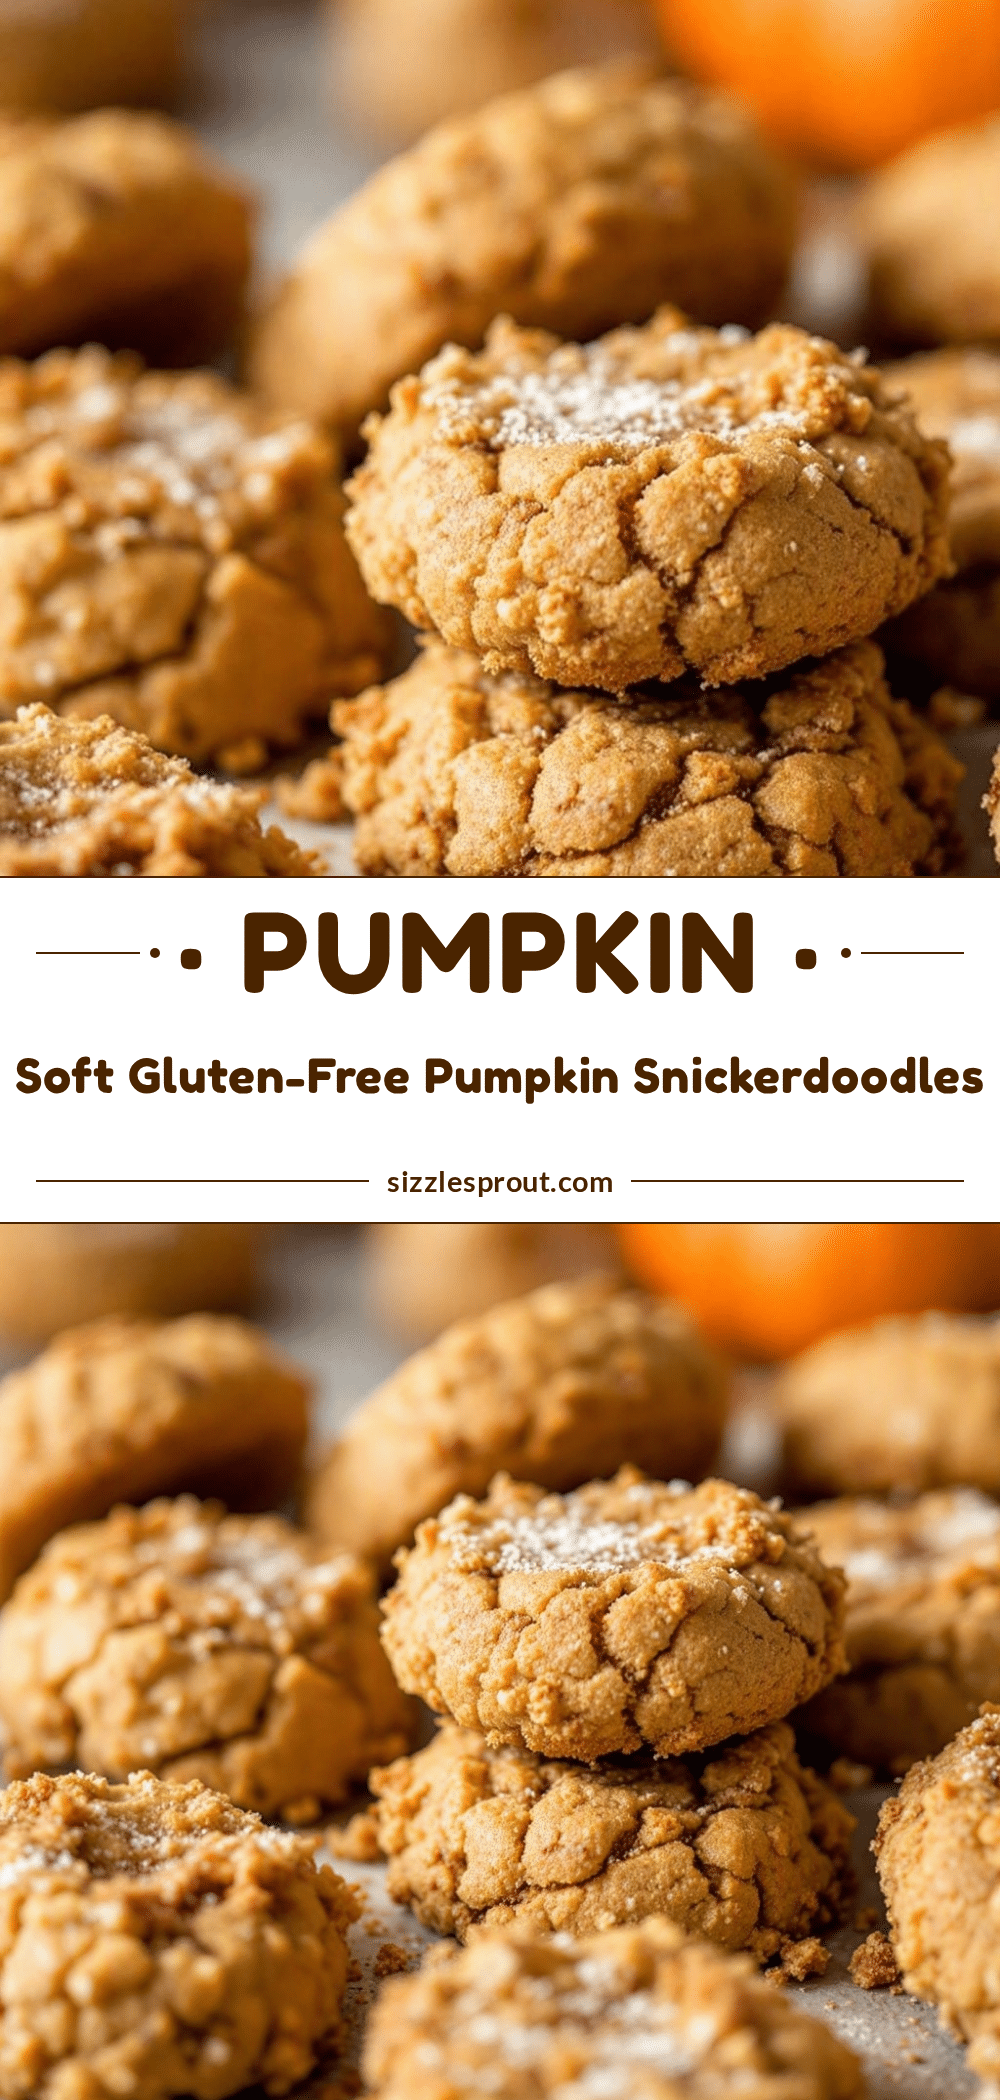
Best Soft Gluten-Free Pumpkin Snickerdoodles Recipe
Soft, pillowy gluten-free pumpkin snickerdoodles with a crackly cinnamon-sugar coating. Made with simple ingredients and no chilling required, these cookies are perfect for fall baking and are sure to please everyone.
- Prep Time: 15 minutes
- Cook Time: 12 minutes
- Total Time: 27 minutes
- Yield: 24 cookies 1x
- Category: Dessert
- Cuisine: American
Ingredients
- 1 cup (226g) unsalted butter, softened
- ¾ cup (150g) granulated sugar
- ½ cup (100g) packed light brown sugar
- ½ cup (120g) pumpkin puree
- 1 large egg, room temperature
- 1 teaspoon vanilla extract
- 2 ½ cups (300g) gluten-free all-purpose flour blend (with xanthan gum)
- 1 teaspoon cream of tartar
- ½ teaspoon baking soda
- ½ teaspoon salt
- 1 teaspoon ground cinnamon
- ½ teaspoon ground ginger
- ¼ teaspoon ground nutmeg
- ¼ teaspoon ground cloves
- ¼ cup (50g) granulated sugar (for coating)
- 1 tablespoon ground cinnamon (for coating)
Instructions
- Preheat the oven to 350°F (175°C). Line two baking sheets with parchment paper.
- In a large mixing bowl, beat the softened butter, granulated sugar, and brown sugar together on medium speed until light and fluffy, about 2-3 minutes. Scrape down the sides of the bowl halfway through.
- Beat in the pumpkin puree, egg, and vanilla extract on low speed until just combined. The mixture may look slightly curdled.
- In a separate medium bowl, whisk together the gluten-free flour blend, cream of tartar, baking soda, salt, cinnamon, ginger, nutmeg, and cloves.
- Add the dry ingredients to the wet mixture in two additions, mixing on low speed after each. Stop when no streaks of flour remain. The dough should be soft, slightly sticky, and hold together when pressed.
- In a small bowl, stir together the ¼ cup granulated sugar and 1 tablespoon cinnamon for the coating.
- Using a cookie scoop or tablespoon, portion out about 1.5 tablespoons of dough. Roll into a ball, then roll in the cinnamon-sugar mixture until fully coated. Place on prepared baking sheets, spacing about 2 inches apart. Repeat to make about 24 cookies.
- Bake one sheet at a time on the center rack for 10-12 minutes. The cookies should look puffed and slightly cracked on top, with set edges and soft centers.
- Let the cookies rest on the hot baking sheet for 5 minutes, then transfer to a wire cooling rack to cool completely.
Notes
For dairy-free, use a plant-based butter stick. For egg-free, use a flax egg (1 tablespoon flax meal + 3 tablespoons water). If dough is too sticky, let it rest 5-10 minutes. For flatter cookies, chill dough balls 15 minutes before baking. Store in an airtight container at room temperature for up to 4 days, or freeze for up to 3 months.
Nutrition
- Serving Size: 1 cookie
- Calories: 145
- Sugar: 11
- Sodium: 85
- Fat: 8
- Saturated Fat: 5
- Carbohydrates: 18
- Fiber: 1
- Protein: 2
Keywords: gluten-free pumpkin snickerdoodles, soft pumpkin cookies, gluten-free fall cookies, pumpkin snickerdoodle recipe, easy gluten-free cookies


