Love this? Save it for later!
Share the inspiration with your friends
Browned butter pooling in the pan and the kitchen already smelled like the best kind of accident when I realized I’d forgotten to grab the eggs. Not just any eggs—the ones I needed for the pumpkin cookie dough I’d been dreaming about all week. Half a stick of butter sizzling away, a can of pumpkin open on the counter, and me staring into the fridge like an answer might magically appear. That’s when I spotted the cream cheese from yesterday’s bagel breakfast and thought, well, this is either going to be a disaster or the best thing I’ve ever baked.
Turns out, it was the latter. These brown butter pumpkin snickerdoodle cookies came out of that chaotic moment—burnt butter fumes and all—and they’ve been a staple ever since. The nutty depth of browned butter mixed with warm pumpkin and that classic cinnamon-sugar coating? It’s the kind of cookie that makes you close your eyes on the first bite. Not because it’s fancy, but because it tastes like someone actually took the time to get it right.
I’ve made these for fall gatherings, random Tuesday cravings, and even as a “sorry I forgot your birthday” gift. They always disappear. And honestly? That first batch, born from a missing ingredient and a little desperation, is still the one I compare everything else to. These cookies are proof that sometimes the best recipes come from the moments you least expect them.
Why You’ll Love This Recipe
Let me tell you why these cookies are worth every bit of butter you’ll brown. I’ve tested this recipe more times than I can count—through sticky dough disasters, flat cookie tragedies, and one memorable batch that tasted more like burnt popcorn than pumpkin. But this version? It’s the one I keep coming back to.
- Quick & Easy: From start to finish, you’re looking at about 30 minutes of active time. The dough comes together fast, and there’s no chilling required. Perfect for those “I need cookies now” moments.
- Simple Ingredients: You probably have most of these in your pantry already. Pumpkin puree, flour, sugar, butter, and a few spices. No weird extracts or specialty flours needed.
- Perfect for Fall Baking: These cookies scream autumn without being overly complicated. They’re great for Thanksgiving, Halloween parties, or just cozying up with a cup of coffee on a chilly afternoon.
- Crowd-Pleaser: I’ve brought these to potlucks, office parties, and family dinners. They get rave reviews every single time. Kids love the cinnamon-sugar coating, and adults appreciate that sophisticated brown butter flavor.
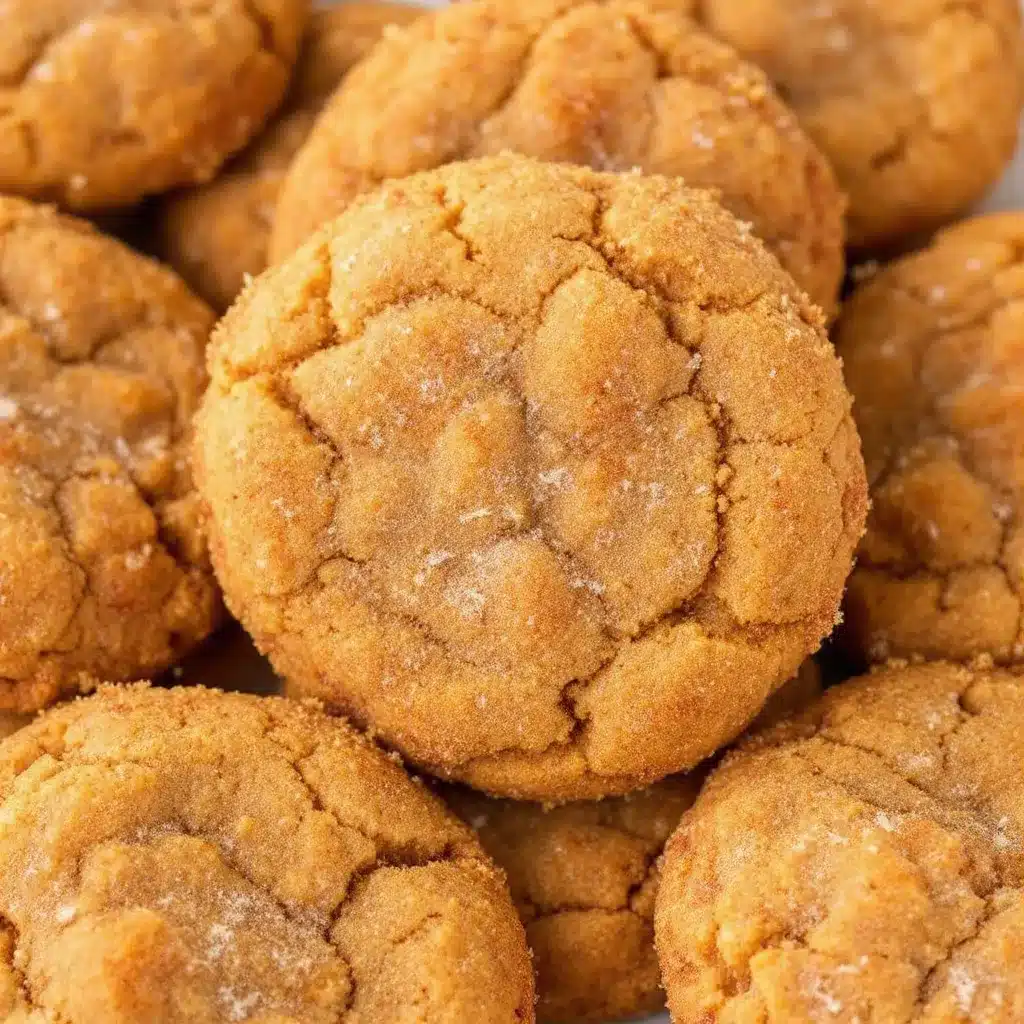
- Unbelievably Delicious: The texture is soft and chewy with slightly crispy edges. The brown butter adds a nutty richness that pairs perfectly with the pumpkin. And that cinnamon-sugar coating? It’s the perfect finishing touch.
What makes these different from every other pumpkin cookie recipe out there is the brown butter. It’s not just a flavor—it’s a game-changer. Most pumpkin cookies taste one-note, but this one has layers. The nuttiness from the butter, the warmth from the spices, the sweetness from the sugar coating. It’s comfort food reimagined.
What Ingredients You Will Need
This recipe uses simple, wholesome ingredients to create something truly special. Most of these are pantry staples, which makes these cookies perfect for spontaneous baking sessions. Here’s what you’ll need:
For the Cookies
- 1 cup unsalted butter (2 sticks) – This is the star of the show. I recommend using a good quality butter like Kerrygold or Plugrà for the best brown butter flavor. The higher fat content gives you a richer, nuttier result.
- 1 cup pumpkin puree – Not pumpkin pie filling! Make sure you’re using 100% pure pumpkin. Libby’s is my go-to brand because it’s consistently thick and not watery.
- 1 cup granulated sugar – Adds sweetness and helps create that slightly crispy edge.
- 1/2 cup packed brown sugar – Light or dark works here. Dark brown sugar will give you a deeper molasses flavor that pairs beautifully with the pumpkin.
- 1 large egg – Room temperature is best. If you forget to take it out ahead of time, place it in a bowl of warm water for 5 minutes.
- 2 teaspoons vanilla extract – Pure vanilla extract makes a difference here. The artificial stuff just doesn’t have the same depth.
- 2 1/2 cups all-purpose flour – Spoon and level your flour for the most accurate measurement. Scooping directly from the bag can pack in too much flour and make your cookies dry.
- 1 teaspoon baking soda – Helps the cookies spread and rise just enough.
- 1/2 teaspoon baking powder – Adds a little extra lift for a softer texture.
- 1/2 teaspoon salt – Balances the sweetness and enhances all the flavors.
- 2 teaspoons ground cinnamon – The backbone of the snickerdoodle flavor.
- 1 teaspoon ground ginger – Adds warmth without being overpowering.
- 1/2 teaspoon ground nutmeg – Freshly grated is amazing if you have it.
- 1/4 teaspoon ground cloves – Just a pinch for that classic pumpkin spice vibe.
For the Cinnamon-Sugar Coating
- 1/4 cup granulated sugar
- 2 teaspoons ground cinnamon
One thing I’ve learned the hard way—make sure your pumpkin puree isn’t too watery. If it looks like it has excess liquid on top, blot it with a paper towel before adding it to the dough. Too much moisture will make your cookies spread into flat, sad discs. Trust me on this one.
Equipment Needed
You don’t need a fancy kitchen to make these cookies. Here’s what you’ll need:
- Large skillet or saucepan – For browning the butter. A light-colored pan is best so you can see the butter change color.
- Mixing bowls – One large bowl for wet ingredients, one medium bowl for dry ingredients.
- Whisk – For combining the dry ingredients evenly.
- Electric mixer or wooden spoon – I prefer a hand mixer for creaming the butter and sugars, but a strong arm and a wooden spoon work just fine.
- Baking sheets – Two standard half-sheet pans work great. Line them with parchment paper for easy cleanup.
- Cookie scoop – A 1.5-tablespoon scoop gives you consistent cookies. If you don’t have one, use two spoons to portion the dough.
- Cooling rack – Helps the cookies cool evenly without getting soggy bottoms.
- Small bowl – For the cinnamon-sugar coating mixture.
If you’re new to browning butter, don’t stress. It sounds fancy, but it’s literally just melting butter until the milk solids turn golden brown. I’ve burned my fair share of butter learning this, so I’ll walk you through it in the method section.
Preparation Method
Let’s get to the fun part. Follow these steps carefully, and you’ll have the best brown butter pumpkin snickerdoodle cookies you’ve ever tasted.
- Brown the butter: Place the butter in a large skillet or saucepan over medium heat. Let it melt completely, then continue cooking, swirling the pan occasionally. You’ll see it start to foam and bubble. After about 5-7 minutes, the foam will subside, and you’ll notice golden brown specks forming at the bottom. The butter will smell nutty and amazing. As soon as it reaches a deep amber color, remove it from the heat and pour it into a heatproof bowl to stop the cooking process. Don’t walk away from this—burnt butter happens fast!
- Cool the butter: Let the browned butter cool for about 10-15 minutes. You want it warm but not hot. If you add it to the other ingredients while it’s still piping hot, it’ll cook the egg and ruin the texture. Patience, my friend.
- Mix the wet ingredients: In a large mixing bowl, combine the cooled browned butter, granulated sugar, and brown sugar. Beat with an electric mixer on medium speed until smooth and well combined, about 2 minutes. Add the pumpkin puree, egg, and vanilla extract. Mix until everything is fully incorporated. The mixture will look a little thicker than regular cookie dough—that’s normal.
- Combine the dry ingredients: In a separate medium bowl, whisk together the flour, baking soda, baking powder, salt, cinnamon, ginger, nutmeg, and cloves. Make sure there are no lumps and everything is evenly distributed.
- Add dry to wet: Gradually add the dry ingredients to the wet mixture, mixing on low speed or stirring with a wooden spoon. Mix just until the flour disappears. Overmixing will make your cookies tough. The dough will be soft and slightly sticky—that’s exactly what you want.
- Preheat the oven: Set your oven to 350°F (175°C). Line two baking sheets with parchment paper.
- Make the coating: In a small bowl, mix together the 1/4 cup granulated sugar and 2 teaspoons cinnamon. Stir until well combined.
- Shape the cookies: Using a cookie scoop or two spoons, portion out about 1.5 tablespoons of dough. Roll it into a ball between your palms, then roll it in the cinnamon-sugar mixture until fully coated. Place on the prepared baking sheet about 2 inches apart. These cookies spread a bit, so give them room to breathe.
- Bake: Bake for 10-12 minutes, or until the edges are set and lightly golden. The centers will look slightly underdone—that’s perfect. They’ll continue cooking on the hot baking sheet after you pull them out.
- Cool: Let the cookies rest on the baking sheet for 5 minutes before transferring them to a cooling rack. This step is crucial—if you try to move them too soon, they’ll fall apart. After 5 minutes, they’ll be firm enough to handle.
One thing I’ve learned from making these dozens of times—don’t skip the cooling step on the baking sheet. I once got impatient and tried to move them after 2 minutes. Let’s just say I ended up with a plate of crumbly, delicious disaster. The 5-minute wait is worth it.
Cooking Tips & Techniques
After countless batches (and a few spectacular failures), here are my best tips for perfect brown butter pumpkin snickerdoodle cookies every time.
Master the brown butter: This is the most important step. Use a light-colored pan so you can actually see the butter changing color. Swirl it constantly once it starts foaming. The moment you see those golden brown specks, pull it off the heat. I’ve burned so many batches by getting distracted—once that butter goes from brown to black, there’s no saving it. If you’re nervous, err on the side of lighter rather than darker. You can always cook it a little more, but you can’t un-burn it.
Watch your pumpkin moisture: Pumpkin puree can be sneaky with its water content. If your cookies are spreading too much, your pumpkin might be too watery. Blot it with a paper towel before adding it to the dough. I’ve also found that different brands have different moisture levels. Libby’s is consistently thicker, which gives you better results.
Don’t overmix: I know it’s tempting to keep mixing until everything looks perfectly smooth, but stop as soon as the flour disappears. Overmixing develops the gluten and makes your cookies tough and dense. You want them soft and tender.
Use a cookie scoop: This is my number one tip for consistent cookies. A 1.5-tablespoon scoop gives you perfectly uniform cookies that bake evenly. If you’re using two spoons, try to make each portion the same size. Trust me, uneven cookies lead to some being burnt and others underdone.
Check your oven temperature: Ovens lie. I’m serious. My old oven ran 25 degrees hot, and I was burning everything until I bought an oven thermometer. It’s a cheap fix that makes a huge difference. If your cookies are browning too fast on the outside but staying raw in the middle, your oven is probably too hot.
Bake one sheet at a time: I know it’s faster to cram both sheets in the oven, but the heat circulation gets messed up. Your cookies will bake unevenly. If you’re short on time, chill the second batch in the fridge while the first one bakes. It’s worth the extra few minutes.
Variations & Adaptations
One of the best things about this recipe is how flexible it is. Here are some variations I’ve tried and loved:
Gluten-Free Version: Swap the all-purpose flour with a 1:1 gluten-free baking flour blend. I’ve had great results with Bob’s Red Mill Gluten-Free 1-to-1 Baking Flour. The texture is slightly different—a little more crumbly—but the flavor is still amazing.
Dairy-Free Option: Use a high-quality vegan butter for browning. I’ve tried this with Miyoko’s European Style Cultured Vegan Butter, and it works beautifully. Just keep in mind that vegan butter browns a little differently—it might take an extra minute or two.
Extra Spicy: If you’re like me and love a punch of warmth, add an extra 1/2 teaspoon of ginger and a pinch of cardamom to the dough. The cardamom adds this floral, slightly citrusy note that pairs beautifully with the pumpkin.
Chocolate Lover’s Twist: Fold in 1/2 cup of semi-sweet chocolate chips or chopped dark chocolate after mixing the dough. The chocolate chunks against the pumpkin and brown butter is a match made in heaven. I did this for a holiday party once, and people lost their minds.
Maple Glaze Drizzle: For an extra special touch, whisk together 1/2 cup powdered sugar, 2 tablespoons maple syrup, and a splash of milk. Drizzle over the cooled cookies. It adds a beautiful finish and an extra layer of flavor.
Freeze for Later: The dough freezes beautifully. Scoop it into balls, roll them in the cinnamon-sugar mixture, and place them on a baking sheet in the freezer. Once frozen solid, transfer to a freezer bag. When you’re ready to bake, just add 2-3 minutes to the baking time. No need to thaw!
Serving & Storage Suggestions
These cookies are best served slightly warm, when the edges are still a little crisp and the center is soft and tender. I like to enjoy them with a hot cup of coffee or a tall glass of cold milk. They’re also amazing crumbled over vanilla ice cream for an impromptu dessert.
For a fall-themed dessert board, arrange these cookies alongside slices of cozy pumpkin sourdough bread, apple slices, and a warm mug of homemade pumpkin spice latte. It’s the kind of spread that makes people feel instantly cozy.
Storage: Store the cookies in an airtight container at room temperature for up to 5 days. Place a piece of bread in the container to keep them soft—the cookies will absorb moisture from the bread, and the bread will get stale. It’s an old baker’s trick that really works.
Freezing: Baked cookies freeze beautifully. Place them in a single layer in a freezer-safe container, separating layers with parchment paper. They’ll keep for up to 3 months. To thaw, just leave them at room temperature for about 30 minutes.
Reheating: Pop a cookie in the microwave for 10-15 seconds to bring back that fresh-from-the-oven warmth. For a crispier edge, reheat in a 300°F oven for 5 minutes.
One thing I love about these cookies is how the flavors develop over time. Day one, they’re delicious. Day two, the brown butter flavor has deepened, and the spices have melded together beautifully. They’re actually better the next day—if they last that long.
Nutritional Information & Benefits
Here’s the estimated nutritional breakdown for one cookie (based on a batch of 24 cookies):
- Calories: 165
- Total Fat: 9g
- Saturated Fat: 5g
- Carbohydrates: 21g
- Sugar: 13g
- Fiber: 1g
- Protein: 2g
- Sodium: 95mg
These cookies are a treat, no doubt about it. But the pumpkin puree does add some nutritional value—it’s packed with vitamin A, fiber, and antioxidants. The brown butter, while indulgent, provides a rich flavor that means you’re satisfied with just one or two cookies instead of a whole batch.
If you’re watching your sugar intake, you can reduce the granulated sugar to 3/4 cup without sacrificing too much texture. The cookies won’t be as sweet, but the pumpkin and spice flavors will shine through even more.
These cookies are vegetarian-friendly and can easily be made gluten-free or dairy-free with the substitutions I mentioned earlier. They do contain eggs, so they’re not suitable for a vegan diet as written.
Conclusion
These brown butter pumpkin snickerdoodle cookies are everything I want in a fall cookie—nutty, warm, sweet, and impossibly comforting. They came from a moment of kitchen chaos, but they’ve become a staple I make year after year. The browned butter adds a depth of flavor that most pumpkin cookies just don’t have, and that cinnamon-sugar coating? It’s the perfect finishing touch.
I’d love to hear how these turn out for you. Did you try any of the variations? Did you add chocolate chips or go for the maple glaze? Drop a comment below and let me know. And if you’re looking for more fall baking inspiration, check out my moist pumpkin banana walnut bread or these pumpkin cream cheese muffins for even more seasonal goodness.
Happy baking, friends. And remember—sometimes the best recipes come from the messiest moments.
Frequently Asked Questions
Can I use pumpkin pie filling instead of pumpkin puree?
No, don’t do it! Pumpkin pie filling has added sugar and spices that will throw off the entire recipe. Stick with 100% pure pumpkin puree for the best results.
Why did my cookies turn out flat?
This usually happens for one of three reasons: your pumpkin puree was too watery, your butter was too warm when you mixed it, or you didn’t use enough flour. Next time, blot your pumpkin with a paper towel and make sure to spoon and level your flour.
Can I make the dough ahead of time?
Absolutely! You can refrigerate the dough for up to 3 days. Just let it sit at room temperature for about 10 minutes before scooping and baking. You might need to add an extra minute or two to the baking time.
How do I know when the brown butter is done?
Look for golden brown specks at the bottom of the pan and a nutty, toasty aroma. The butter will go from melted to foamy to clear, and then those specks will appear. It happens fast, so watch closely!
Can I double this recipe?
Yes! This recipe doubles beautifully. Just make sure you brown the butter in batches—crowding the pan makes it steam instead of brown. And bake one sheet at a time for even results.
Pin This Recipe!
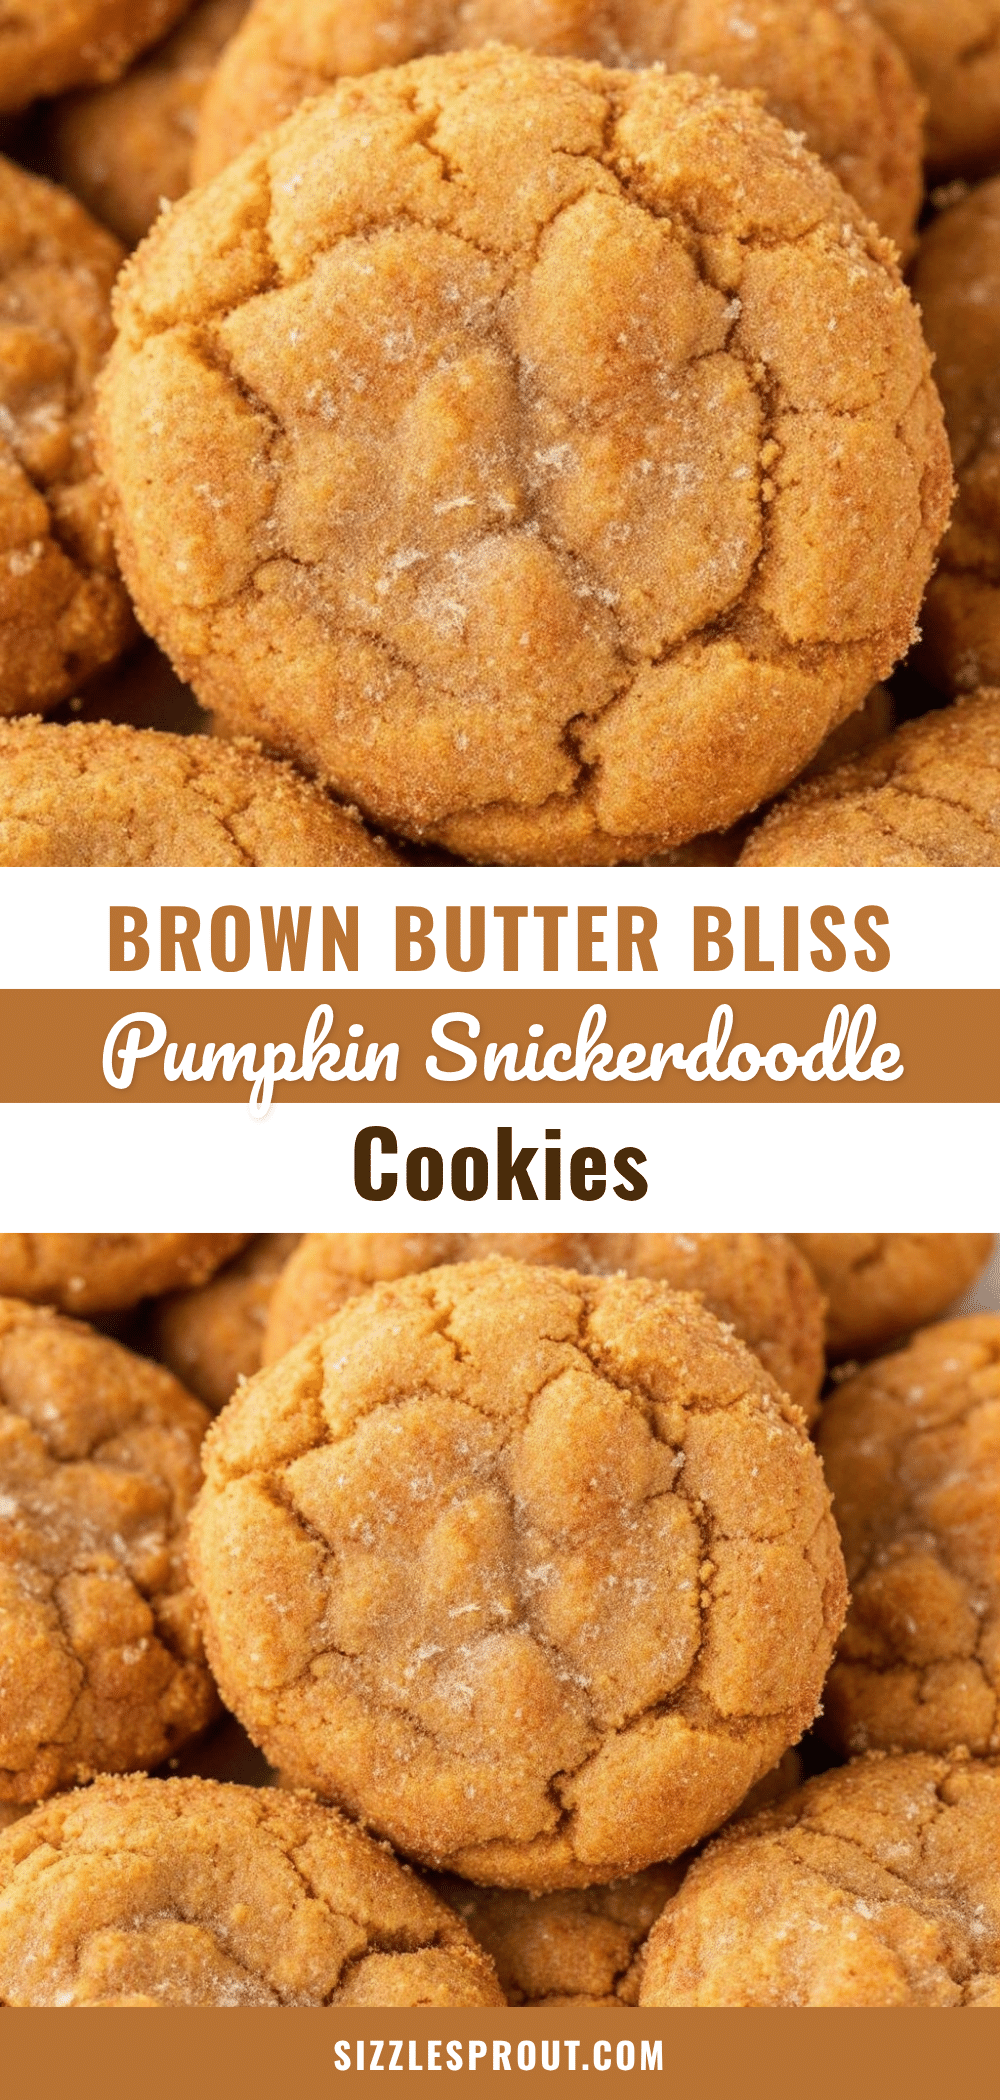
Best Brown Butter Pumpkin Snickerdoodle Cookies Recipe
These brown butter pumpkin snickerdoodle cookies are soft, chewy, and packed with warm fall spices. The nutty depth of browned butter pairs perfectly with pumpkin and a classic cinnamon-sugar coating.
- Prep Time: 15 minutes
- Cook Time: 12 minutes
- Total Time: 27 minutes
- Yield: 24 servings 1x
- Category: Dessert
- Cuisine: American
Ingredients
- 1 cup unsalted butter (2 sticks)
- 1 cup pumpkin puree
- 1 cup granulated sugar
- 1/2 cup packed brown sugar
- 1 large egg
- 2 teaspoons vanilla extract
- 2 1/2 cups all-purpose flour
- 1 teaspoon baking soda
- 1/2 teaspoon baking powder
- 1/2 teaspoon salt
- 2 teaspoons ground cinnamon
- 1 teaspoon ground ginger
- 1/2 teaspoon ground nutmeg
- 1/4 teaspoon ground cloves
- 1/4 cup granulated sugar (for coating)
- 2 teaspoons ground cinnamon (for coating)
Instructions
- Brown the butter: Place the butter in a large skillet or saucepan over medium heat. Let it melt completely, then continue cooking, swirling the pan occasionally. After about 5-7 minutes, the foam will subside and golden brown specks will form at the bottom. Remove from heat and pour into a heatproof bowl to stop cooking.
- Cool the butter: Let the browned butter cool for about 10-15 minutes until warm but not hot.
- Mix the wet ingredients: In a large mixing bowl, combine the cooled browned butter, granulated sugar, and brown sugar. Beat with an electric mixer on medium speed until smooth, about 2 minutes. Add the pumpkin puree, egg, and vanilla extract. Mix until fully incorporated.
- Combine the dry ingredients: In a separate medium bowl, whisk together the flour, baking soda, baking powder, salt, cinnamon, ginger, nutmeg, and cloves.
- Add dry to wet: Gradually add the dry ingredients to the wet mixture, mixing on low speed or stirring with a wooden spoon. Mix just until the flour disappears. The dough will be soft and slightly sticky.
- Preheat the oven: Set your oven to 350°F (175°C). Line two baking sheets with parchment paper.
- Make the coating: In a small bowl, mix together the 1/4 cup granulated sugar and 2 teaspoons cinnamon.
- Shape the cookies: Using a cookie scoop or two spoons, portion out about 1.5 tablespoons of dough. Roll into a ball, then roll in the cinnamon-sugar mixture until fully coated. Place on the prepared baking sheet about 2 inches apart.
- Bake: Bake for 10-12 minutes, or until the edges are set and lightly golden. The centers will look slightly underdone.
- Cool: Let the cookies rest on the baking sheet for 5 minutes before transferring to a cooling rack.
Notes
Make sure your pumpkin puree isn’t too watery; blot with a paper towel if needed. Don’t overmix the dough. Let cookies cool on the baking sheet for 5 minutes before transferring. For best results, bake one sheet at a time.
Nutrition
- Serving Size: 1 cookie
- Calories: 165
- Sugar: 13
- Sodium: 95
- Fat: 9
- Saturated Fat: 5
- Carbohydrates: 21
- Fiber: 1
- Protein: 2
Keywords: brown butter, pumpkin, snickerdoodle, cookies, fall baking, cinnamon sugar


