Love this? Save it for later!
Share the inspiration with your friends
That first crunch—the one that shatters through the sticky-sweet glaze and echoes in the quiet lull between plays—still takes me straight back to my buddy Marcus’s basement. We were ten, maybe eleven, and his dad had just pulled a tray of these golden beauties from the oven. The air was thick with garlic, honey, and the electric buzz of a tied game. I grabbed one, maybe three, and the skin cracked like glass. I remember thinking, how did he get wings this crispy without a deep fryer? It felt like a secret, one I was determined to crack.
Fast forward twenty-something years, and that secret is now my go-to for every single game day gathering. I’ve tweaked it, burned a few trays (honestly, more than a few), and finally landed on a method that delivers that same jaw-dropping crunch and that glossy, finger-licking honey garlic glaze every single time. It’s not complicated—it’s just smart. A little patience, a little technique, and you’ve got the star of the snack table.
These crispy honey garlic baked chicken wings aren’t just food; they’re the anchor of the afternoon. They’re the reason people hover around the kitchen island instead of the TV. And honestly? That’s exactly how it should be.
Why You’ll Love This Recipe
I’ve tested a lot of wing recipes over the years. Some were too soggy, some were too sweet, and some just didn’t have that addictive quality that makes you reach for “just one more.” This one? It hits all the right notes.
- Oven-Baked, Not Fried : You get that ultra-crispy skin without the mess or hassle of deep frying. Less oil, less cleanup, more flavor.
- Simple Pantry Ingredients : No fancy trips to a specialty store. Chicken wings, basic spices, honey, soy sauce, and garlic—that’s the core of it.
- Perfect for Game Day : These wings hold up beautifully on a buffet table. They stay crispy longer than traditional fried wings, which is a game-changer for parties.
- Crowd-Pleasing Flavor : The sweet and savory combo is a universal hit. Kids love the sticky glaze, and adults appreciate the balance of garlic and heat.
- Foolproof Method : The secret is in the drying and the baking powder trick. I’ll walk you through every step so you get perfect results on your first try.
What makes these different from the rest is the texture. That shatteringly crisp skin isn’t an accident—it’s a combination of a dry brine and a simple technique that draws out moisture. It’s the same principle that makes my best crispy baked chicken wings for football Sunday so popular, but with a sweet-savory twist that’s totally addictive. This is the kind of wing that makes you close your eyes after the first bite, not gonna lie.
What Ingredients You Will Need
This recipe uses simple, wholesome ingredients to deliver bold flavor and that perfect crispy texture. Most of these are probably in your kitchen right now.
- Chicken Wings (3 lbs / 1.36 kg) : Look for party wings (drumettes and flats already separated). If you buy whole wings, you’ll need to cut them yourself at the joint. I prefer buying them pre-cut to save time.
- Baking Powder (2 teaspoons) : This is the secret to crispy skin. It’s not the same as baking soda! Baking powder raises the pH of the skin, helping it brown and crisp up beautifully. I use aluminum-free baking powder to avoid any metallic aftertaste.
- Garlic Powder (1 teaspoon) : For that savory base flavor that builds the crust.
- Onion Powder (1 teaspoon) : Adds depth and sweetness without being overpowering.
- Salt (1 teaspoon) : Use fine sea salt or table salt for even distribution.
- Black Pepper (½ teaspoon) : Freshly ground is best, but pre-ground works fine.
- For the Honey Garlic Glaze:
- Honey (⅓ cup / 113 grams) : The star of the show. Use a good quality honey for the best flavor. If your honey is crystallized, warm it gently before using.
- Soy Sauce (¼ cup / 60 ml) : Use low-sodium soy sauce so you can control the salt level. It adds that essential umami depth.
- Minced Garlic (4 cloves) : Fresh garlic is non-negotiable here. The jarred stuff just doesn’t have the same punch.
- Rice Vinegar (1 tablespoon) : A splash of acidity to balance the sweetness. Apple cider vinegar works as a substitute.
- Sesame Oil (1 teaspoon) : A little goes a long way to add a nutty, toasty flavor.
- Red Pepper Flakes (½ teaspoon, optional) : For a gentle kick of heat. I add this when I know the crowd likes a little spice.
- Cornstarch (1 tablespoon, for the glaze) : This helps thicken the glaze so it clings to the wings perfectly.
- Garnish (optional) : Sliced green onions and toasted sesame seeds add a fresh, vibrant finish.
For ingredient selection tips, I recommend using a local honey if you can find one—it often has a more complex floral flavor. If you’re gluten-sensitive, swap the soy sauce for tamari or coconut aminos.
Equipment Needed
You don’t need a lot of fancy gear for this recipe, which is part of the beauty of it.
- Baking Sheet : A large, rimmed baking sheet is essential. The rim catches any drips and prevents a mess in your oven.
- Wire Rack : This is a game-changer. Placing a wire rack inside the baking sheet allows air to circulate all around the wings, ensuring they crisp up evenly on all sides. No flipping required!
- Large Mixing Bowl : For tossing the wings with the dry rub.
- Small Saucepan : For making the glaze.
- Whisk : To combine the glaze ingredients smoothly.
- Tongs : For handling the hot wings when tossing them in the glaze.
- Paper Towels : Crucial for drying the wings thoroughly before seasoning.
If you don’t have a wire rack, you can try flipping the wings halfway through baking, but the rack really does make a difference. I picked up a cheap set at a discount store years ago, and they’ve been a staple in my kitchen ever since. Just make sure the rack is oven-safe up to 450°F.
Preparation Method
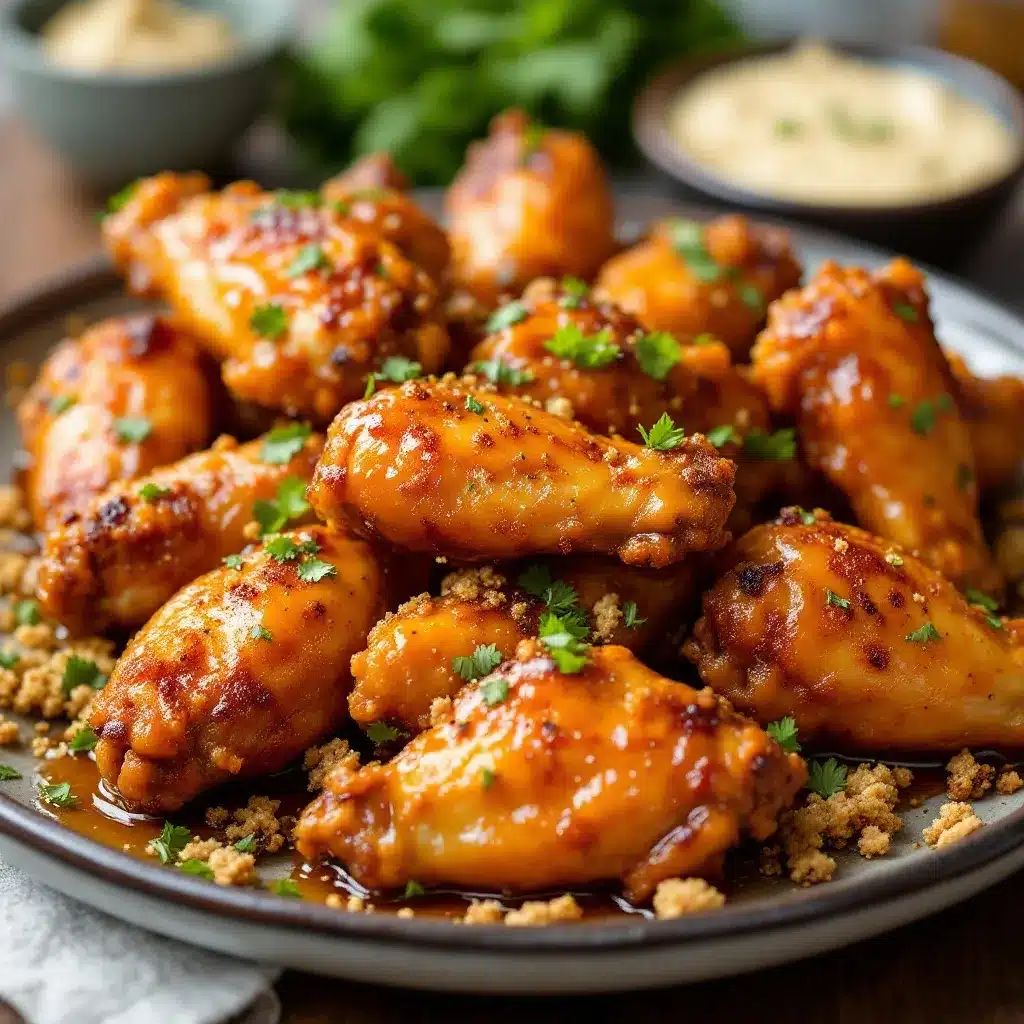
This method is broken down into simple steps. Follow them closely, and you’ll be rewarded with the crispiest, most flavorful wings of your life.
- Prep the Wings (15 minutes) : Start by patting the chicken wings completely dry with paper towels. This is the most important step. Any moisture on the skin will steam the wings instead of crisping them. Seriously, take your time here. Line a baking sheet with paper towels, lay the wings out, and press another layer on top to absorb as much moisture as possible.
- Dry Brine (30 minutes to 1 hour) : In a large bowl, whisk together the baking powder, garlic powder, onion powder, salt, and black pepper. Add the dried wings and toss until every piece is evenly coated. Arrange them in a single layer on the wire rack set inside the baking sheet. Place the sheet in the refrigerator, uncovered, for at least 30 minutes, or up to 1 hour. This dry brine allows the seasoning to penetrate and the skin to dry out further, which is the key to that crackly crust.
- Preheat the Oven (10 minutes) : When you’re ready to bake, preheat your oven to 425°F (218°C). Place the oven rack in the upper-middle position for the best browning.
- Bake the Wings (45-50 minutes) : Remove the wings from the fridge. Bake for 45-50 minutes, or until the skins are deeply golden brown and crispy. You don’t need to flip them if you’re using a wire rack. The wings should look almost puffed and feel firm to the touch. The internal temperature should reach 165°F (74°C).
- Make the Glaze (during the last 10 minutes of baking) : While the wings are baking, combine the honey, soy sauce, minced garlic, rice vinegar, sesame oil, and red pepper flakes (if using) in a small saucepan. Whisk in the cornstarch until smooth. Place the saucepan over medium heat and bring the mixture to a gentle simmer. Cook for 2-3 minutes, whisking constantly, until the glaze thickens and becomes glossy. Remove from heat and set aside.
- Glaze and Serve (5 minutes) : Once the wings are done, remove them from the oven. Let them rest on the rack for 2-3 minutes. Transfer the hot wings to a large, clean bowl. Pour the warm glaze over the top and toss gently with tongs until every wing is evenly coated. The glaze will be sticky and glossy. Transfer the glazed wings to a serving platter and garnish with sliced green onions and toasted sesame seeds. Serve immediately!
Sensory Cue : When the wings are done, the skin should look like it’s almost bubbling and will sound crispy when you tap it with a fork. The glaze should coat the back of a spoon before you pour it over the wings.
Cooking Tips & Techniques
I’ve learned a few things the hard way so you don’t have to. Here are my top tips for wing success.
- Don’t Skip the Drying : I once rushed this step and ended up with soggy, sad wings. Moisture is the enemy of crispiness. Pat those wings dry like your game day reputation depends on it.
- The Baking Powder Trick : This is non-negotiable. It creates tiny bubbles on the skin’s surface, increasing the surface area and making it incredibly crispy. Just make sure you’re using baking powder, not baking soda. Baking soda will leave a bitter, soapy taste.
- Don’t Overcrowd the Pan : The wings need space to breathe. If they’re touching, they’ll steam instead of roast. If you’re making a big batch, use two baking sheets.
- Timing is Everything : Make the glaze while the wings are baking. If you make it too early, it will thicken and become difficult to toss. If you make it too late, the wings will cool down and won’t absorb the glaze as well.
- Glaze Right Before Serving : For the crispiest results, toss the wings in the glaze just before you’re ready to serve. If you glaze them too early, the sauce will soften the skin. This is a lesson I learned the hard way during a particularly disastrous Super Bowl party.
For a complete game day spread, these wings pair perfectly with my easy football buffalo chicken dip bites for a double dose of wing-flavored goodness.
Variations & Adaptations
This recipe is a fantastic base for experimentation. Here are a few ways to switch it up.
- Spicy Honey Garlic : Add 1-2 teaspoons of sriracha or gochujang to the glaze for a spicy-sweet kick. I did this for a friends’ gathering last month, and they disappeared in minutes.
- Lemon Garlic Herb : Omit the honey and add the zest and juice of one lemon to the glaze along with 2 tablespoons of fresh chopped parsley and thyme. This is a brighter, more savory version that’s perfect for summer cookouts.
- Air Fryer Method : Cook the dry-brined wings in an air fryer at 400°F (204°C) for 20-25 minutes, shaking the basket halfway through. Toss with the glaze and air fry for another 2-3 minutes to set the sauce.
- Gluten-Free : Simply swap the soy sauce for tamari or coconut aminos. The rest of the ingredients are naturally gluten-free.
- Keto-Friendly : Replace the honey with a sugar-free honey substitute or a combination of monk fruit sweetener and a tablespoon of water. The glaze won’t be as sticky, but the flavor will still be excellent.
I’ve also tried adding a tablespoon of gochujang to the dry rub for a Korean-inspired twist. The result was a deeply savory, slightly spicy wing that was incredible with a cold beer.
Serving & Storage Suggestions
These wings are best served hot, right after tossing in the glaze. The contrast between the crispy skin and the warm, sticky sauce is unbeatable.
- Serving Temperature : Serve immediately. If you’re making them for a party, keep them warm in a low oven (200°F) on the wire rack for up to 30 minutes, but don’t cover them or the steam will ruin the crispiness.
- Complementary Dishes : These wings are fantastic with classic game day sides like celery and carrot sticks with blue cheese or ranch dressing. They also pair beautifully with my perfect slow cooker football Sunday chili for a hearty, satisfying spread. For a lighter option, serve them alongside a simple coleslaw.
- Storage : Store leftover wings in an airtight container in the refrigerator for up to 3 days. The glaze will soften the skin, but the flavor will still be great.
- Reheating : The best way to reheat these wings is in the oven or air fryer. Place them on a wire rack over a baking sheet and bake at 375°F (190°C) for 8-10 minutes, or until heated through and the skin crisps up again. Avoid the microwave, which will make them rubbery.
- Flavor Development : The flavors actually meld together beautifully overnight. Cold leftover wings make for an incredible snack the next day—the glaze becomes a little firmer and the flavors are even more concentrated.
Nutritional Information & Benefits
Here’s an estimated breakdown per serving (about 4-5 wings). Please note this is an approximation and can vary based on specific ingredients used.
| Nutrient | Amount Per Serving |
|---|---|
| Calories | 380-420 |
| Protein | 28-32g |
| Fat | 20-25g |
| Carbohydrates | 18-22g |
| Fiber | 0g |
| Sugar | 15-18g |
Pin This Recipe!
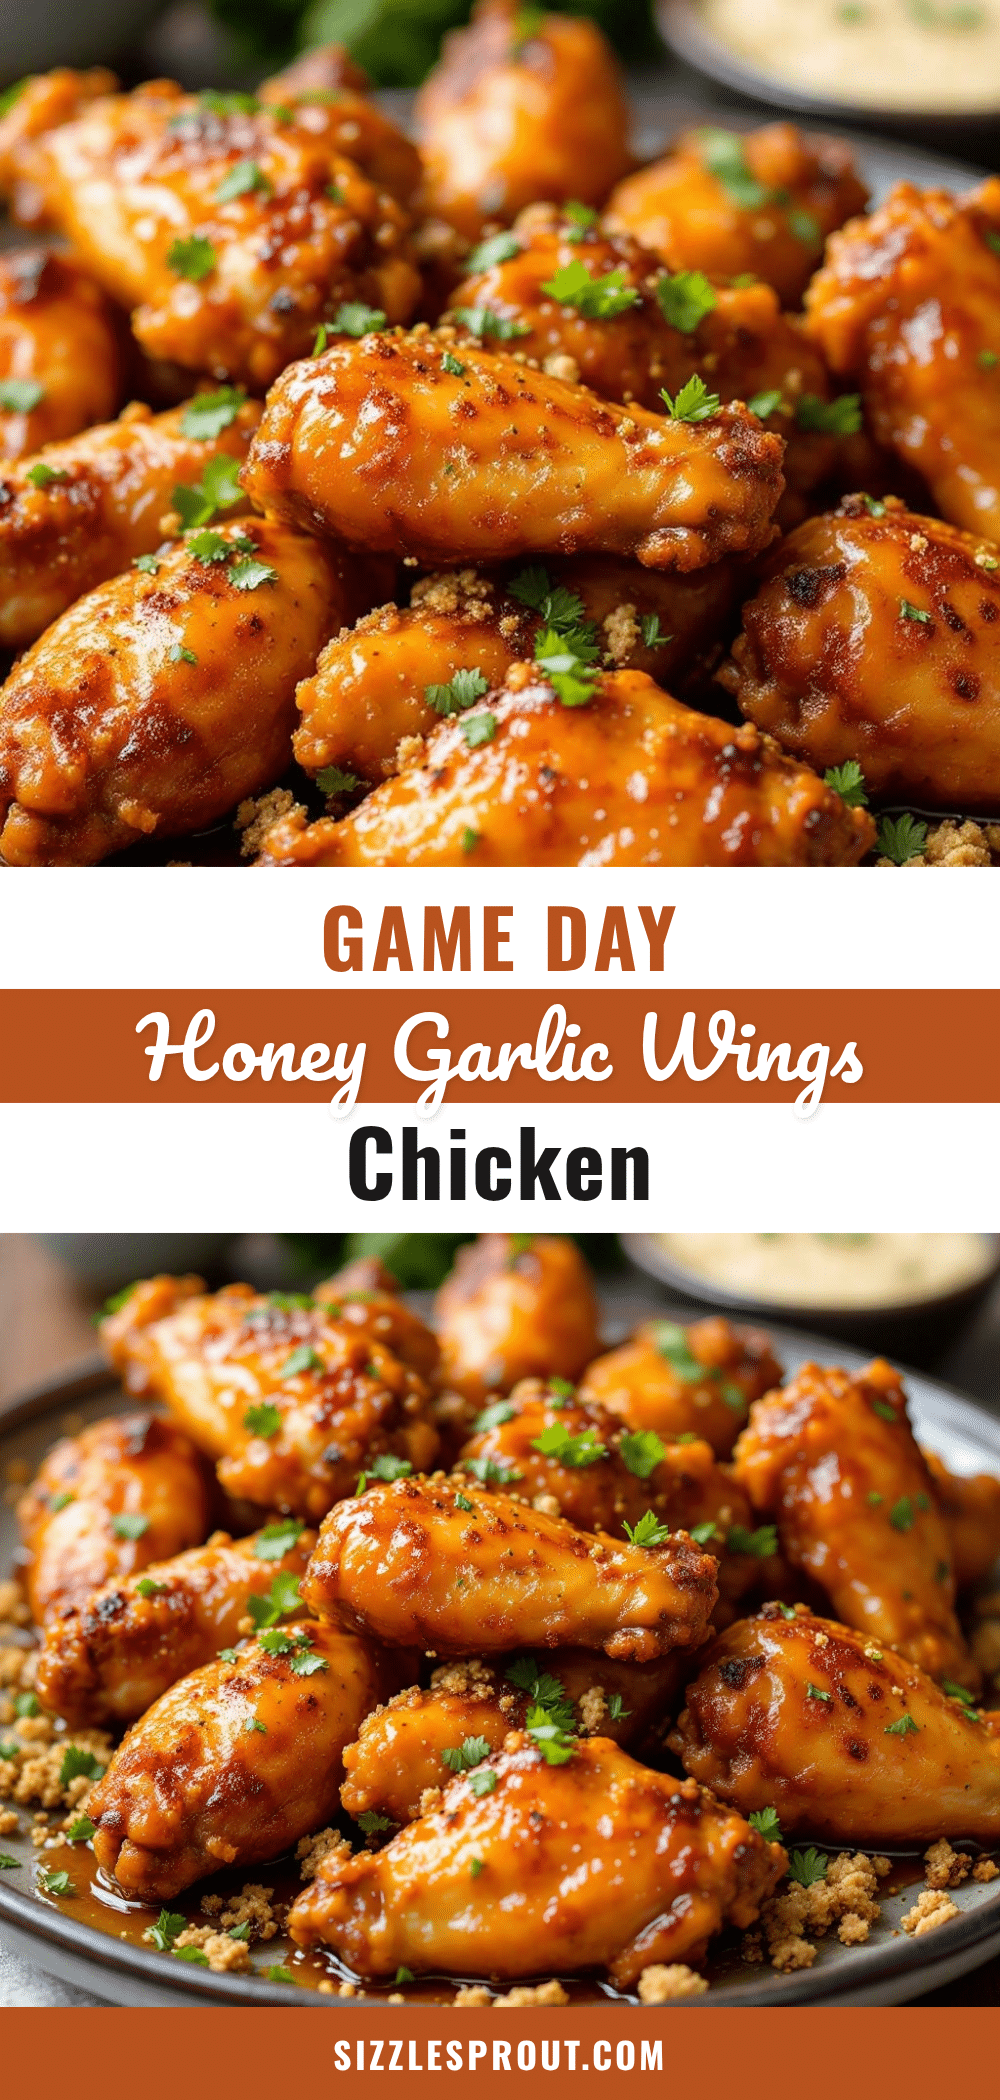
Crispy Honey Garlic Baked Chicken Wings: Perfect Game Day Snack

These oven-baked chicken wings are ultra-crispy without deep frying, coated in a sticky-sweet honey garlic glaze. Perfect for game day gatherings, they stay crispy longer than traditional fried wings and are made with simple pantry ingredients.
- Prep Time: 15 minutes
- Cook Time: 45-50 minutes
- Total Time: 1 hour 5 minutes to 1 hour 10 minutes
- Yield: 4 servings 1x
- Category: Appetizer
- Cuisine: American
Ingredients
- 3 lbs (1.36 kg) chicken wings (drumettes and flats separated)
- 2 teaspoons baking powder (aluminum-free)
- 1 teaspoon garlic powder
- 1 teaspoon onion powder
- 1 teaspoon fine sea salt
- ½ teaspoon black pepper (freshly ground preferred)
- ⅓ cup (113 g) honey
- ¼ cup (60 ml) low-sodium soy sauce
- 4 cloves garlic, minced
- 1 tablespoon rice vinegar (or apple cider vinegar)
- 1 teaspoon sesame oil
- ½ teaspoon red pepper flakes (optional)
- 1 tablespoon cornstarch
- Sliced green onions and toasted sesame seeds for garnish (optional)
Instructions
- Prep the Wings: Pat the chicken wings completely dry with paper towels. This is crucial for crispiness.
- Dry Brine: In a large bowl, whisk together baking powder, garlic powder, onion powder, salt, and black pepper. Add dried wings and toss to coat evenly. Arrange in a single layer on a wire rack set inside a rimmed baking sheet. Refrigerate uncovered for at least 30 minutes, up to 1 hour.
- Preheat Oven: Preheat oven to 425°F (218°C). Place oven rack in the upper-middle position.
- Bake Wings: Bake for 45-50 minutes, until deeply golden brown and crispy. No need to flip if using a wire rack. Internal temperature should reach 165°F (74°C).
- Make Glaze: During the last 10 minutes of baking, combine honey, soy sauce, minced garlic, rice vinegar, sesame oil, and red pepper flakes (if using) in a small saucepan. Whisk in cornstarch until smooth. Bring to a gentle simmer over medium heat, whisking constantly, for 2-3 minutes until thickened and glossy. Remove from heat.
- Glaze and Serve: Let baked wings rest on the rack for 2-3 minutes. Transfer to a large bowl, pour warm glaze over top, and toss gently with tongs until evenly coated. Transfer to a serving platter and garnish with green onions and sesame seeds. Serve immediately.
Notes
Pat wings very dry for maximum crispiness. Do not skip the baking powder—it’s essential for crispy skin. Glaze wings just before serving to keep skin crispy. For a spicier version, add sriracha or gochujang to the glaze. Leftovers can be reheated in the oven or air fryer at 375°F for 8-10 minutes.
Nutrition
- Serving Size: 4-5 wings
- Calories: 380420
- Sugar: 1518
- Sodium: 600800
- Fat: 2025
- Saturated Fat: 68
- Carbohydrates: 1822
- Protein: 2832
Keywords: crispy baked chicken wings, honey garlic wings, game day snack, oven baked wings, party wings, easy chicken wings


