Love this? Save it for later!
Share the inspiration with your friends
I burned banana bread seven times before I figured out what I was doing wrong. Not slightly overdone edges—I mean bottom-of-the-loaf blackened, smoke-alarm-screaming, husband-waving-a-dish-towel disasters. And here’s the thing: I kept using the same recipe my grandmother passed down, convinced I was just having bad luck with my oven. Turns out, the recipe itself was the problem. It was dry, it was finicky, and honestly? It never lived up to the memory I had of her version. So I started testing. I swapped out oil for butter in different ratios, tried adding yogurt, played with baking times. Nothing worked until I added sour cream. That one ingredient—tangy, thick, unassuming sour cream—changed everything. This moistest classic banana bread with sour cream is the result of those burnt loaves and late-night experiments. It’s the bread I wish I’d had all along.
The first time I pulled a perfect loaf out of the pan, I actually texted my mom a photo. The crust was golden, the center was tender, and when I sliced into it, the crumb held together without crumbling into a thousand pieces. That’s the magic of sour cream. It adds moisture without making the bread greasy, and it gives the banana flavor a little lift—a subtle tang that makes you take another bite just to figure out what’s different. I’ve made this recipe at least twenty times since then, and it’s never let me down. Not once.
If you’ve ever ended up with a dry, crumbly banana bread that tastes more like a brick than a treat, this one’s for you. It’s the kind of recipe that makes you feel like you actually know what you’re doing in the kitchen—even if you’ve burned a few loaves along the way. I promise, this one’s worth the trust.
Why You’ll Love This Recipe
I’ve tested a lot of banana bread recipes over the years, and this one stands out for a few very specific reasons. It’s not just another version of the same thing—it’s the version I keep coming back to, and here’s why you will too.
- Incredibly Moist: The sour cream does the heavy lifting here. It keeps the bread tender for days, not hours. You won’t need to toast it to make it edible the next morning.
- Simple Ingredients: You probably have everything in your kitchen right now. No specialty flours, no weird additives—just real, everyday staples.
- Perfect for Overripe Bananas: You know those sad, spotty bananas sitting on your counter? This is exactly what they’re meant for. The riper, the better.
- Crowd-Pleaser: I’ve brought this to brunches, potlucks, and family gatherings. It disappears fast. Kids love it, adults love it, and no one ever guesses the secret ingredient.
- Foolproof Method: After burning seven loaves, I made sure this recipe was impossible to mess up. The instructions are clear, the timing is forgiving, and the results are consistent every single time.
What really sets this recipe apart is the texture. Most banana breads are either too dense or too crumbly. This one hits that sweet spot—soft and tender, but sturdy enough to hold a slice of butter without falling apart. The sour cream adds a richness that feels indulgent, even though the ingredients are totally ordinary. And honestly? It makes your whole house smell amazing while it bakes. That alone is worth the effort.
What Ingredients You Will Need
This recipe relies on simple, everyday ingredients that work together to create something surprisingly special. The sour cream is the star, but every component plays a role in getting that perfect texture and flavor.
- Ripe Bananas (3 medium, mashed): The riper, the better. Look for bananas with brown spots all over the peel. They should be soft and almost mushy. If your bananas aren’t ripe enough, you can speed things up by baking them at 300°F for 15 minutes—but honestly, patience gives you the best flavor.
- Sour Cream (½ cup, room temperature): Full-fat sour cream works best here. It adds moisture and a subtle tang that balances the sweetness. I’ve tried low-fat versions, and the texture just isn’t the same. Let it sit on the counter for 15 minutes before mixing so it blends smoothly.
- Unsalted Butter (½ cup, softened): Butter gives the bread richness and flavor. Make sure it’s softened to room temperature—cold butter won’t cream properly with the sugar. If you forget to take it out, cut it into small cubes and let it sit for 10 minutes.
- Granulated Sugar (¾ cup): Regular white sugar adds sweetness and helps create a tender crumb. You can reduce it to ⅔ cup if you prefer a less sweet bread, but don’t go lower than that—the texture will suffer.
- Large Eggs (2, room temperature): Eggs bind everything together and add structure. Room temperature eggs mix more evenly into the batter. If you’re in a hurry, place them in a bowl of warm water for 5 minutes.
- Vanilla Extract (1 teaspoon): Pure vanilla extract adds warmth and depth. Imitation vanilla works in a pinch, but the real stuff makes a noticeable difference.
- All-Purpose Flour (1¾ cups): Standard all-purpose flour gives the bread structure without making it heavy. Spoon it into your measuring cup and level it off—don’t scoop directly from the bag, or you’ll end up with too much flour.
- Baking Soda (1 teaspoon): This is the leavening agent that helps the bread rise. Make sure it’s fresh—old baking soda won’t give you the lift you need.
- Salt (½ teaspoon): Salt enhances all the other flavors. Don’t skip it, even if you’re using salted butter. I recommend Diamond Crystal kosher salt for its clean taste.
- Optional Mix-Ins (½ cup): Chopped walnuts, pecans, or chocolate chips are all great additions. I personally love toasted walnuts for the crunch they add. Fold them in gently at the end.
Equipment Needed
You don’t need a fancy kitchen to make this bread. Most of these tools are probably already in your drawers and cabinets.
- 9×5-inch Loaf Pan: This is the standard size for banana bread. If you use a smaller pan, the bread will take longer to bake and might dome unevenly. A metal pan works best for even browning.
- Mixing Bowls (2): One for the wet ingredients and one for the dry. I use a medium glass bowl for the wet and a larger stainless steel one for the dry.
- Whisk and Wooden Spoon: A whisk helps break up the eggs and sour cream smoothly. A wooden spoon is perfect for folding the batter without overmixing.
- Hand Mixer or Stand Mixer: You can cream the butter and sugar by hand if you’ve got the arm strength, but a mixer makes it faster and fluffier. I use a hand mixer for this recipe—it’s easier to clean.
- Parchment Paper: Lining the pan with parchment paper makes lifting the bread out effortless. Leave a little overhang on the long sides for easy grabbing.
- Cooling Rack: Letting the bread cool in the pan for 10 minutes, then transferring it to a rack, prevents the bottom from getting soggy. If you don’t have a rack, you can use a clean dish towel.
- Measuring Cups and Spoons: Accurate measurements matter here. Use dry measuring cups for flour and sugar, and liquid measuring cups for the sour cream and vanilla.
Preparation Method
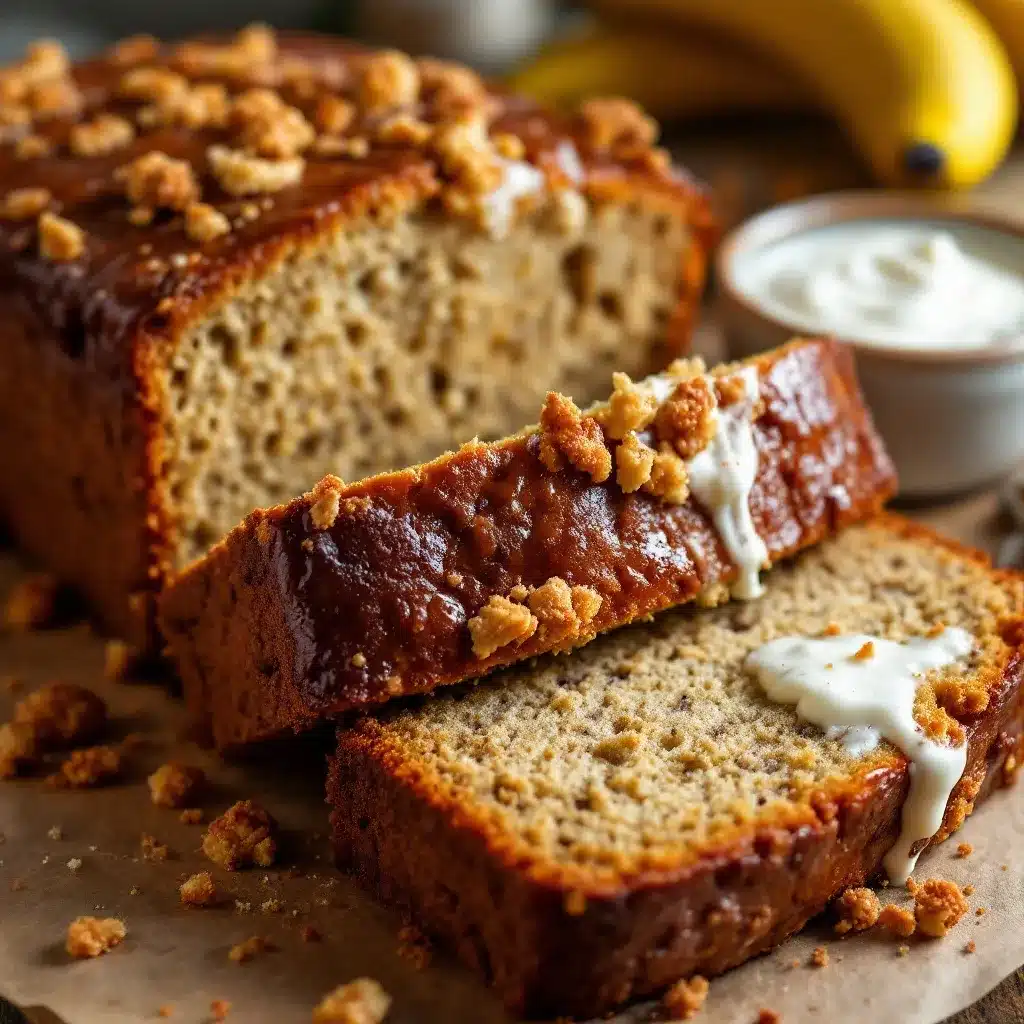
Let’s walk through this step by step. I’ve included all the little details that make the difference between a good banana bread and a great one.
- Preheat the oven to 350°F (175°C). Position the rack in the center of the oven. While it’s heating, grease your 9×5-inch loaf pan with butter or nonstick spray, then line it with parchment paper, leaving a 2-inch overhang on the long sides. This makes removing the bread so much easier.
- Mash the bananas. In a medium bowl, mash the three ripe bananas with a fork until they’re mostly smooth but still have a few small lumps. You want about 1 to 1¼ cups of mashed banana. Set them aside. (Pro tip: if your bananas are super ripe, they’ll mash almost like a paste—that’s perfect.)
- Cream the butter and sugar. In a large mixing bowl, beat the softened butter and granulated sugar together using a hand mixer on medium speed for 2 to 3 minutes, until the mixture is light and fluffy. Scrape down the sides of the bowl halfway through. This step is important—don’t rush it. The air you incorporate here helps the bread rise.
- Add the eggs and vanilla. Beat in the room temperature eggs one at a time, mixing well after each addition. Then add the vanilla extract and mix until combined. The batter should look smooth and glossy at this point.
- Mix in the sour cream and mashed bananas. Add the sour cream and the mashed bananas to the butter mixture. Mix on low speed until just combined. The batter might look a little curdled—that’s totally normal. Don’t worry, it will come together in the next step.
- Combine the dry ingredients. In a separate bowl, whisk together the all-purpose flour, baking soda, and salt. Make sure the baking soda is evenly distributed—you don’t want a pocket of it in your final loaf.
- Fold the dry ingredients into the wet. Add the flour mixture to the wet ingredients in two additions, folding gently with a wooden spoon or spatula after each addition. Mix just until you no longer see streaks of flour. Overmixing will make the bread tough. A few small lumps are okay—they’ll bake out.
- Fold in any mix-ins (optional). If you’re using walnuts, pecans, or chocolate chips, gently fold them into the batter now. Don’t overmix—just a few turns to distribute them evenly.
- Pour the batter into the prepared pan. Use a spatula to scrape every last bit of batter into the pan. Spread it evenly, then give the pan a gentle tap on the counter to release any air bubbles.
- Bake for 55 to 65 minutes. Place the pan in the preheated oven and bake until a toothpick inserted into the center comes out clean or with just a few moist crumbs. The top should be golden brown and cracked. If the top is browning too quickly (around the 40-minute mark), tent the pan loosely with aluminum foil.
- Cool in the pan for 10 minutes. Set the pan on a cooling rack and let it rest. This allows the bread to set so it doesn’t fall apart when you remove it.
- Transfer to a cooling rack. Use the parchment overhang to lift the bread out of the pan. Place it directly on the cooling rack and let it cool completely before slicing—about 1 hour. I know it’s tempting, but slicing too early will give you a gummy texture.
Cooking Tips & Techniques
I learned most of these the hard way—through burnt edges, sunken centers, and one particularly sad loaf that I swore was haunted. Here’s everything I wish someone had told me.
Don’t overmix the batter. This is the number one mistake people make. Once you add the flour, mix just until it disappears. Overmixing develops gluten, which makes the bread tough and dense. You want tender, not chewy.
Use room temperature ingredients. Cold eggs and cold sour cream won’t blend smoothly into the batter, which can lead to uneven texture. Take everything out of the fridge 30 minutes before you start. If you forget, place the eggs in warm water for 5 minutes and microwave the sour cream for 10 seconds on low power.
Check for doneness with a toothpick. Insert a toothpick or a thin knife into the center of the bread. If it comes out clean or with a few moist crumbs, it’s done. If it’s wet with batter, give it another 5 minutes and check again. Ovens vary, so start checking at the 55-minute mark.
Let it cool completely. I know it’s hard to wait, but slicing into warm banana bread is a recipe for a gummy, crumbly mess. The bread needs time to set as it cools. If you absolutely can’t wait, at least let it cool for 30 minutes in the pan.
Bake a test loaf first. If you’re using a new oven or a different pan size, bake one loaf to see how it behaves. Write down the time and temperature that worked best. Future you will thank present you.
Variations & Adaptations
One of the best things about banana bread is how easy it is to adapt. Here are a few ways I’ve played with this recipe over the years.
- Chocolate Chip Banana Bread: Fold in ½ cup of semi-sweet chocolate chips along with the dry ingredients. The chocolate melts into little pockets of richness throughout the loaf. My kids beg for this version.
- Nutty Walnut Banana Bread: Toast ½ cup of chopped walnuts in a dry skillet over medium heat for 3 to 4 minutes until fragrant, then fold them in. The toasting step makes a big difference—raw nuts can taste a little bitter.
- Gluten-Free Option: Substitute the all-purpose flour with a 1:1 gluten-free baking flour blend (one that contains xanthan gum). I’ve tested this with King Arthur’s Measure for Measure blend, and it works beautifully. The texture is slightly more tender, but still delicious.
- Lower Sugar Version: Reduce the granulated sugar to ½ cup and add ¼ cup of unsweetened applesauce for sweetness and moisture. The bread will be less sweet, but the banana flavor shines through more.
- Vegan Adaptation: Replace the butter with coconut oil (use solid, not melted), the eggs with flax eggs (1 tablespoon ground flaxseed + 3 tablespoons water per egg), and the sour cream with a dairy-free coconut yogurt. The texture will be a little denser, but it’s still very good.
I personally love the chocolate chip version for weekend baking, but the walnut version is my go-to for holiday gifting. It feels a little more special, and the crunch is just right.
Serving & Storage Suggestions
This banana bread is wonderful on its own, but a few little extras can make it feel like a real treat.
Serving: Slice the bread when it’s completely cool. Serve it plain, or spread a thin layer of salted butter on each slice for a classic combo. For something a little fancier, try a smear of cream cheese or a drizzle of honey. It’s also fantastic toasted—pop a slice in the toaster or under the broiler for 2 minutes until the edges are golden and crisp.
Storage: Wrap the cooled loaf tightly in plastic wrap or aluminum foil and store it at room temperature for up to 4 days. The sour cream keeps it moist longer than traditional banana bread. If you live in a humid climate, store it in an airtight container instead of plastic wrap to prevent sogginess.
Freezing: This bread freezes beautifully. Wrap the whole loaf (or individual slices) tightly in plastic wrap, then place them in a freezer-safe bag. Freeze for up to 3 months. To thaw, leave it on the counter for a few hours or pop a slice in the microwave for 20 seconds. I always keep a few slices in the freezer for last-minute breakfasts or snacks.
Reheating: For the best texture, reheat slices in a toaster or in a 350°F oven for 5 to 7 minutes. The microwave works in a pinch, but it can make the bread a little rubbery.
Flavors actually develop and deepen after a day or two. I honestly prefer this bread on day two—the banana flavor becomes more pronounced, and the texture evens out. If you can resist eating it all immediately, you’re in for a treat.
Nutritional Information & Benefits
This banana bread is a treat, but it also has a few redeeming qualities. Here’s a rough estimate per slice (based on 10 slices, without mix-ins):
- Calories: 280
- Fat: 12g
- Carbohydrates: 40g
- Fiber: 2g
- Sugar: 18g
- Protein: 5g
Bananas are a good source of potassium, vitamin B6, and vitamin C. They also provide natural sweetness, which allows us to use less refined sugar than many other dessert recipes. Sour cream adds calcium and a small amount of protein, while the eggs contribute high-quality protein and healthy fats.
If you’re watching your sugar intake, you can reduce the sugar to ⅔ cup without sacrificing too much sweetness. For a lower-fat option, you can replace half the butter with unsweetened applesauce—though the texture will be slightly less rich.
This recipe contains gluten, dairy, and eggs. For allergen-friendly adaptations, see the variations section above.
I don’t pretend this is health food, but I do feel good about serving it to my family. It’s made with real ingredients, and it’s a far cry from the packaged stuff you’d buy at the store. Sometimes that’s enough.
Conclusion
This moistest classic banana bread with sour cream is the recipe I reach for every time I have spotty bananas on the counter. It’s reliable, it’s forgiving, and it delivers every single time. The sour cream makes it tender without being greasy, the banana flavor is front and center, and the texture is exactly what banana bread should be—soft, sliceable, and just sturdy enough to hold up to a pat of butter.
I hope you give this recipe a try, and I hope you make it your own. Add chocolate chips, throw in some walnuts, or keep it simple. There’s no wrong way to enjoy it. If you do make it, I’d love to hear how it turned out. Leave a comment below or tag me in your photos—I genuinely get excited every time someone tells me they made this bread.
And if you’re looking for more cozy, foolproof recipes, you might also enjoy my super moist banana bread with crunchy walnut streusel for a slightly different take, or my easy one-bowl brown butter chocolate chip cookies for when you’re craving something sweet but quick. Happy baking!
Frequently Asked Questions
Can I use Greek yogurt instead of sour cream?
Yes, you can substitute Greek yogurt for sour cream in equal amounts. The texture will be slightly less tender, but it’s a good swap if you’re out of sour cream. Full-fat Greek yogurt works best—avoid nonfat versions, which can make the bread a little dry.
Why did my banana bread sink in the middle?
A sunken middle usually means the bread was underbaked. Make sure your oven is fully preheated, and check for doneness with a toothpick. If the top is browning too quickly before the center is set, tent the pan with foil and continue baking. Overmixing the batter can also cause sinking, so fold gently.
Can I make this recipe into muffins?
Absolutely. Grease a 12-cup muffin tin or line it with paper liners. Divide the batter evenly among the cups and bake at 350°F for 18 to 22 minutes, until a toothpick comes out clean. You’ll get about 12 muffins. The baking time is much shorter, so keep an eye on them.
How do I know when my bananas are ripe enough?
The best bananas for banana bread are heavily spotted with brown or black patches on the peel. They should feel soft when you squeeze them gently. If your bananas are still yellow with green tips, they’re not ready. You can speed up ripening by placing them in a paper bag with an apple overnight.
Can I freeze the batter instead of the baked bread?
Yes, you can freeze the batter. Pour it into the prepared loaf pan, cover tightly with plastic wrap and foil, and freeze for up to 3 months. When you’re ready to bake, thaw the batter in the fridge overnight, then bake as directed. You may need to add 5 to 10 minutes to the baking time since the batter will be cold.
Pin This Recipe!
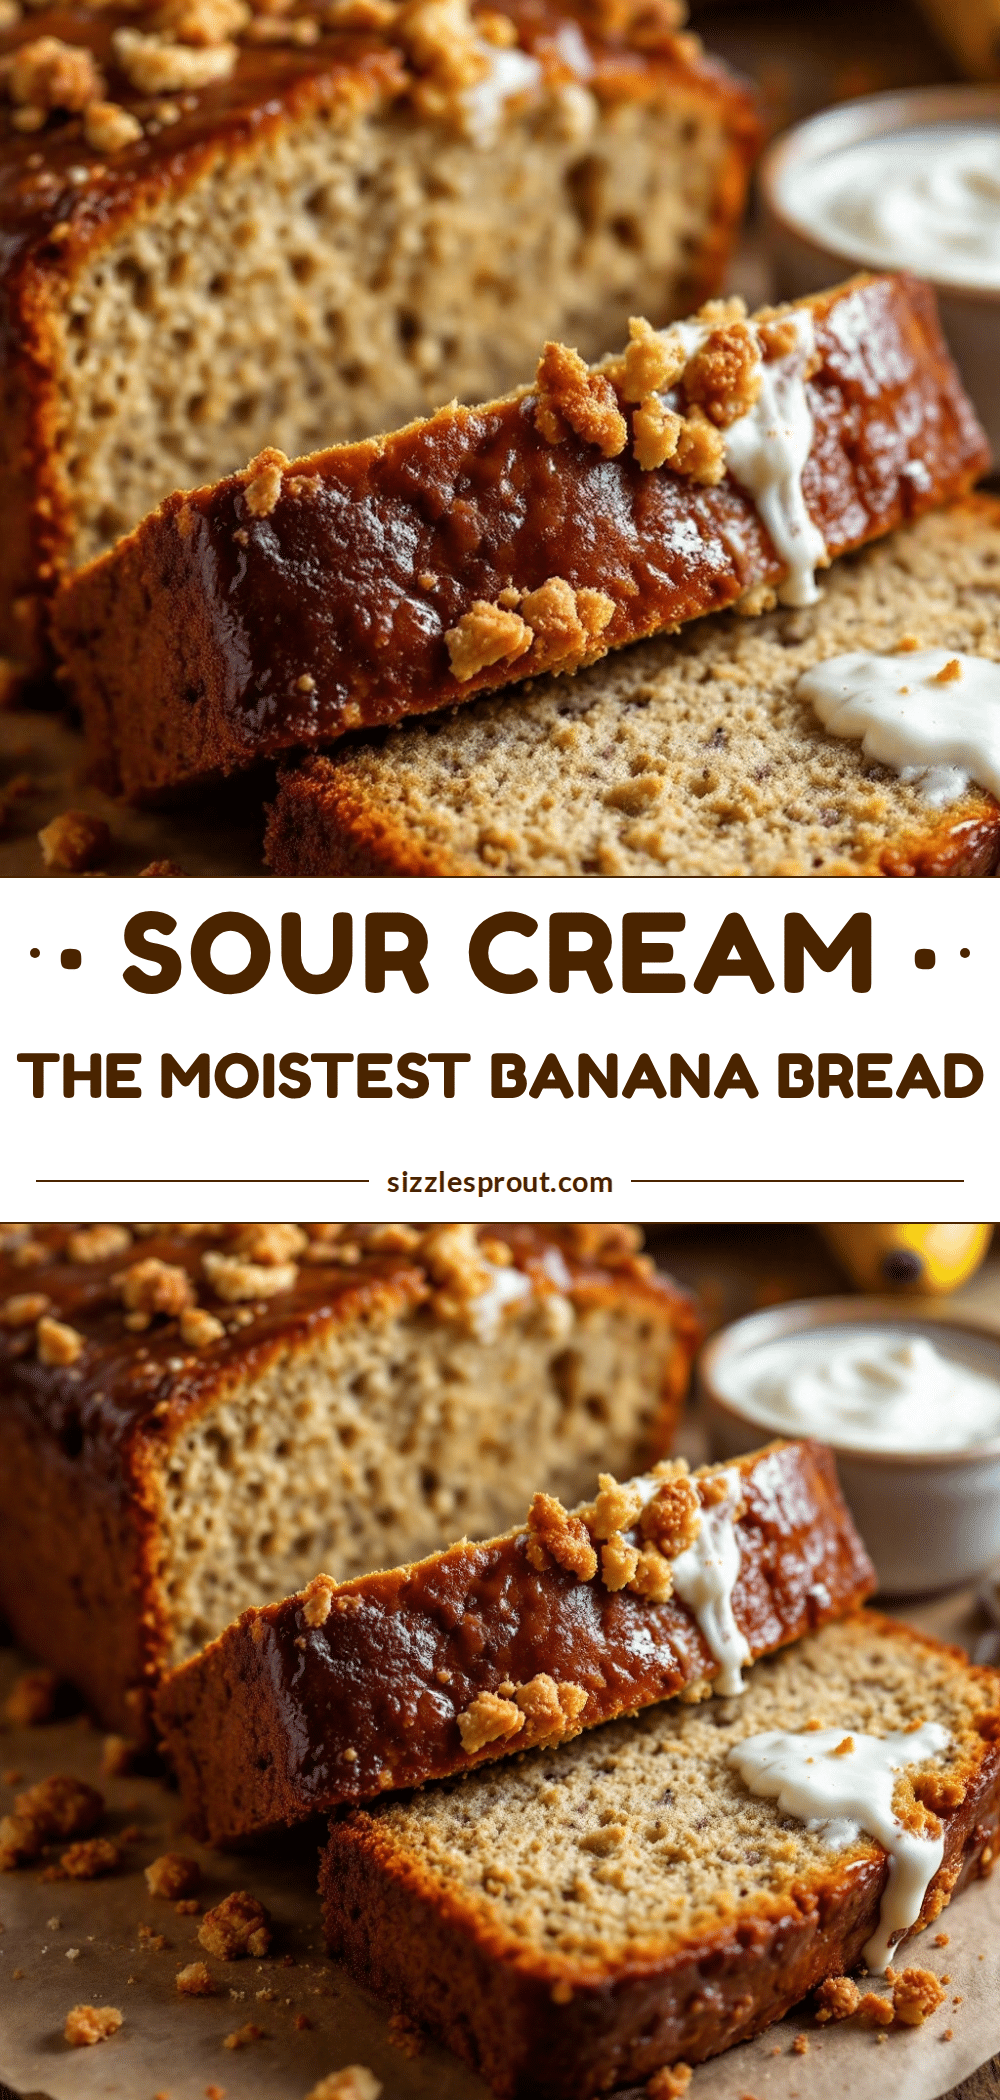
The Moistest Classic Banana Bread with Sour Cream
This incredibly moist banana bread uses sour cream to create a tender, flavorful loaf that stays soft for days. A foolproof recipe born from burnt loaves and late-night experiments, it’s the perfect way to use overripe bananas.
- Prep Time: 15 minutes
- Cook Time: 60 minutes
- Total Time: 1 hour 15 minutes
- Yield: 10 servings 1x
- Category: Dessert
- Cuisine: American
Ingredients
- 3 medium ripe bananas, mashed (about 1 to 1¼ cups)
- ½ cup sour cream, room temperature
- ½ cup unsalted butter, softened
- ¾ cup granulated sugar
- 2 large eggs, room temperature
- 1 teaspoon vanilla extract
- 1¾ cups all-purpose flour
- 1 teaspoon baking soda
- ½ teaspoon salt
- ½ cup optional mix-ins (chopped walnuts, pecans, or chocolate chips)
Instructions
- Preheat the oven to 350°F (175°C). Grease a 9×5-inch loaf pan with butter or nonstick spray, then line with parchment paper, leaving a 2-inch overhang on the long sides.
- In a medium bowl, mash the ripe bananas with a fork until mostly smooth with a few small lumps. Set aside.
- In a large mixing bowl, beat the softened butter and granulated sugar together with a hand mixer on medium speed for 2-3 minutes until light and fluffy. Scrape down the sides halfway through.
- Beat in the room temperature eggs one at a time, mixing well after each addition. Add the vanilla extract and mix until combined.
- Add the sour cream and mashed bananas to the butter mixture. Mix on low speed until just combined (batter may look slightly curdled).
- In a separate bowl, whisk together the all-purpose flour, baking soda, and salt.
- Add the flour mixture to the wet ingredients in two additions, folding gently with a wooden spoon or spatula after each addition. Mix just until no streaks of flour remain. Do not overmix.
- If using mix-ins, gently fold them into the batter.
- Pour the batter into the prepared loaf pan and spread evenly. Tap the pan gently on the counter to release air bubbles.
- Bake for 55-65 minutes, until a toothpick inserted into the center comes out clean or with a few moist crumbs. If the top browns too quickly, tent loosely with aluminum foil.
- Cool in the pan for 10 minutes, then use the parchment overhang to lift the bread out and transfer to a cooling rack. Cool completely before slicing (about 1 hour).
Notes
Use full-fat sour cream for best results. Room temperature ingredients blend more smoothly. Do not overmix the batter once flour is added. For best texture, let cool completely before slicing. Flavors deepen after a day. Store wrapped at room temperature for up to 4 days, or freeze for up to 3 months.
Nutrition
- Serving Size: 1 slice
- Calories: 280
- Sugar: 18
- Sodium: 220
- Fat: 12
- Saturated Fat: 7
- Carbohydrates: 40
- Fiber: 2
- Protein: 5
Keywords: banana bread, sour cream banana bread, moist banana bread, classic banana bread, easy banana bread, overripe bananas


