Love this? Save it for later!
Share the inspiration with your friends
Third time in seven days and I finally stopped adding an extra egg. That was the thing holding it back—not the butter, not the honey, not even the skillet itself. Just one too many eggs making it feel more like a custard than the cornbread I was chasing. The kind that cracks a little on top when you cut into it, the kind where the bottom crust is almost caramelized from the butter pooling in the hot cast iron. I wanted that specific texture, the one that reminds you of a diner booth in October when the air outside is sharp and the coffee inside is bottomless. So I kept making it. Kept tweaking. And somewhere between batch two and three, it clicked. The skillet did its thing, the honey butter melted into the cracks, and I finally stopped tweaking. This is the one I’ll be making all season long.
There is something about pulling a hot skillet of cornbread out of the oven when the kitchen smells like butter and the windows are fogged up. It is the kind of recipe that doesn’t need a fancy introduction because the smell does all the talking. This honey butter skillet cornbread is exactly what a fall dinner table needs—golden, slightly sweet, with edges that are almost crispy and a center that stays tender. No dry crumbs here. Just honest, buttery cornbread that holds up next to a bowl of chili or a plate of roasted chicken. It is the side dish that quietly becomes the main event.
Why You’ll Love This Recipe
I have tested this cornbread more times than I care to admit, and every single batch taught me something new. What I landed on is a recipe that balances sweet and savory, texture and tenderness, speed and soul. Here is why this one works.
- Quick & Easy: From mixing bowl to table in about 35 minutes. No stand mixer needed, no complicated steps.
- Simple Ingredients: You probably have everything already—cornmeal, flour, butter, honey, eggs, buttermilk. Nothing weird or hard to find.
- Perfect for Fall Dinners: This cornbread was made for cozy meals. It pairs beautifully with soups, stews, and anything slow-cooked.
- Crowd-Pleaser: I have brought this to potlucks and family dinners. It disappears fast. Kids love the sweetness, adults love the texture.
- Unbelievably Delicious: The honey butter gets brushed on while the cornbread is still hot. It soaks into the top and creates this almost-glistening crust that is absolutely irresistible.
What makes this different from other cornbread recipes is the technique. Most recipes tell you to melt the butter and mix it in. I take it a step further—I let the butter get foamy in the hot skillet first, then pour the batter right in. That sizzle is not just dramatic, it is functional. It creates a crust on the bottom that is almost fried in butter. And the honey butter glaze on top? That is the finishing touch that takes it from good to memorable.
This is the kind of cornbread that makes you close your eyes after the first bite. It is comfort food, pure and simple. Faster than a from-scratch biscuit, more satisfying than a store-bought mix, and somehow exactly what you need when the weather turns cool.
What Ingredients You Will Need
This recipe uses straightforward ingredients, but each one plays a specific role. Here is what you will need and why each one matters.
- Yellow Cornmeal (1 cup / 160g): This is the backbone. I prefer medium-grind cornmeal for texture. Fine grind works too, but you will lose some of that rustic crumb. Stone-ground cornmeal adds even more flavor if you have it.
- All-Purpose Flour (1 cup / 125g): The flour softens the cornmeal and keeps the cornbread from being too gritty. It also helps the structure hold together so it does not crumble into a million pieces when you cut it.
- Granulated Sugar (1/4 cup / 50g): Just enough sweetness to balance the corn flavor. If you like your cornbread on the sweeter side, bump it up to 1/3 cup. But honestly, the honey butter adds plenty of sweetness on top.
- Baking Powder (2 teaspoons): Make sure it is fresh. Old baking powder is the number one reason cornbread turns out dense and flat.
- Baking Soda (1/2 teaspoon): Works with the buttermilk to create lift and helps with browning.
- Salt (1 teaspoon): Do not skip this. Salt amplifies the corn flavor and balances the sweetness. I use fine sea salt.
- Buttermilk (1 cup / 240ml): This is non-negotiable for me. Buttermilk adds tanginess and reacts with the baking soda for a tender crumb. If you do not have buttermilk, you can make a quick substitute by adding 1 tablespoon of lemon juice or vinegar to regular milk and letting it sit for 5 minutes.
- Large Eggs (2): Room temperature eggs incorporate more evenly into the batter. Take them out of the fridge about 20 minutes before you start.
- Unsalted Butter (1/2 cup / 113g, for the batter + 3 tablespoons for the skillet and glaze): I use unsalted so I can control the salt level. The butter that goes into the skillet gets melted and bubbly before the batter hits it. The extra butter gets mixed with honey for the glaze.
- Honey (3 tablespoons, divided): Two tablespoons go into the batter, one tablespoon gets mixed with the melted butter for the glaze. Use a good-quality honey—it makes a difference in flavor.
I recommend using a brand like Bob’s Red Mill for the cornmeal if you can find it. Their medium-grind cornmeal has a consistent texture that works perfectly here. For the honey, I like a local wildflower honey when I can get it, but any mild honey will do.
Equipment Needed
You do not need a lot of fancy equipment for this recipe, but a few key tools make a big difference.
- 10-inch Cast Iron Skillet: This is the star of the show. A well-seasoned cast iron skillet distributes heat evenly and creates that gorgeous golden crust. If you do not have one, a 9 or 10-inch oven-safe skillet works too.
- Mixing Bowls: One large bowl for the dry ingredients, one medium bowl for the wet ingredients.
- Whisk: For combining the dry ingredients and for mixing the wet ingredients smoothly.
- Spatula: A silicone spatula is best for folding the wet and dry ingredients together without overmixing.
- Pastry Brush: For brushing the honey butter glaze over the hot cornbread. A silicone brush works great and is easy to clean.
- Measuring Cups and Spoons: For accuracy. I prefer metal measuring cups for dry ingredients and glass for liquids.
- Cooling Rack: Optional but helpful if you want the cornbread to cool evenly before slicing.
I have made this cornbread in a glass baking dish before, and it works okay, but it is not the same. The cast iron skillet gives you that crispy edge that makes this recipe special. If you are in the market for one, Lodge makes a solid 10-inch skillet that will last forever and does not cost a fortune.
Preparation Method
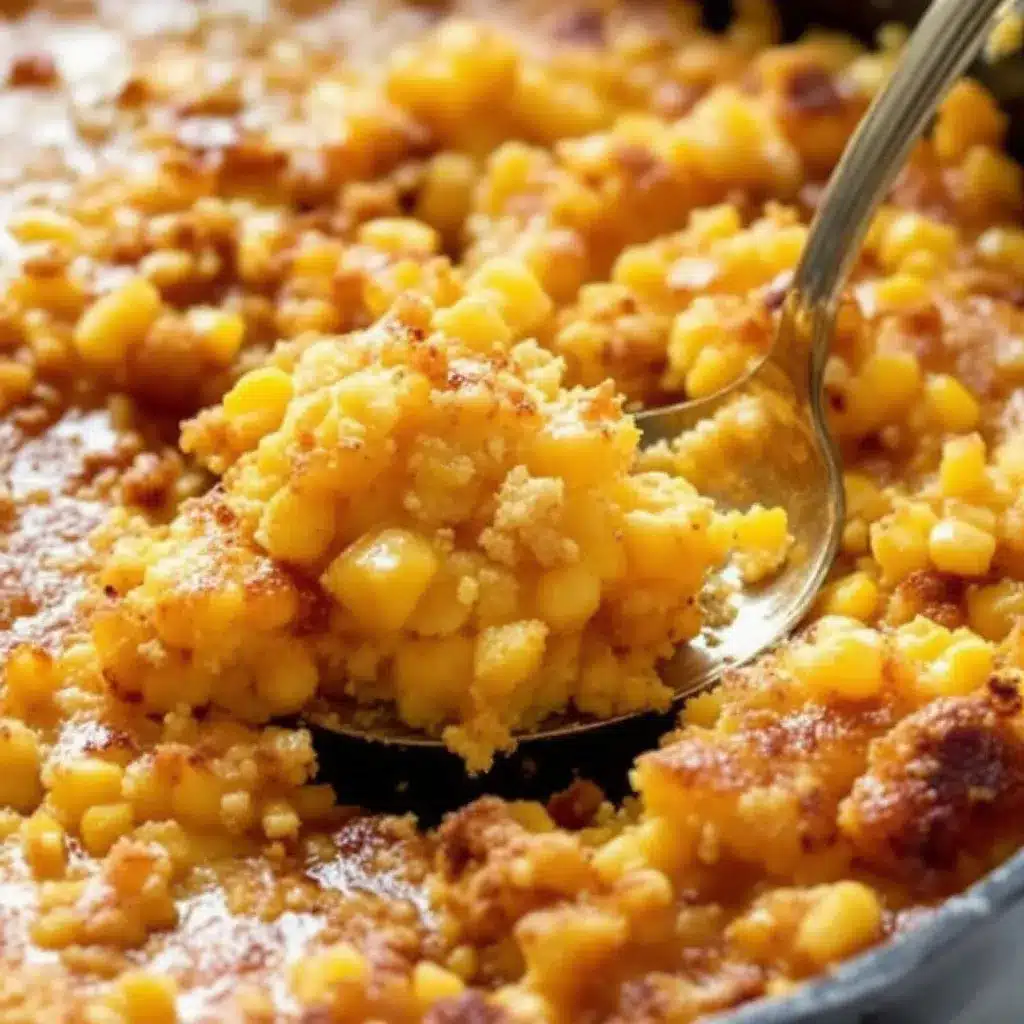
This comes together fast, so I like to have everything measured and ready before I start. Here is how it goes.
- Preheat your oven to 400°F (200°C). Place your 10-inch cast iron skillet inside the oven while it preheats. You want the skillet to be hot when the batter goes in. This step is crucial for that crispy bottom crust.
- Mix the dry ingredients. In a large bowl, whisk together 1 cup cornmeal, 1 cup all-purpose flour, 1/4 cup sugar, 2 teaspoons baking powder, 1/2 teaspoon baking soda, and 1 teaspoon salt. Make sure everything is evenly distributed. No clumps of baking powder hiding in there.
- Mix the wet ingredients. In a separate medium bowl, whisk together 1 cup buttermilk, 2 large eggs, and 2 tablespoons of honey. Whisk until the eggs are fully incorporated and the mixture looks smooth and slightly frothy.
- Melt the butter for the batter. In a small microwave-safe bowl or on the stovetop, melt 1/2 cup (113g) of unsalted butter. Let it cool for a minute or two so it does not cook the eggs when you add it.
- Combine wet and dry. Pour the buttermilk mixture and the melted butter into the bowl with the dry ingredients. Stir gently with a spatula until just combined. A few lumps are totally fine. Overmixing will make the cornbread tough, so stop as soon as you do not see any more dry flour.
- Get the skillet ready. Carefully remove the hot skillet from the oven using oven mitts. Add 1 tablespoon of butter to the skillet and swirl it around until it melts and gets foamy. The butter should sizzle and bubble immediately.
- Pour the batter. Pour the batter into the hot skillet. It will sizzle and spread out. Use your spatula to gently spread it to the edges if needed. Do not stir it around too much—just let it settle.
- Bake. Place the skillet back in the oven and bake for 18 to 22 minutes. The cornbread is done when the top is golden brown and a toothpick inserted into the center comes out clean or with just a few moist crumbs. Start checking at 18 minutes.
- Make the honey butter glaze. While the cornbread bakes, melt 2 tablespoons of butter and mix it with 1 tablespoon of honey. Stir until smooth.
- Glaze the cornbread. As soon as the cornbread comes out of the oven, brush the honey butter mixture over the top. It will soak in immediately, creating a glossy, buttery finish. Let it cool in the skillet for about 10 minutes before slicing.
The kitchen will smell incredible at this point. The honey butter melting into the hot cornbread is one of those moments that makes baking worthwhile. Slice it into wedges and serve it warm.
Cooking Tips & Techniques
I have made plenty of mediocre cornbread in my day. Here is what I learned so you do not have to go through it yourself.
Do not skip preheating the skillet. I tried skipping this step once because I was in a hurry. The cornbread turned out fine, but it was missing that crispy, almost fried bottom crust. That hot skillet is what gives this cornbread its signature texture. It is worth the extra few minutes.
Let the batter rest for a few minutes. After you mix the batter, let it sit for about 5 minutes before pouring it into the skillet. This gives the cornmeal time to absorb some of the liquid, which results in a more tender crumb. I stumbled onto this by accident when I got distracted one time, and it made a noticeable difference.
Check for doneness with your senses. The toothpick test is reliable, but I also look for the edges to pull away slightly from the skillet and the top to be a deep golden brown. If you tap the center gently, it should feel firm, not jiggly.
Brush the glaze while the cornbread is hot. This is non-negotiable. If you wait until the cornbread cools, the honey butter will just sit on top instead of soaking in. That warm, glossy finish is what makes every bite taste like butter and honey together.
Use room temperature ingredients. Cold eggs and cold buttermilk can make the batter seize up, especially when you add the melted butter. Room temperature ingredients blend together more smoothly and create a better texture. Take everything out of the fridge about 20 minutes before you start.
Variations & Adaptations
This recipe is flexible, and I have tried several variations over the past few weeks. Here are some that worked well.
- Add jalapeño and cheddar. Fold in 1/2 cup of shredded sharp cheddar cheese and 1 diced jalapeño (seeds removed if you want less heat) into the batter before baking. The cheese gets melty and the jalapeño adds a nice kick. This version is perfect alongside a bowl of chili. It reminds me of the jalapeño cheddar cornbread from a BBQ joint I used to visit, and honestly, this version is better.
- Make it gluten-free. Substitute the all-purpose flour with a 1:1 gluten-free baking flour blend. I have tested this with Bob’s Red Mill 1-to-1 Baking Flour and it worked beautifully. The texture is slightly more delicate, but the flavor is still there.
- Add corn kernels. Fold in 1/2 cup of fresh or frozen corn kernels (thawed if frozen) for little bursts of sweetness in every bite. This adds a nice texture contrast and makes the cornbread feel even more rustic.
- Try a different sweetener. Maple syrup works in place of honey for the glaze. Use 1 tablespoon of maple syrup mixed with 2 tablespoons of melted butter. It gives the cornbread a slightly different flavor profile that pairs well with roasted meats.
- Make it dairy-free. Use a dairy-free butter substitute and replace the buttermilk with 1 cup of unsweetened almond milk mixed with 1 tablespoon of lemon juice. Let it sit for 5 minutes before using. The texture will be slightly less tender, but it still works.
Serving & Storage Suggestions
This cornbread is best served warm, straight from the skillet. Cut it into wedges like a pie and serve it with a pat of extra butter if you are feeling indulgent.
What to serve with it: This cornbread is a natural side for any fall dinner. It is incredible next to a bowl of creamy roasted tomato basil soup or alongside a hearty white bean and kale sausage soup. For a full fall spread, serve it with roasted chicken, braised beef, or even a simple green salad with apple cider vinaigrette. It also makes a fantastic breakfast the next day, split in half, toasted, and slathered with more honey butter.
Storage: Leftover cornbread keeps well at room temperature for up to 2 days. Wrap it tightly in foil or plastic wrap to keep it from drying out. You can also store it in an airtight container.
Reheating: The best way to reheat cornbread is in a 350°F oven for about 5 to 7 minutes. This restores the crispy edges and warms it through without making it soggy. The microwave works in a pinch, but it will soften the crust. If you do use the microwave, wrap the slice in a damp paper towel and heat for 15 to 20 seconds.
Freezing: This cornbread freezes beautifully. Let it cool completely, then wrap it tightly in plastic wrap and then foil. Freeze for up to 3 months. To thaw, let it sit at room temperature for about an hour, then reheat in the oven. The flavor actually develops a bit more after freezing, which is a nice bonus.
Nutritional Information & Benefits
Here is the approximate nutritional breakdown for one serving (based on 8 wedges per skillet).
| Nutrient | Amount per Serving |
|---|---|
| Calories | 285 |
| Total Fat | 14g |
| Saturated Fat | 8g |
| Cholesterol | 75mg |
| Sodium | 420mg |
| Total Carbohydrates | 36g |
| Dietary Fiber | 2g |
| Sugars | 12g |
| Protein | 5g |
Cornmeal is a good source of fiber and contains antioxidants called carotenoids, which are good for eye health. Honey provides natural sweetness with small amounts of vitamins and minerals. Buttermilk adds calcium and probiotics, especially if you use cultured buttermilk. This recipe contains gluten and dairy, so it is not suitable for those with celiac disease or dairy allergies without the substitutions mentioned above.
Honestly, I do not make cornbread for the health benefits. I make it because it makes dinner feel complete. But it is nice to know that it is not empty calories either.
Conclusion
This honey butter skillet cornbread is the kind of recipe that becomes a staple. It is simple enough for a Tuesday night, special enough for Thanksgiving. The crispy edges, the tender center, the honey butter glaze that soaks into every crack—it is everything I want in a side dish when the weather turns cool and the days get shorter.
I hope you make this and make it your own. Add cheese if that is your thing. Throw in some jalapeños. Drizzle extra honey on top. The recipe is a starting point, not a rulebook. Cornbread is forgiving that way.
If you try this recipe, I would love to hear about it. Leave a comment below and let me know how it turned out, or tag me in your photos if you share them online. Your version might just inspire my next batch.
Happy baking, and here is to warm skillets and cozy dinners.
Frequently Asked Questions
Can I make this cornbread without a cast iron skillet?
Yes, you can. Use a 9 or 10-inch oven-safe skillet or a glass baking dish. The texture will be slightly different because glass does not get as hot as cast iron, so the bottom crust will not be as crispy. Reduce the oven temperature to 375°F if using glass and bake for 20 to 25 minutes.
Why is my cornbread dry?
Dry cornbread usually means it was overbaked or the ratio of wet to dry ingredients was off. Make sure you measure your flour and cornmeal correctly by spooning them into the measuring cup and leveling off the top. Also, check your oven temperature with an oven thermometer. Some ovens run hot, which can dry out baked goods quickly.
Can I use milk instead of buttermilk?
You can, but the cornbread will be less tender and will not have that tangy flavor. If you do not have buttermilk, make a quick substitute by adding 1 tablespoon of lemon juice or white vinegar to 1 cup of regular milk. Let it sit for 5 minutes before using. It is not exactly the same, but it works in a pinch.
How do I make this cornbread less sweet?
Reduce the sugar in the batter to 2 tablespoons instead of 1/4 cup. You can also skip the honey in the glaze and just use melted butter on top. The corn flavor will come through more prominently, which some people prefer, especially if serving it with savory dishes.
Can I double this recipe?
Absolutely. Double all the ingredients and bake it in a 12-inch cast iron skillet or a 9×13-inch baking dish. The baking time will increase by about 5 to 8 minutes, so start checking for doneness around the 25-minute mark. A double batch is perfect for holiday dinners or large gatherings.
Pin This Recipe!
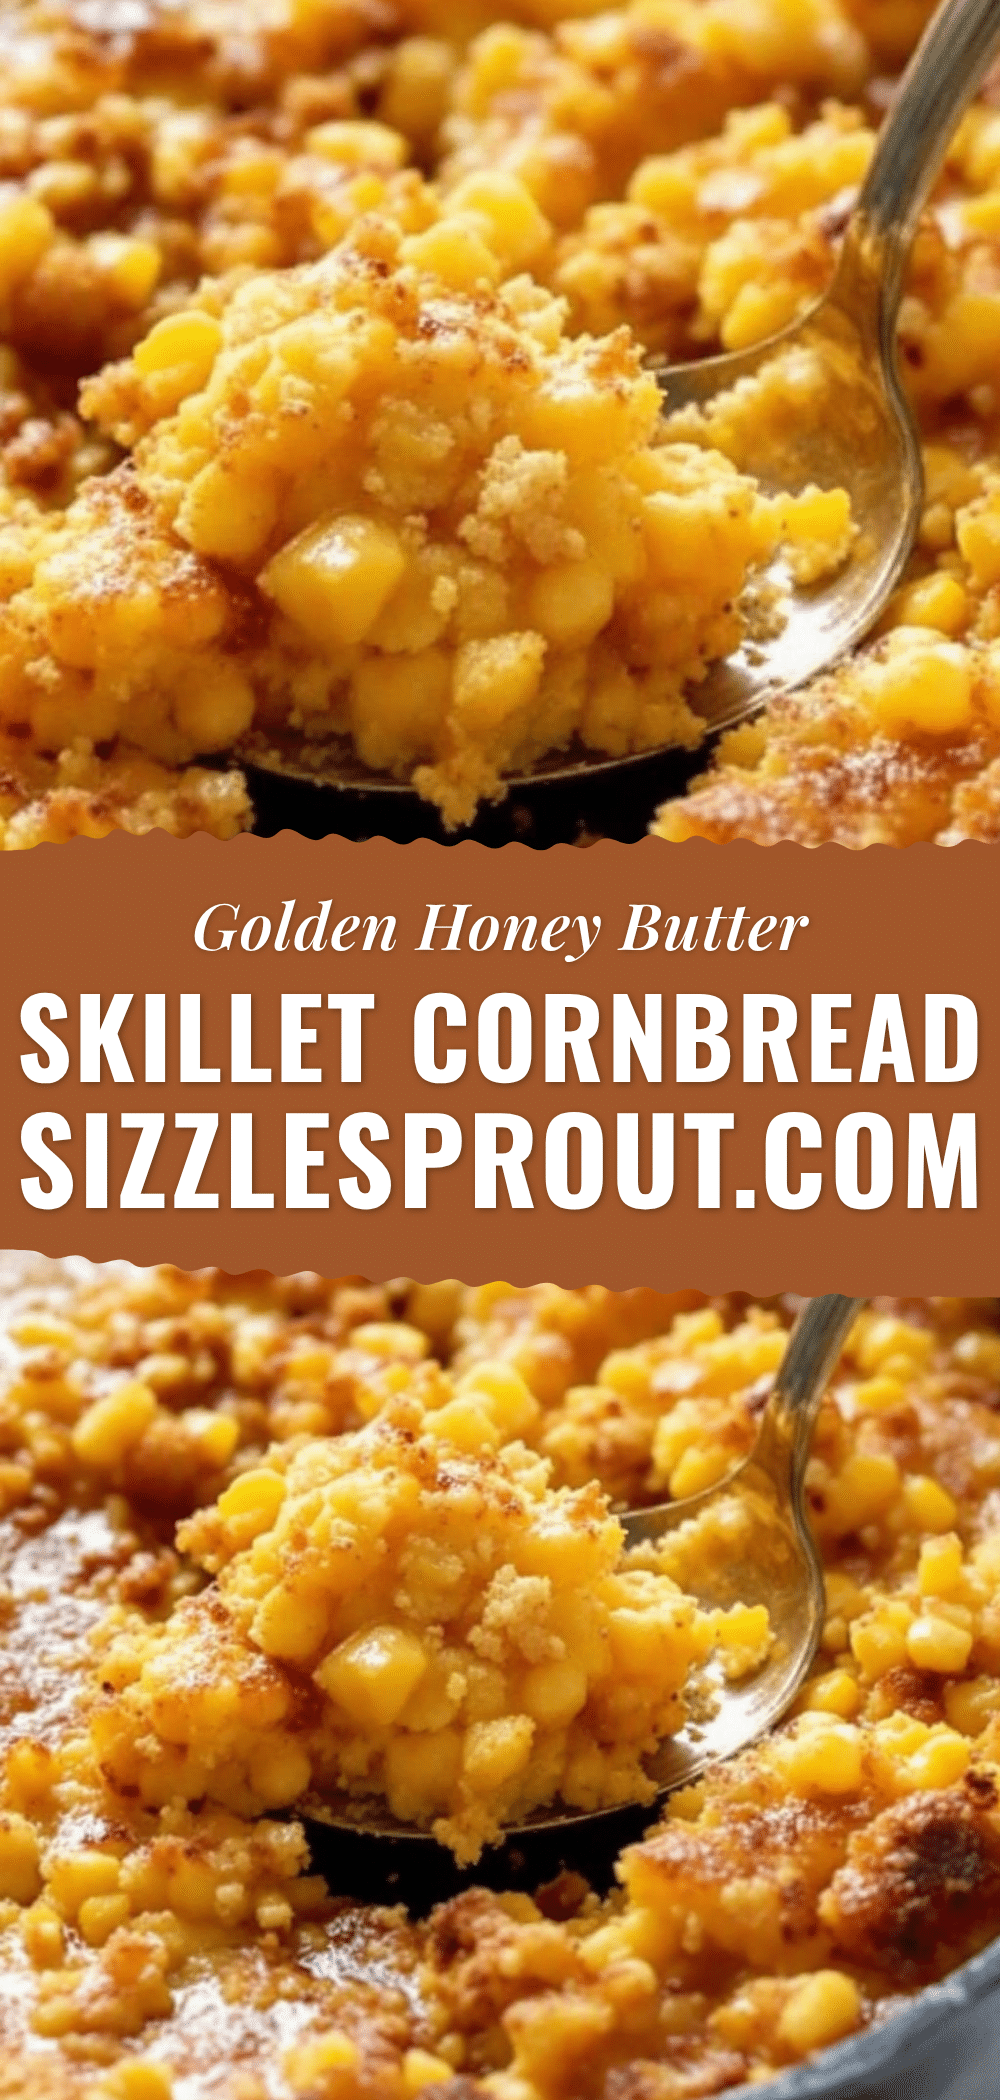
Perfect Honey Butter Skillet Cornbread for Easy Fall Dinners
This honey butter skillet cornbread is golden, slightly sweet, with crispy edges and a tender center. It’s the perfect side dish for fall dinners, pairing beautifully with chili, soups, or roasted chicken.
- Prep Time: 10 minutes
- Cook Time: 20 minutes
- Total Time: 30 minutes
- Yield: 8 servings 1x
- Category: Side Dish
- Cuisine: American
Ingredients
- 1 cup (160g) yellow cornmeal
- 1 cup (125g) all-purpose flour
- 1/4 cup (50g) granulated sugar
- 2 teaspoons baking powder
- 1/2 teaspoon baking soda
- 1 teaspoon fine sea salt
- 1 cup (240ml) buttermilk
- 2 large eggs, room temperature
- 1/2 cup (113g) unsalted butter, melted (for batter)
- 3 tablespoons honey, divided (2 for batter, 1 for glaze)
- 3 tablespoons unsalted butter (1 for skillet, 2 for glaze)
Instructions
- Preheat your oven to 400°F (200°C). Place a 10-inch cast iron skillet inside the oven while it preheats.
- In a large bowl, whisk together cornmeal, flour, sugar, baking powder, baking soda, and salt.
- In a separate medium bowl, whisk together buttermilk, eggs, and 2 tablespoons of honey until smooth and slightly frothy.
- Melt 1/2 cup of unsalted butter and let it cool for a minute or two.
- Pour the buttermilk mixture and melted butter into the dry ingredients. Stir gently with a spatula until just combined (a few lumps are fine).
- Carefully remove the hot skillet from the oven. Add 1 tablespoon of butter and swirl until melted and foamy.
- Pour the batter into the hot skillet. It will sizzle. Gently spread to the edges if needed.
- Bake for 18 to 22 minutes, until golden brown and a toothpick inserted in the center comes out clean or with a few moist crumbs.
- While the cornbread bakes, melt 2 tablespoons of butter and mix with 1 tablespoon of honey for the glaze.
- As soon as the cornbread comes out of the oven, brush the honey butter glaze over the top. Let cool in the skillet for 10 minutes before slicing.
Notes
Do not skip preheating the skillet for a crispy bottom crust. Let the batter rest for 5 minutes before pouring for a more tender crumb. Brush the glaze while the cornbread is hot so it soaks in. Use room temperature ingredients for best results.
Nutrition
- Serving Size: 1 wedge
- Calories: 285
- Sugar: 12
- Sodium: 420
- Fat: 14
- Saturated Fat: 8
- Carbohydrates: 36
- Fiber: 2
- Protein: 5
Keywords: honey butter cornbread, skillet cornbread, fall cornbread, easy cornbread, cast iron cornbread


