Love this? Save it for later!
Share the inspiration with your friends
I cracked seven pumpkin rolls before I made one that didn’t look like a crime scene. Seven. That’s not an exaggeration, and honestly, it’s probably a low number if you count the ones I threw in the trash before they even cooled. The first one split right down the middle when I tried to roll it. The second one stuck to the towel so badly I had to peel fabric fibers out of the cake. The third one? Let’s just say my cream cheese filling ended up looking more like scrambled eggs than a silky spiral. I’m a decent baker—I’ve made my share of super moist banana bread and I can whip up a batch of cookies in my sleep. But this pumpkin roll thing? It humbled me. It made me question everything I thought I knew about cake. The problem wasn’t the recipe—it was me. I was rushing. I was skipping steps. I was treating it like a regular cake roll when it needed something different entirely. This perfect pumpkin roll with cream cheese filling is the result of those seven failures and the one that finally worked. It’s not complicated. It just asks you to pay attention.
Why You’ll Love This Recipe
This isn’t just another pumpkin dessert. This is the one that disappears first at Thanksgiving, the one people ask for the recipe before they’ve finished their first slice. Here’s why this version actually works.
- No cracking, no crying. I’ve tested every rolling method so you don’t have to. This recipe includes the towel technique that actually prevents cracks.
- That cream cheese filling is perfection. It’s thick enough to hold its shape but smooth enough to spread without tearing the cake. No lumps, no graininess, just pure creamy goodness.
- Simple ingredients, bakery results. You probably have most of these in your pantry right now. No weird stabilizers or specialty flours.
- Make-ahead friendly. This pumpkin roll actually tastes better the next day. The flavors meld, the texture settles, and slicing becomes effortless.
- Freezes like a dream. Wrap it up tight and pull it out when you need an impressive dessert with zero effort.
- Perfect for fall gatherings. It’s the kind of dessert that makes people close their eyes after the first bite. I’ve seen it happen more times than I can count.
What makes this pumpkin roll different from the hundreds of other recipes out there? It’s the technique. Most recipes tell you to roll the cake while it’s hot and hope for the best. I’m giving you the exact timing, the specific towel texture, and the cooling method that guarantees success. This isn’t my first rodeo with pumpkin desserts—I’ve made everything from pumpkin cream cheese swirl muffins to chocolate chip pumpkin sourdough bread, and this roll is the one I’m most proud of.
What Ingredients You Will Need
This recipe uses simple, wholesome ingredients to create something that tastes far more impressive than its parts. Most of these are pantry staples, especially if you’ve done any fall baking this season. Let’s walk through each one so you know exactly what to look for.
For the Pumpkin Cake
- ¾ cup all-purpose flour (spooned and leveled—don’t scoop directly from the bag)
- 1 teaspoon baking powder (make sure it’s fresh, not expired)
- 1 teaspoon pumpkin pie spice (I prefer McCormick or make your own with cinnamon, nutmeg, ginger, and cloves)
- ½ teaspoon ground cinnamon (adds warmth and depth)
- ¼ teaspoon salt (balances the sweetness)
- 3 large eggs (room temperature is crucial—cold eggs can make the batter stiff)
- ¾ cup granulated sugar (white sugar gives the cake structure)
- ⅔ cup pumpkin puree (not pumpkin pie filling—make sure it’s 100% pure pumpkin. Libby’s is my go-to)
- 1 teaspoon vanilla extract (pure, not imitation, for the best flavor)
- Powdered sugar for dusting (you’ll need about ¼ cup for the towel rolling process)
For the Cream Cheese Filling
- 8 ounces cream cheese (full-fat, softened to room temperature. Low-fat will make the filling runny)
- ¼ cup unsalted butter (softened to room temperature)
- 1 cup powdered sugar (sifted if it’s lumpy)
- 1 teaspoon vanilla extract (adds that classic cream cheese flavor)
A few notes on ingredient selection. For the pumpkin puree, I’ve tested this with both Libby’s and store brands, and Libby’s consistently gives a drier, more stable cake that rolls better. Store brands tend to have more water content, which can make the cake gummy. If you’re using a store brand, blot the pumpkin puree with a paper towel before adding it to the batter. For the cream cheese, Philadelphia is my recommendation. It’s consistently creamy and doesn’t have that weird gummy texture some generic brands develop when beaten.
If you need substitutions, here’s what I’ve tested. You can use a gluten-free all-purpose flour blend (one that contains xanthan gum) in place of the regular flour. The texture will be slightly more delicate, so handle the cake gently. For a dairy-free version, use plant-based cream cheese and butter, but be aware that the filling may be softer. I’ve had better luck with Miyoko’s brand for both. And if you don’t have pumpkin pie spice, mix ½ teaspoon cinnamon, ¼ teaspoon nutmeg, ¼ teaspoon ginger, and a pinch of cloves.
Equipment Needed
You don’t need a professional bakery setup for this. Here’s what you’ll actually use.
- 15×10-inch jelly roll pan (also called a half-sheet pan). If you don’t have one, a 9×13-inch pan can work, but the cake will be thicker and harder to roll.
- Parchment paper (don’t skip this—it’s essential for lifting the cake out of the pan)
- Clean kitchen towel (a thin cotton or linen towel works best. Terry cloth will stick. I use a flour sack towel)
- Electric mixer (hand mixer or stand mixer with the paddle attachment. You can whisk by hand, but your arm will hate you)
- Rubber spatula (for spreading the batter evenly)
- Sifter or fine-mesh strainer (for dusting powdered sugar)
- Sharp knife or serrated knife (for clean slices. A dull knife will squish the filling out)
If you don’t have a jelly roll pan, you can use a baking sheet with similar dimensions. Just make sure it has sides so the batter doesn’t run off. I’ve also used a silicone baking mat on a regular baking sheet with good results, but you’ll need to build up the sides with folded foil. Honestly, a jelly roll pan is worth the investment if you make this recipe more than once. They’re cheap and take up almost no storage space.
Preparation Method
Let’s get into the actual process. I’m going to walk you through every step with the exact details that took me seven tries to figure out. Pay attention to the timing—it matters more here than in almost any other cake recipe I know.
Step 1: Prep Your Pan and Preheat
Preheat your oven to 375°F (190°C). Line your 15×10-inch jelly roll pan with parchment paper, leaving a little overhang on the long sides. Lightly spray the parchment with non-stick cooking spray. This double protection ensures the cake releases cleanly. While the oven heats, set your cream cheese and butter on the counter to soften. Don’t microwave them—we’ll get to that filling later.
Step 2: Mix the Dry Ingredients
In a small bowl, whisk together the flour, baking powder, pumpkin pie spice, cinnamon, and salt. Whisking aerates the flour and distributes the spices evenly. Set this aside. Don’t skip the whisking—if you just dump everything in, you’ll end up with pockets of baking powder that taste metallic.
Step 3: Beat the Eggs and Sugar
In a large bowl, beat the eggs and granulated sugar together with an electric mixer on medium-high speed for about 3-4 minutes. The mixture should become thick, pale, and ribbon-like. When you lift the beaters, the batter should fall back into the bowl in a slow, lazy ribbon that sits on the surface for a few seconds before disappearing. This step is non-negotiable. The eggs and sugar need that time to create the structure that will hold the cake together during rolling.
Step 4: Add the Pumpkin and Vanilla
Beat in the pumpkin puree and vanilla extract on low speed until just combined. Don’t overmix here—you just want everything incorporated. The batter will look a little thinner at this point, and that’s normal. Scrape the bottom of the bowl with a spatula to make sure there’s no sugar hiding down there.
Step 5: Fold in the Dry Ingredients
Add the dry ingredients to the wet mixture and fold gently with a rubber spatula. Use a cutting motion through the center, then sweep around the edge of the bowl. Repeat until you can’t see any more streaks of flour. Overmixing at this stage will develop the gluten and make the cake tough. You want it tender and flexible for rolling.
Step 6: Spread and Bake
Pour the batter into the prepared pan and spread it evenly with an offset spatula. The batter will be thick—don’t worry about getting it perfectly smooth, just make sure it reaches all four corners. Bake for 13-15 minutes. The cake is done when it springs back when lightly touched in the center and the edges start pulling away from the parchment. Don’t overbake. A dry cake will crack. A slightly underbaked cake will roll like a dream.
Step 7: The Crucial Rolling Step
While the cake bakes, lay your clean kitchen towel flat on the counter and dust it generously with powdered sugar. Use a sifter or fine-mesh strainer to create an even layer. As soon as the cake comes out of the oven, run a knife around the edges to loosen it. Invert the cake onto the sugared towel. Carefully peel off the parchment paper. Starting at one short end, roll the cake and towel together into a tight spiral. Let it cool completely in this rolled position, seam-side down. This takes about 45 minutes to an hour. Don’t rush it. Rolling the cake while it’s still warm trains it to hold that curve. If you let it cool flat, it will crack when you try to roll it later.
Step 8: Make the Filling
While the cake cools, make the cream cheese filling. In a medium bowl, beat the softened cream cheese and butter together until smooth and fluffy, about 2 minutes. Add the powdered sugar and vanilla extract and beat on low speed until combined, then increase to medium-high and beat for another minute until the filling is light and spreadable. If the filling seems too soft, refrigerate it for 15 minutes to firm up.
Step 9: Unroll, Fill, and Re-roll
Once the cake is completely cool, gently unroll it. It will want to curl back up—that’s good. Spread the cream cheese filling evenly over the cake, leaving a ½-inch border on all sides. Using the towel to help you, roll the cake back up tightly without the towel this time. Wrap the finished roll in plastic wrap and refrigerate for at least 2 hours before serving. This chilling time allows the filling to set and makes slicing much cleaner.
Cooking Tips & Techniques
Here are the things I wish someone had told me before my first attempt. These tips come from actual failures, so trust them.
Don’t skip the powdered sugar on the towel. I tried it without once, thinking it would be fine. The cake stuck to the towel and ripped apart. The powdered sugar creates a barrier that prevents sticking and also adds a subtle sweetness to the outside of the roll.
Roll the cake while it’s hot. This is the most important tip in this entire post. If you let the cake cool flat, it will crack the moment you try to bend it. The heat makes the cake pliable. Once it cools in that rolled shape, it remembers the curve.
Use room temperature ingredients for the filling. Cold cream cheese will leave lumps in your filling that won’t smooth out no matter how long you beat them. Let the cream cheese and butter sit on the counter for at least an hour before you start.
Slice with a serrated knife. A sharp serrated knife cuts through the cake without squishing the filling out the sides. Wipe the blade clean between slices for picture-perfect pieces.
I once made a pumpkin roll for a Friendsgiving dinner and forgot to add the sugar to the cake batter. I realized it halfway through baking. The cake was flat, dense, and tasted like sad pumpkin cardboard. I learned to always double-check my ingredients before I start mixing. It sounds obvious, but when you’re in a rhythm, it’s easy to miss something.
Variations & Adaptations
This recipe is flexible. Here are some ways to make it your own.
Chocolate pumpkin roll. Replace 2 tablespoons of the flour with unsweetened cocoa powder. The chocolate pairs beautifully with the pumpkin and cream cheese. I made this version for Halloween one year and it looked stunning dusted with powdered sugar to resemble snow on dark earth.
Maple pecan twist. Add ½ cup finely chopped toasted pecans to the filling and replace the vanilla extract in the cake with maple extract. Drizzle the finished roll with a simple maple glaze made from powdered sugar and maple syrup. This version tastes like autumn in dessert form.
Gluten-free version. Use a 1:1 gluten-free baking flour blend that contains xanthan gum. I’ve tested this with King Arthur’s Measure for Measure flour and it works perfectly. The cake is slightly more delicate, so handle it gently during the rolling process.
Dairy-free version. Use plant-based cream cheese and butter. Miyoko’s brand gives the best texture. The filling will be slightly softer, so chill the finished roll for at least 3 hours before slicing.
Spiced variation. Add ¼ teaspoon ground ginger, ¼ teaspoon ground cloves, and a pinch of cardamom to the dry ingredients. This gives the cake a more complex spice profile that’s perfect for holiday gatherings.
Serving & Storage Suggestions
This pumpkin roll is best served chilled. The filling firms up beautifully in the refrigerator, making clean slices easy. Let it sit at room temperature for about 10 minutes before slicing if you want a slightly softer filling.
For serving, I like to dust the top with a light snowfall of powdered sugar and add a few candied pecans or a drizzle of caramel sauce. It pairs beautifully with a cup of hot coffee or spiced apple cider. If you’re serving it for a holiday gathering, arrange the slices on a platter with fresh cranberries and rosemary sprigs for a festive look.
To store, wrap the pumpkin roll tightly in plastic wrap and keep it in the refrigerator for up to 5 days. The flavors actually improve after a day or two as the pumpkin and cream cheese meld together. You can also freeze the roll for up to 3 months. Wrap it in plastic wrap, then a layer of foil, and thaw it overnight in the refrigerator before serving. Don’t thaw it at room temperature—the filling can become watery.
I’ve also found that this pumpkin roll travels well. I’ve brought it to multiple holiday dinners wrapped in plastic and then a towel, and it always arrives intact. Just make sure it’s thoroughly chilled before you pack it.
Nutritional Information & Benefits
Here’s the estimated nutritional breakdown for one slice (assuming 10 slices per roll). Keep in mind these are estimates and will vary based on specific ingredients and portion sizes.
| Nutrient | Amount Per Slice |
|---|---|
| Calories | 285 |
| Total Fat | 14g |
| Saturated Fat | 8g |
| Cholesterol | 85mg |
| Sodium | 195mg |
| Total Carbohydrates | 36g |
| Dietary Fiber | 1g |
| Sugars | 27g |
| Protein | 5g |
Pumpkin is packed with vitamin A, which supports eye health and immune function. It’s also a good source of fiber and potassium. The cream cheese filling adds protein and calcium, though it’s definitely a treat rather than a health food. If you’re watching your sugar intake, you can reduce the sugar in the cake to ½ cup and use a sugar substitute in the filling, but the texture will be slightly different.
This recipe contains gluten, dairy, and eggs. It’s not suitable for vegan diets without the substitutions I mentioned earlier.
Conclusion
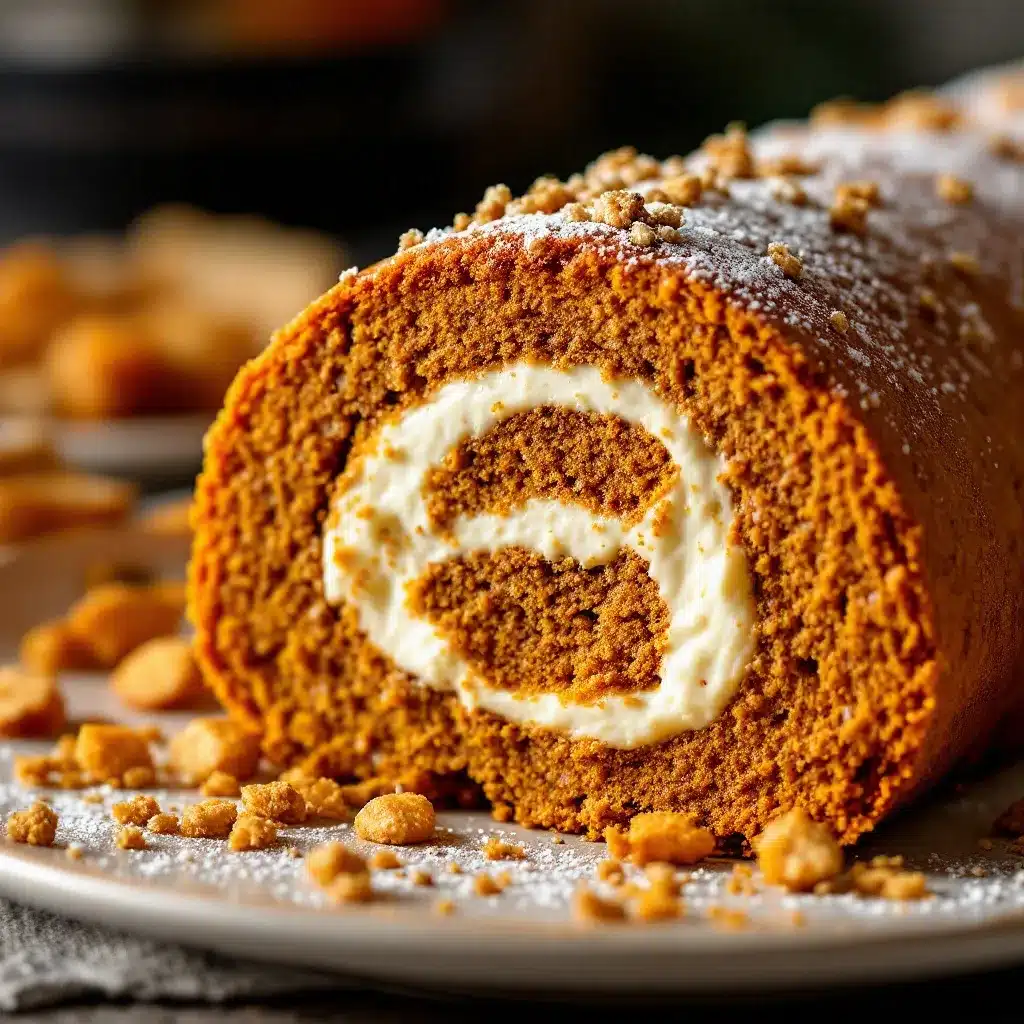
This perfect pumpkin roll with cream cheese filling is the dessert that taught me patience in the kitchen. It’s not the hardest thing I’ve ever made, but it demands attention to detail in a way that other cakes don’t. The payoff is worth every careful step. When you cut into that spiral and see the creamy filling swirled through the tender pumpkin cake, you’ll understand why I kept trying after those first seven failures. This recipe works. It’s been tested by someone who messed it up every possible way so you don’t have to.
I’d love to hear how yours turns out. Did you try one of the variations? Did you discover a trick I didn’t mention? Drop a comment below and let me know. And if you’re looking for more fall dessert inspiration, my apple cider donut bundt cake is another reader favorite that disappears just as fast. Happy baking, friends. You’ve got this.
Frequently Asked Questions
Why did my pumpkin roll crack when I rolled it?
Most likely the cake was overbaked or you let it cool flat before rolling. A dry cake has no flexibility. Make sure you’re pulling the cake out of the oven when it’s just set and still slightly soft in the center. Roll it immediately while it’s hot, using the sugared towel method. If it’s already cracked, don’t worry—the cream cheese filling can hide a lot of imperfections, and a dusting of powdered sugar covers the rest.
Can I use pumpkin pie filling instead of pumpkin puree?
No, please don’t. Pumpkin pie filling has added sugar and spices, plus stabilizers that will change the texture of the cake. The cake will be overly sweet and may not set properly. Stick with 100% pure pumpkin puree. Libby’s is the most reliable brand, but any pure pumpkin puree will work.
How do I get clean slices without the filling squishing out?
Chill the roll for at least 2 hours before slicing. Use a sharp serrated knife and wipe the blade clean between each cut. If you’re serving a crowd and want perfect slices, you can even freeze the roll for 30 minutes before cutting—the filling will be firm enough to hold its shape perfectly.
Can I make this pumpkin roll ahead of time?
Absolutely. In fact, I recommend it. The pumpkin roll tastes better after a day in the refrigerator because the flavors have time to meld. You can make it up to 2 days ahead and keep it wrapped in plastic in the fridge. You can also freeze it for up to 3 months. Just thaw it overnight in the refrigerator before serving.
My cream cheese filling is too runny. What went wrong?
This usually happens when the cream cheese or butter is too soft, or if you used low-fat cream cheese. Full-fat cream cheese has less water content and creates a firmer filling. If your filling is already runny, try refrigerating it for 20-30 minutes to firm it up before spreading. You can also beat in an extra tablespoon of powdered sugar to help stabilize it.
Pin This Recipe!
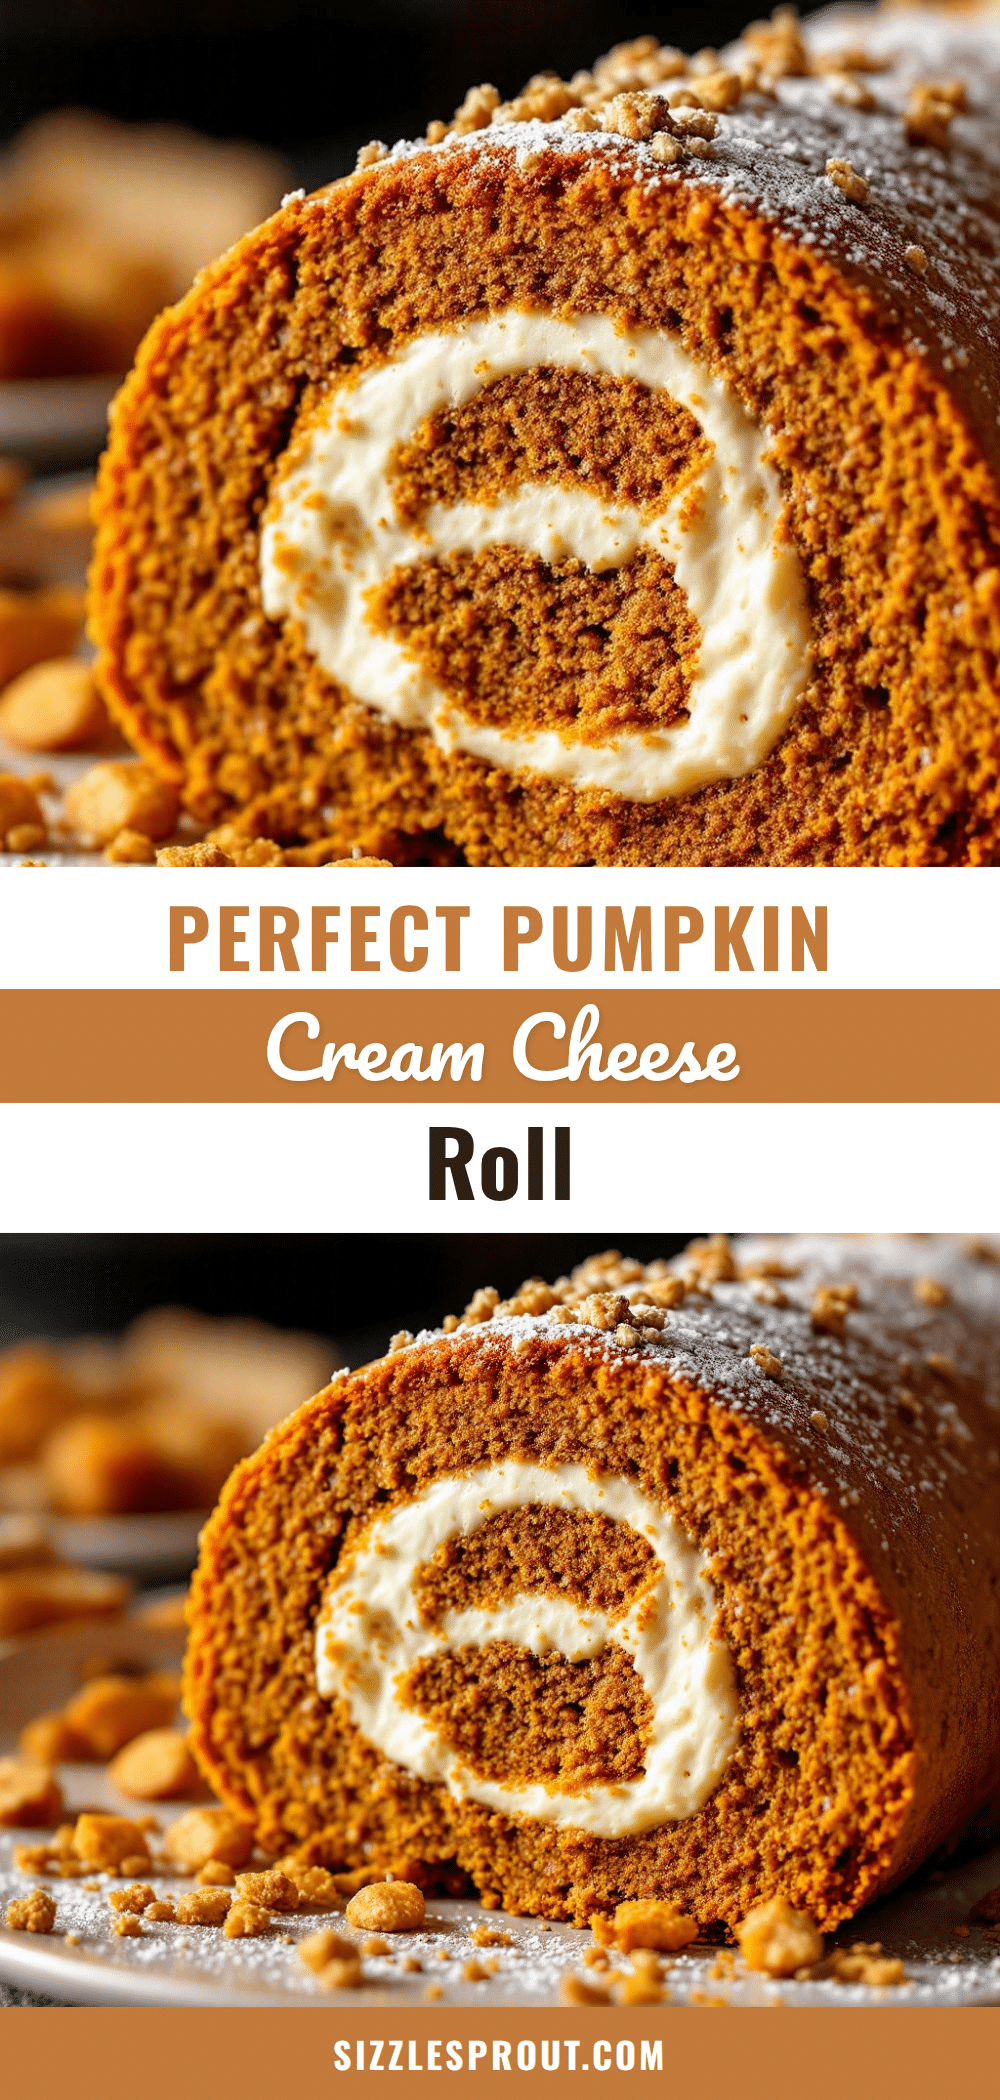
Perfect Pumpkin Roll with Cream Cheese Filling: Best Easy Recipe
This perfect pumpkin roll with cream cheese filling is the result of seven failures and the one that finally worked. It’s not complicated, it just asks you to pay attention.
- Prep Time: 20 minutes
- Cook Time: 15 minutes
- Total Time: 3 hours 35 minutes (includes cooling and chilling)
- Yield: 10 servings 1x
- Category: Dessert
- Cuisine: American
Ingredients
- ¾ cup all-purpose flour
- 1 teaspoon baking powder
- 1 teaspoon pumpkin pie spice
- ½ teaspoon ground cinnamon
- ¼ teaspoon salt
- 3 large eggs (room temperature)
- ¾ cup granulated sugar
- ⅔ cup pumpkin puree (not pumpkin pie filling)
- 1 teaspoon vanilla extract
- ¼ cup powdered sugar (for dusting towel)
- 8 ounces cream cheese (full-fat, softened)
- ¼ cup unsalted butter (softened)
- 1 cup powdered sugar (for filling)
- 1 teaspoon vanilla extract (for filling)
Instructions
- Preheat oven to 375°F (190°C). Line a 15×10-inch jelly roll pan with parchment paper, leaving overhang on long sides. Lightly spray parchment with non-stick cooking spray.
- In a small bowl, whisk together flour, baking powder, pumpkin pie spice, cinnamon, and salt. Set aside.
- In a large bowl, beat eggs and granulated sugar with an electric mixer on medium-high speed for 3-4 minutes until thick, pale, and ribbon-like.
- Beat in pumpkin puree and vanilla extract on low speed until just combined.
- Fold dry ingredients into wet mixture with a rubber spatula until no streaks of flour remain. Do not overmix.
- Pour batter into prepared pan and spread evenly. Bake for 13-15 minutes until cake springs back when lightly touched and edges pull away from parchment.
- While cake bakes, lay a clean kitchen towel flat and dust generously with powdered sugar. As soon as cake comes out of oven, run a knife around edges, invert cake onto sugared towel, and carefully peel off parchment.
- Starting at one short end, roll cake and towel together into a tight spiral. Let cool completely in rolled position, seam-side down, about 45 minutes to 1 hour.
- For filling: In a medium bowl, beat softened cream cheese and butter until smooth and fluffy, about 2 minutes. Add powdered sugar and vanilla extract, beat on low until combined, then on medium-high for 1 minute until light and spreadable. Refrigerate 15 minutes if too soft.
- Once cake is completely cool, gently unroll. Spread cream cheese filling evenly over cake, leaving a ½-inch border on all sides. Using towel to help, roll cake back up tightly without towel. Wrap in plastic wrap and refrigerate at least 2 hours before serving.
Notes
Roll the cake while it’s hot to prevent cracking. Use room temperature cream cheese and butter for the filling. Chill the roll for at least 2 hours before slicing for clean slices. The roll can be made up to 2 days ahead and stored in the refrigerator, or frozen for up to 3 months.
Nutrition
- Serving Size: 1 slice
- Calories: 285
- Sugar: 27
- Sodium: 195
- Fat: 14
- Saturated Fat: 8
- Carbohydrates: 36
- Fiber: 1
- Protein: 5
Keywords: pumpkin roll, cream cheese filling, pumpkin dessert, fall dessert, Thanksgiving dessert, easy pumpkin roll


