Love this? Save it for later!
Share the inspiration with your friends
I looked down at my phone and there it was — a photo of an empty platter sent to me by my brother-in-law. “Gone in 10 minutes,” the text read. That was the third time someone had sent me a picture of an empty dish after bringing these wings somewhere.
Honestly, I didn’t set out to make the perfect game day wing. I was just tired of spending money on takeout wings that got soggy before the first commercial break. So I started playing around in my own kitchen, trying to figure out how to get that crispy skin without a deep fryer. It took a few batches of sad, rubbery wings before I finally cracked the code. And now, these crispy baked chicken wings for Football Sunday are kind of my thing.
What makes these different? It’s not one secret trick — it’s a combination of a few small things that add up to big crunch. A little steam, a little baking powder, and a whole lot of patience during the drying process. The first time I pulled a batch out of the oven and heard that crackle when I bit into one, I actually laughed out loud. I knew I had something worth sharing.
Why You’ll Love This Recipe
I’ve tested this method more times than I can count, and I can tell you with confidence — these wings deliver. No deep frying, no mess, just honest-to-goodness crispy skin every single time. Here’s why this recipe stands out from the crowd.
- Perfect for Game Day : These wings hold their crunch for a surprisingly long time, which means you can make them ahead and they’ll still be crispy by halftime. That’s a game-changer for hosting.
- Simple Ingredients : You probably have everything in your kitchen right now. No buttermilk, no specialty flours, no trips to three different stores.
- Foolproof Method : I’ve taught this to friends who swore they couldn’t cook, and every single one of them nailed it on the first try. The steam-and-bake method takes the guesswork out.
- Totally Customizable : The base wings are perfectly crispy on their own, so you can toss them in any sauce you like — buffalo, garlic parmesan, honey sriracha, you name it.
- Way Better Than Takeout : Let’s be real — delivery wings are expensive and never as hot or crispy as you want them to be. These cost a fraction of the price and taste like they came from a restaurant.
I’ve had people tell me these are the best wings they’ve ever eaten, and I’m not even trying to be humble about it anymore. The technique is solid, the results are consistent, and the flavor is exactly what you want when you’re gathered around the TV with friends and family.
What Ingredients You Will Need
This recipe relies on a handful of pantry staples to create that signature crunch. The magic isn’t in exotic ingredients — it’s in how you use them.
- Chicken wings — 3 pounds, separated into drumettes and flats. I prefer fresh over frozen for the best texture, but thawed frozen wings work fine too. Pat them very dry with paper towels before you start.
- Baking powder — 2 teaspoons. This is the secret to crispy skin. It raises the pH of the skin and helps it brown and crisp up in the oven. Make sure it’s baking powder, not baking soda — they’re not the same thing.
- Cornstarch — 1 tablespoon. This adds an extra layer of crunch and helps the seasoning stick to the wings. You can skip it in a pinch, but I wouldn’t recommend it.
- Salt — 1 teaspoon. I use kosher salt for its clean flavor and easy pinch-ability. Table salt works too, just use a little less since it’s more concentrated.
- Black pepper — 1/2 teaspoon, freshly ground. Adds a subtle warmth that complements the chicken without overpowering it.
- Garlic powder — 1 teaspoon. Not garlic salt — garlic powder. It distributes evenly and doesn’t add extra sodium.
- Onion powder — 1/2 teaspoon. Rounds out the savory profile and adds depth.
- Paprika — 1 teaspoon. I use sweet paprika for color and mild sweetness. Smoked paprika works beautifully too if you want a hint of smokiness.
- Cayenne pepper — 1/4 teaspoon (optional). Adds a gentle warmth without making the wings spicy. Leave it out if you’re serving a crowd with different heat tolerances.
- Butter — 3 tablespoons, melted. This is for your sauce if you’re making buffalo wings. Use unsalted so you can control the salt level.
- Hot sauce — 1/3 cup. I’m partial to Frank’s RedHot for classic buffalo flavor, but use whatever hot sauce you love. The butter mellows it out beautifully.
That’s it. No weird ingredients, no complicated marinades. Just simple, honest food that comes together with a little bit of technique and a lot of love.
Equipment Needed
You don’t need a professional kitchen to make these wings. Here’s what you’ll need:
- Baking sheet — A rimmed baking sheet works best. The rim catches any drips and keeps your oven clean. I use a half-sheet pan for even heat distribution.
- Wire rack — This is crucial. A wire rack set inside your baking sheet allows air to circulate all around the wings, preventing them from sitting in their own juices and getting soggy. If you don’t have one, you can use a cooling rack that’s oven-safe.
- Paper towels — Lots of them. Drying the wings thoroughly is the most important step, and you’ll go through more paper towels than you expect.
- Large mixing bowl — For tossing the wings with the dry ingredients. A stainless steel or glass bowl works great.
- Tongs — For flipping the wings halfway through baking. Silicone-tipped tongs won’t scratch your baking sheet.
- Small saucepan — If you’re making a sauce, you’ll need this to melt the butter and warm the hot sauce.
If you don’t have a wire rack, don’t panic. You can still make these wings — just flip them more frequently during baking and expect slightly less crispy results. I’ve been there, and they’re still delicious.
Preparation Method
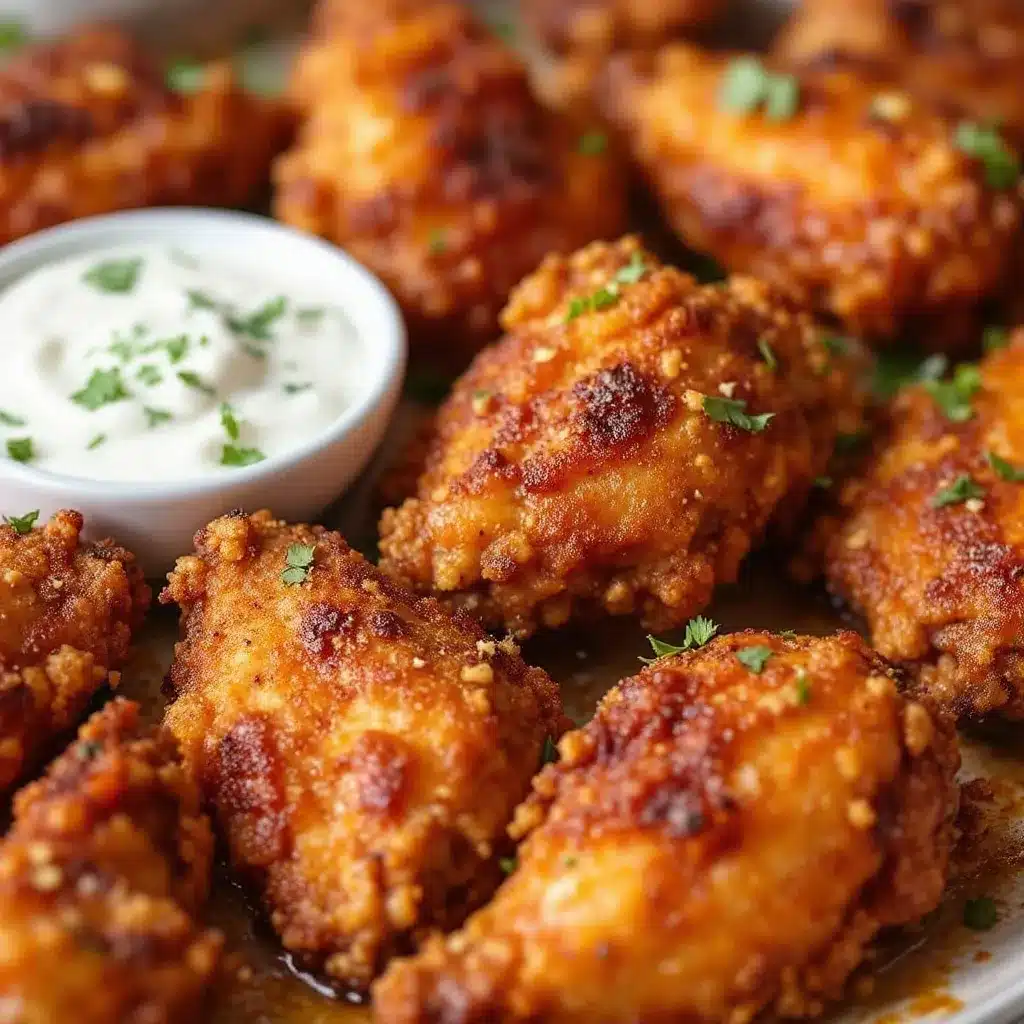
This is where the magic happens. Follow these steps carefully, and you’ll be rewarded with the crispiest baked wings you’ve ever made.
- Preheat your oven to 250°F (120°C). Yes, you read that right — we’re starting low and slow. This initial low-temperature bake renders out the fat and dries out the skin, setting the stage for maximum crunch later.
- Dry the wings thoroughly. Pat each wing dry with paper towels. I mean really dry — you want the skin to feel tacky, not damp. Any moisture left on the skin will steam instead of crisp. Take your time with this step; it makes all the difference.
- Mix the dry ingredients. In your large bowl, combine the baking powder, cornstarch, salt, pepper, garlic powder, onion powder, paprika, and cayenne if using. Whisk them together until evenly distributed.
- Toss the wings. Add the dried wings to the bowl and toss them with your hands until every piece is evenly coated. The mixture should look like a light dusting on the skin — not clumpy or wet.
- Arrange on the wire rack. Place the wire rack over your baking sheet and arrange the wings in a single layer with space between each piece. Crowding them will trap steam and prevent crisping.
- Bake at 250°F for 30 minutes. This is the rendering phase. You’ll see fat starting to drip down onto the baking sheet, and the skin will begin to dry out and tighten. Don’t skip this step — it’s the foundation of the crispy texture.
- Increase the oven temperature to 425°F (220°C). After 30 minutes, crank up the heat. The sudden temperature increase will cause the skin to puff and crisp up beautifully.
- Bake for 40-50 minutes more. At the 20-minute mark, flip each wing using your tongs. This ensures even browning on all sides. The wings are done when the skin is golden brown and feels firm to the touch.
- Make your sauce while the wings bake. In your small saucepan, melt the butter over low heat. Stir in the hot sauce and whisk until smooth. Keep it warm until the wings are ready.
- Toss and serve immediately. Transfer the hot wings to a clean bowl, pour the sauce over them, and toss gently until evenly coated. Serve right away while they’re still screaming hot and crispy.
One thing I learned the hard way — don’t cover the wings after saucing them. The steam will soften the skin immediately. If you’re not serving them all at once, keep the sauce on the side and let people toss their own.
Cooking Tips & Techniques
After making these wings more times than I can count, I’ve picked up a few tricks that make the process smoother and the results more consistent.
Dry them overnight if you can. If you have the time, pat the wings dry, arrange them on the wire rack, and leave them uncovered in the fridge for 8-24 hours. This air-drying step removes even more moisture from the skin and gives you an even crispier result. I do this whenever I’m planning ahead for game day.
Don’t skip the wire rack. I tried making these wings directly on a baking sheet once, and the bottoms came out soggy and sad. The wire rack is non-negotiable for even air circulation. If you don’t have one, you can use a cooling rack that’s oven-safe — just make sure it’s stable on the baking sheet.
Watch your baking powder. Not all baking powders are created equal. Some contain aluminum, which can leave a metallic aftertaste on the wings. I recommend using an aluminum-free brand like Rumford or Bob’s Red Mill. Trust me, you’ll taste the difference.
Let them rest after baking. After the wings come out of the oven, let them sit on the wire rack for 2-3 minutes before tossing them in sauce. This allows the skin to set and stay crispy even after saucing. If you toss them immediately, the steam from the hot wings will make the sauce watery.
Double the batch. These wings disappear fast, especially on game day. I always make at least twice as many as I think I need. Leftovers (if there are any) reheat beautifully in the oven or air fryer.
Variations & Adaptations
One of the best things about this recipe is how adaptable it is. Here are some of my favorite variations:
- Classic Buffalo — Toss the baked wings in a mixture of melted butter and your favorite hot sauce. I use a 3:1 ratio of hot sauce to butter for a tangy, fiery coating that’s not too greasy.
- Garlic Parmesan — After baking, toss the wings with melted butter, minced garlic, and a generous handful of grated Parmesan cheese. Finish with fresh parsley for color. These are dangerously addictive.
- Honey Sriracha — Combine equal parts honey and sriracha with a splash of rice vinegar. Toss the wings and sprinkle with sesame seeds and sliced green onions. Sweet, spicy, and absolutely delicious.
- Lemon Pepper — Skip the cayenne and add the zest of one lemon to the dry seasoning mix. After baking, toss the wings with melted butter and a generous amount of cracked black pepper. Simple and perfect.
- Dry Rub Style — For a no-sauce option, increase the paprika and add a teaspoon of brown sugar to the dry mix. The sugar caramelizes in the oven and creates a sweet, smoky crust that’s incredible on its own.
I’ve also made these wings in the air fryer with great results. Cook them at 375°F for 20-25 minutes, flipping halfway through. The texture is slightly different — a little more compact — but they’re still wonderfully crispy.
Serving & Storage Suggestions
These wings are best served hot and fresh, but here’s how to make the most of them.
Serve them straight from the oven with classic dipping sides — ranch dressing, blue cheese dressing, celery sticks, and carrot sticks. I always put out a few different sauces so people can customize their own wings. A big platter of wings surrounded by dipping bowls makes for a beautiful presentation that feels special without being fussy.
For game day, I like to pair these wings with other crowd-pleasers like creamy loaded jalapeño popper corn dip and honey sriracha pulled pork sliders for a full spread that keeps everyone happy from kickoff to the final whistle.
If you have leftovers (lucky you), store them in an airtight container in the refrigerator for up to 3 days. The skin will soften, but they’re still delicious. To reheat, place them on a wire rack over a baking sheet and warm them in a 375°F oven for 8-10 minutes. The air fryer also works beautifully — just 4-5 minutes at 375°F and they’ll be almost as crispy as the first time.
I don’t recommend microwaving leftovers — the skin turns rubbery and the texture is just not the same. Trust me, I’ve tried.
Nutritional Information & Benefits
These wings are surprisingly friendly for a game day snack. Here’s a rough estimate per serving (about 5 wings):
- Calories : 320-380
- Protein : 24-28 grams
- Fat : 22-26 grams
- Carbohydrates : 2-4 grams
- Fiber : 0 grams
- Sugar : 0 grams
Chicken wings are a good source of protein, which helps keep you full and satisfied. They also contain essential vitamins and minerals like B vitamins, iron, and zinc. The skin does contain fat, but baking instead of frying significantly reduces the overall fat content compared to traditional wings.
For those watching their sodium, you can reduce the salt in the dry rub and use low-sodium hot sauce. The baking powder adds a small amount of sodium, but it’s minimal compared to what you’d get from restaurant wings.
Conclusion
These crispy baked chicken wings for Football Sunday have become my go-to recipe for every game day gathering, and I honestly can’t imagine going back to takeout wings. The method is simple enough for a weeknight dinner but impressive enough for a party full of hungry fans.
I love that this recipe proves you don’t need a deep fryer to get that perfect crunch. A little patience, a wire rack, and the right technique are all it takes. And once you taste that first bite — the crackle of the skin, the juicy meat underneath, the perfect coating of sauce — you’ll understand why I keep making batch after batch.
Try this recipe for your next game day, and let me know how it goes. Did you stick with classic buffalo or try one of the variations? Drop a comment below and tell me about your wing adventures. And if you’re looking for more game day inspiration, check out my crispy buffalo chicken dip and football-shaped peanut butter brownie cake for the ultimate game day spread.
Happy cooking, and go team!
Frequently Asked Questions
Can I make these wings ahead of time?
Yes! You can bake the wings up to a day ahead, store them in the refrigerator, and reheat them in a 375°F oven for 8-10 minutes before serving. Just wait to toss them in sauce until right before serving.
Why are my wings not crispy?
The most common culprit is moisture. Make sure you dry the wings thoroughly before adding the dry rub. Also, don’t crowd the baking sheet — the wings need space for air to circulate. If they’re touching, they’ll steam instead of crisp.
Can I use frozen chicken wings?
Yes, but thaw them completely in the refrigerator first. Pat them very dry before proceeding with the recipe. Frozen wings release more moisture as they thaw, so extra drying is essential.
What’s the best hot sauce for buffalo wings?
Frank’s RedHot is the classic choice for a reason — it has the perfect balance of heat and tang. But feel free to use your favorite hot sauce. Just remember that different sauces have different heat levels, so adjust the amount to your taste.
Can I make these wings gluten-free?
Absolutely. The recipe is naturally gluten-free as written. Just make sure your baking powder is certified gluten-free (some brands contain wheat starch). The cornstarch is already gluten-free, so you’re good to go.
Pin This Recipe!
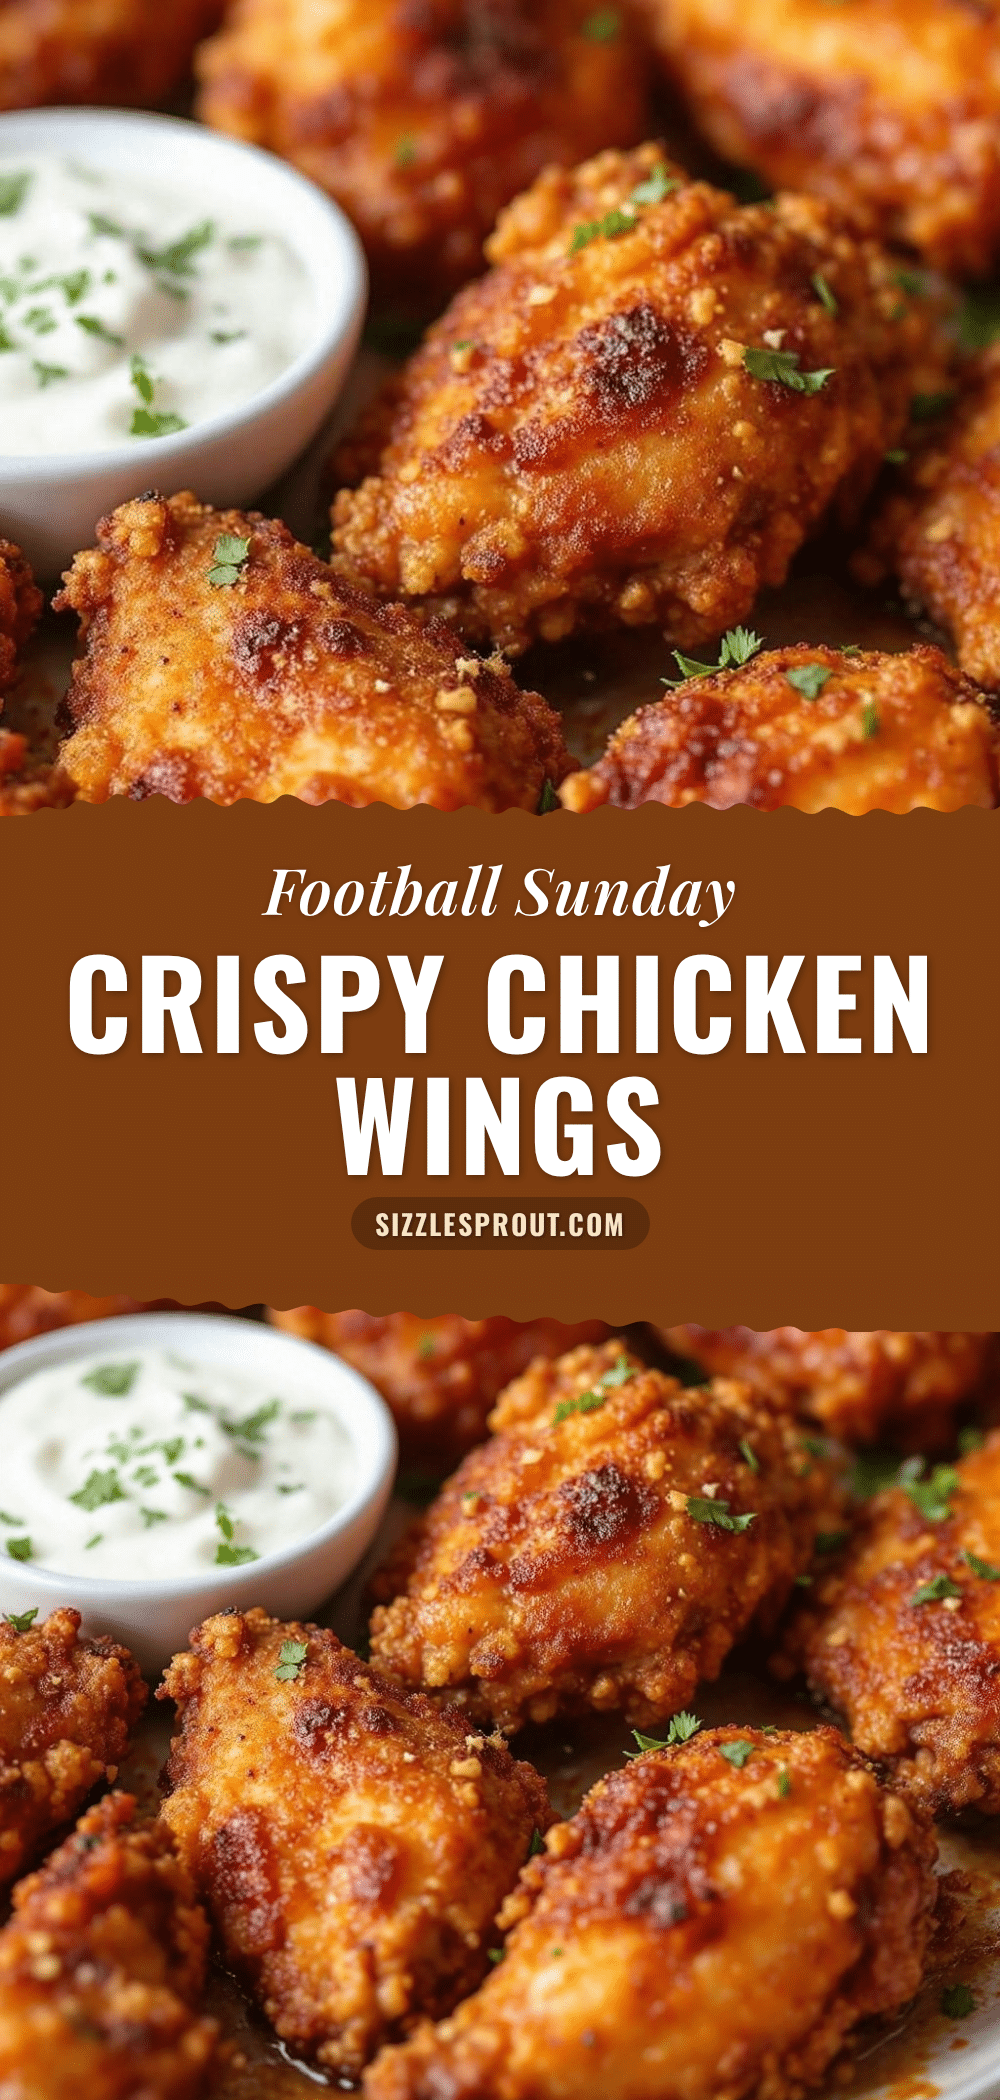
Best Crispy Baked Chicken Wings for Football Sunday

These crispy baked chicken wings are perfect for game day, delivering a crunchy, golden-brown skin without deep frying. A simple steam-and-bake method ensures foolproof results every time.
- Prep Time: 15 minutes
- Cook Time: 1 hour 10 minutes
- Total Time: 1 hour 25 minutes
- Yield: 4 servings 1x
- Category: Appetizer
- Cuisine: American
Ingredients
- 3 pounds chicken wings, separated into drumettes and flats
- 2 teaspoons baking powder
- 1 tablespoon cornstarch
- 1 teaspoon kosher salt
- 1/2 teaspoon freshly ground black pepper
- 1 teaspoon garlic powder
- 1/2 teaspoon onion powder
- 1 teaspoon sweet paprika
- 1/4 teaspoon cayenne pepper (optional)
- 3 tablespoons unsalted butter, melted
- 1/3 cup hot sauce (e.g., Frank’s RedHot)
Instructions
- Preheat your oven to 250°F (120°C).
- Dry the wings thoroughly with paper towels until the skin feels tacky.
- In a large bowl, mix baking powder, cornstarch, salt, pepper, garlic powder, onion powder, paprika, and cayenne (if using).
- Add the dried wings to the bowl and toss with your hands until evenly coated.
- Place a wire rack over a rimmed baking sheet and arrange the wings in a single layer with space between each piece.
- Bake at 250°F for 30 minutes (rendering phase).
- Increase oven temperature to 425°F (220°C).
- Bake for 40-50 minutes more, flipping the wings at the 20-minute mark, until golden brown and firm.
- While wings bake, melt butter in a small saucepan over low heat. Stir in hot sauce and whisk until smooth. Keep warm.
- Transfer hot wings to a clean bowl, pour sauce over them, and toss gently until evenly coated. Serve immediately.
Notes
For extra crispiness, dry the wings uncovered in the fridge overnight. Use aluminum-free baking powder to avoid a metallic aftertaste. Let wings rest 2-3 minutes after baking before saucing to keep skin crispy. Do not cover after saucing.
Nutrition
- Serving Size: About 5 wings
- Calories: 350
- Sodium: 800
- Fat: 24
- Saturated Fat: 8
- Carbohydrates: 3
- Protein: 26
Keywords: crispy baked chicken wings, game day wings, buffalo wings, baked chicken wings, football sunday wings


