Love this? Save it for later!
Share the inspiration with your friends
Third time this week I’d made those Easy Cheese Quesadilla Dippers, and this time I finally figured out the trick to keeping the cheese from bursting out the sides like some kind of molten escape artist. My four-year-old had eaten exactly three of them standing over the cutting board before I’d even packed the first lunchbox. That’s when I knew this wasn’t just another snack—it was a genuine, lunchbox-saving, sanity-preserving win.
I mean, let’s be honest. Packing lunches for kids is a whole thing. You want something fast, something they’ll actually eat, and something that won’t come back home in a soggy bag at the end of the day. And these dippers? They check all the boxes. Crispy on the outside, warm and melty on the inside, and cut into perfect little strips that are just right for small hands (and tiny dunking fingers). They’re the kind of recipe you make once, then find yourself making on repeat because they’re just that simple and that good.
It started as a weekday desperation move—I had tortillas, I had cheese, and I had about twelve minutes before we needed to walk out the door. I figured, why not try something different? And honestly, it was one of those rare moments where the simplest idea turned into an instant hit. No fancy ingredients, no complicated steps. Just a hot skillet, some patience, and the quiet satisfaction of watching your kid eat every last bite without a single complaint.
Why You’ll Love This Recipe
Let me tell you why these Easy Cheese Quesadilla Dippers have earned a permanent spot in our weekly rotation. First off, they’re ridiculously quick—like, from fridge to lunchbox in under ten minutes quick. That’s faster than waiting for a frozen pizza to bake, and way more satisfying because you made them yourself.
- Quick & Easy: Comes together in under 10 minutes, perfect for busy mornings or last-minute lunch packing.
- Simple Ingredients: You probably already have everything in your kitchen right now. No fancy grocery trips needed.
- Perfect for Lunchboxes: They hold up surprisingly well, even when packed in the morning for lunch later. No sogginess here.
- Crowd-Pleaser: My kids devour them, but honestly? I’ve caught myself sneaking a few too. They’re just that good.
- Unbelievably Delicious: The combination of crispy, golden tortilla and gooey melted cheese is pure comfort food magic.
What sets this recipe apart from the rest? It’s the technique. I’m not just slapping cheese between two tortillas and calling it a day. I use a specific method—cooking them low and slow in a dry skillet—that gives you that perfect, even crispness without any oil splatter or greasy fingers. And the dipping sauce? That’s the secret weapon. A simple blend of sour cream and salsa that takes these from good to “can I have more please?” in seconds.
This isn’t just another quesadilla recipe. It’s the one that makes you feel like a lunch-packing pro, even on those mornings when you’re running on three hours of sleep and coffee. It’s comfort food reimagined—faster, simpler, but with the same soul-soothing satisfaction that makes you close your eyes after that first bite.
What Ingredients You Will Need
This recipe uses simple, everyday ingredients to deliver big flavor and satisfying crunch without any fuss. You probably have most of these in your kitchen right now, which is exactly how I like my recipes to be.
- Flour tortillas (8-inch or 6-inch): I prefer medium-sized tortillas for this recipe—big enough to hold plenty of cheese, but small enough to cut into perfect dipper-sized strips. Look for soft, pliable tortillas that won’t crack when you fold them. If you’re gluten-free, corn tortillas work too, though they’re a bit smaller and more delicate.
- Shredded mozzarella cheese (1 cup): This is my go-to for that perfect stretchy, gooey melt. Mozzarella has the ideal texture for quesadillas—it gets melty without becoming greasy. I recommend shredding it yourself from a block if you have the time; pre-shredded cheese often has anti-caking agents that can affect the melt. (Trust me on this one—I learned the hard way.)
- Shredded cheddar cheese (½ cup): Adds that sharp, unmistakable flavor that balances the mildness of mozzarella. You can use white or yellow cheddar, whichever you prefer. For a milder version, try Monterey Jack instead.
- Sour cream (¼ cup): For the dipping sauce. It adds a cool, creamy contrast to the warm, crispy quesadilla. I recommend full-fat for the best texture and flavor, but low-fat works in a pinch.
- Salsa (¼ cup): Any kind you like—mild, medium, or hot. I usually go with a chunky restaurant-style salsa for the dipping sauce, but a smooth one works too. If you’re packing these for little ones, stick with mild.
- Optional add-ins: A sprinkle of garlic powder, a pinch of cumin, or even some finely chopped cilantro can take these to the next level. I sometimes add a tiny bit of smoked paprika for warmth. (My kids don’t even notice, but I know it’s there.)
For the dipping sauce, I also like to keep it simple: just sour cream and salsa mixed together. But you can swap in Greek yogurt for a protein boost, or use dairy-free sour cream if needed. The beauty of this recipe is how flexible it is.
Equipment Needed
You don’t need any fancy gadgets for this recipe—just a few basics that you probably already own.
- Non-stick skillet or griddle (10-inch or 12-inch): This is your main tool. A non-stick surface ensures the tortillas get crispy without sticking or burning. If you don’t have a non-stick skillet, a well-seasoned cast iron pan works beautifully too—just keep an eye on the heat.
- Spatula: A thin, flexible spatula makes flipping the quesadillas a breeze. I use a fish spatula for this; it slides under the tortilla perfectly without tearing it.
- Cutting board and sharp knife: For cutting the quesadillas into dipper-sized strips. A pizza cutter works even better if you have one—it makes clean, straight cuts every time.
- Small bowl for dipping sauce: Any small bowl or ramekin will do. I like using little glass prep bowls because they’re easy to clean and look cute in lunchboxes.
- Measuring cups and spoons: For portioning out the cheese and sauce ingredients. Honestly, after the first time, you’ll probably eyeball it.
If you don’t have a non-stick skillet, you can use a regular one with a little butter or oil. Just be careful not to overheat it, or the tortillas might burn before the cheese melts. I’ve made that mistake more times than I care to admit.
Preparation Method
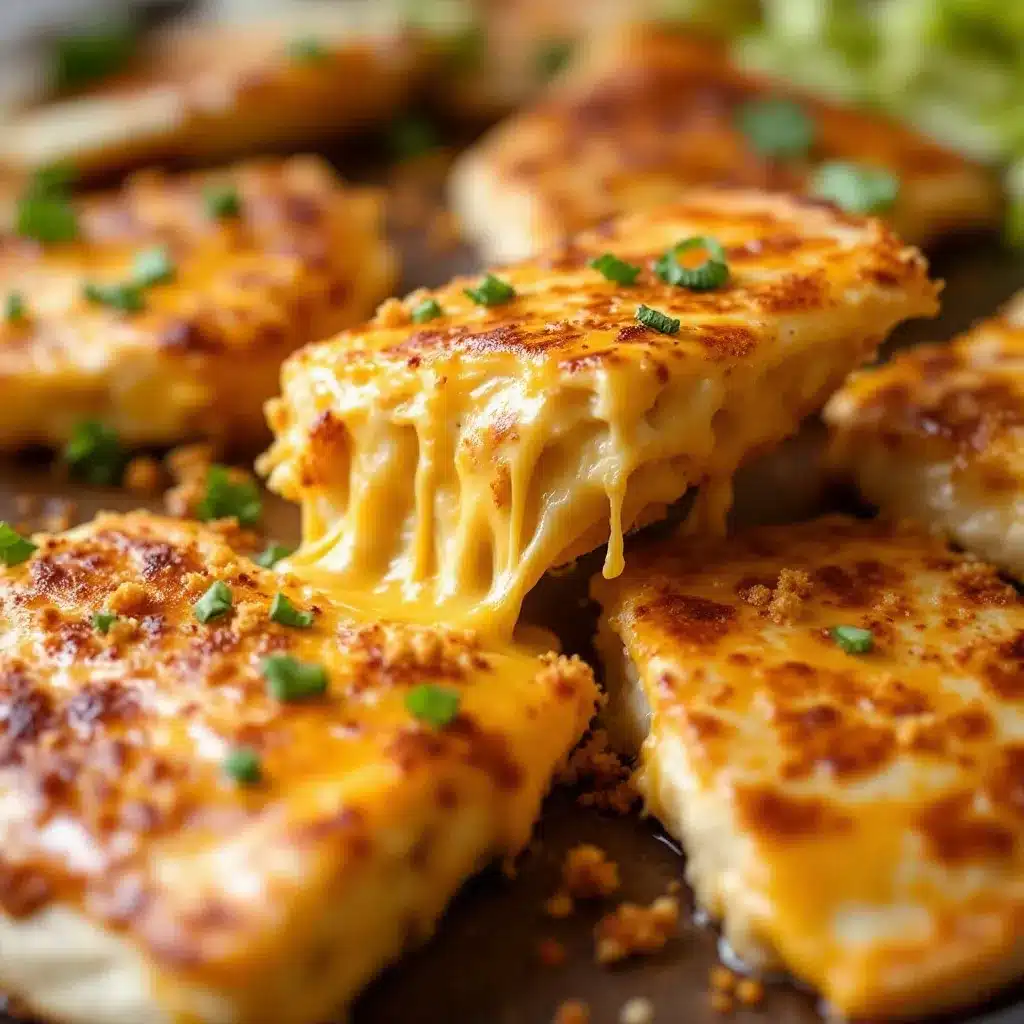
Alright, let’s get cooking. This is the part where the magic happens—and it’s so simple, you’ll wonder why you ever bought frozen quesadillas.
- Prep your ingredients. Shred your cheeses if you’re using blocks. Mix the sour cream and salsa together in a small bowl for the dipping sauce. Set everything within arm’s reach—this comes together fast.
- Heat your skillet. Place a non-stick skillet over medium-low heat. Let it warm up for about 2 minutes. You want it hot enough to crisp the tortilla, but not so hot that the cheese burns before it melts. (I once cranked the heat to high thinking it would speed things up. It did not. Burnt tortilla, unmelted cheese. Lesson learned.)
- Assemble the quesadilla. Lay one tortilla flat on a clean surface. Sprinkle about ¼ cup of mozzarella and 2 tablespoons of cheddar evenly over half of the tortilla, leaving a small border around the edge. Fold the other half over to create a half-moon shape. Press down gently.
- Cook the quesadilla. Place the folded quesadilla in the heated skillet. Cook for 2-3 minutes on the first side, until the bottom is golden brown and crispy. You’ll know it’s ready when you see little bubbles forming on the top and the cheese starts to peek out slightly. Carefully flip with a spatula and cook for another 2-3 minutes on the second side.
- Check for doneness. The quesadilla should be golden brown on both sides with visible spots of crispy deliciousness. The cheese should be fully melted and oozing slightly from the edges. If it’s not brown enough, give it another minute on each side.
- Let it rest. Transfer the cooked quesadilla to a cutting board and let it sit for about 1 minute. This is important—it lets the cheese set slightly so it doesn’t all ooze out when you cut it. (Patience is hard, I know, but it’s worth it.)
- Cut into dippers. Using a sharp knife or pizza cutter, slice the quesadilla into 1-inch wide strips. You should get about 4-5 dippers per quesadilla. If you’re packing for lunch, let them cool completely before putting them in a container.
- Repeat with remaining tortillas. This recipe makes about 4 quesadillas (16-20 dippers total), depending on how many you’re feeding. I usually make a double batch on Sunday and pack them for the week.
- Pack with dipping sauce. Place the cooled dippers in a lunchbox container with a small portion of the sour cream-salsa dip in a separate compartment or small container. They’re also great with guacamole, extra salsa, or even plain Greek yogurt.
Cooking Tips & Techniques
After making these Easy Cheese Quesadilla Dippers more times than I can count, I’ve picked up a few tricks that make all the difference. Let me share what I’ve learned—some from success, some from spectacular failure.
Low and slow is the way to go. I cannot stress this enough. Medium-low heat gives the cheese time to melt completely while the tortilla gets perfectly crispy. If you rush it on high heat, you’ll end up with a burnt exterior and a cold, unmelted center. Been there, done that, threw it in the trash.
Don’t overstuff the quesadilla. It’s tempting to pile on the cheese, but too much filling makes it hard to flip and causes the cheese to leak out everywhere. Stick to about ¼ cup of cheese per tortilla. Trust me, it’s enough.
Use a dry skillet. Unlike many recipes that call for butter or oil, I prefer cooking these in a completely dry non-stick skillet. The tortillas crisp up beautifully on their own, and you avoid any greasiness. If you want extra richness, you can brush the outside of the tortilla with a tiny bit of melted butter before cooking—but it’s totally optional.
Let them rest before cutting. This is the step I used to skip, and my cutting board was always a mess of melted cheese. Giving the quesadilla just 60 seconds on the cutting board lets the cheese firm up slightly, so it stays inside the dippers instead of all over your knife.
Make them ahead. These dippers are perfect for meal prep. Cook them, let them cool completely, then store them in an airtight container in the fridge for up to 4 days. They reheat beautifully in a dry skillet or even in a toaster oven. I’ve also frozen them—just layer them with parchment paper in a freezer bag, and they’ll keep for up to 3 months.
Variations & Adaptations
One of the best things about this recipe is how easy it is to change up. Here are some of my favorite variations that I’ve tried over the years.
- Protein-Packed Version: Add some shredded cooked chicken, ground beef, or black beans to the cheese before folding. My family loves the salsa verde shredded chicken version—it adds so much flavor without any extra effort. Just mix the chicken in with the cheese and proceed as usual.
- Veggie Lover’s Quesadilla: Finely chop some bell peppers, onions, or mushrooms and sauté them briefly before adding to the quesadilla. Spinach works great too—just wilt it in the skillet first. My kids don’t even notice the veggies when they’re chopped small enough.
- Spicy Dippers: Add a pinch of cayenne pepper or some chopped jalapeños to the cheese mixture. For the dipping sauce, mix in some hot sauce or use a spicy salsa. Perfect for adults who want a little kick.
- Cheese Swap: Experiment with different cheeses! Pepper Jack adds a nice heat, Gouda gives a smoky flavor, and provolone melts beautifully. I once made a batch with leftover brie from a party, and it was surprisingly amazing.
- Breakfast Quesadilla Dippers: Add scrambled eggs and a little cooked bacon or sausage to the cheese. Serve with maple syrup for dipping. It’s like a breakfast sandwich but way more fun.
- Dairy-Free Option: Use dairy-free cheese shreds and a plant-based sour cream. The texture might be slightly different, but the flavor is still delicious. I’ve tested this with a few brands, and my favorite is Violife for melting.
Serving & Storage Suggestions
These dippers are incredibly versatile when it comes to serving. Here’s how I like to do it.
For lunchboxes: Let the dippers cool completely before packing. I arrange them in a single layer in a bento-style container with the dipping sauce in a separate small compartment. They hold up really well—no sogginess, even after a few hours. Pair them with some fruit, veggie sticks, and maybe a dark chocolate protein ball for a balanced lunch that kids actually eat.
For a quick snack: Serve them warm, straight from the skillet, with a bowl of salsa, guacamole, or even just extra sour cream. They’re perfect for after-school hunger attacks or late-night cravings.
For parties or playdates: Arrange the dippers on a platter with a few different dipping sauces—salsa, ranch, and maybe a honey-lime crema. They’re always the first thing to disappear, and adults love them just as much as kids do.
Storage: Store leftover dippers in an airtight container in the refrigerator for up to 4 days. To reheat, place them in a dry skillet over medium heat for 1-2 minutes per side, or pop them in a toaster oven at 350°F for about 5 minutes. Avoid the microwave—it makes them soggy. (I learned this the hard way while trying to reheat a batch for a quick snack. Never again.)
Freezing: These freeze beautifully. Lay the cooled dippers in a single layer on a baking sheet and freeze for 1 hour, then transfer to a freezer bag. They’ll keep for up to 3 months. Reheat directly from frozen in a skillet or toaster oven—no need to thaw first.
Nutritional Information & Benefits
Here’s the nutritional breakdown for one serving (about 4-5 dippers, or one whole quesadilla):
| Nutrient | Amount per Serving |
|---|---|
| Calories | 290 |
| Protein | 14g |
| Carbohydrates | 24g |
| Fat | 16g |
| Saturated Fat | 9g |
| Cholesterol | 45mg |
| Sodium | 520mg |
| Fiber | 2g |
| Calcium | 350mg (35% DV) |
These dippers are a great source of calcium from the cheese, which is essential for growing bones and teeth. The tortillas provide carbohydrates for energy, and if you use whole wheat tortillas, you’ll get an extra boost of fiber. The sour cream and salsa add a little dose of probiotics and vitamin C, respectively.
If you’re watching your sodium intake, you can use low-sodium tortillas and reduced-sodium cheese. For a lower-fat version, swap the cheddar for part-skim mozzarella and use Greek yogurt in place of sour cream. It’s a flexible recipe that adapts to your dietary needs without sacrificing flavor.
Conclusion
These Easy Cheese Quesadilla Dippers have honestly become a staple in my kitchen. They’re the kind of recipe that makes you feel like you’ve got this whole parenting thing figured out—at least for a few minutes. Quick to make, easy to customize, and always a hit with kids (and adults who secretly love kid food).
I’d love to hear how they turn out for you! Did you add any fun fillings? Did your kids have a favorite dipping sauce? Drop a comment below and let me know—I read every single one, and your ideas might inspire my next batch. And if you’re looking for more lunchbox-friendly recipes, check out my healthy 5-ingredient dinner bowl or these freezer-friendly pumpkin chocolate chip muffins for more make-ahead wins.
Happy cooking, and here’s to lunchboxes that come home empty!
Frequently Asked Questions
Can I use corn tortillas instead of flour?
Absolutely. Corn tortillas are smaller and a bit more delicate, but they work great for this recipe. Just be careful when flipping them, as they can tear more easily. They also have a slightly different flavor—more earthy and authentic—which pairs beautifully with the cheese.
How do I prevent the cheese from leaking out?
This is the most common issue, and I’ve got a few tricks. First, don’t overstuff the quesadilla—stick to about ¼ cup of cheese. Second, leave a small border around the edges when you sprinkle the cheese. Third, cook on medium-low heat so the cheese melts slowly and stays contained. And finally, let the quesadilla rest for a minute before cutting.
Can I make these in an air fryer?
Yes! Preheat your air fryer to 375°F. Place the assembled quesadilla in the basket (you might need to work in batches). Cook for 5-6 minutes, flipping halfway through, until golden and crispy. The air fryer gives them an extra-crispy texture that’s really nice.
How long do these stay fresh in a lunchbox?
Packed properly in an insulated lunchbox with an ice pack, these dippers stay fresh and delicious for up to 4 hours. They won’t get soggy, and the cheese stays pleasantly firm. Just make sure they’re completely cool before packing to avoid condensation.
Can I use pre-shredded cheese?
You can, but I recommend shredding your own if you have the time. Pre-shredded cheese is coated with anti-caking agents that can prevent it from melting as smoothly. It still works, but the texture won’t be quite as gooey and stretchy. If you’re in a pinch, go ahead—I’ve done it plenty of times, and it’s still delicious.
Pin This Recipe!
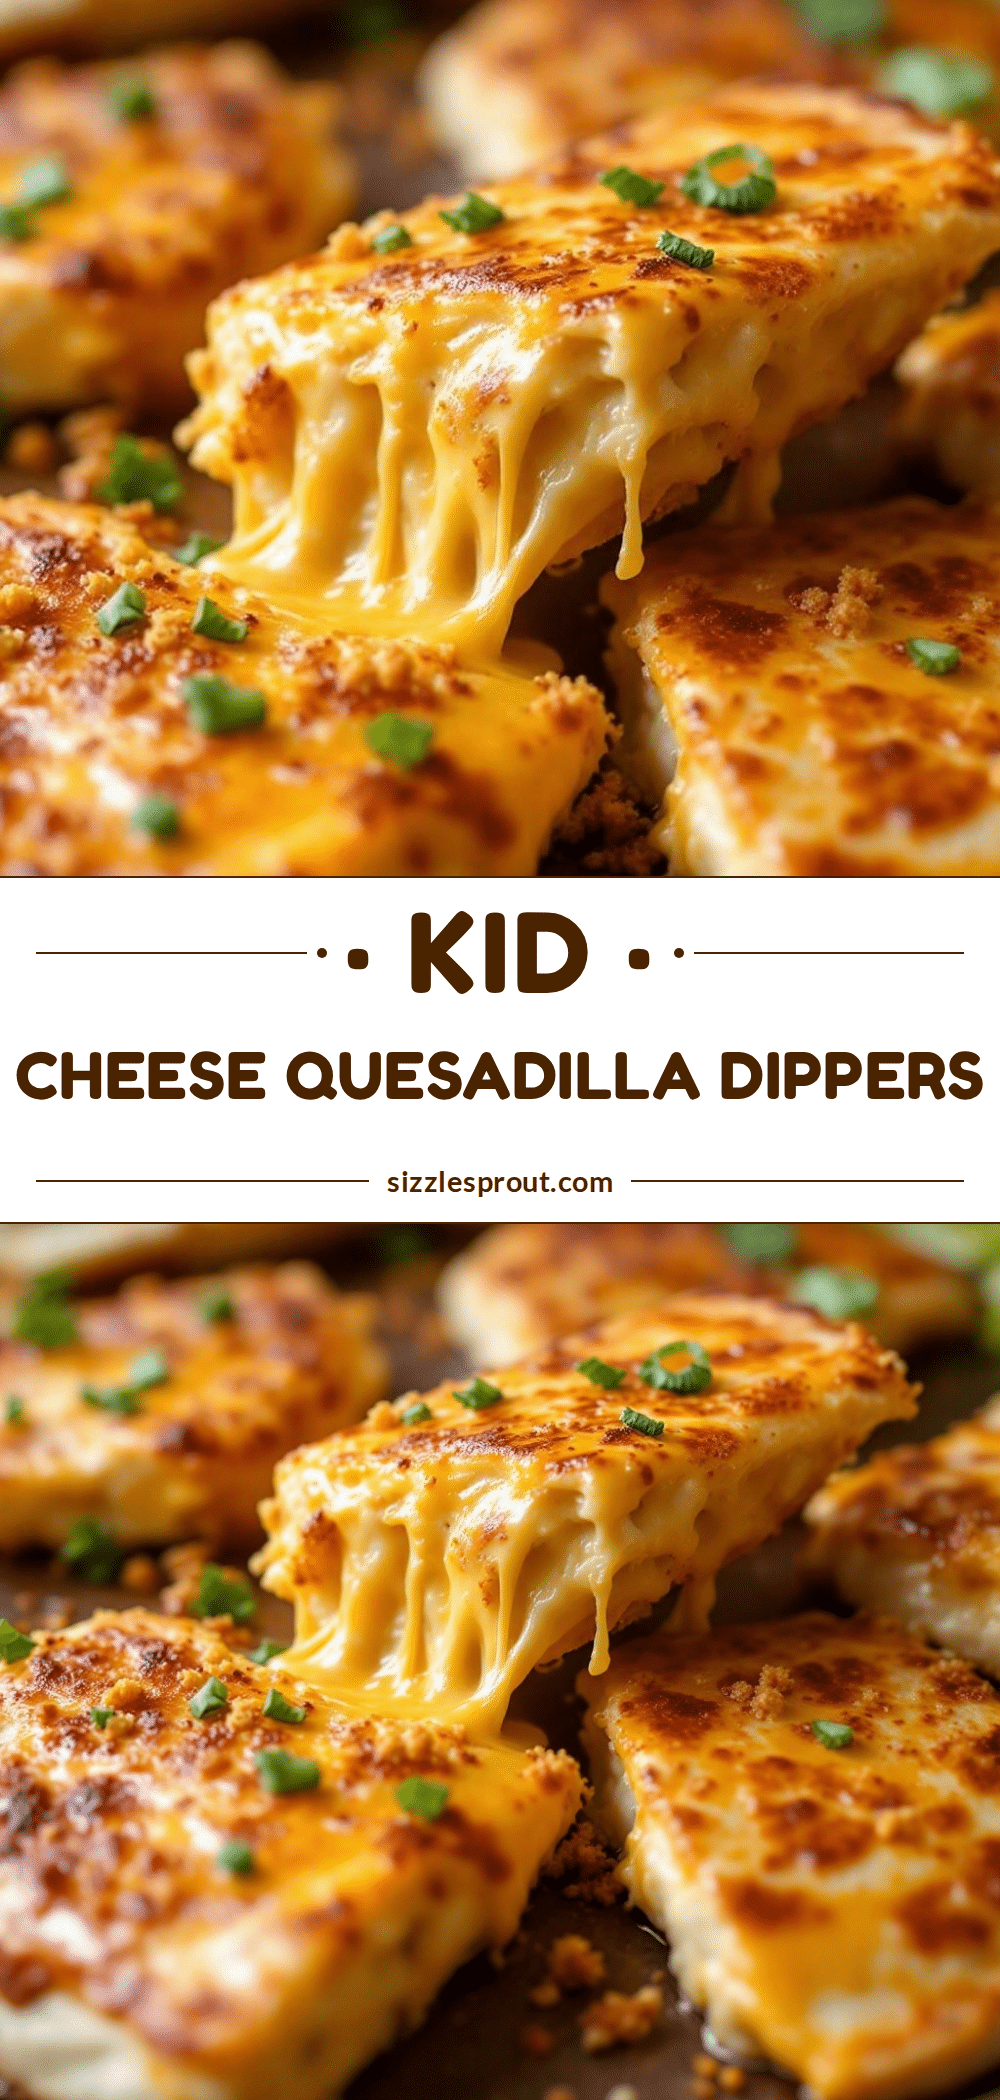
Easy Cheese Quesadilla Dippers: Best Kids Lunchbox Recipe

Crispy on the outside, warm and melty on the inside, these Easy Cheese Quesadilla Dippers are cut into perfect little strips for small hands. They come together in under 10 minutes and are a lunchbox-saving, sanity-preserving win.
- Prep Time: 5 minutes
- Cook Time: 6 minutes
- Total Time: 11 minutes
- Yield: 4 servings 1x
- Category: Snack
- Cuisine: Mexican
Ingredients
- 4 flour tortillas (8-inch or 6-inch)
- 1 cup shredded mozzarella cheese
- ½ cup shredded cheddar cheese
- ¼ cup sour cream
- ¼ cup salsa
- Optional: garlic powder, cumin, chopped cilantro, smoked paprika
Instructions
- Prep your ingredients. Shred your cheeses if using blocks. Mix the sour cream and salsa together in a small bowl for the dipping sauce.
- Heat a non-stick skillet over medium-low heat for about 2 minutes.
- Lay one tortilla flat. Sprinkle about ¼ cup mozzarella and 2 tablespoons cheddar evenly over half of the tortilla, leaving a small border. Fold the other half over to create a half-moon shape. Press down gently.
- Place the folded quesadilla in the heated skillet. Cook for 2-3 minutes on the first side until golden brown and crispy. Carefully flip and cook for another 2-3 minutes on the second side.
- The quesadilla should be golden brown on both sides with the cheese fully melted. If not brown enough, give it another minute per side.
- Transfer the cooked quesadilla to a cutting board and let it rest for about 1 minute.
- Using a sharp knife or pizza cutter, slice the quesadilla into 1-inch wide strips (about 4-5 dippers per quesadilla). Let cool completely before packing.
- Repeat with remaining tortillas. This recipe makes about 4 quesadillas (16-20 dippers total).
- Pack the cooled dippers in a lunchbox container with a small portion of the sour cream-salsa dip.
Notes
Cook on medium-low heat to prevent burning. Don’t overstuff the quesadilla—use about ¼ cup of cheese per tortilla. Use a dry skillet for crispiness without grease. Let quesadillas rest before cutting to keep cheese inside. These can be made ahead and stored in the fridge for up to 4 days or frozen for up to 3 months.
Nutrition
- Serving Size: 4-5 dippers (1 whole
- Calories: 290
- Sugar: 2
- Sodium: 520
- Fat: 16
- Saturated Fat: 9
- Carbohydrates: 24
- Fiber: 2
- Protein: 14
Keywords: quesadilla dippers, kids lunchbox, easy snack, cheese quesadilla, lunchbox recipe


