Love this? Save it for later!
Share the inspiration with your friends
The last granola bar had already disappeared from the lunchbox by the time I poured my coffee. My son asked if I had any more of those “chewy oat squares” before he even finished his cereal. That was the third time that week.
I wasn’t trying to invent a snack that would rival store-bought. Honestly, I was just tired of reading ingredient labels that looked like a chemistry experiment. I wanted something simple, something I could feel good about packing, and something that didn’t require turning on the oven. Because let’s face it, on a busy Sunday afternoon, the last thing I want to do is heat up the whole kitchen for a batch of snacks that’ll be gone in two days.
These healthy no-bake granola bars kids love came out of that exact frustration. I had a half-empty jar of peanut butter, some old-fashioned oats, and a desperate hope that my kids would actually eat them. They did. They devoured them. And then they asked for more. It wasn’t a fancy recipe or a complicated technique. It was just a real solution to a real problem, and it worked better than I ever expected.
There’s something quietly satisfying about watching your kids reach for a homemade snack over a packaged one. No convincing, no bargaining, just genuine excitement. That’s the kind of kitchen win that sticks with you.
Why You’ll Love This Recipe
These aren’t just another granola bar recipe. They are the result of multiple test batches, some sticky failures, and a few surprisingly delicious accidents. I have made these bars for school lunches, after-school snacks, and even as a quick breakfast on the run. They hold up, they taste great, and they don’t crumble into a million pieces the second you unwrap them.
- Quick & Easy: From start to finish, these bars take about 15 minutes of active prep time. The hardest part is waiting for them to set in the fridge.
- Simple Ingredients: You probably have most of these in your pantry right now. No obscure health food store finds or expensive superfood powders.
- Perfect for Lunchboxes: They travel well, stay firm at room temperature, and don’t get soggy or weird by lunchtime.
- Crowd-Pleaser: I have yet to meet a kid who doesn’t like these. Even the picky eaters in my life give them two thumbs up.
- Unbelievably Delicious: The combination of sticky sweetener, creamy nut butter, and crunchy oats creates a texture that’s chewy, satisfying, and honestly addictive.
What makes these different from every other no-bake bar recipe out there is the ratio. I spent weeks tweaking the wet-to-dry ingredient balance until I found the sweet spot where the bars hold together without being overly sticky or hard. It’s the kind of detail that makes a real difference, especially when you’re packing them for kids who expect their snacks to taste good, not just be “healthy.”
These bars have become a staple in our house for a reason. They are the snack I don’t have to think about, the one I can whip up in the time it takes to unload the dishwasher, and the one that always gets eaten. That’s the kind of recipe that earns a permanent spot in your rotation.
What Ingredients You Will Need
This recipe relies on simple, pantry-friendly ingredients that come together to create a bar that’s both nutritious and delicious. Each component plays a specific role in the texture and flavor, so here is what you need and why it matters.
- Old-Fashioned Rolled Oats (2 cups): These are the base of the bars. They provide the chewy texture and hearty fiber that makes these bars satisfying. I recommend using old-fashioned oats rather than quick oats, as they hold their shape better and create a better texture. Quick oats can turn the bars into a mushy mess.
- Creamy Peanut Butter (1/2 cup): This acts as both binder and flavor. The natural oils in peanut butter help hold everything together while adding protein and richness. I prefer a natural peanut butter with no added sugar or hydrogenated oils, but any creamy peanut butter works. If you use a natural one, just make sure to stir it well before measuring.
- Honey (1/3 cup): This is the natural sweetener that also helps bind the bars. Honey adds a subtle floral sweetness that complements the peanut butter perfectly. You can use maple syrup as a substitute if needed, but honey gives a slightly better stickiness.
- Coconut Oil (2 tablespoons): This helps the bars set firmly in the fridge. It also adds a subtle richness without making the bars taste greasy. If you don’t have coconut oil, you can use butter or a neutral oil like avocado oil.
- Mini Chocolate Chips (1/3 cup): Because what kid doesn’t love chocolate chips? These add little pockets of sweetness that make the bars feel like a treat. I use dark chocolate chips for a slightly less sweet option, but milk chocolate works too.
- Ground Flaxseed (2 tablespoons): This is my secret ingredient for extra nutrition. Flaxseed adds omega-3 fatty acids and fiber without changing the flavor. You can skip it if you don’t have it, but it’s a nice little boost.
- Vanilla Extract (1 teaspoon): This enhances the overall flavor and makes the bars taste more “baked” even though they aren’t. Don’t skip it.
- Pinch of Salt: A small amount of salt balances the sweetness and brings out the flavor of the peanut butter and oats. If your peanut butter is already salted, you can reduce this or skip it.
For the add-ins, feel free to get creative. I have made versions with dried cranberries, chopped almonds, shredded coconut, and even crushed pretzels for a salty-sweet twist. The base recipe is forgiving, so you can customize it to your family’s preferences.
Equipment Needed
You don’t need a lot of fancy equipment for this recipe. That is part of the beauty of it. Here is what you will need:
- 8×8 inch baking pan: This is the perfect size for bars that are thick enough to be satisfying but not too thick. If you don’t have an 8×8, a 9×9 will work too, but the bars will be slightly thinner.
- Parchment paper: This is essential for easy removal. Cut two strips of parchment paper and lay them crosswise in the pan so the ends hang over the edges. This creates “handles” that let you lift the entire block of bars out cleanly.
- Medium mixing bowl: For combining the dry ingredients.
- Small saucepan: For melting the peanut butter, honey, and coconut oil together. You can also use a microwave-safe bowl if you prefer.
- Spatula or wooden spoon: For mixing everything together. A silicone spatula works great because it doesn’t stick.
- Measuring cups and spoons: Accuracy matters here, especially with the wet ingredients.
- Refrigerator: This is where the bars set. Plan for at least 2 hours of chill time, though overnight is even better.
I have made these bars using just a bowl and a microwave when I was in a pinch, and they turned out fine. The key is just making sure everything is well combined and pressed firmly into the pan. A good spatula and a piece of parchment paper really make the difference between a frustrating experience and an easy one.
Preparation Method
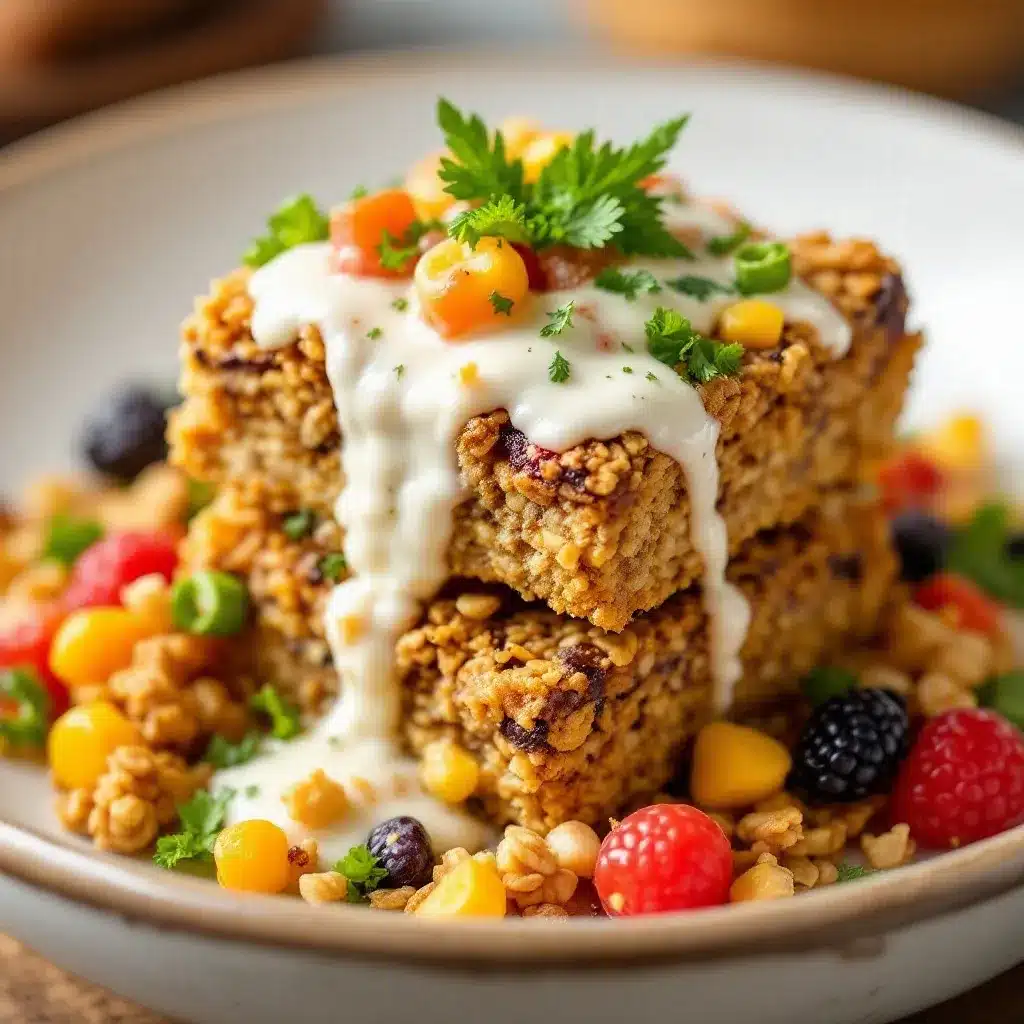
Making these bars is incredibly straightforward. The process is simple enough that you can even involve your kids in the mixing and pressing. Here is how to do it step by step.
- Prepare your pan: Line an 8×8 inch baking pan with parchment paper, leaving some overhang on two opposite sides. This will make it easy to lift the bars out later. Set the pan aside.
- Combine dry ingredients: In a medium mixing bowl, combine the 2 cups of old-fashioned rolled oats, 2 tablespoons of ground flaxseed, and a pinch of salt. Stir them together with a spoon or spatula until evenly distributed. Set this bowl aside.
- Melt the wet ingredients: In a small saucepan over low heat, combine 1/2 cup of creamy peanut butter, 1/3 cup of honey, and 2 tablespoons of coconut oil. Stir frequently as the mixture warms up. You don’t need to boil it, just heat until everything is melted and smooth. This usually takes about 2-3 minutes. If you are using the microwave, heat in 30-second bursts, stirring between each, until smooth.
- Add vanilla: Once the peanut butter mixture is smooth and warm, remove it from the heat and stir in 1 teaspoon of vanilla extract. The vanilla will sizzle a little when it hits the warm mixture, which smells amazing.
- Combine wet and dry: Pour the warm peanut butter mixture over the oat mixture. Use your spatula to stir everything together until all the oats are evenly coated. The mixture will look sticky and a little clumpy, which is exactly what you want.
- Fold in chocolate chips: Add 1/3 cup of mini chocolate chips to the mixture. Fold them in gently until they are evenly distributed. The warmth of the mixture might soften the chocolate chips slightly, which is fine. If you want the chocolate chips to stay more distinct, let the mixture cool for a couple of minutes before adding them.
- Press into the pan: Transfer the mixture to your prepared pan. Use the back of your spatula or a piece of parchment paper to press the mixture down firmly and evenly into the pan. This step is important. If you don’t press firmly enough, the bars will be crumbly and fall apart. Really pack it down, especially in the corners and edges.
- Chill: Place the pan in the refrigerator for at least 2 hours. For best results, let it chill for 4 hours or even overnight. The bars need time to set and firm up.
- Slice and serve: Once the mixture is fully chilled and firm, use the parchment paper overhang to lift the entire block out of the pan. Place it on a cutting board and use a sharp knife to cut it into bars. I usually cut 8 large bars or 12 smaller ones, depending on what I need.
One thing I learned the hard way is to let the bars chill completely before cutting. I was impatient once and cut them after only an hour. They were still a little soft and fell apart when I tried to wrap them. A full chill time makes a huge difference.
Cooking Tips & Techniques
I have made these bars more times than I can count, and I have definitely learned a few things along the way. Here are some tips to help you get perfect bars every time.
Press firmly, then press again. The number one reason granola bars fall apart is that they aren’t packed tightly enough into the pan. Use the back of a measuring cup or a flat-bottomed glass to really compress the mixture. You want it to feel dense and compact, not loose and crumbly.
Don’t overheat the wet ingredients. If you boil the peanut butter and honey mixture, it can become too thick and sticky when it cools. Just warm it enough to melt everything together. Low and slow is the way to go.
Use room temperature ingredients. If your peanut butter or honey is cold, it will be harder to mix evenly. Let them sit on the counter for a bit before you start. Or, if you are in a hurry, just warm them gently in the saucepan.
Line your pan properly. I cannot stress this enough. Parchment paper overhang is your best friend. I once forgot to line the pan and spent 15 minutes trying to pry the bars out with a butter knife. Not fun. The parchment paper makes removal effortless.
Chill thoroughly. I know I have said this already, but it is worth repeating. The bars need at least 2 hours in the fridge to set properly. If you are in a rush, you can pop them in the freezer for about 30-45 minutes, but the texture won’t be quite as good.
Store them properly. These bars are best kept in the refrigerator. They will stay firm and fresh for up to two weeks. If you leave them at room temperature for too long, they can get a little soft and sticky, especially if the weather is warm.
Variations & Adaptations
One of the best things about this recipe is how easy it is to adapt. Here are some variations I have tried and loved.
Nut-Free Version: If you have a nut allergy in the house, you can substitute the peanut butter with sunflower seed butter or tahini. Both work well as binders, though they will change the flavor slightly. Sunflower seed butter gives a slightly earthy taste, while tahini adds a more savory note. I have made both versions and they are delicious in their own way.
Gluten-Free Option: Old-fashioned rolled oats are naturally gluten-free, but some brands are processed in facilities that also process wheat. If you need a certified gluten-free option, look for oats that are labeled gluten-free. The rest of the ingredients are naturally gluten-free, so this is an easy swap.
Add-Ins Galore: I have made versions with dried cherries, chopped apricots, shredded coconut, pumpkin seeds, and even a handful of crushed pretzels for a salty-sweet crunch. Just keep the total add-in volume to about 1/3 to 1/2 cup so the bars still hold together.
Lower Sugar Version: If you want to reduce the sugar, you can cut the honey down to 1/4 cup and add an extra tablespoon of peanut butter to compensate for the lost moisture. The bars will be slightly less sweet, but still tasty.
Chocolate Lovers Version: For a more indulgent bar, swap the mini chocolate chips for chopped dark chocolate and add an extra tablespoon of cocoa powder to the dry ingredients. This creates a chocolate-peanut butter flavor combination that is absolutely irresistible.
Serving & Storage Suggestions
These bars are incredibly versatile when it comes to serving. I love them straight out of the fridge for a cold, chewy snack. But they are also great at room temperature, especially if you let them sit for about 10 minutes after taking them out of the fridge.
For a fun presentation, I sometimes cut the bars into small squares and arrange them on a platter with fresh fruit and a side of yogurt for an after-school snack board. My kids think it is a special treat, and I feel good about what they are eating.
These bars pair beautifully with a glass of cold milk, a cup of hot tea, or even a smoothie. They also make a great addition to lunchboxes because they don’t get soggy or melt. If you are packing them for lunch, just wrap each bar individually in parchment paper or plastic wrap.
For storage, keep the bars in an airtight container in the refrigerator. They will stay fresh for up to two weeks. You can also freeze them for up to three months. To freeze, wrap each bar individually in plastic wrap and then place them in a freezer-safe bag. When you are ready to eat one, just let it thaw in the fridge overnight or at room temperature for about 20 minutes.
I have also found that the bars actually improve after a day or two in the fridge. The flavors meld together and the texture becomes even more cohesive. So don’t be afraid to make a batch ahead of time.
Nutritional Information & Benefits
While I am not a nutritionist, I do pay attention to what goes into my family’s food. These bars are packed with wholesome ingredients that provide real nutritional value.
Estimated per bar (based on 8 bars):
- Calories: 280
- Protein: 8g
- Fiber: 5g
- Sugar: 14g (naturally occurring from honey)
- Fat: 14g (mostly healthy fats from peanut butter and coconut oil)
The oats provide complex carbohydrates for sustained energy, while the peanut butter adds protein and healthy fats that keep kids full and focused. The flaxseed contributes omega-3 fatty acids, which are great for brain health. And the dark chocolate chips add a little antioxidant boost, not to mention happiness.
These bars are naturally free from refined sugar, artificial preservatives, and high-fructose corn syrup. They are also vegetarian and can easily be made vegan by swapping the honey for maple syrup. For those with gluten sensitivities, just use certified gluten-free oats.
I feel good about giving these to my kids because I know exactly what is in them. No mystery ingredients, no unpronounceable chemicals, just real food that tastes great.
Conclusion
These healthy no-bake granola bars kids love have become a staple in our house for a reason. They are simple to make, packed with good ingredients, and genuinely delicious. I love that I can whip up a batch in less than 20 minutes and have snacks ready for the whole week.
What I love most about this recipe is how adaptable it is. You can tweak the add-ins, adjust the sweetness, and make it work for your family’s specific needs and preferences. It is the kind of recipe that becomes yours after you make it a few times.
I would love to hear how these turn out for you. Did you make any fun variations? Did your kids love them as much as mine do? Drop a comment below and let me know. And if you try them, please share a photo on social media and tag me. I love seeing your creations.
Until next time, happy snacking. You have got this.
Frequently Asked Questions
Can I use quick oats instead of old-fashioned oats?
You can, but the texture will be different. Quick oats are more finely processed and will absorb moisture differently, resulting in a softer, less chewy bar. If you only have quick oats on hand, reduce the amount slightly to about 1 3/4 cups.
My bars fell apart when I cut them. What did I do wrong?
This usually happens for one of two reasons. Either the mixture wasn’t pressed firmly enough into the pan, or the bars weren’t chilled long enough. Make sure to really pack the mixture down and let it chill for at least 2 hours, preferably 4.
Can I use almond butter instead of peanut butter?
Absolutely. Almond butter works great as a substitute. It has a slightly milder flavor and a bit more oil, so the bars might be slightly softer. Just make sure to use a creamy almond butter, not a crunchy one.
How long do these bars last at room temperature?
They are best kept in the refrigerator, but they can sit at room temperature for a few hours without issue. If you are packing them for a lunchbox or a picnic, they will be fine for the day. Just don’t leave them out in hot weather or they might get sticky.
Can I double this recipe?
Yes, you can easily double the recipe. Just use a 9×13 inch pan instead of an 8×8, and increase the chilling time slightly to ensure the bars set properly. The rest of the process stays the same.
Pin This Recipe!
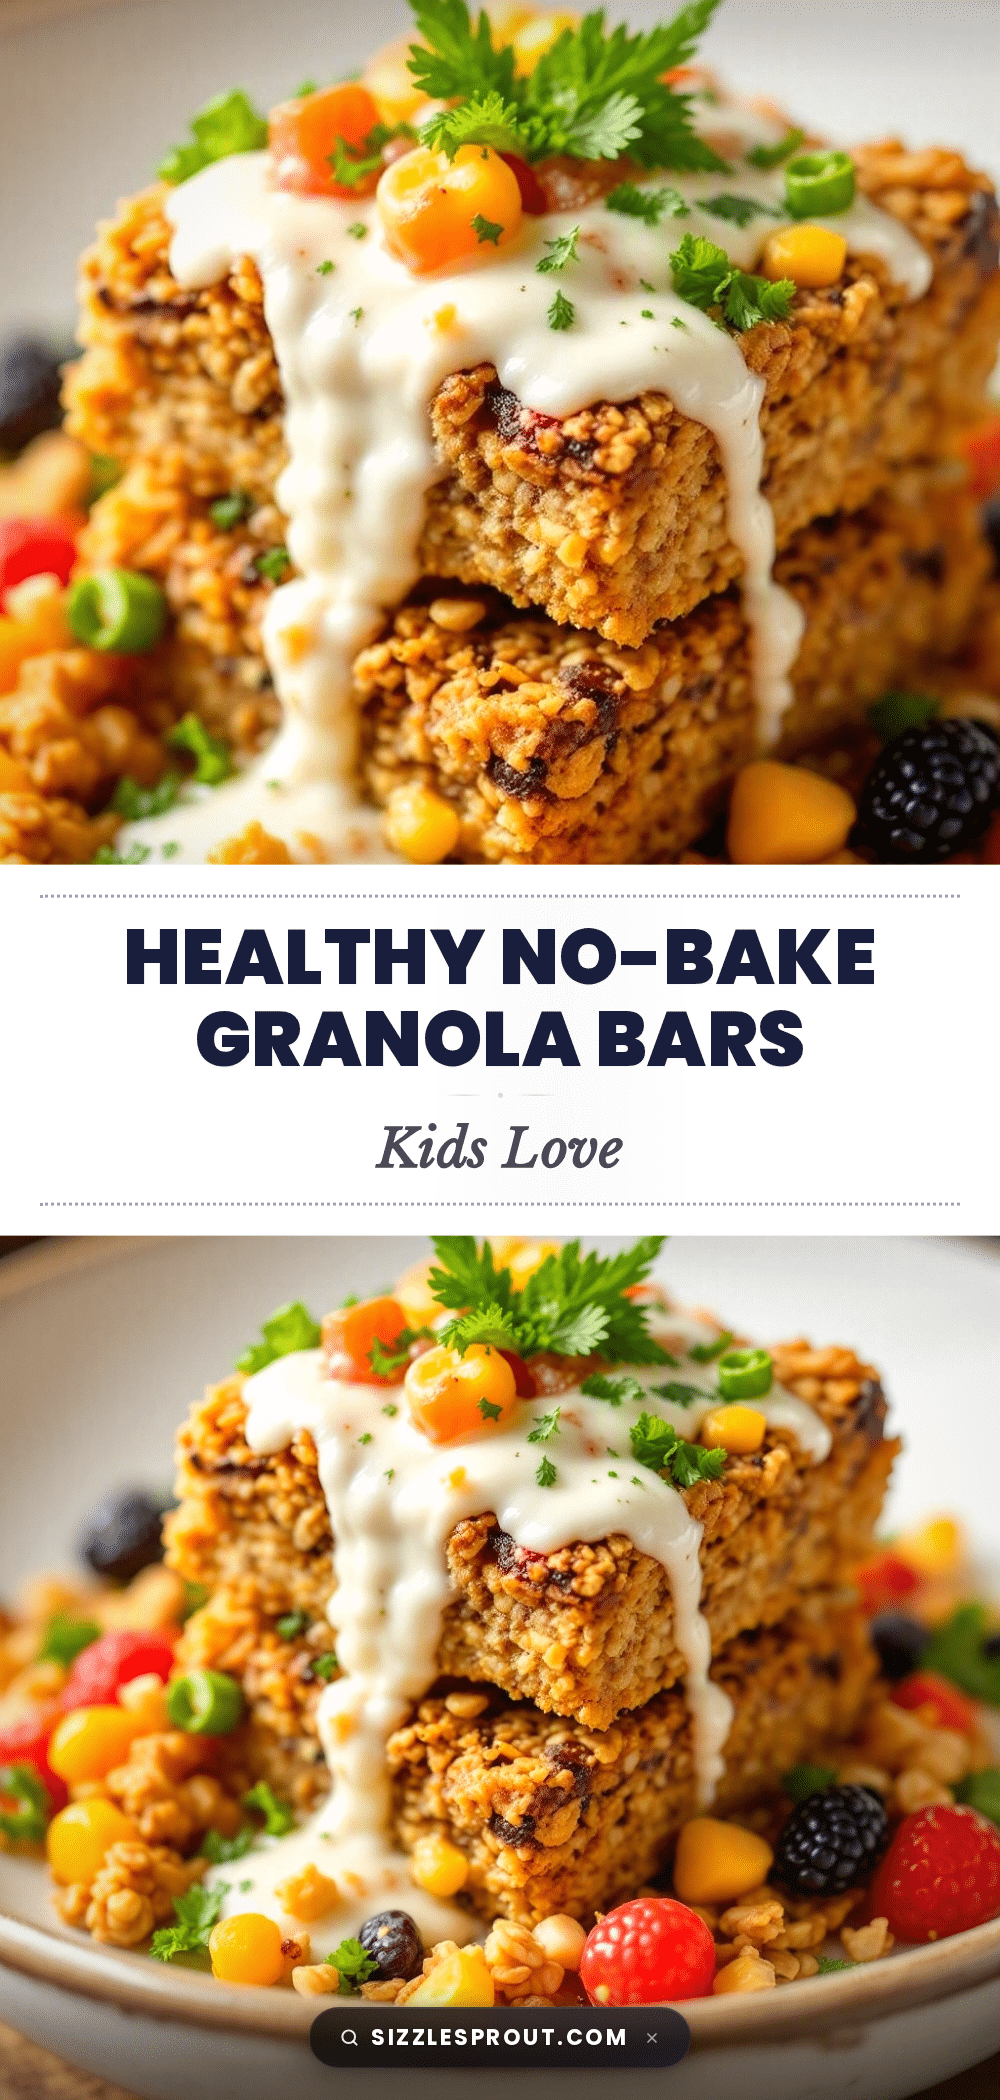
Healthy No-Bake Granola Bars Kids Love

These healthy no-bake granola bars are a simple, delicious snack made with pantry-friendly ingredients like oats, peanut butter, and honey. Perfect for lunchboxes or after-school treats, they are chewy, satisfying, and free from artificial additives.
- Prep Time: 15 minutes
- Cook Time: 0 minutes
- Total Time: 2 hours 15 minutes (includes chilling)
- Yield: 8 servings 1x
- Category: Snack
- Cuisine: American
Ingredients
- 2 cups old-fashioned rolled oats
- 1/2 cup creamy peanut butter
- 1/3 cup honey
- 2 tablespoons coconut oil
- 1/3 cup mini chocolate chips
- 2 tablespoons ground flaxseed
- 1 teaspoon vanilla extract
- Pinch of salt
Instructions
- Line an 8×8 inch baking pan with parchment paper, leaving overhang on two opposite sides. Set aside.
- In a medium mixing bowl, combine 2 cups old-fashioned rolled oats, 2 tablespoons ground flaxseed, and a pinch of salt. Stir to combine.
- In a small saucepan over low heat, combine 1/2 cup creamy peanut butter, 1/3 cup honey, and 2 tablespoons coconut oil. Stir frequently until melted and smooth, about 2-3 minutes. Alternatively, microwave in 30-second bursts, stirring between each.
- Remove from heat and stir in 1 teaspoon vanilla extract.
- Pour the warm peanut butter mixture over the oat mixture. Stir until all oats are evenly coated.
- Fold in 1/3 cup mini chocolate chips until evenly distributed.
- Transfer the mixture to the prepared pan. Press down firmly and evenly using the back of a spatula or a piece of parchment paper.
- Refrigerate for at least 2 hours, preferably 4 hours or overnight, until firm.
- Use the parchment paper overhang to lift the block out of the pan. Place on a cutting board and cut into bars (8 large or 12 small).
Notes
Press the mixture firmly into the pan to prevent crumbling. Chill thoroughly for at least 2 hours. Store in the refrigerator for up to 2 weeks or freeze for up to 3 months. For nut-free version, substitute peanut butter with sunflower seed butter or tahini. For gluten-free, use certified gluten-free oats.
Nutrition
- Serving Size: 1 bar (based on 8 ba
- Calories: 280
- Sugar: 14
- Sodium: 95
- Fat: 14
- Saturated Fat: 5
- Carbohydrates: 32
- Fiber: 5
- Protein: 8
Keywords: no-bake granola bars, healthy granola bars, kid-friendly snacks, peanut butter oat bars, easy lunchbox snacks


