Love this? Save it for later!
Share the inspiration with your friends
Introduction
The other day, I was walking through the grocery store aisle, just grabbing a few things for dinner, when the faint, spicy scent of cinnamon and ginger from a nearby jar hit me — and suddenly I was eight again, sitting on the rickety kitchen stool at Mrs. Parker’s house down the street. She had this cracked ceramic bowl where she mixed up her famous elderberry syrup every fall, the air thick with the sharp zing of ginger and the sweet warmth of cinnamon sticks. Honestly, I forgot my list on the counter and just stood there for a moment, caught between the present and that small kitchen where I learned that healing could taste like something comforting and real.
That syrup wasn’t just medicine; it was this magical mix that Mrs. Parker swore by during cold season. I mean, who knew something so simple could pack such a punch? I’ve been chasing that exact feeling ever since — the blend of cozy spices and the tangy elderberries that made you feel like you were wrapped in a warm blanket, even if your nose was stuffy and your head heavy. Maybe you’ve been there, too, trying to capture a taste that feels like safety, health, and a little bit of home all rolled into one.
So, I started experimenting, tweaking the balance of ginger’s fire and cinnamon’s sweetness, until I landed on this Healthy Homemade Elderberry Syrup with Ginger and Cinnamon. It’s not just syrup — it’s that sensory memory bottled up, ready to help you through sniffly days or just to take a spoonful when you need a little lift. And honestly? It’s become a staple in my kitchen, especially when the seasons shift and we all need a little immune boost that tastes like something more than just medicine.
Why You’ll Love This Recipe
Trust me, this isn’t your run-of-the-mill syrup. I’ve tested it over several winters (and a few sniffly kids’ colds), and it’s held its own every time. Here’s why this elderberry syrup recipe stands out:
- Quick & Easy: Ready in about 30 minutes, so you can whip it up even on a busy evening.
- Simple Ingredients: Uses pantry staples and fresh elderberries—you don’t need to hunt down anything exotic.
- Perfect for Immune Support: Ginger and cinnamon are natural anti-inflammatories, making this a powerhouse for cold and flu season.
- Crowd-Pleaser: The syrup’s sweet and spicy balance makes it easy to take daily, even for kids who might otherwise turn their noses up.
- Unbelievably Delicious: This isn’t just about health—it’s about enjoying every spoonful.
What sets this elderberry syrup apart is the way the ginger’s warmth cuts through the tartness of the elderberries while cinnamon adds that familiar, comforting sweetness. I’ve tried versions with just elderberry and honey before, and honestly, they felt one-dimensional. This recipe feels layered and full of personality—like a recipe with its own story to tell. It’s the kind of syrup that makes you close your eyes after the first taste and think, “Yeah, this is exactly what I needed.”
Whether you’re battling the first signs of a cold or simply want to add a daily immune boost to your routine, this syrup hits the spot without any fuss or weird aftertaste. Plus, it’s great for sharing at family gatherings or gifting to neighbors, because who doesn’t want a little health in a jar?
What Ingredients You Will Need
This Healthy Homemade Elderberry Syrup with Ginger and Cinnamon uses simple, wholesome ingredients to deliver bold flavor and satisfying texture without any fuss. Most of these are pantry staples, and the elderberries are easy to find fresh or dried, depending on your season.
- Elderberries: 1 cup fresh or ½ cup dried elderberries (if using dried, soak them first). I recommend buying from a trusted source like Herb Pharm for quality.
- Fresh Ginger Root: About 2 tablespoons, peeled and chopped (adds a spicy kick and immune support).
- Cinnamon Sticks: 2 sticks (for warmth and depth of flavor).
- Raw Honey: ½ to ¾ cup (adjust to taste and use local honey if possible—great for allergies).
- Water: 3 cups (to simmer and extract flavors).
- Optional: 1 teaspoon fresh lemon juice (brightens the syrup and adds vitamin C).
For substitutions, you can swap raw honey with maple syrup or agave nectar if you want a vegan option. If fresh ginger isn’t available, ground ginger works in a pinch, but fresh gives that vibrant zing. When using dried elderberries, soaking them overnight softens them for better flavor extraction.
Equipment Needed
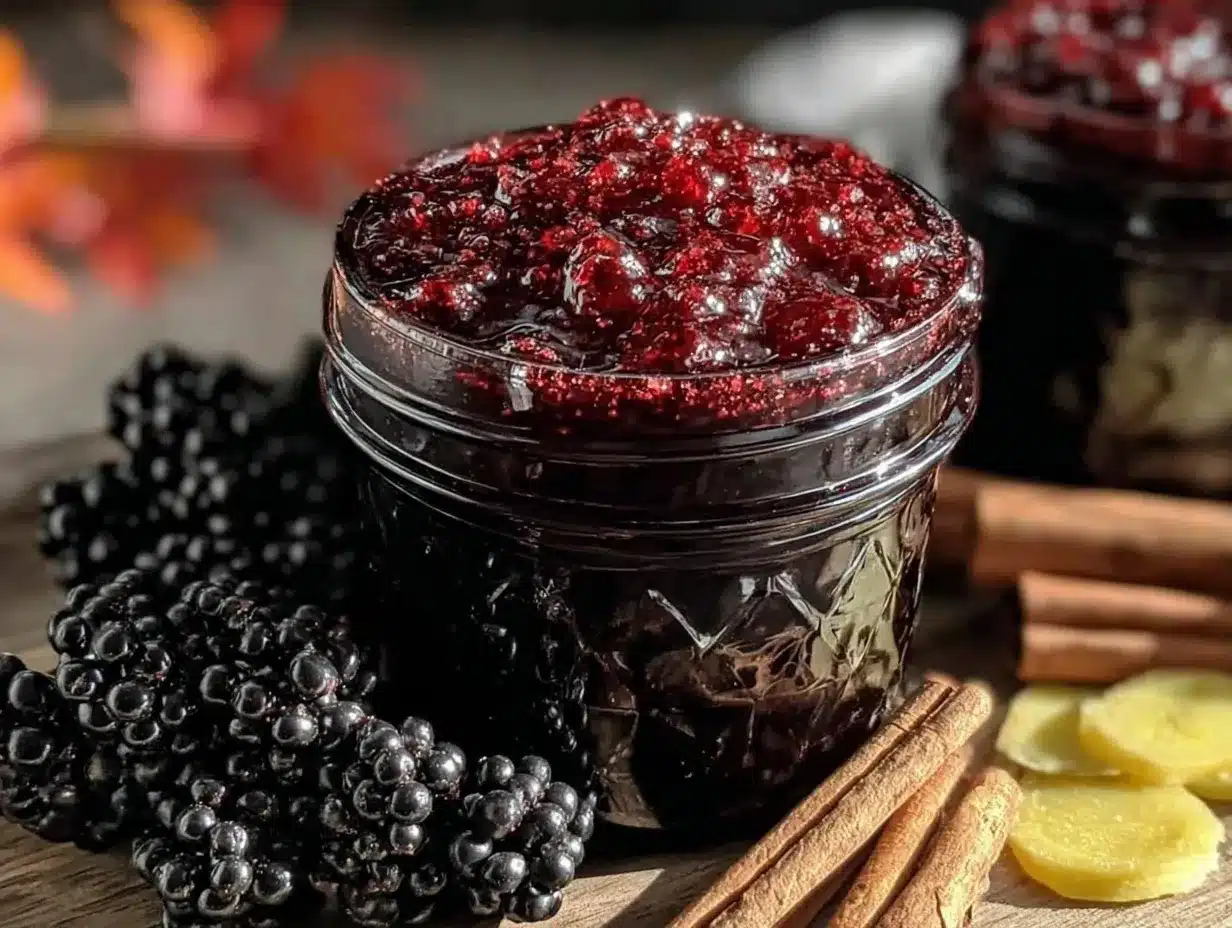
- Medium Saucepan: At least 2-quart capacity to simmer the syrup without boiling over. A heavy-bottomed pan works best to prevent scorching.
- Fine Mesh Strainer or Cheesecloth: For straining out elderberries and spices—this is key to getting a smooth syrup.
- Measuring Cups and Spoons: For precise ingredient amounts.
- Glass Jar with Lid: For storing the syrup; a mason jar is perfect and easy to label.
- Wooden Spoon or Silicone Spatula: For stirring gently during simmering.
If you don’t have a fine mesh strainer, a clean cotton cloth or a nut milk bag works well too. I once forgot my strainer and strained elderberries through a folded dish towel—worked fine, but took a little longer. For budget-friendly options, look for secondhand mason jars or small saucepans at thrift stores—they’re often like new!
Preparation Method
- Prepare the Elderberries: If using fresh elderberries, rinse them gently under cold water to remove any debris. For dried elderberries, soak them in warm water for about 30 minutes to soften. Time: 5 minutes prep + soaking if dried.
- Combine Ingredients in Saucepan: Add elderberries, chopped ginger, cinnamon sticks, and 3 cups (720 ml) of water to your saucepan. Stir lightly to mix. Note: Don’t add honey yet—it’ll lose its benefits if heated too much.
- Simmer the Mixture: Bring the mixture to a gentle boil over medium heat. Once boiling, reduce heat to low and let it simmer uncovered for 45 minutes to 1 hour. Stir occasionally to prevent sticking. The liquid should reduce by about half and thicken slightly. Look for a deep, rich color and a spicy aroma.
- Strain the Syrup: Remove from heat and strain through a fine mesh strainer or cheesecloth into a clean bowl or measuring cup. Press gently on the solids to extract as much liquid as possible without forcing pulp through. Discard the solids. Tip: Let it cool slightly before straining to avoid burns.
- Add Honey and Optional Lemon Juice: When the syrup is warm but not hot (below 95°F / 35°C), stir in the raw honey and lemon juice, adjusting sweetness to your taste. Stir until combined. Heating honey too much destroys enzymes, so be patient!
- Transfer and Store: Pour the syrup into a sterilized glass jar and seal tightly. Store in the refrigerator. Use within 3-4 weeks. Label with date made.
Sometimes I’ve had the syrup turn out a little thin if I didn’t simmer long enough, so patience is key here. If your syrup feels too runny, just pop it back on low heat for another 10-15 minutes. Also, remember that the flavor gets richer after a day or two in the fridge, so it’s worth waiting!
Cooking Tips & Techniques
Making elderberry syrup is honestly pretty straightforward, but a few tricks make all the difference between “meh” and “wow.” Here’s what I’ve learned through trial and error:
- Don’t rush the simmer: Low and slow releases the flavors and nutrients without boiling off the good stuff. I’ve burned batches before when I cranked the heat up too high—no fun.
- Use fresh ginger when possible: It gives a brighter, sharper zing that ground ginger just can’t match.
- Strain carefully: Pressing the elderberries too hard can make the syrup bitter. Let gravity do some work and use gentle pressure.
- Honey timing matters: Add honey only when the syrup cools a bit to keep its natural enzymes intact—this tip came from a local beekeeper and it makes a difference.
- Label your jars: Elderberry syrup keeps about a month in the fridge; I always write the date on the jar with a marker or a sticker.
One time, I got distracted by a phone call mid-simmer and nearly boiled the mixture dry—lesson learned: don’t multitask too hard when making syrup! But honestly, these little hiccups just add to the charm of homemade remedies.
Variations & Adaptations
This elderberry syrup recipe is flexible, so you can tweak it to suit your taste or dietary needs:
- Spiced Up: Add a few cloves or a star anise pod during simmering for extra warmth and complexity.
- Vegan Option: Substitute honey with maple syrup or agave nectar, but add it after the syrup cools to preserve flavor.
- Seasonal Twist: Swap elderberries for fresh blackberries or blueberries in summer to keep the antioxidant benefits with a different flavor profile.
- Milder Flavor: Reduce ginger to 1 tablespoon if you prefer less spice, especially for kids sensitive to heat.
- Personal Favorite: I once added a splash of apple cider vinegar at the end for a tangy kick that also helps preserve the syrup longer.
For a slow cooker version, combine all ingredients except honey, cook on low for 4-6 hours, then strain and add honey once cooled. It’s a hands-off way to get the same great results.
Serving & Storage Suggestions
This syrup is best served chilled or at room temperature. A spoonful straight from the jar is a quick immune boost, but I also like stirring it into warm tea or sparkling water for a refreshing twist. It pairs beautifully with lemon or ginger teas for extra soothing comfort.
Store your elderberry syrup in the refrigerator in a sealed glass jar. It keeps well for about 3-4 weeks. If you want to keep it longer, freeze in ice cube trays and thaw a cube or two as needed.
Reheating gently in a small saucepan or microwave is fine, but avoid boiling once honey is added to preserve its benefits. Over time, the flavors meld and deepen, so if you can wait a day or two before using, you’ll notice the syrup tastes even richer and smoother.
For a homemade wellness boost alongside your syrup, try pairing it with a batch of crispy garlic chicken or fresh fruit salads for a balanced immune-supporting meal.
Nutritional Information & Benefits
Per tablespoon (15 ml) of this elderberry syrup:
| Nutrient | Amount |
|---|---|
| Calories | 40-50 kcal |
| Carbohydrates | 12 g (mostly from natural sugars) |
| Vitamin C | Moderate amount (especially with added lemon juice) |
| Antioxidants | High (from elderberries and cinnamon) |
Elderberries are rich in antioxidants and vitamins that support immune function, while ginger and cinnamon add anti-inflammatory and antimicrobial properties. This recipe is naturally gluten-free, dairy-free, and can be made vegan by swapping honey.
From a wellness perspective, taking a spoonful daily can help soothe throat irritation and may reduce cold symptom duration. Just remember, this syrup is a supplement, not a replacement for medical advice or treatment.
Conclusion
This Healthy Homemade Elderberry Syrup with Ginger and Cinnamon isn’t just a recipe—it’s a little ritual of care and comfort that I’m grateful to have rediscovered from a fleeting memory. It’s simple, effective, and honestly, a joy to make and share. I encourage you to adjust the flavors to your liking, whether that means more ginger heat or a sweeter touch of honey.
Give it a try, and if you do, I’d love to hear how it turned out or what variations you created. Drop a comment below or share your own elderberry syrup story—there’s something special about recipes that carry a bit of history and heart. Here’s to good health and cozy kitchens filled with the smell of cinnamon and ginger!
FAQs
Can I use store-bought elderberry juice instead of fresh or dried berries?
You can, but fresh or dried elderberries tend to provide a richer flavor and more nutrients. If using juice, look for 100% pure elderberry juice with no added sugars and adjust the recipe accordingly.
How long will homemade elderberry syrup last?
Stored in the refrigerator, it typically lasts 3 to 4 weeks. Freezing in ice cube trays can extend its shelf life up to 6 months.
Is elderberry syrup safe for children?
Yes, in moderation. For children under one year, avoid honey due to botulism risk. Always consult your pediatrician if unsure.
Can I omit cinnamon or ginger if I don’t like those flavors?
You can, but the syrup will lose some immune-boosting benefits and flavor complexity. Try reducing amounts rather than removing completely to keep balance.
What’s the best way to take elderberry syrup daily?
The easiest way is a tablespoon on its own or mixed into warm water, tea, or juice. Many take it once or twice daily during cold season for immune support.
Pin This Recipe!
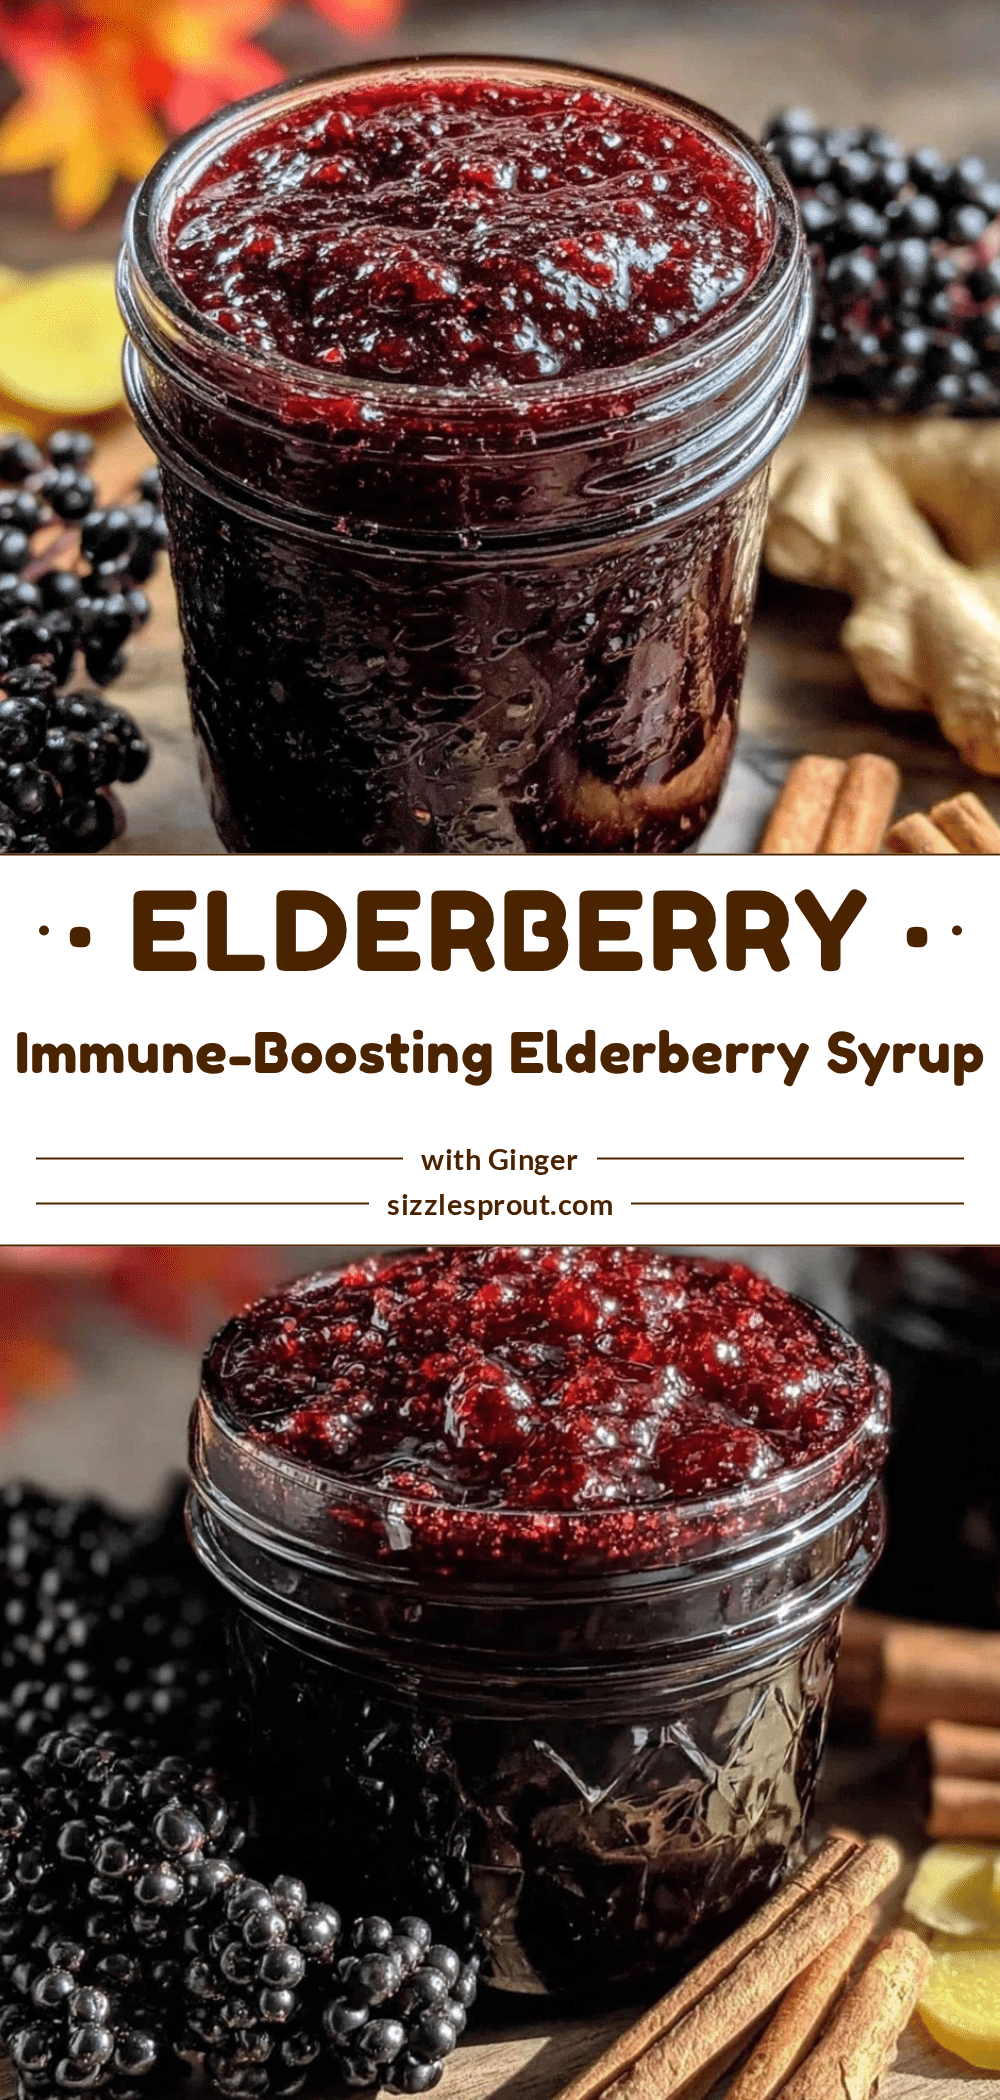
Healthy Homemade Elderberry Syrup Recipe with Ginger and Cinnamon for Immune Boost
A cozy and immune-supporting elderberry syrup made with fresh ginger and cinnamon sticks, perfect for cold season and daily wellness.
- Prep Time: 10 minutes
- Cook Time: 1 hour
- Total Time: 1 hour 10 minutes
- Yield: About 1 to 1¼ cups syrup (approximately 16 servings of 1 tablespoon each) 1x
- Category: Supplement / Immune Support
- Cuisine: American
Ingredients
- 1 cup fresh elderberries or ½ cup dried elderberries (soaked if dried)
- 2 tablespoons fresh ginger root, peeled and chopped
- 2 cinnamon sticks
- ½ to ¾ cup raw honey (adjust to taste)
- 3 cups water
- 1 teaspoon fresh lemon juice (optional)
Instructions
- If using fresh elderberries, rinse gently under cold water. If using dried elderberries, soak in warm water for about 30 minutes to soften.
- In a medium saucepan, combine elderberries, chopped ginger, cinnamon sticks, and 3 cups of water. Stir lightly to mix. Do not add honey yet.
- Bring the mixture to a gentle boil over medium heat. Reduce heat to low and simmer uncovered for 45 minutes to 1 hour, stirring occasionally until the liquid reduces by half and thickens slightly.
- Remove from heat and strain the syrup through a fine mesh strainer or cheesecloth into a clean bowl, pressing gently on solids to extract liquid. Discard solids.
- When the syrup is warm but below 95°F (35°C), stir in raw honey and optional lemon juice until combined.
- Pour syrup into a sterilized glass jar, seal tightly, and store in the refrigerator. Use within 3-4 weeks.
Notes
Add honey only when syrup is warm but not hot to preserve enzymes. Simmer low and slow to avoid burning. Syrup thickens and flavors deepen after a day or two in the fridge. Store in refrigerator up to 3-4 weeks or freeze for longer storage. For vegan option, substitute honey with maple syrup or agave nectar added after cooling.
Nutrition
- Serving Size: 1 tablespoon (15 ml)
- Calories: 45
- Sugar: 10
- Carbohydrates: 12
- Fiber: 0.5
Keywords: elderberry syrup, immune boost, homemade syrup, ginger, cinnamon, natural remedy, cold season, wellness, raw honey, antiviral syrup


