Love this? Save it for later!
Share the inspiration with your friends
Introduction
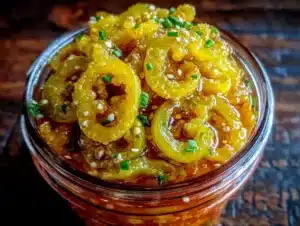
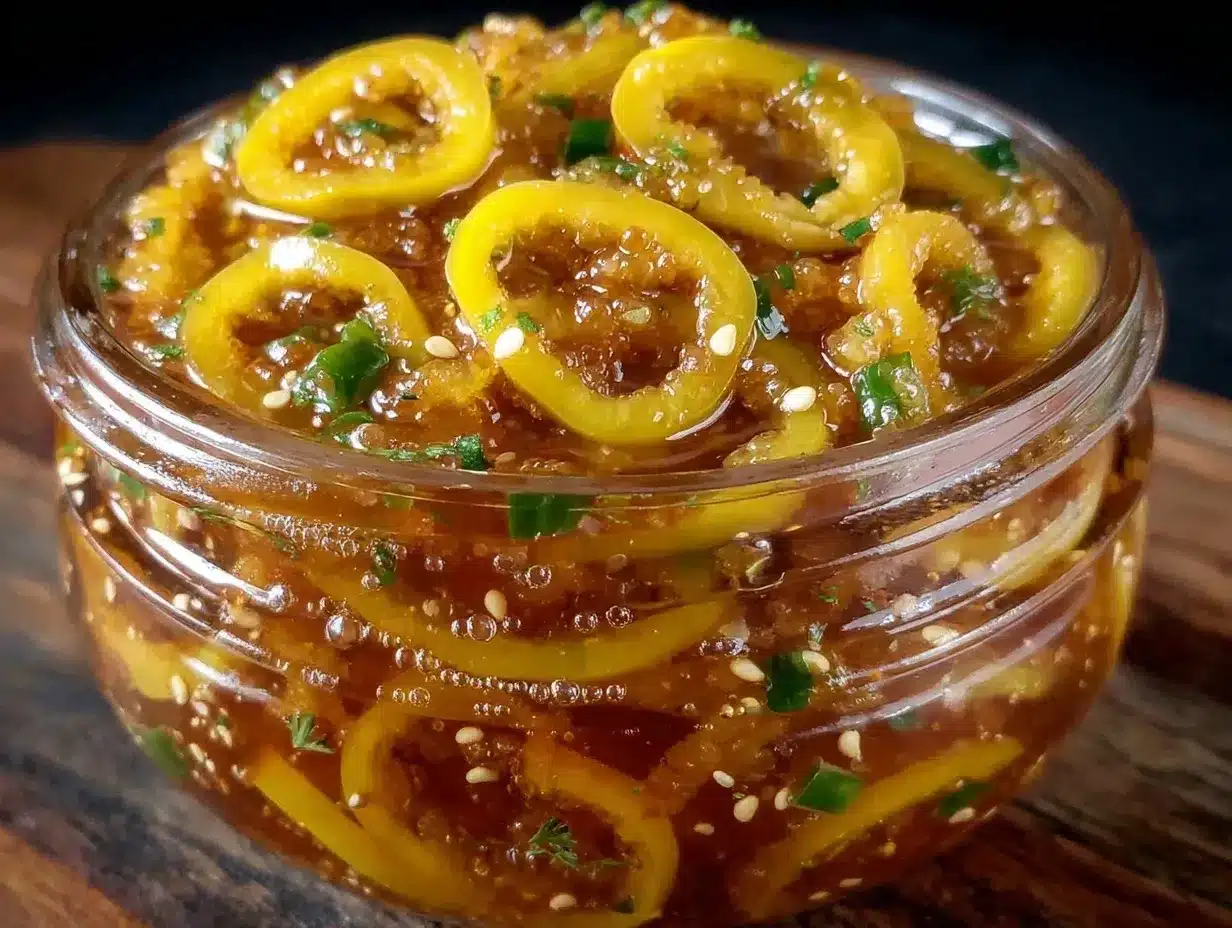
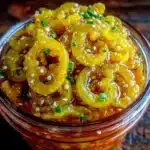
The summer I turned thirty, my neighbor Carla watched me fumble with a jar of banana peppers, trying to keep them crisp after pickling. She didn’t say anything at first, just smiled and handed me a simple glass jar filled with her own batch of pickled banana peppers, saying, “Try it like this—no fancy canner, no fuss.” Honestly, I was skeptical because I’d always thought pickling meant hours of boiling water baths and complicated equipment. But Carla’s method was different, and the crunch was undeniable. She shared the recipe like swapping stories over lemonade on her porch, not as a formal lesson. I remember knocking over the brine while trying to write it down, making a salty mess on her countertop, but she just laughed it off. Maybe you’ve been there—trying to nail that perfect balance of tangy, sweet, and crispy in your pickles. This recipe stayed with me because it’s straightforward, hands-off, and delivers that satisfying snap every time. Let me tell you, once you try these crispy pickled banana peppers in brine, you’ll keep coming back to them as your go-to tangy snack or kitchen staple.
Why You’ll Love This Recipe
This crispy pickled banana peppers recipe stands out because it’s approachable, foolproof, and downright delicious. I’ve tested this method multiple times, from busy weeknights to lazy Sunday meal preps, and it never fails to impress.
- Quick & Easy: Comes together in under 30 minutes with minimal prep—perfect when you want a tangy crunch without the wait.
- Simple Ingredients: You probably have most of these pantry staples already, so no extra trips to the store.
- Perfect for Snacking & Garnishing: Adds a bright, zesty kick to sandwiches, burgers, salads, or just straight from the jar.
- Crowd-Pleaser: Kids and adults alike love the crisp texture and balanced flavor—always a hit at potlucks or family dinners.
- Unbelievably Delicious: The secret is the brine’s perfect blend of vinegar, sugar, and spices that keeps peppers crunchy without canning.
What sets this recipe apart? The no-canning-needed method means you don’t have to fuss with hot water baths or special equipment. Instead, you get that fresh, crispy bite every single time—no soggy peppers here. Plus, the brine is crafted to highlight the banana peppers’ natural sweetness while delivering a bright tang that wakes up your taste buds. Honestly, this recipe feels like a little kitchen win every time you crack open a jar.
What Ingredients You Will Need
This recipe uses simple, wholesome ingredients to deliver a bold flavor and satisfying texture without the fuss. Most are pantry staples, and a few are fresh to keep it bright and crisp.
- Banana Peppers: About 1 pound (450g), fresh and firm, sliced into rings or strips depending on your preference.
- White Vinegar: 2 cups (480ml), for that sharp, tangy base of the brine.
- Water: 2 cups (480ml), to balance the acidity of the vinegar.
- Sugar: 2 tablespoons, to mellow the acidity and add a subtle sweetness.
- Salt: 1 tablespoon, preferably kosher or pickling salt (no iodine) for clean flavor.
- Garlic Cloves: 2-3, smashed lightly to release aroma.
- Black Peppercorns: 1 teaspoon, whole for a gentle peppery kick.
- Dill Seeds or Fresh Dill: Optional, about 1 teaspoon seeds or a few sprigs for an herby note.
- Red Pepper Flakes: Optional, 1/2 teaspoon if you like a little heat.
- Mustard Seeds: Optional, 1 teaspoon to add a mild pungency.
I usually pick banana peppers from my local farmers market, where they’re fresh and firm. If you can’t find them locally, the grocery store’s produce aisle usually stocks them in the summer. For the best results, look for peppers with smooth skin and no soft spots. I trust brands like Bragg for my vinegar needs because their products add a nice clean flavor without overwhelming the peppers.
If you want to switch it up, you can substitute white vinegar with apple cider vinegar for a fruitier tang or use coconut sugar instead of white sugar for a slightly richer flavor. And if you’re avoiding sodium, reduce the salt by half, but keep in mind it helps preserve the peppers’ crunch.
Equipment Needed
- Glass Jars with Lids: Quart-sized mason jars work perfectly for this recipe. You don’t need to seal them airtight since we’re skipping canning, but a tight-fitting lid helps.
- Large Saucepan: For heating the brine mixture. A heavy-bottomed pan ensures even heating without scorching the sugar.
- Sharp Knife and Cutting Board: Essential for slicing the peppers evenly to ensure consistent pickling.
- Measuring Cups and Spoons: For precise brine ratios—trust me, it makes a difference!
- Tongs or Fork: To handle the hot peppers safely when packing jars.
If you don’t have mason jars, you can use any clean glass container with a lid, like repurposed pickle jars or wide-mouth jars. I once used a repurposed salsa jar and it worked just fine, though the size might affect how quickly the peppers pickle.
For keeping your jars in top shape, wash them in hot soapy water and dry thoroughly before use. Avoid plastic containers for this recipe since the vinegar can react with plastics over time, affecting both flavor and safety.
Preparation Method
- Prepare the Peppers (10 minutes): Rinse the banana peppers under cold water. Slice them into 1/4-inch (about 0.6 cm) rings or strips, depending on your preference. Remove seeds if you want milder pickles, but leaving some seeds adds a nice heat. Set aside.
- Make the Brine (5 minutes): In a large saucepan, combine 2 cups (480ml) white vinegar, 2 cups (480ml) water, 2 tablespoons sugar, and 1 tablespoon salt. Add the smashed garlic cloves, black peppercorns, mustard seeds, dill seeds or sprigs, and red pepper flakes if using. Heat over medium heat, stirring occasionally, until sugar and salt are fully dissolved and the brine comes to a gentle simmer. Do not boil vigorously—just a gentle warm-up.
- Pack the Jars (10 minutes): Using tongs or a fork, carefully pack the sliced banana peppers into clean glass jars. Don’t crush them; you want them snug but not smashed. Distribute the garlic and spices evenly among the jars for consistent flavor.
- Pour in the Brine (5 minutes): Carefully pour the hot brine over the peppers, leaving about 1/2 inch (1.3 cm) headspace at the top. Tap the jars gently on the counter to release air bubbles. Wipe rims clean and seal with lids.
- Cool and Refrigerate (5 minutes): Let the jars cool to room temperature on the counter for about 30 minutes, then place them in the refrigerator. The peppers will be ready to eat in as little as 24 hours, but I recommend waiting 3 days for the best flavor and crispness.
Pro tip: If you find your peppers are a bit soft, try slicing them thicker next time or reduce the sugar slightly. Also, make sure your jars are packed loosely enough to allow the brine to circulate. I learned the hard way after my first batch turned mushy because I overpacked the jar in excitement!
Cooking Tips & Techniques
Pickling banana peppers might seem simple, but a few tricks make a big difference in texture and flavor.
- Keep It Crisp: To help maintain that satisfying crunch, use fresh, firm banana peppers. Avoid any that feel soft or wrinkled. Adding a pinch of calcium chloride (sometimes sold as “pickle crisp”) can help, but it’s optional.
- Don’t Overheat the Brine: Heating the brine until sugar and salt dissolve is key, but boiling can break down the peppers’ cell walls, leading to limp slices. A gentle simmer is just right.
- Pack Jars Properly: Don’t crush the peppers when packing. Leave a little space so the brine can seep evenly around each slice.
- Timing is Everything: While these peppers are technically ready in 24 hours, letting them sit for 3 to 5 days really develops the flavor and crunch. Patience pays off!
- Experiment with Spices: I once added a cinnamon stick for a subtle warmth that surprised my family. Don’t be afraid to tweak the aromatics to suit your taste.
One cooking mishap I remember was forgetting to wipe the jar rims before sealing. The brine stuck and caused the lids not to seal properly, so always double-check this step. Though this recipe skips canning, cleanliness is still important to avoid off-flavors.
Variations & Adaptations
This recipe lends itself well to a few tasty twists depending on your mood or dietary needs.
- Spicy Kick: Add extra red pepper flakes or a sliced jalapeño to the brine for a fiery version.
- Garlic Lovers’ Edition: Double the garlic cloves and add some smashed shallots for an even bolder flavor profile.
- Low-Sodium Version: Reduce the salt by half and increase the vinegar slightly for a tangier pickle without losing crunch.
- Fermented Pickles: For a probiotic-rich variation, omit the vinegar and ferment the peppers in salted water for 5-7 days, but be aware this changes texture and flavor significantly.
- Herb Infusion: Try fresh thyme or oregano sprigs instead of dill for a Mediterranean twist.
Personally, I once swapped out the banana peppers for sweet mini peppers when I ran out and followed the same brine recipe. The result was sweeter, less tangy pickles but still delightfully crisp. It’s a great way to use up whatever’s in your fridge.
Serving & Storage Suggestions
These crispy pickled banana peppers are best served cold or at room temperature. They make a fantastic topping on crispy garlic chicken, add a tangy crunch to sandwiches, or jazz up salads and charcuterie boards.
Store the jars in the refrigerator where they’ll keep well for up to 3 months. The flavor deepens the longer they sit, so if you have the patience, wait a week before diving in. When reheating dishes with these peppers, add them last to preserve their texture and brightness.
If you want to store them for longer, freezing isn’t recommended as it affects texture, and room temperature storage without canning isn’t safe. Just stick to the fridge and enjoy the pickles at their best.
Nutritional Information & Benefits
These pickled banana peppers are low in calories—roughly 10-15 calories per serving (about 1/4 cup or 30g)—and provide a bit of vitamin C and antioxidants from the peppers themselves. The vinegar supports digestion and can help balance blood sugar levels, while the garlic adds immune-boosting properties.
This recipe is naturally gluten-free, vegan, and low-carb, making it a great condiment for many dietary preferences. Just watch the sodium if you’re on a salt-restricted diet, but overall, it’s a flavorful way to add zing without guilt.
Conclusion
If you’re looking for a simple, no-fuss way to make crispy pickled banana peppers that taste like you spent hours in the kitchen, this recipe is your new best friend. It’s adaptable, fast, and brings that perfect balance of crunch and tang every time. I love how it adds a fresh, vibrant pop to so many dishes and how easy it is to keep a jar on hand for whenever the craving hits.
Give it a try, tweak it to your taste, and let me know how your batch turns out! Your kitchen is about to get a little brighter, one crisp bite at a time.
FAQs
How long do these pickled banana peppers last in the fridge?
They typically last up to 3 months when stored in a sealed jar in the refrigerator.
Can I use a different type of vinegar?
Yes, apple cider vinegar or rice vinegar can be substituted, but it will slightly change the flavor.
Do I need to sterilize the jars for this no-canning method?
While sterilization isn’t required, cleaning jars thoroughly with hot soapy water helps keep your pickles fresh and tasty.
Why are my pickled peppers soft instead of crispy?
Overcooking the brine or using overly ripe peppers can cause softness. Use firm peppers and keep the brine at a gentle simmer to avoid this.
Can I add other vegetables to this recipe?
Absolutely! Carrots, onions, or cucumbers can be added for variety, adjusting the brine quantity accordingly.
Pin This Recipe!
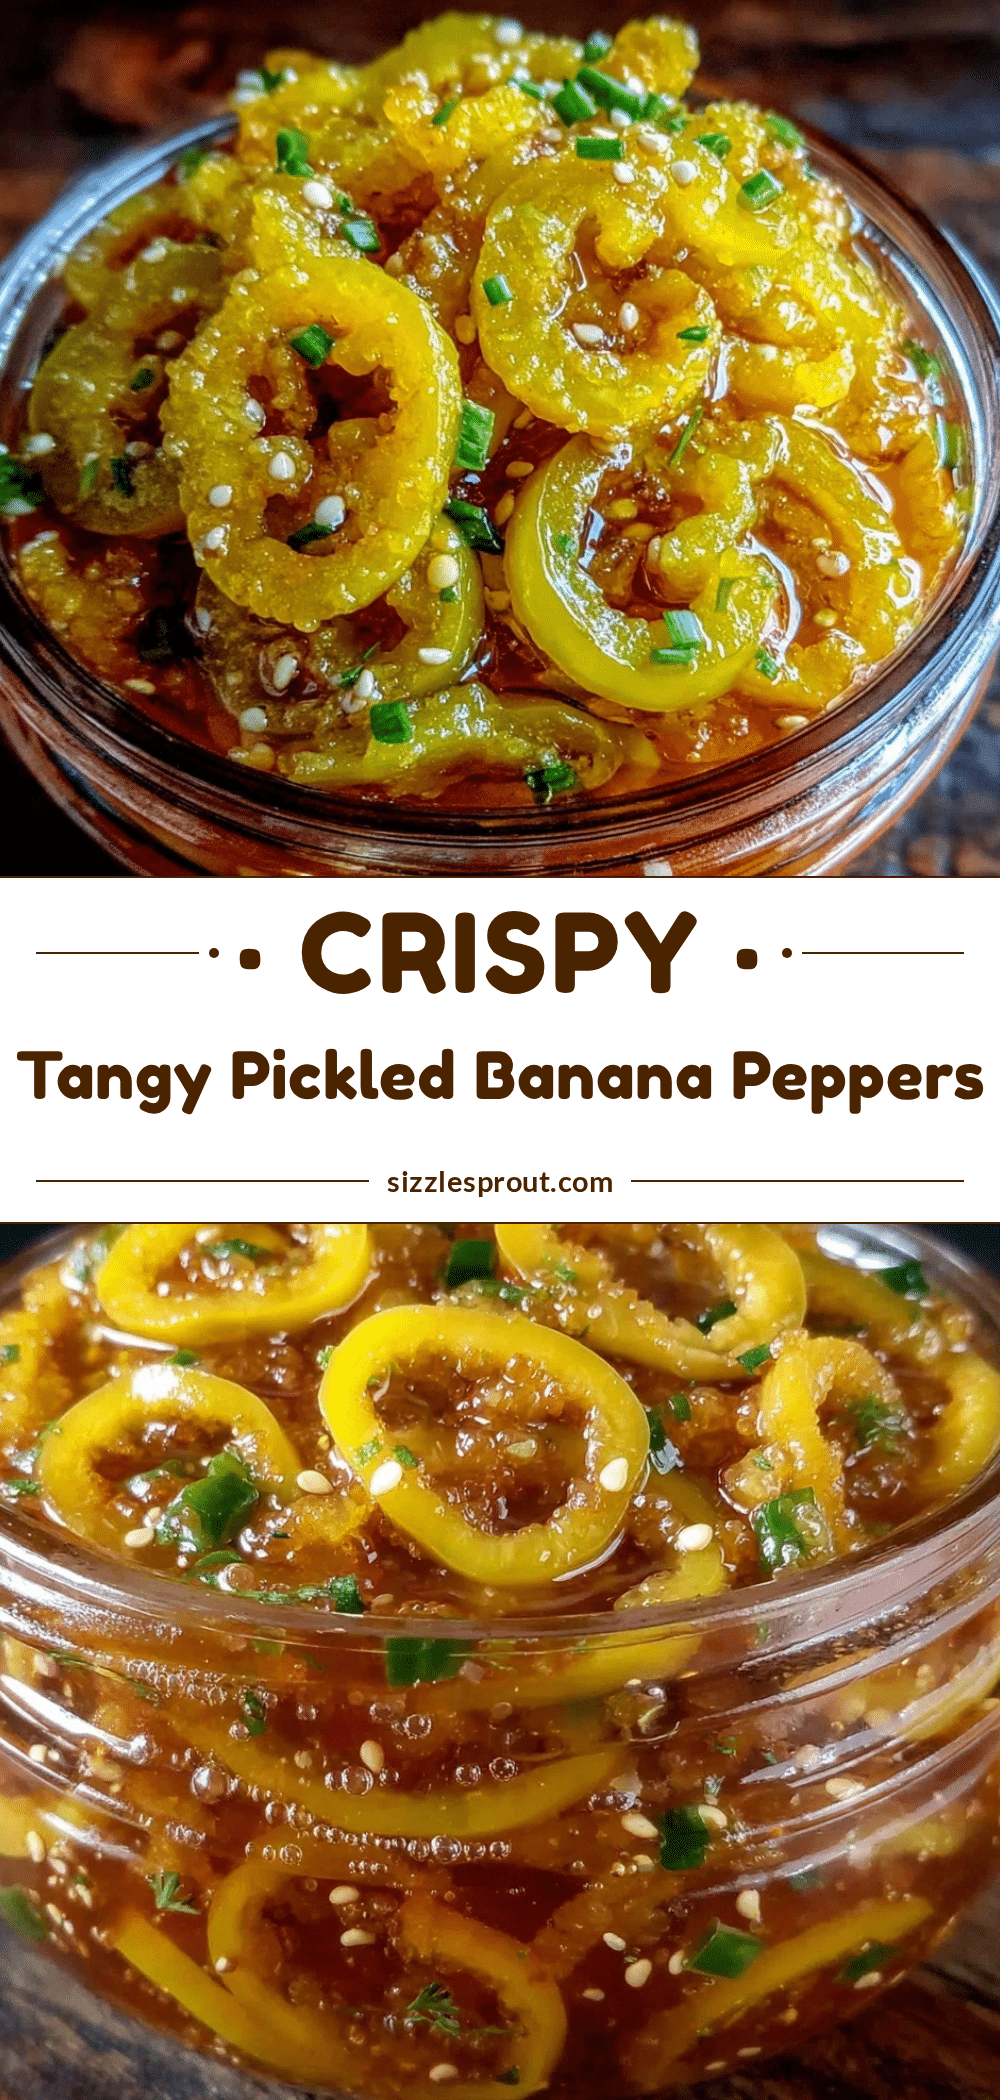
Crispy Pickled Banana Peppers
A quick and easy no-canning method to make tangy, crunchy pickled banana peppers perfect for snacking or garnishing.
- Prep Time: 10 minutes
- Cook Time: 15 minutes
- Total Time: 25 minutes
- Yield: 4 servings 1x
- Category: Condiment
- Cuisine: American
Ingredients
- 1 pound fresh banana peppers, sliced into rings or strips
- 2 cups white vinegar
- 2 cups water
- 2 tablespoons sugar
- 1 tablespoon kosher or pickling salt (no iodine)
- 2–3 garlic cloves, smashed
- 1 teaspoon whole black peppercorns
- 1 teaspoon dill seeds or a few sprigs fresh dill (optional)
- 1/2 teaspoon red pepper flakes (optional)
- 1 teaspoon mustard seeds (optional)
Instructions
- Rinse the banana peppers under cold water. Slice into 1/4-inch rings or strips. Remove seeds if desired.
- In a large saucepan, combine vinegar, water, sugar, and salt. Add garlic, peppercorns, mustard seeds, dill, and red pepper flakes if using.
- Heat over medium heat, stirring occasionally, until sugar and salt dissolve and brine gently simmers. Do not boil vigorously.
- Using tongs or a fork, pack sliced peppers into clean glass jars without crushing them. Distribute garlic and spices evenly.
- Pour hot brine over peppers, leaving about 1/2 inch headspace. Tap jars to release air bubbles, wipe rims clean, and seal with lids.
- Let jars cool to room temperature for about 30 minutes, then refrigerate. Peppers are ready in 24 hours but best after 3 days.
Notes
Use fresh, firm banana peppers for best crunch. Avoid boiling the brine vigorously to prevent soft peppers. Pack jars loosely to allow brine circulation. Refrigerate and wait 3 days for optimal flavor and crispness. Optional calcium chloride can help maintain crispness.
Nutrition
- Serving Size: About 1/4 cup (30g)
- Calories: 1015
- Sugar: 2
- Sodium: 400
- Carbohydrates: 3
- Fiber: 0.5
Keywords: pickled banana peppers, crispy pickles, no canning pickles, quick pickled peppers, tangy snack, easy pickling