Love this? Save it for later!
Share the inspiration with your friends
“Why can’t you just toss the cucumbers, garlic, and dill straight into the jar and call it a day?” my friend asked one evening as we stood surrounded by a mountain of cucumbers and jars. I started to explain why that wouldn’t work — then stopped. Honestly, I’d always thought pickles needed days, even weeks, to soak up that perfect tangy punch. But that night, on a whim, I decided to trust her gut and just wing it.
What happened next completely surprised me. By the very next day, those quick garlic dill refrigerator pickles were bursting with flavor — crisp, bright, and garlicky in the best way. No long waits, no complex steps, just simple ingredients and a little patience in the fridge. I remember the jar cracking slightly when I packed everything in — a clumsy move, but somehow it added to the charm of this quick pickle experiment.
Maybe you’ve been there too: craving homemade pickles but lacking the time or patience for the traditional method. These quick garlic dill refrigerator pickles are the answer — ready in 24 hours, no special canning skills required. They’ve stuck with me ever since because they’re honest, straightforward, and deliciously addictive. Let me tell you, this recipe changed how I think about pickling forever.
Why You’ll Love This Recipe
This quick garlic dill refrigerator pickles recipe isn’t just another pickle in the jar. It’s a tested, trusted, and downright tasty solution for anyone who loves a crunchy, flavorful snack without the fuss. After making countless batches (and yes, a few flops), I’ve nailed down what works best to get that perfect balance.
- Quick & Easy: Ready to enjoy in just 24 hours — perfect for last-minute cravings or a speedy side dish.
- Simple Ingredients: No need for fancy spices or hard-to-find items — just cucumbers, garlic, dill, and a few pantry staples.
- Perfect for Any Occasion: Whether you’re prepping for a backyard barbecue, a picnic, or just a snack attack, these pickles fit right in.
- Crowd-Pleaser: Kids, adults, pickle novices, and aficionados alike rave about these crisp, garlicky bites.
- Unbelievably Delicious: The garlic and dill infuse the cucumbers quickly, giving you that classic pickle taste with a fresh twist.
This isn’t your everyday pickle recipe. The trick lies in the precise salt and vinegar ratio and the generous use of garlic and fresh dill, which combine to create a vibrant pickling bath. It’s a recipe I’ve refined through trial, error, and lots of tasting sessions — and it always delivers. Honestly, it’s the kind of pickle that makes you close your eyes after the first bite, nodding and thinking, “Yep, this is the one.”
What Ingredients You Will Need
This recipe uses simple, wholesome ingredients that come together quickly to give you bold, satisfying flavor without the fuss. Most of these are pantry staples, so no surprise grocery runs needed.
- Fresh cucumbers (about 4-5 medium Kirby or Persian cucumbers, sliced into spears or rounds) — these small, firm cucumbers hold up beautifully to pickling.
- Garlic cloves (4-5, peeled and smashed) — the star player, giving that unmistakable punch.
- Fresh dill sprigs (4-5 sprigs) — look for bright green, fragrant dill. If unavailable, dried dill can be used but won’t be quite as vibrant.
- White vinegar (1 cup / 240 ml) — the acid that brings everything to life; I like using Heinz for consistent quality.
- Water (1 cup / 240 ml) — balances the vinegar, making the pickles crisp, not too sour.
- Granulated sugar (1 tablespoon) — just a touch to mellow out the acidity.
- Pickling salt or kosher salt (1 tablespoon) — essential for texture and flavor; avoid iodized salt as it can cloud the brine.
- Black peppercorns (1 teaspoon) — adds subtle spice notes.
- Red pepper flakes (optional, ¼ teaspoon) — for a mild heat kick.
For substitutions: If you want to keep it sugar-free, swap the granulated sugar for a teaspoon of honey or skip it altogether, but the flavor will be sharper. For a gluten-free version, all the ingredients here are naturally gluten-free. If fresh dill is out of season, try using dill seeds for a different but still tasty flavor profile.
Equipment Needed
To make these quick garlic dill refrigerator pickles, you don’t need anything fancy. Here’s what works best in my kitchen:
- Glass jars with airtight lids (Mason jars or any clean glass jar) — I prefer Mason jars because they seal tightly and are easy to clean.
- Sharp knife and cutting board — for slicing cucumbers evenly, which helps them pickle uniformly.
- Measuring cups and spoons — to get the brine ratios just right.
- Mixing bowl or pitcher — to combine the vinegar, water, sugar, and salt before pouring over cucumbers.
If you’re short on jars, any clean glass container with a lid will work, but avoid plastic as it can absorb odors and flavors. I once tried using a ceramic crock, and while it worked, cleaning was a pain. For sealing, I recommend checking your lids for any chips or rust to keep everything airtight and fresh. Budget-wise, you can find Mason jars for reasonable prices at most supermarkets or online.
Preparation Method
- Wash and slice cucumbers: Rinse 4-5 medium Kirby cucumbers under cold water. Cut off the ends (those can be bitter) and slice into spears or rounds, about ¼-inch thick. This usually takes about 10 minutes. Uniform slices help the pickles absorb the brine evenly.
- Prepare the garlic and dill: Peel 4-5 garlic cloves and give them a good smash with the side of your knife to release their flavor. Rinse fresh dill sprigs and pat dry. These aromatics are what make this recipe sing.
- Make the brine: In a mixing bowl or pitcher, combine 1 cup (240 ml) white vinegar, 1 cup (240 ml) water, 1 tablespoon granulated sugar, 1 tablespoon pickling or kosher salt, 1 teaspoon black peppercorns, and optional ¼ teaspoon red pepper flakes. Stir until sugar and salt dissolve, about 2 minutes. Taste carefully — it should be tangy with a hint of sweetness.
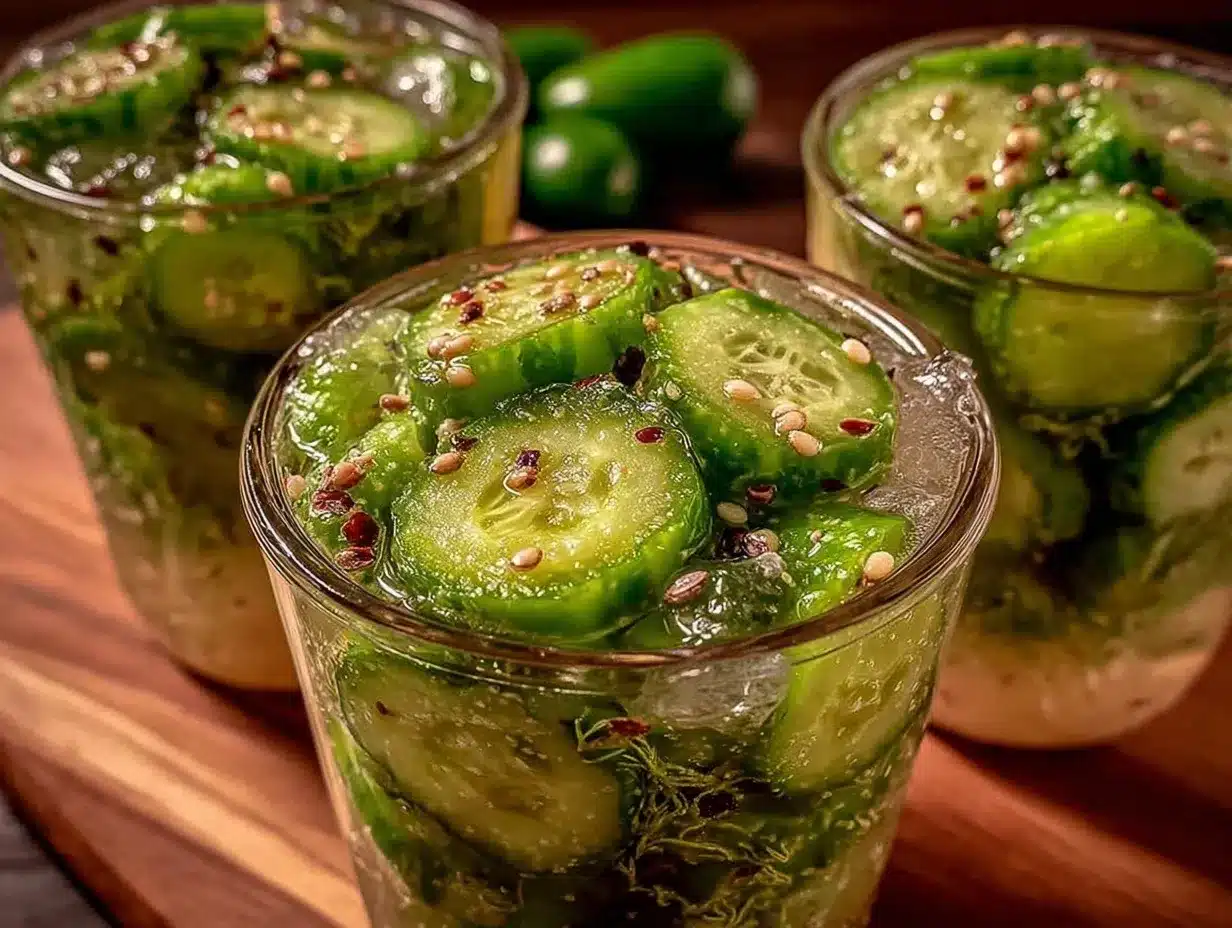
- Pack the jars: Tightly pack the cucumber slices into your sterilized glass jar(s) along with smashed garlic cloves and dill sprigs. Fill to just below the rim but don’t crush the cucumbers; they need room to soak up the brine.
- Pour the brine: Pour the brine over the cucumbers until fully submerged. Leave about ½-inch space at the top. Use a clean utensil to push down any floating veggies gently to ensure full coverage.
- Seal and refrigerate: Screw on the jar lid tightly and place the jar(s) in the refrigerator. Let them chill for at least 24 hours before tasting. The flavors will intensify the longer they sit, but 24 hours is the magic number for ready-to-eat pickles.
- Enjoy: After 24 hours, open a jar and taste your quick garlic dill refrigerator pickles. They should be crisp, tangy, and fragrant with garlic and dill. Store leftovers in the fridge and consume within 2-3 weeks.
Pro tip: If your cucumbers seem less crisp than you’d like, soak them in ice water for 30 minutes before slicing. I learned that the hard way when my first batch turned out a bit soggy! Also, if you notice cloudiness in the brine after a few days, don’t worry — that’s normal and doesn’t affect flavor or safety.
Cooking Tips & Techniques
Making quick garlic dill refrigerator pickles is straightforward, but a few insider tips help you get them just right every time:
- Choose the right cucumbers: Kirby and Persian cucumbers are ideal because they hold their crunch. Avoid large slicing cucumbers with lots of seeds—they get mushy fast.
- Don’t skip the salt: Pickling salt is your best friend here. It dissolves cleanly and won’t cloud your brine like iodized salt sometimes does.
- Smash the garlic: Crushing garlic cloves releases oils that infuse the brine better than chopped garlic.
- Pack jars firmly but gently: Overpacking can bruise cucumbers, underpacking leaves air pockets where mold can form.
- Maintain cold temps: Keep your pickles refrigerated the whole time — no room temperature marinating for this quick method.
- Patience pays off: While you can taste them earlier, 24 hours is the sweet spot for flavor. Resist the urge to dig in too soon.
I remember the first batch I made without smashing the garlic — it was missing that punch. Lesson learned! Also, sometimes I multitask by slicing cucumbers while the brine dissolves, which saves time. Just be sure to wash your hands right after handling fresh dill — it can stain your fingers a bit.
Variations & Adaptations
One of the best things about this recipe is how easy it is to tweak according to your taste or dietary needs. Here are a few ways I’ve played around with it:
- Spicy Pickles: Add more red pepper flakes or a sliced jalapeño to the jar for a fiery kick.
- Low-Sodium Option: Reduce the salt by half and add a splash of lemon juice for extra brightness.
- Herb Variations: Swap dill for fresh tarragon or thyme for a different herbal note.
- Vinegar Alternatives: Use apple cider vinegar instead of white vinegar for a milder, fruitier flavor.
- Quick Bread-and-Butter Pickles: Add a teaspoon of mustard seeds and a pinch of ground turmeric for a sweeter, spiced version.
Personally, I once tried mixing in some fresh basil leaves with the dill — it was an accidental experiment but ended up being surprisingly fresh and delightful. If you’re allergic to garlic, roasted garlic paste can be a milder alternative, though it won’t provide the same sharpness.
Serving & Storage Suggestions
These quick garlic dill refrigerator pickles are best served chilled straight from the fridge. I love pairing them with sandwiches, burgers, or even as a crunchy side for a salad. They add a refreshing zing that cuts through rich or fatty dishes beautifully.
For storage, keep your pickles tightly sealed in the refrigerator. They last well for up to 3 weeks, but the flavor and crunch are best within the first 10 days. Over time, the pickles get softer and the brine more mellow—still tasty, just different. When reheating foods that include these pickles, I recommend adding them fresh after warming the main dish to keep their crunch intact.
Pro tip: Serve them on a charcuterie board with sharp cheeses and cured meats for a simple yet impressive appetizer. And if you love pickles, you might want to try pairing these with a crispy garlic chicken dinner for a flavor combo that’s hard to beat.
Nutritional Information & Benefits
These quick garlic dill refrigerator pickles are low in calories (about 10-15 calories per spear) and fat-free, making them a guilt-free snack. The vinegar and garlic offer digestive benefits, while fresh dill adds antioxidants and vitamins. Because they’re made without added preservatives or artificial ingredients, they’re a wholesome alternative to store-bought pickles.
For those watching sodium intake, remember that pickling salt adds sodium, so adjust to your needs. This recipe is naturally gluten-free and vegan-friendly, fitting nicely into a range of dietary preferences. From a wellness perspective, I appreciate how these pickles help me enjoy bold flavors while keeping my snacks light and fresh.
Conclusion
Quick garlic dill refrigerator pickles are proof that sometimes the simplest ideas turn out to be the best. This recipe is easy to customize, quick to prepare, and always delivers that satisfying crunch and tang. I keep coming back to it because it fits my busy life without compromising on flavor.
Try it your way—add extra garlic, spice it up, or swap herbs to make it truly yours. I’d love to hear how you personalize these pickles, so feel free to share your versions in the comments below! Remember, the magic is in the 24-hour wait, and trust me, it’s worth it.
Happy pickling, and here’s to many crunchy, garlicky bites ahead!
FAQs
How long do quick garlic dill refrigerator pickles last in the fridge?
They stay fresh and crunchy for about 2-3 weeks when stored in a sealed jar in the refrigerator.
Can I use regular cucumbers instead of Kirby cucumbers?
You can, but Kirby or Persian cucumbers hold up best for pickling due to their firmness and fewer seeds.
Do I need to sterilize the jars before making refrigerator pickles?
It’s best to wash jars in hot soapy water and rinse well, but full sterilization isn’t necessary since these pickles are refrigerated.
Can I make these pickles without garlic?
Yes, but garlic is key to the flavor profile here. You might try roasted garlic for a milder taste if fresh garlic is too strong.
Is it safe to eat refrigerator pickles after 24 hours?
Yes! Unlike traditional canned pickles, these are ready to eat after 24 hours and are safe as long as they’re kept refrigerated.
Pin This Recipe!
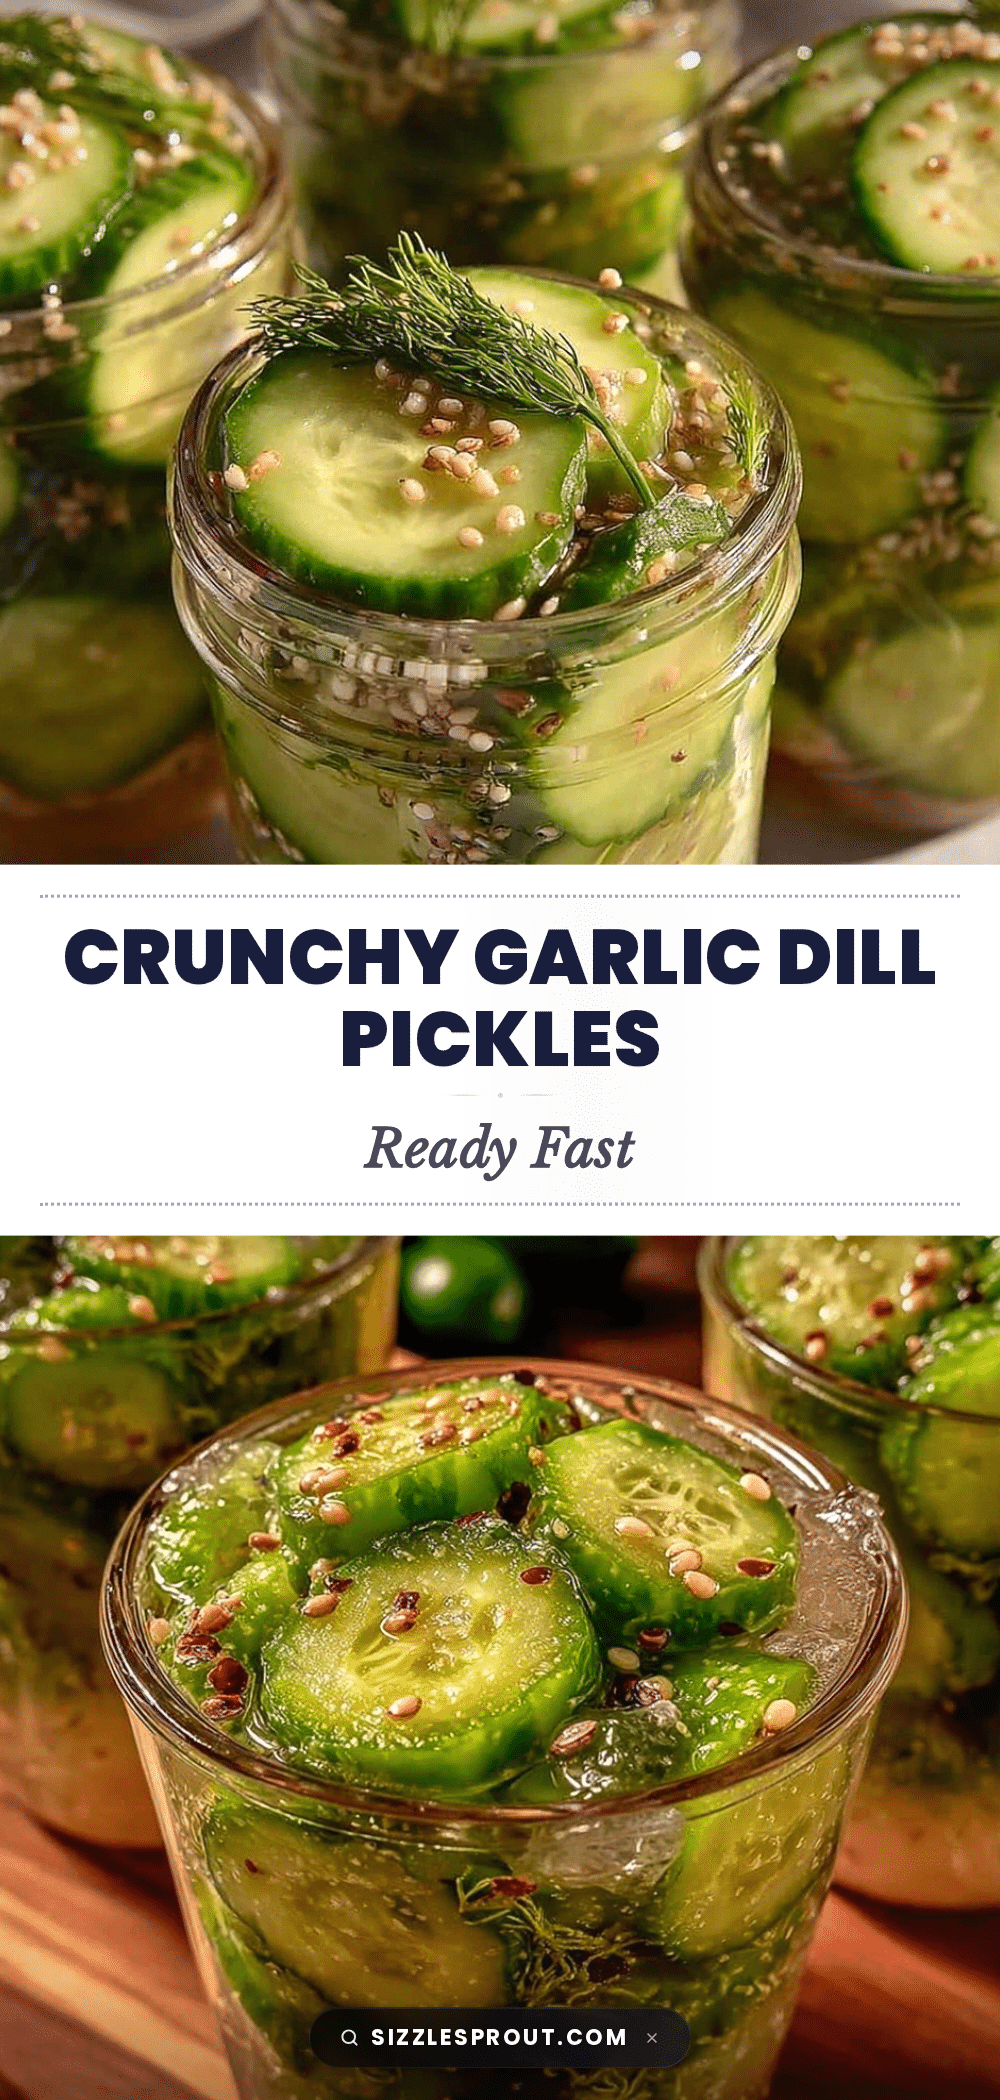
Quick Garlic Dill Refrigerator Pickles
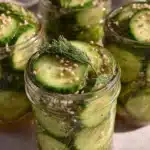
These quick garlic dill refrigerator pickles are ready in just 24 hours, offering a crisp, tangy, and garlicky flavor without the wait of traditional pickling methods. Perfect for a crunchy snack or a flavorful side dish.
- Prep Time: 15 minutes
- Cook Time: 0 minutes
- Total Time: 24 hours 15 minutes
- Yield: 4-5 servings 1x
- Category: Side Dish
- Cuisine: American
Ingredients
- 4–5 medium Kirby or Persian cucumbers, sliced into spears or rounds
- 4–5 garlic cloves, peeled and smashed
- 4–5 fresh dill sprigs
- 1 cup (240 ml) white vinegar
- 1 cup (240 ml) water
- 1 tablespoon granulated sugar
- 1 tablespoon pickling salt or kosher salt
- 1 teaspoon black peppercorns
- ¼ teaspoon red pepper flakes (optional)
Instructions
- Wash and slice cucumbers: Rinse 4-5 medium Kirby cucumbers under cold water. Cut off the ends and slice into spears or rounds about ¼-inch thick.
- Prepare the garlic and dill: Peel 4-5 garlic cloves and smash them to release flavor. Rinse fresh dill sprigs and pat dry.
- Make the brine: In a mixing bowl or pitcher, combine 1 cup white vinegar, 1 cup water, 1 tablespoon granulated sugar, 1 tablespoon pickling or kosher salt, 1 teaspoon black peppercorns, and optional ¼ teaspoon red pepper flakes. Stir until sugar and salt dissolve.
- Pack the jars: Tightly pack cucumber slices into sterilized glass jars along with smashed garlic cloves and dill sprigs. Fill just below the rim without crushing cucumbers.
- Pour the brine: Pour the brine over cucumbers until fully submerged, leaving about ½-inch space at the top. Use a utensil to push down any floating veggies.
- Seal and refrigerate: Screw on jar lids tightly and place jars in the refrigerator. Let chill for at least 24 hours before tasting.
- Enjoy: After 24 hours, taste the pickles. Store leftovers in the fridge and consume within 2-3 weeks.
Notes
Soak cucumbers in ice water for 30 minutes before slicing if you want extra crispness. Cloudiness in the brine after a few days is normal and does not affect safety or flavor. Use pickling salt to avoid cloudy brine. Smash garlic cloves to release more flavor. Store pickles refrigerated and consume within 2-3 weeks for best quality.
Nutrition
- Serving Size: About 1 spear or 2-3
- Calories: 1015
- Sugar: 1
- Sodium: 400
- Carbohydrates: 3
- Fiber: 0.5
Keywords: quick pickles, garlic dill pickles, refrigerator pickles, easy pickles, homemade pickles, crunchy pickles, dill pickles